15 Brilliant RV Bathroom Remodel Ideas for Style & Functionality
Alright, let’s have a real talk for a minute. The RV bathroom. It’s the space we all need but rarely want to brag about. It’s often a claustrophobic puzzle of awkward angles, questionable vinyl, and a shower you have to contort yourself into just to wash your hair.
I’ve been there, leaning against a wall trying to shave my legs while the entire room fogs up into a sauna. Not exactly the glamorous #VanLife moment Instagram promised, right?
But what if I told you that your tiny, humdrum RV bathroom could become one of your favorite spots in the entire rig? That it could feel spacious, luxurious, and actually functional? It’s not a pipe dream. With some clever planning and a few brilliant upgrades, you can transform this necessary evil into a sanctuary on wheels.
I’ve spent more time than I’d like to admit remodeling my own rig and scouring forums for the best hacks, and I’m here to share the absolute best ideas with you. Forget the overwhelm. We’re going to tackle this one friendly, doable idea at a time. Let’s make your RV bathroom a place you don’t mind spending a few minutes in.
15 Brilliant RV Bathroom Remodel Ideas
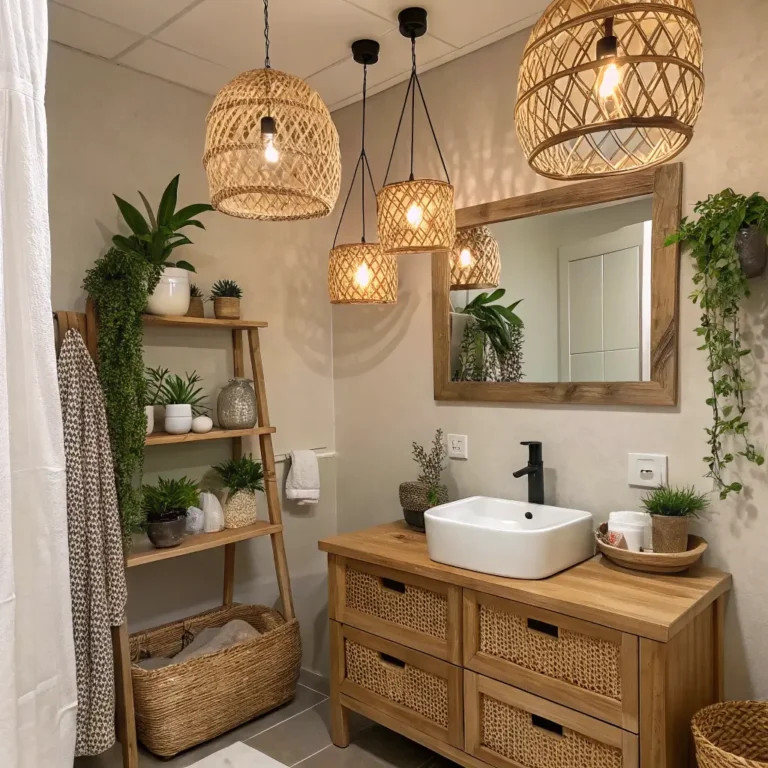
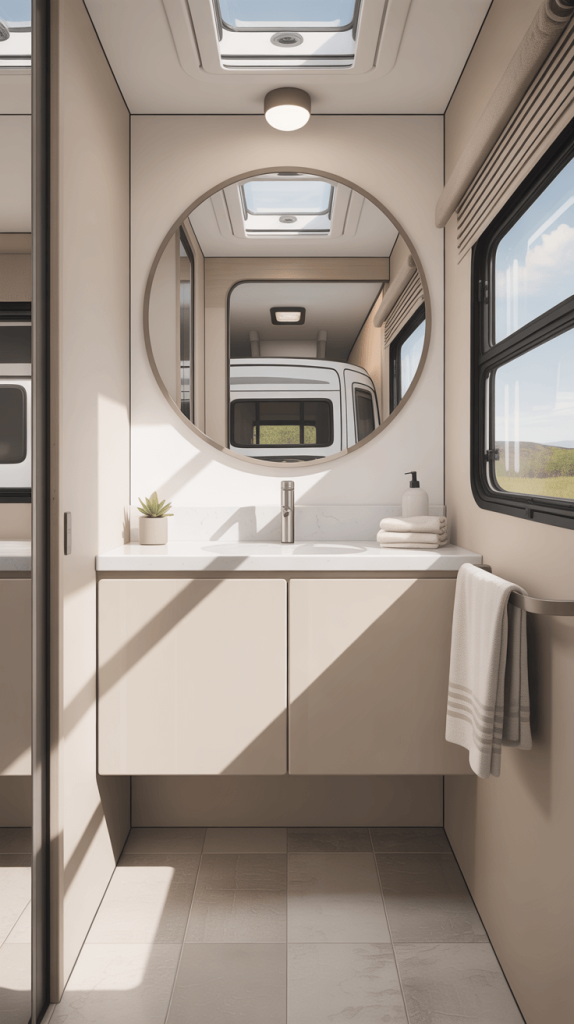
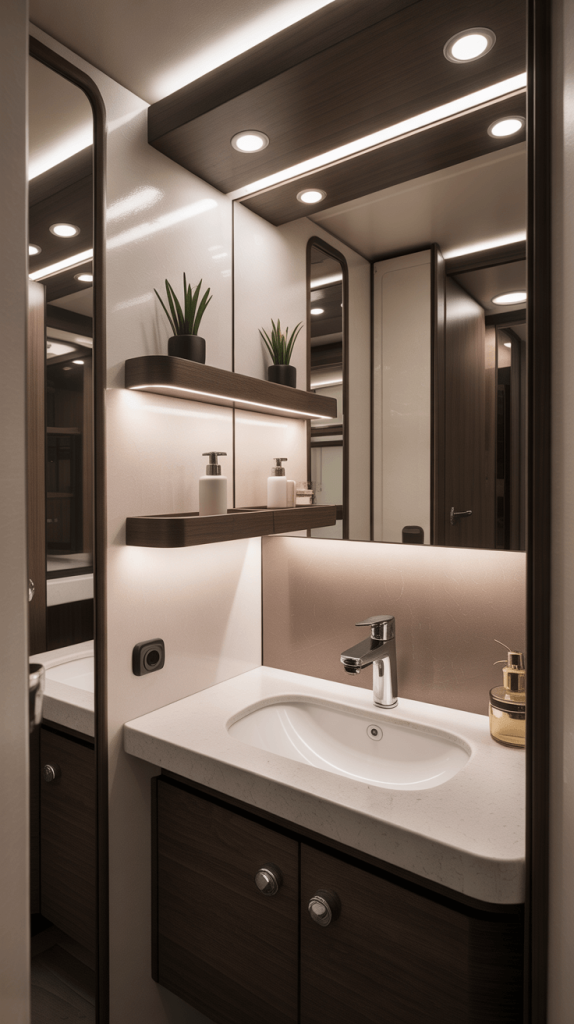
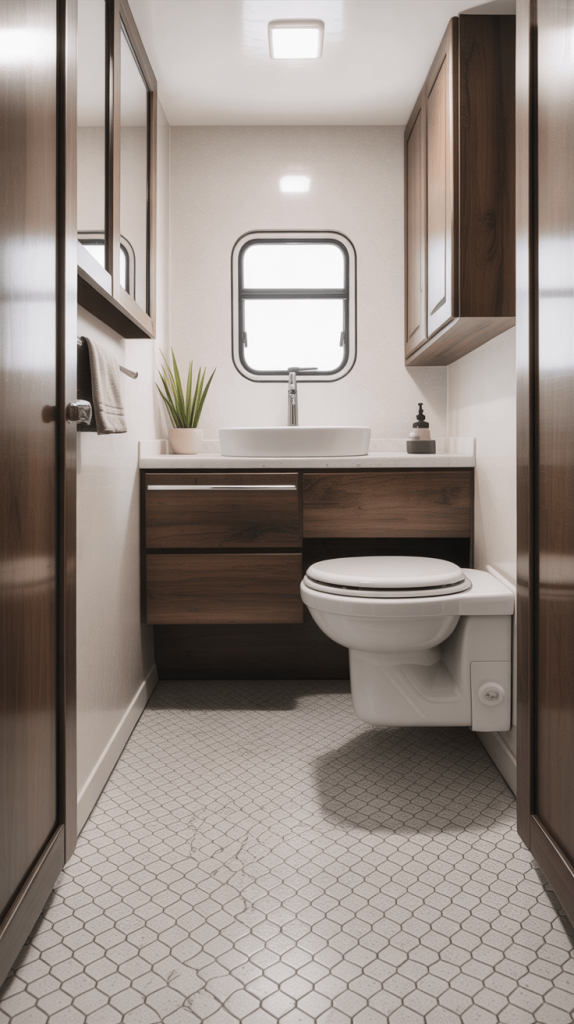
1. Maximize Storage with Floating Shelves

Let’s start with the universal RV struggle: where do I put everything? Bathrooms are notorious for having zero counter space and cabinets that are deep, dark, and useless. You open the door and a avalanche of shampoo bottles and toiletries comes tumbling out. Sound familiar?
This is where floating shelves become your absolute best friend. Why are they so brilliant? They utilize often-wasted vertical wall space without consuming any precious floor real estate. Unlike a bulky cabinet, they don’t make the room feel smaller. In fact, when styled right, they can make it feel more open and airy.
How to Make It Work:
- Choose Your Material: I’m a huge fan of teak or bamboo for a warm, natural look. They’re also naturally water-resistant, which is a massive win. For a more modern vibe, a gloss white or matte black finished shelf looks incredibly sleek.
- Secure Them Properly: This isn’t a DIY area where you can cut corners. You’re driving a house down the highway, remember? Find the studs in your wall—use a stud finder!—and secure the brackets directly into them. Don’t just rely on drywall anchors; they will fail. Trust me on this one. I learned the hard way.
- Style Them Smartly: Don’t just line up your practical stuff. Get a few nice-looking dispensers for your soap and lotion. Add a small, secure pot for Q-tips or a tiny succulent (fake is fine, no one will judge!). This instantly elevates the space from “camping” to “curated cabin.”
Ever wondered why hotel bathrooms feel so nice? It’s because everything has a place and looks intentional. Floating shelves help you achieve that same feeling.
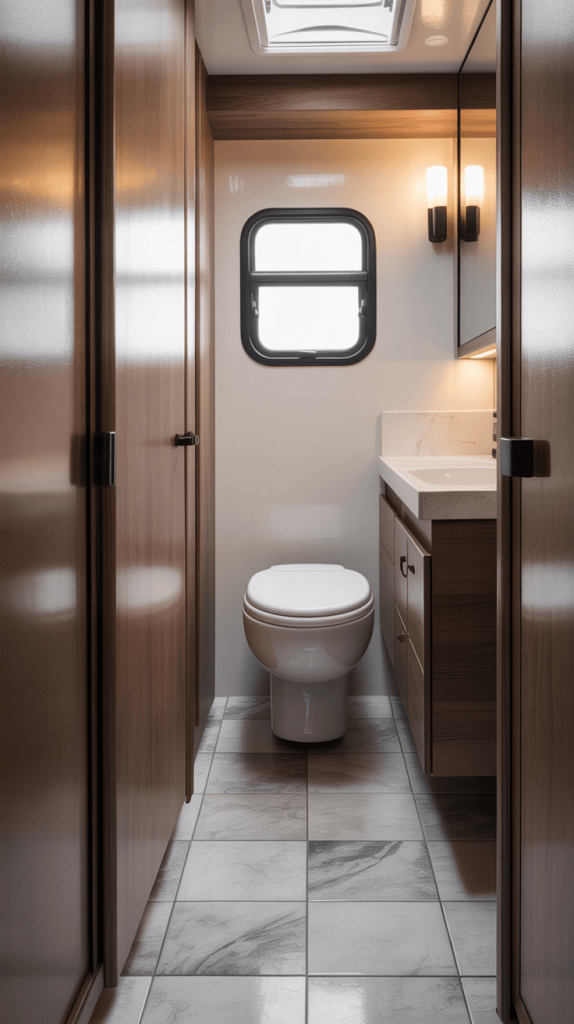
2. Opt for Compact Fixtures
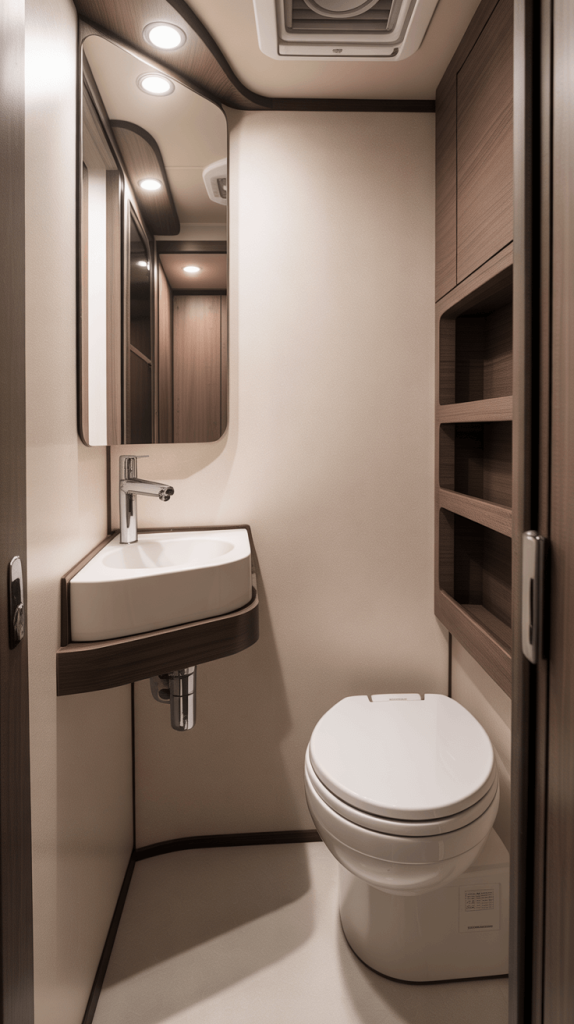
This one seems like a no-brainer, but you’d be surprised how many people try to cram standard home fixtures into an RV. Spoiler alert: it ends badly. The key to a functional RV bathroom is accepting its scale and choosing fixtures designed for it.
We’re talking about corner sinks, slim-profile faucets, and narrow toilets. A corner sink, for instance, tucks perfectly into an unused space, freeing up the area underneath for a small vanity cabinet or even a stylish wastebasket.
My Personal Recommendation:
When I redid my bathroom, I swapped my bulky, dated faucet for a single-hole, wall-mounted one. It was a game-changer. It freed up so much room around the sink basin for my toothbrush cup and a little soap dish. IMO, a wall-mounted faucet is one of the smartest upgrades you can make for both style and functionality. It just makes the whole vanity area feel less crowded.
3. Install a Walk-In Shower with Glass Doors
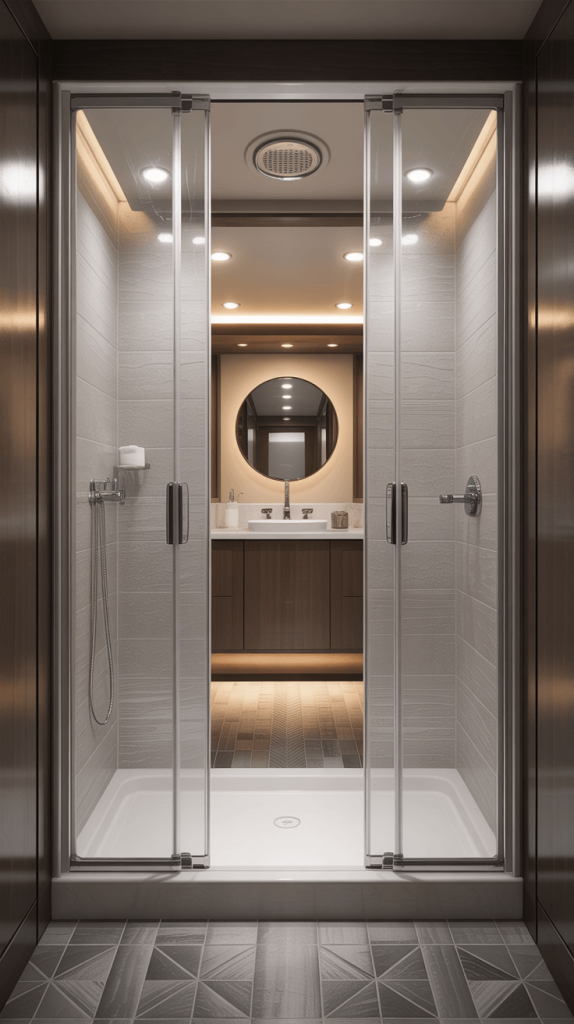
Okay, let’s talk about the big one. The shower. That flimsy, sticky vinyl curtain that clings to you while you’re trying to rinse off is the worst part of many RV bathrooms. Ripping it out and installing a proper walk-in shower with a glass door is the single most transformative change you can make.
Why It’s Worth the Investment:
- It Feels Huge: A glass door eliminates visual barriers, making the entire bathroom appear larger. No more fabric cutting the room in half.
- It’s Easier to Clean: I know, you’re thinking, “Glass shows water spots!” But honestly, is it any worse than scrubbing mildew off a plastic curtain or a vinyl surround? A quick squeegee after each shower keeps it sparkling, and it’s infinitely more hygienic.
- Pure Luxury: Stepping into a shower with a glass door just feels premium. It’s a solid, well-built feature that makes your entire RV feel more high-end.
Now, is this a beginner DIY project? Probably not. But for a mid-level enthusiast or a professional job, the ROI in daily joy is immeasurable.
Also Read: 15 Creative Guest Bathroom Remodel Ideas to Impress Your Guests
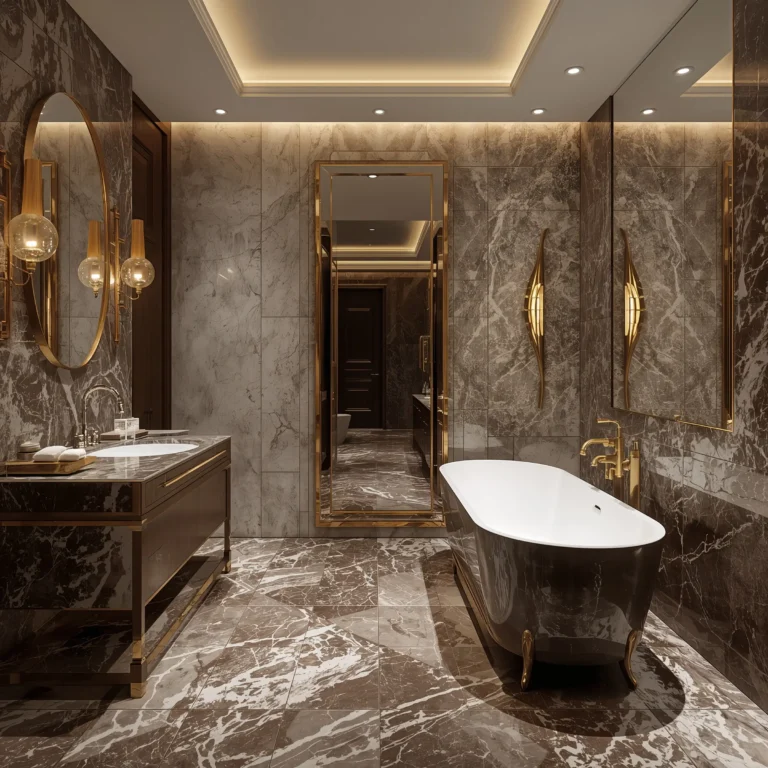
4. Use Light, Neutral Colors to Open Up the Space
This is the oldest trick in the book for a reason: it works. Dark colors absorb light and make a space feel closed in and cave-like. Light colors reflect light, creating an illusion of airiness and space.
We’re not talking about boring, clinical white everywhere (unless that’s your vibe!). Think about a palette of soft tones:
- Whites & Off-Whites: Clean and bright.
- Soft Grays: Modern and sophisticated.
- Light Blues or Greens: Spa-like and calming.
- Beiges and Tans: Warm and inviting.
You can add personality and depth with your accessories—a dark teak vanity, black hardware, or colorful towels. The key is to keep the big surfaces (walls, ceiling, floor) light and neutral to create that open canvas.
5. Upgrade Your Toilet to a Space-Saving Model
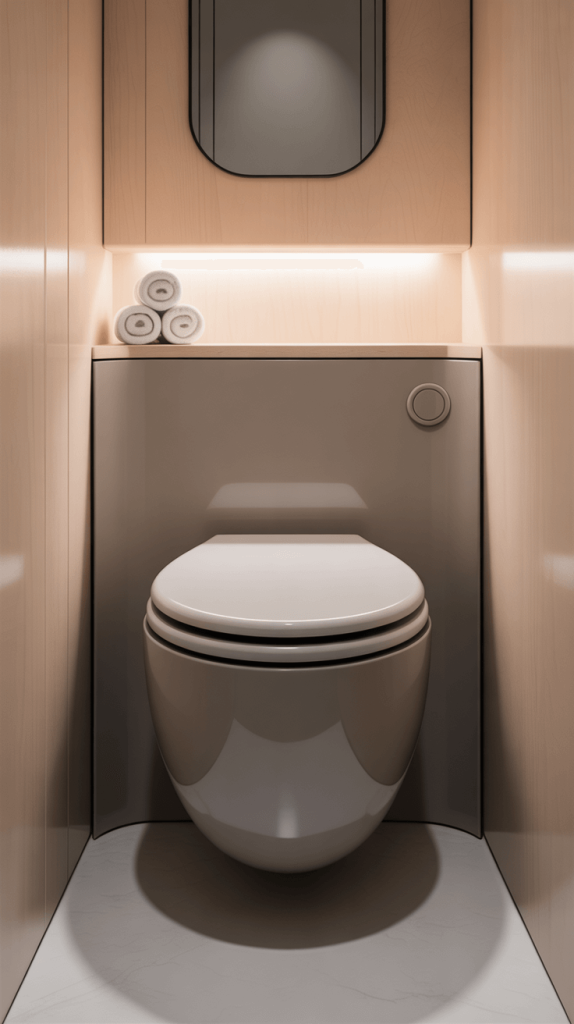
The toilet might be the least glamorous part of this project, but upgrading it can have a huge impact on both function and form. Older RV toilets are often bulky, made of cheap plastic, and, let’s be honest, not very powerful.
Your two main options are:
- Space-Saving Residential Style: These toilets have a smaller “footprint” (the space they take up on the floor) and are designed to look like a home toilet. They’re more comfortable and much easier to clean around.
- Composting Toilets: Now, hear me out. If you’re a serious boondocker, this is the ultimate upgrade. They use zero water, meaning you conserve your fresh water supply and your black tank becomes a non-issue. They also don’t smell if you manage them correctly (seriously!). While the upfront cost is higher, the freedom they offer is a game-changer for off-grid travel.
I made the switch to a composting toilet two years ago, and I’ll never go back. It extended my boondocking time by days and simplified my waste management routine. Just something to think about!
6. Add LED Lighting for a Bright, Modern Feel
That single, sad, yellowish light fixture in the center of your bathroom ceiling has got to go. It casts terrible shadows and makes the whole room feel dim and dated. Swapping to modern LED lighting is a cheap, easy, and incredibly effective upgrade.
Here’s how to think about RV bathroom lighting:
- Overhead: Install a bright, but soft white, LED panel or a chic flush-mount fixture to provide general ambient light.
- Task Lighting: This is the most important layer! Add LED strip lights or a small sconce on either side of the mirror. This lights up your face evenly for tasks like shaving or applying makeup, eliminating those awkward shadows.
- Accent Lighting: A small, motion-activated LED puck light under the vanity adds a cool glow for those middle-of-the-night trips and makes the space feel fancy.
LEDs are a win-win: they’re energy-efficient (saving your batteries) and they produce far less heat than incandescent bulbs, which is a major bonus in a small space.
Also Read: 15 Unique Bathroom Remodel Ideas for Every Budget
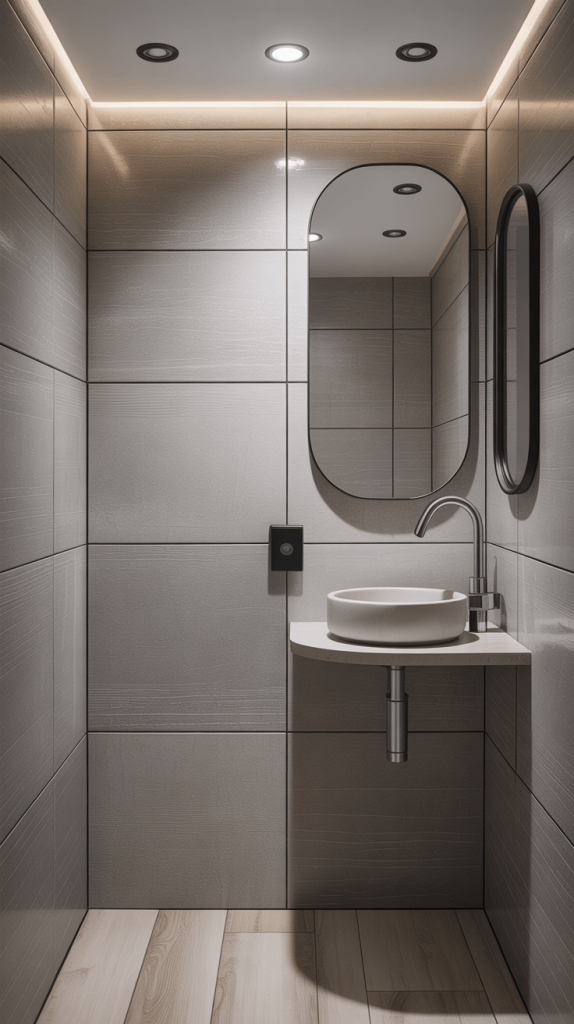
7. Incorporate a Smart Mirror
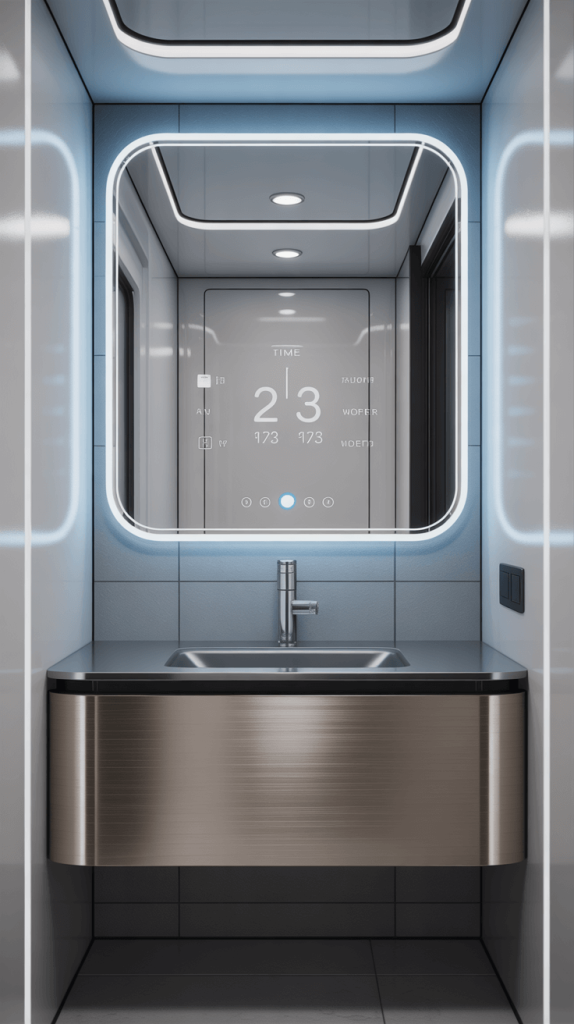
Wait, a smart mirror? In an RV? Absolutely. This might sound like overkill, but it’s a genius space-saving multifunctional tool. A basic smart mirror has built-in LED lighting, which solves your task lighting problem without needing to install separate fixtures.
The more advanced models offer features like:
- Anti-Fog: No more waiting for the mirror to clear up after a shower or wiping it down with a towel. This small luxury feels massive at 6 a.m.
- Bluetooth Speakers: Play your morning podcast or playlist directly from your mirror. It’s safer than wearing headphones and keeps the audio contained in the small room.
- Touch Controls: A sleek, modern way to control the lights.
It combines a mirror, a light fixture, and sometimes a speaker into one single unit, which is the holy grail of RV design.
8. Install Non-Slip Flooring for Safety and Style
Safety first, right? The last thing you need is to take a tumble because the floor got wet and slippery. But that doesn’t mean you have to live with ugly, textured vinyl. Today’s options for non-slip flooring are both safe and seriously stylish.
Top Contenders:
- Luxury Vinyl Plank (LVP): This is my top pick for any RV remodel. It’s 100% waterproof, incredibly durable against scratches and dents, and it has a textured surface that provides grip. It comes in a million designs that look like real wood, stone, or tile. It’s also relatively easy to install yourself.
- Sheet Vinyl with a Textured Pattern: Still a great option. Modern sheet vinyl isn’t your grandma’s kitchen floor. You can find beautiful patterns that mimic cement tile or penny rounds, and the seamless installation means there are no cracks for water to seep into.
Ditch the old, squishy, mold-harboring carpet and give yourself a floor that you love to look at and can trust underfoot.
9. Use Space-Saving Mirrors
We already touched on the smart mirror, but the principle applies to all mirrors. A large, bulky medicine cabinet that protrudes far into the room can make you feel like you’re constantly ducking.
Consider a mirror that saves space:
- A Simple Flush-Mount Mirror: A large, thin mirror mounted directly to the wall makes the room feel twice as big through reflection without stealing an inch of physical space.
- A Mirror on the Door: If your bathroom has a door that opens inward, mounting a full-length mirror on the back of it is a fantastic hack. It gives you a full-body view and bounces light around, all without using any wall space at all.
10. Add a Stylish Shower Curtain or Screen
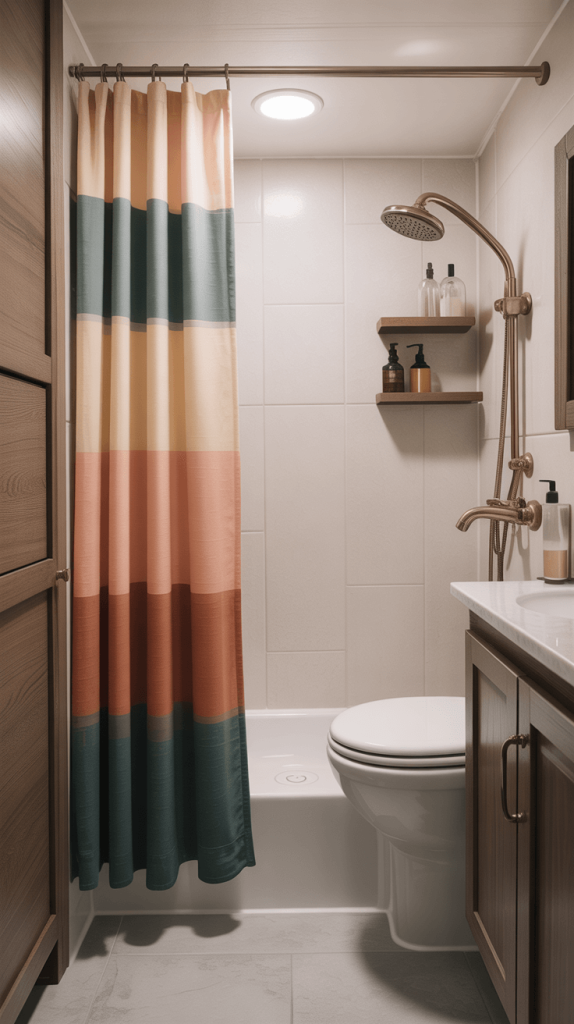
If a glass door isn’t in the cards for you right now (no shame in that!), you can still massively upgrade your shower experience. That sad beige vinyl curtain has got to go. Replacing it is the easiest and cheapest makeover on this list.
- For Curtains: Choose a fabric liner (they are less clingy and more mildew-resistant than plastic) and a beautiful outer curtain with a pattern or color you love. It’s an instant injection of personality.
- For Screens: A tension-mounted curved shower rod and a semi-circular shower screen is a great middle ground. It pushes the curtain outside the shower basin, giving you more elbow room, and the screen looks far more polished than a curtain.
It’s a $50 upgrade that changes the entire vibe of the room. Why wouldn’t you?
11. Incorporate Vertical Storage Solutions

We hit on this with floating shelves, but let’s expand the idea. Think up, not out. The walls are your most underutilized asset.
- Over-the-Toilet Storage: A tall, narrow shelving unit that fits over the toilet tank uses dead space perfectly.
- Magnetic Strips: Mount a magnetic strip on the wall inside your medicine cabinet or on a side wall. It’s perfect for holding bobby pins, tweezers, nail clippers, and scissors. No more rummaging through a drawer.
- Over-the-Door Organizers: The back of the bathroom door is prime real estate. A hanging organizer with clear pockets is perfect for storing first-aid supplies, extra toiletries, cleaning sprays, or hair tools.
Getting things off the counter and onto the walls is the secret to a clean, spacious feel.
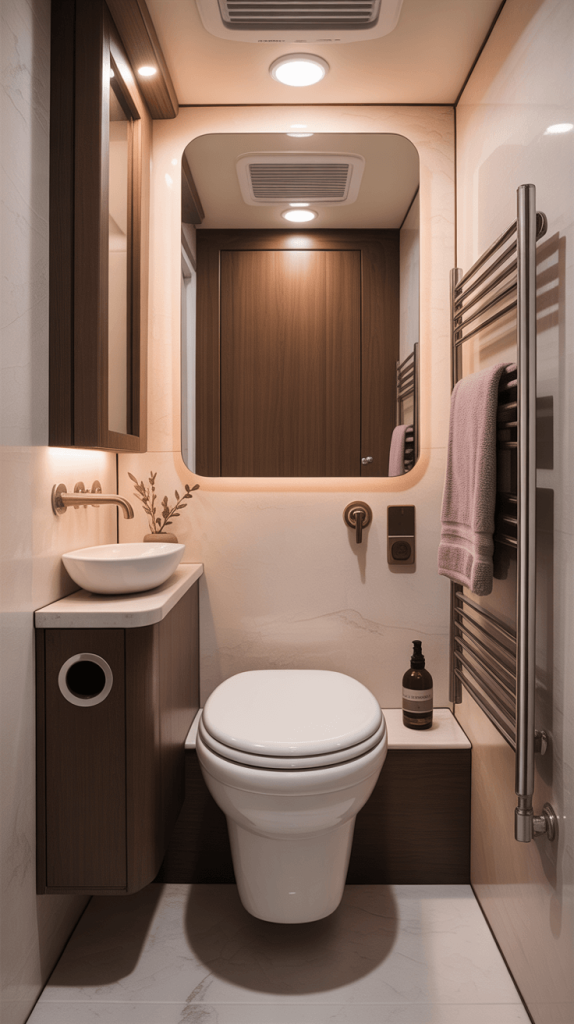
12. Use a Heated Towel Rack for Added Luxury

Okay, I can see you raising an eyebrow. A heated towel rack? In an RV? Is this article sponsored by the Kardashians? Stay with me. This is less about outrageous luxury and more about a small pleasure that has practical benefits.
First, it’s not the huge, radiator-style rack you’re imagining. They make small, plug-in or hardwired models that are the perfect size for one or two towels. Why is it brilliant?
- Comfort: Wrapping yourself in a warm, dry towel after a shower when it’s chilly outside is a feeling you have to experience to understand. It’s pure bliss.
- Function: It dries your towel quickly, preventing that damp, musty smell from developing in your small, humid bathroom. This is a huge win for freshness.
- Space Saving: It’s your towel rack and a heater in one, performing two functions without taking up more space.
It’s a splurge, for sure, but one that you will appreciate every single day.
13. Install a Skylight for Natural Light
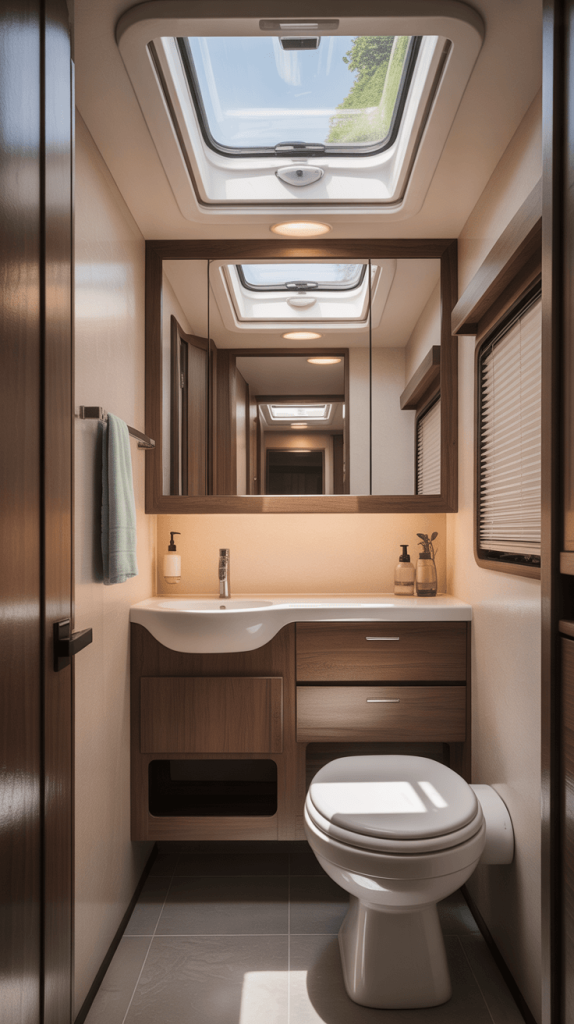
This is a bigger project, but if you’re doing a serious renovation, it deserves serious consideration. A skylight, especially a venting one, is a miracle worker for a small, interior bathroom.
- Light: It floods the room with gorgeous, free natural light from above, completely eliminating any dark, cave-like feeling.
- Ventilation: A venting skylight you can open creates incredible passive airflow, sucking steam and odors straight out of the room. This is the best way to prevent mildew and keep the air fresh.
Waking up and showering with natural light streaming in is a transformative experience that connects you to the outside world, even from your tiny bathroom.
14. Use Waterproof Wall Panels for Durability
Sheetrock and wallpaper have no business being in an RV bathroom. Humidity and movement are their kryptonite. Instead of tile (which can crack and is heavy and difficult to install), consider modern waterproof wall panels.
These panels, often made from PVC or acrylic, are a dream:
- 100% Waterproof: You can literally hose them down. Splashes from the sink and steam from the shower are no match for them.
- Lightweight: They add negligible weight to your rig.
- Easy to Install: Many systems use tongue-and-groove or glue-up installation, making them a very achievable DIY project.
- Great Looks: They come in an endless array of designs, from classic subway tile to realistic marble and everything in between.
You get the beautiful, durable look of tile without the weight, cost, or complexity.
15. Create a Spa-Like Atmosphere with Aromatherapy
Finally, let’s address the ambiance. A bathroom shouldn’t just look good; it should feel good and smell good. This is about engaging all the senses to create a relaxing retreat.
This doesn’t require any renovation, just a shift in mindset.
- Essential Oil Diffuser: A small, USB-rechargeable diffuser is perfect for an RV. Skip the synthetic air fresheners and fill the space with natural scents like eucalyptus (incredible in the shower), lavender for relaxing evenings, or citrus for a morning energy boost.
- High-Quality Hand Soap and Lotion: Ditch the harsh, chemical-smelling stuff. A beautiful soap dispenser filled with a lovely scented soap elevates the simple act of washing your hands into a small moment of self-care.
- Plush, Absorbent Towels: Invest in the best towels you can. They are the physical interface between you and your new spa-bathroom. It makes a difference.
Your bathroom should be a place that calms you and starts or ends your day on a positive note.
Your Dream RV Bathroom Awaits
Whew! That was a lot, but I hope it got your creative gears turning. Remodeling your RV bathroom isn’t about achieving perfection; it’s about making thoughtful changes that dramatically improve your daily life on the road.
You don’t have to do all fifteen ideas at once. Maybe you start with a new shower curtain and some LED lights. Then you add floating shelves. Then, down the line, you tackle the floor.
The goal is to create a space that works for you—one that is functional, safe, and actually brings you a little bit of joy.
Because let’s be honest, we spend enough time in there. It might as well be a place we enjoy.
So, which idea are you most excited to try? Honestly, just getting rid of that awful vinyl curtain is a solid first step. You’ve got this. Now go make that tiny bathroom fabulous