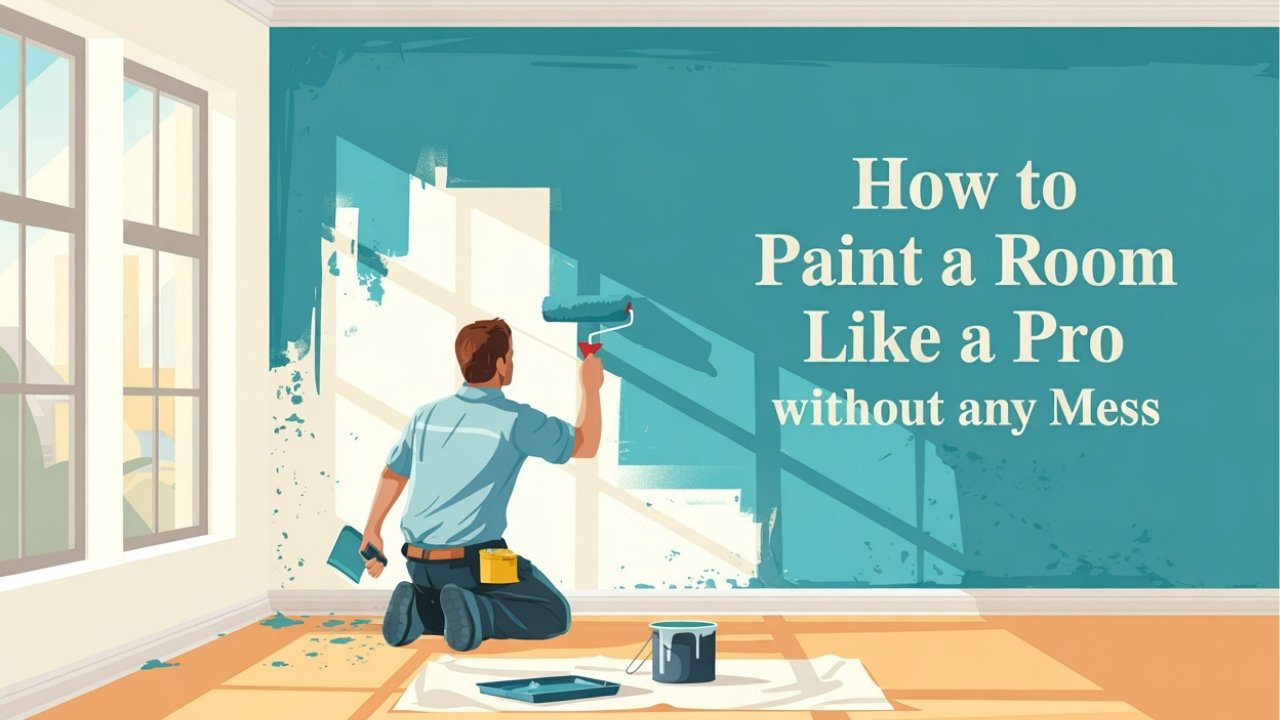
How to Paint a Room Like a Pro Without Any Mess
So you’re staring at those boring beige walls thinking “I could totally transform this space myself,” right? Good news – you absolutely can, and I’m here to walk you through exactly how to paint a room without making the rookie mistakes I made when I first started.
Trust me, after painting dozens of rooms (and learning from some spectacularly messy failures), I’ve got the insider tips that’ll save you time, money, and your sanity.
Why Paint Your Room Yourself?
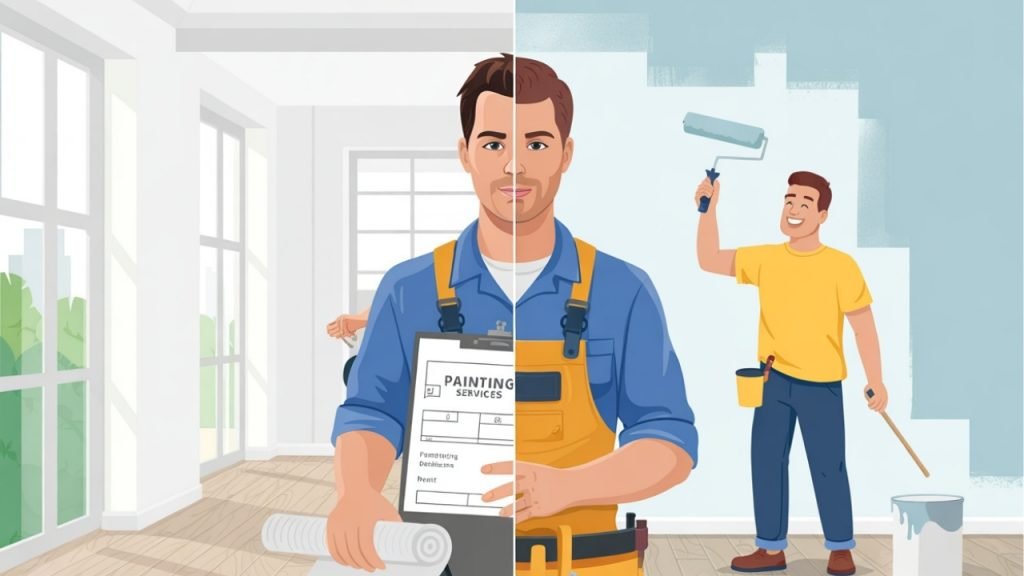
Look, I get it – hiring professionals sounds easier. But here’s the thing: painting your own room saves you hundreds of dollars and gives you complete control over the final result. Plus, there’s something seriously satisfying about stepping back and admiring walls you transformed yourself.
The average pro painter charges between $200-800 per room. Meanwhile, you can get professional-looking results for about $50-100 in supplies. That’s money you could spend on literally anything else – like that fancy coffee maker you’ve been eyeing.
And honestly? It’s not rocket science. If you can follow a recipe, you can paint a room.
Essential Supplies You Actually Need

The Must-Haves
Before we get our hands dirty, let’s talk supplies. Here’s what you absolutely need:
- Quality paint (1-2 gallons per room)
- Primer (especially for dark colors or stained walls)
- Roller and frame (9-inch works for most walls)
- Paint tray and liners
- 2-inch angled brush (your best friend for cutting in)
- Painter’s tape (the blue stuff, not masking tape)
- Drop cloths (plastic or canvas)
- Sandpaper (120-grit usually does the trick)
- Spackling compound (for those nail holes)
The Nice-to-Haves
These extras make life easier but won’t break the bank:
- Extension pole for your roller
- Paint can opener (screwdrivers work but why struggle?)
- Plastic wrap (keeps brushes fresh between coats)
- Step ladder (unless you’re 7 feet tall)
Choosing the Right Paint

Paint Types Explained
Ever stood in the paint aisle feeling completely overwhelmed? Yeah, me too. Here’s the breakdown that actually matters:
Flat/Matte finish works great for bedrooms and living rooms. It hides imperfections like a champ but doesn’t love being cleaned. I learned this the hard way when my toddler discovered crayons.
Eggshell finish gives you a subtle sheen and cleans up better than flat. This is my go-to for most rooms – it’s basically the goldilocks of paint finishes.
Satin finish reflects more light and handles moisture well. Perfect for kitchens and bathrooms where things get steamy.
Semi-gloss and gloss finishes are super durable and washable. Save these for trim, doors, and anywhere kids touch everything with sticky fingers.
Color Selection Tips
Picking colors feels like a huge commitment, doesn’t it? Here’s my foolproof approach:
Always test paint samples first. Paint a large swatch on your wall and live with it for a few days. Colors look completely different at various times of day – that “perfect gray” might look purple at night.
Consider your room’s natural light. North-facing rooms get cooler light, so warm colors help balance things out. South-facing rooms get tons of warm light, so you can go cooler if you want.
FYI, paint typically dries darker than it looks wet. Keep that in mind when you’re panicking during the first coat 🙂
Prepping Your Room (The Part Everyone Wants to Skip)

Clear the Space
I know prep work isn’t sexy, but skipping it is like baking a cake without preheating the oven. You’re setting yourself up for disappointment.
Move everything you can out of the room. Seriously, everything. That heavy dresser you think you can paint around? Move it. Future you will thank present you.
For furniture you absolutely can’t move, push it to the center and cover it completely with drop cloths. Secure the cloths with tape because paint has a magical ability to find any exposed surface.
Protect Your Floors
Lay drop cloths everywhere. Overlap them by at least 6 inches and tape the edges down. Canvas drop cloths are worth the investment – they don’t slip around like plastic ones, and you can reuse them forever.
Remove outlet covers and switch plates. Takes five minutes and makes such a cleaner finish. Put the screws in a baggie and tape it to the wall so you don’t lose them (learned that one the hard way).
Wall Prep That Actually Matters
Fixing Imperfections
Fill every hole and crack with spackling compound. Don’t just slap it on – use a putty knife to smooth it flush with the wall. Let it dry completely, then sand it smooth.
Those tiny nail holes might seem insignificant, but they’ll show through your fresh paint like beacons of laziness. Trust me on this one.
Cleaning Is Non-Negotiable
Wipe down your walls with a damp cloth or sponge. Kitchen walls especially need degreasing – use a mild detergent solution. Clean walls = paint that actually sticks.
Nobody talks about this, but dust and cobwebs are paint’s worst enemy. That perfect finish you’re after? It starts with clean walls.
To Sand or Not to Sand
If your walls are glossy, give them a light sanding with 120-grit sandpaper. You’re not trying to strip them – just roughing up the surface so the new paint has something to grip.
Wipe away all the dust afterward. Seriously, all of it. Use a tack cloth or slightly damp rag.
The Art of Taping
Taping Like a Pro
Here’s where most DIYers mess up – they think painter’s tape is foolproof. It’s not. But with these tricks, you’ll get those crisp lines everyone envies.
Press the tape edge down firmly using a putty knife or credit card. This seals the edge and prevents paint from bleeding underneath.
Remove tape while the paint is slightly wet for the cleanest lines. Wait too long and the paint might peel off with the tape. Ask me how I know this…
Strategic Taping
Focus your taping efforts on:
- Ceiling edges (unless you’re painting that too)
- Baseboards and trim
- Window and door frames
- Light fixtures and outlets
Pro tip: Run a thin bead of caulk along the tape edge for ultra-crisp lines. Smooth it with your finger, paint over it while wet, then remove the tape. Mind-blowing results, IMO.
Priming: Don’t Skip This Step
When You Absolutely Need Primer
I used to think primer was a scam by paint companies. Then I tried covering a red wall with light gray paint. Three coats later, I was still seeing pink shadows. Primer would have saved me hours.
You need primer when:
- Painting over dark colors
- Covering stains or water damage
- Painting raw drywall
- Switching from oil to latex paint
Applying Primer Right
Treat primer like paint – cut in the edges first, then roll the walls. One coat usually does it unless you’re covering something really dramatic.
Let it dry completely. The can says 1-2 hours, but I always give it at least 3. Better safe than doing this twice.
Painting Techniques That Actually Work
Cutting In: The Make-or-Break Skill
Cutting in is painting along edges where rollers can’t reach. This is where that angled brush earns its keep.
Load your brush about 1/3 of the way up the bristles. Too much paint = drips and mess. Too little = streaky coverage.
Start about an inch away from the edge, then push the paint line carefully to where you want it. The angled bristles help you get a straight line without tape (though tape definitely helps when you’re starting out).
Also Read: 15 Black Ceiling Bedroom Ideas That Are Anything But Basic
The Rolling Strategy
Loading Your Roller
Dip the roller in paint, then roll it on the tray’s ridged area until it’s evenly coated. The roller should be wet but not dripping. If paint is flying off when you roll, you’ve got too much.
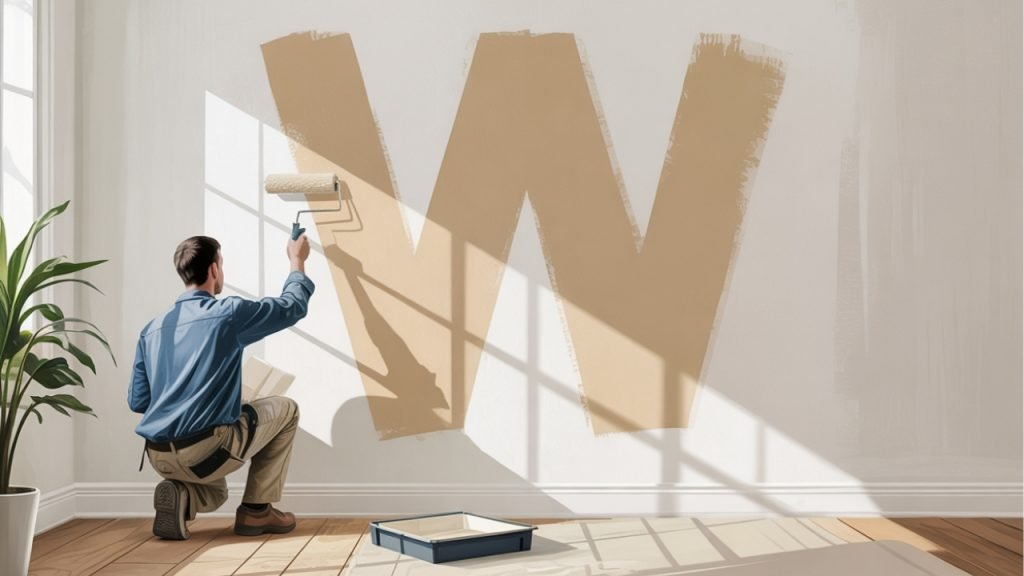
The W Pattern
Start by rolling a large W pattern on the wall, then fill it in without lifting the roller. This distributes paint evenly and avoids those annoying roller marks.
Work in 4-foot sections, maintaining a wet edge. This means slightly overlapping areas while they’re still wet to avoid lap marks.
Pressure Matters
Use moderate, consistent pressure. Pressing too hard squeezes out too much paint and creates edges. Too light and you get uneven coverage.
Keep the roller moving at a steady pace. Those stop-and-start marks? They happen when you pause mid-wall.
First Coat Application
The Reality Check
Your first coat will look terrible. I mean it – absolutely terrible. Streaky, patchy, and nothing like the paint chip. Don’t panic.
This is completely normal. Paint needs multiple coats to achieve full coverage and true color. Even “one-coat” paints usually need two (biggest marketing lie ever).
Timing Between Coats
Follow the recoat time on the can, usually 2-4 hours. Painting over paint that’s not fully dry causes all sorts of problems – pulling, streaking, and uneven texture.
I like to do the first coat in the morning, grab lunch, then come back for coat two. Perfect timing and you get a sandwich out of it.
Second Coat and Beyond
Evaluating Coverage
After the first coat dries completely, assess your coverage in different lights. Use a flashlight at an angle to spot thin areas – they’ll look slightly different.
Most colors need two coats for full coverage. Dark colors and reds might need three. Don’t try to compensate with one super-thick coat – multiple thin coats look infinitely better.
The Final coat
Take your time with the final coat. This is what you’ll be looking at every day. Keep your technique consistent and maintain that wet edge.
Watch for drips, especially around windows and doors where paint tends to accumulate. Catch them while wet with a nearly dry brush.
Clean Lines and Touch-Ups
Removing Tape
The moment of truth! Pull tape at a 45-degree angle while the paint is still slightly tacky. Go slow – rushing risks pulling paint off with the tape.
If you waited too long and the paint dried, score along the tape edge with a razor blade before removing. This prevents chunks of paint from coming off.
Fixing Bleeds
Despite your best efforts, you might get some bleeding under the tape. Don’t stress – grab a small artist’s brush and carefully touch up the lines.
Keep a damp cloth handy to immediately wipe away any mistakes. Wet paint is forgiving; dry paint is permanent.
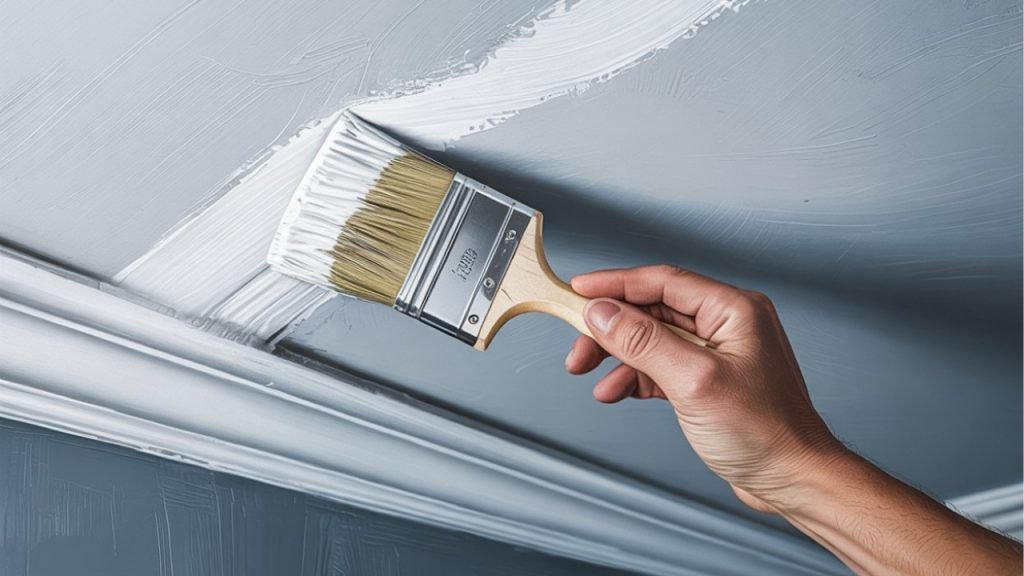
Trim and Detail Work
Painting Trim
Trim makes or breaks a room’s appearance. Fresh white trim makes any wall color pop.
Use a high-quality angled brush – this isn’t the place to cheap out. Load the brush carefully and use long, smooth strokes.
If you’re painting both walls and trim, do trim first. It’s easier to cut wall paint to trim than vice versa.
Door and Window Frames
Remove hardware when possible – it’s so much easier than painting around it. Bag and label everything so reassembly isn’t a puzzle.
Paint doors in this order: panels first, then horizontal rails, then vertical stiles. This prevents visible brush marks and drips.
Common Mistakes and How to Avoid Them
The Rookie Errors
Cheap supplies seem like savings until you’re on your fourth coat and the walls still look patchy. Quality paint covers better and lasts longer.
Rushing the prep always backfires. Every shortcut during prep adds time during painting or shows in the final result.
Overloading the brush or roller causes drips, splatters, and uneven coverage. Less is more – you can always add another coat.
The Sneaky Problems
Temperature matters more than you’d think. Paint in temperatures between 50-85°F for best results. Too cold and paint won’t cure properly. Too hot and it dries too fast to level out.
Humidity affects drying time. High humidity = longer drying. Plan accordingly or you’ll be waiting forever between coats.
Not stirring paint thoroughly leaves you with color variations. Stir it well, especially if it’s been sitting for a while.
Textured Walls and Special Situations
Dealing with Texture
Textured walls eat up more paint – plan on 20-30% extra. They also need different techniques.
Use a thicker nap roller (3/4 inch or more) to get paint into all the crevices. Work in smaller sections since texture holds less paint.
Don’t try to smooth textured walls with paint – you’ll just make a mess. Embrace the texture or skim coat if you really want smooth.
Painting Over Wallpaper
Can you paint over wallpaper? Technically yes. Should you? Usually no.
If you must, prime with an oil-based primer first to prevent the wallpaper from bubbling. But honestly? Removing it gives better results 99% of the time.
The Finishing Touches
Reinstalling Everything
Wait at least 24 hours before hanging anything on freshly painted walls. Paint might feel dry but it’s still curing underneath.
Clean outlet covers and switch plates before reinstalling. Amazing how dingy they look against fresh paint.
Touch up any scuffs from moving furniture back in. Keep leftover paint for future touch-ups – label it with the room and date.
Cleanup Tips
Clean brushes and rollers immediately – dried paint is nearly impossible to remove completely. Warm soapy water for latex paint, mineral spirits for oil-based.
Store leftover paint properly. Transfer it to smaller containers to minimize air exposure. Label everything clearly – future you will appreciate it.
Save paint chips or write down color names and numbers. You’ll need this info for touch-ups or if you want to paint adjacent rooms.
Advanced Techniques for Next Level Results
Creating Accent Walls
Accent walls add drama without overwhelming a space. Choose the wall that naturally draws attention – usually the one you see first when entering.
Bold colors work best on accent walls. That navy blue you love but seems too intense for four walls? Perfect for an accent.
Use the same taping and cutting-in techniques, but be extra careful where the accent meets other walls. These transitions are super visible.
Two-Tone Walls
Horizontal color blocking makes ceilings look higher. Measure carefully and use a level to mark your line – eyeballing it never works.
Apply tape along your level line, seal it with caulk or the base color, then paint your second color. Remove tape immediately for the crispest line.
Cost Breakdown and Time Investment
Real Numbers
Let’s talk actual costs for an average 12×12 room:
- Paint: $30-50 per gallon (1-2 gallons needed)
- Primer: $15-25 per gallon
- Supplies: $30-50 for basics
- Total: $75-150
Compare that to professional quotes of $400-800. The math is pretty clear.
Time Reality Check
Budget realistic time for your project:
- Prep work: 2-3 hours
- Priming: 1 hour plus drying
- First coat: 2 hours plus drying
- Second coat: 2 hours plus drying
- Cleanup: 1 hour
- Total active time: 8-10 hours over 2 days
Don’t try to cram it into one day. Good results take time.
Maintaining Your Paint Job
Long-Term Care
Quality paint lasts 5-10 years with proper care. Touch up scuffs and marks promptly before they become bigger issues.
Clean walls gently with mild soap and water. Avoid harsh chemicals that can damage the finish.
Keep humidity controlled – excessive moisture causes paint to peel and bubble. Use exhaust fans in bathrooms and kitchens.
When to Repaint
You know it’s time when:
- Paint is visibly fading or discolored
- Multiple touch-ups create a patchy appearance
- You’re just sick of the color (totally valid reason)
Final Thoughts
Look, painting a room isn’t complicated, but doing it well takes patience and attention to detail. Every room I’ve painted taught me something new, usually through mistakes I won’t make again.
The satisfaction of transforming a space with your own hands? Totally worth the effort. Plus, once you nail the technique, friends will definitely recruit you to help with their projects (consider yourself warned).
Start with a small room like a bathroom or bedroom to build confidence. Follow these steps, don’t rush the prep, and remember – even pros sometimes need three coats. You’ve got this, and your walls will thank you for taking the DIY route.
Ready to transform those boring walls? Grab your supplies, queue up your favorite playlist, and show those walls who’s boss. The hardest part is just getting started – everything else is just paint on walls.