15 Fun DIY Room Decor Ideas and Cozy Bedroom Tips
Remember that time you scrolled through Pinterest for three hours straight, saving room decor ideas you’d never actually make? Yeah, me too.
But here’s the thing – I actually tried making some of these DIY projects, and guess what? They’re not all impossible!
I’ve spent the last year turning my boring apartment into something that actually feels like home, and these 15 DIY room decor ideas genuinely work.
No art degree required, no trust fund needed, and definitely no need to sacrifice your entire weekend (well, maybe just Saturday afternoon).
So grab your glue gun and that dusty craft box from your closet. We’re about to make your space Instagram-worthy without spending your rent money.
Floating Shelf Wall Display
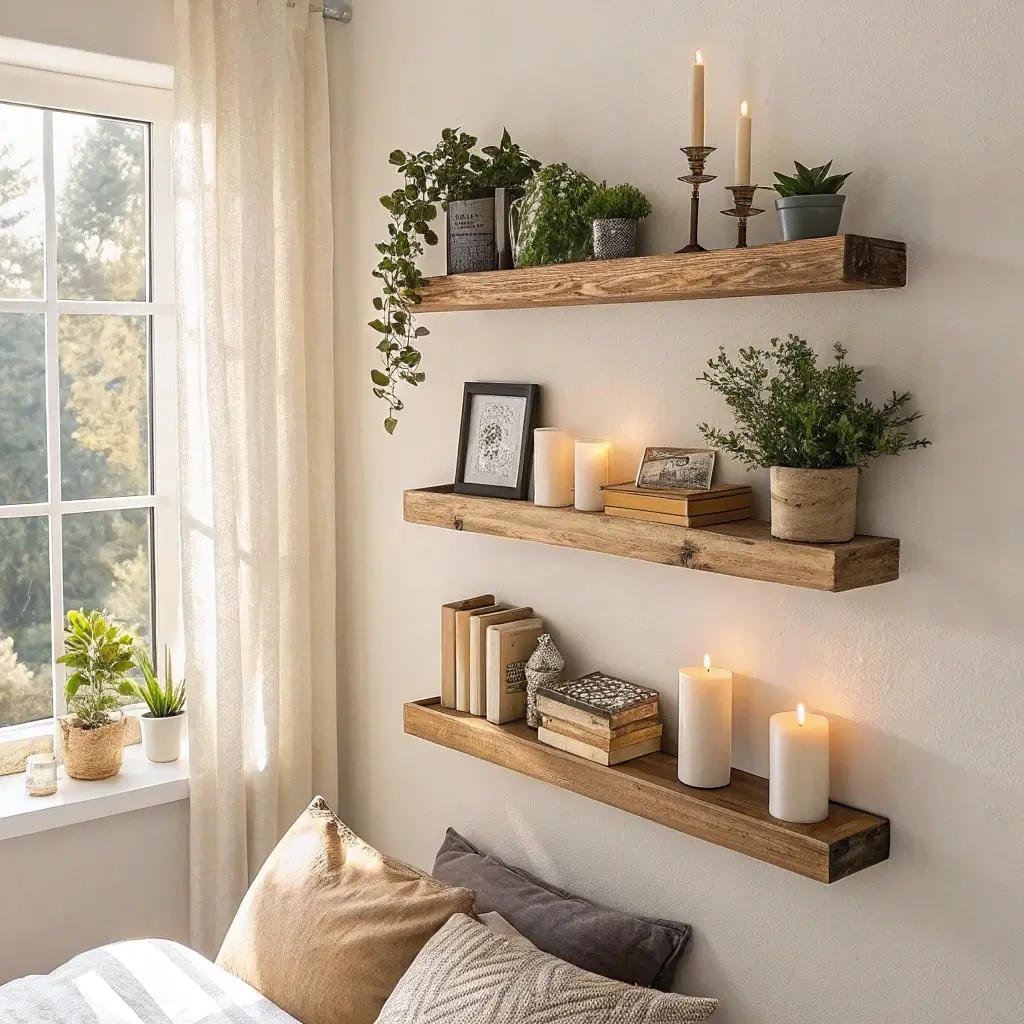
Let me tell you, floating shelves changed my life. Okay, maybe that’s dramatic, but they definitely changed my living room. These babies create the illusion of more space while giving you somewhere to actually put your stuff.
Getting Started with Floating Shelves
First things first – you need to find your wall studs. I learned this the hard way when my first shelf came crashing down at 2 AM (RIP succulent collection). A stud finder costs about $20 and saves you from disaster. Trust me on this one.
The materials you’ll need:
- Wood boards (I prefer pine or oak)
- Floating shelf brackets
- Wall anchors and screws
- Level (seriously, don’t eyeball it)
- Sandpaper
- Wood stain or paint
Styling Your Shelves Like a Pro
Here’s where people mess up – they treat floating shelves like a dumping ground. You want to create visual interest without making it look cluttered. I follow the rule of three: group items in odd numbers, vary the heights, and mix textures.
My go-to combination? Books standing vertically, a small plant, and something personal like a framed photo or quirky figurine. Boom – instant personality without the chaos.
Macrame Wall Hangings
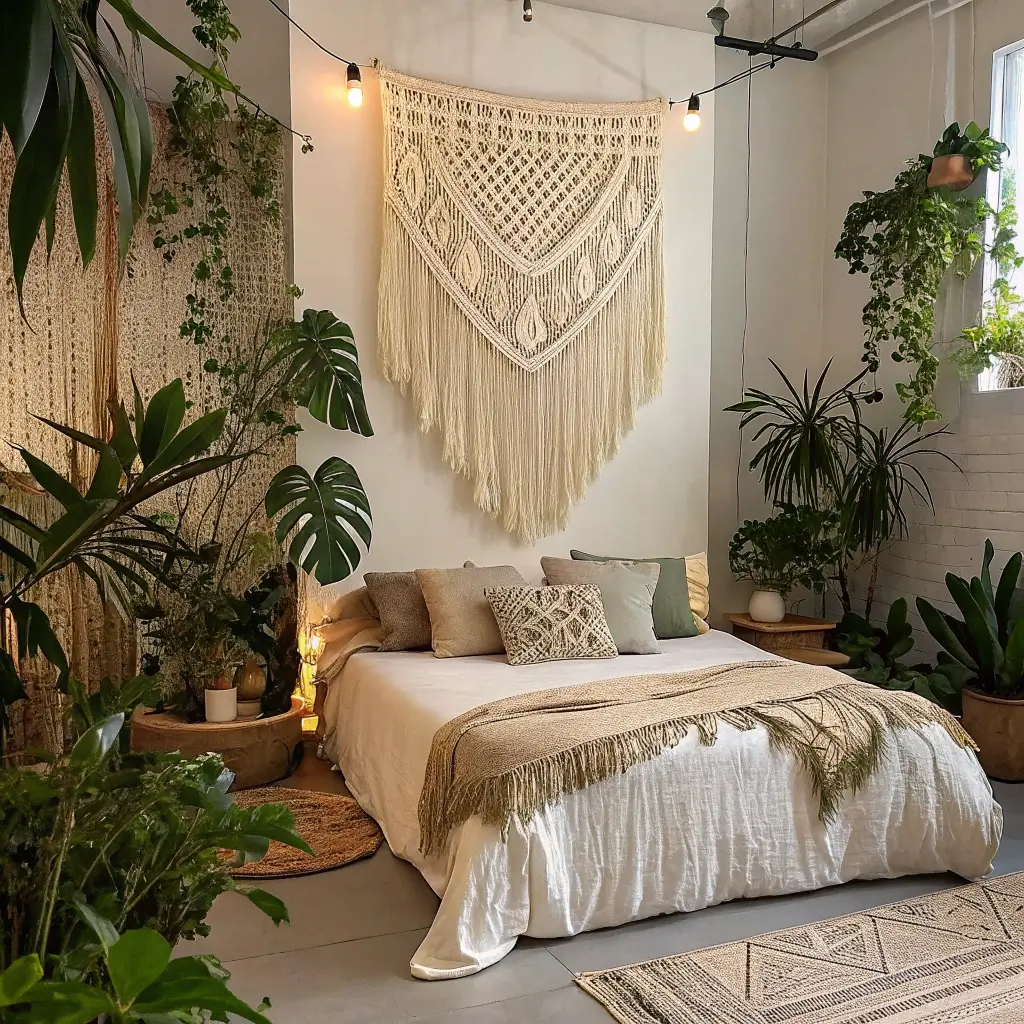
Remember when your grandma’s macrame plant holders were everywhere in the ’70s? Well, they’re back, and honestly, they’re pretty awesome. Making macrame wall hangings sounds intimidating, but once you master three basic knots, you’re golden.
The Knots You Actually Need
Forget those complicated tutorials with 47 different knots. You only need:
- Square knot (the bread and butter)
- Half hitch (for those diagonal patterns)
- Gathering knot (to finish things off)
I spent one Netflix binge session practicing these knots with cheap rope from the dollar store. By episode three, I had it down. By season finale? I’d made my first wall hanging.
Choosing Your Materials
Cotton cord works best for beginners – it’s forgiving and doesn’t unravel like crazy. Start with 3mm or 4mm thickness. Anything thinner makes you want to throw it out the window (speaking from experience).
Pro tip: Buy twice as much cord as you think you need. Nothing kills your crafting vibe faster than running out of materials halfway through.
DIY String Light Canopy
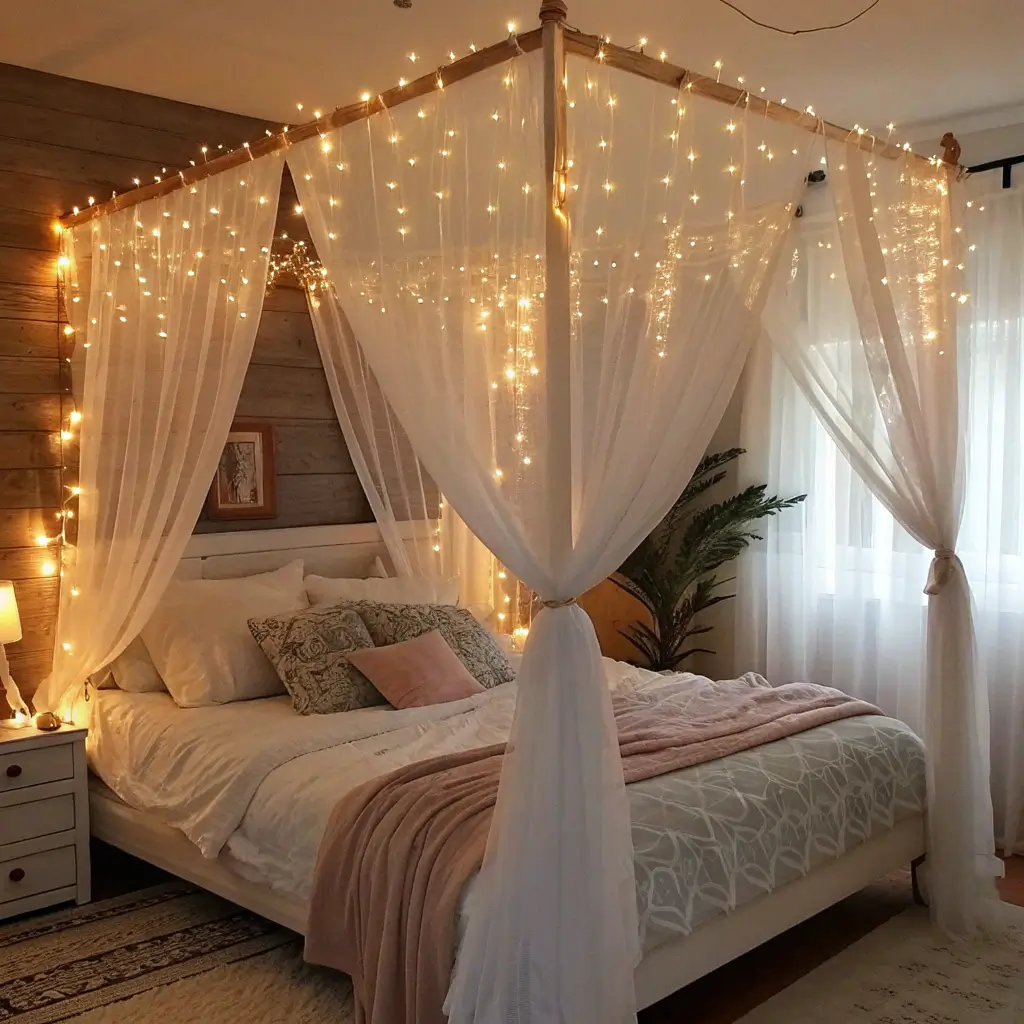
Want to feel like you’re sleeping under the stars without the mosquitos? A string light canopy delivers that dreamy vibe everyone’s after. Plus, it’s basically foolproof – if you can hang Christmas lights, you can do this.
Setting Up Your Light Haven
The secret sauce? Ceiling hooks and fishing line. Forget those complicated mounting systems. I use clear Command hooks (the bigger ones that hold 5 pounds) arranged in a square or rectangle above my bed.
String the fishing line between hooks to create your canopy frame. Then drape your lights over the fishing line in whatever pattern makes you happy. Zigzag? Sure. Random chaos? Why not. There’s no wrong way here.
Picking the Right Lights
Skip the multicolored party lights unless you want your room looking like a permanent disco. Warm white LEDs create that cozy atmosphere without the heat of traditional bulbs. I learned that lesson after nearly melting my ceiling with old-school string lights. Not my brightest moment (pun intended).
Battery-operated options work great if you’re renting and can’t deal with extension cords everywhere. Just remember to buy lights with a timer function – nobody wants to climb up there every night to turn them off.
Also Read: 15 Unique Security Door Design Ideas You’ll Love Today
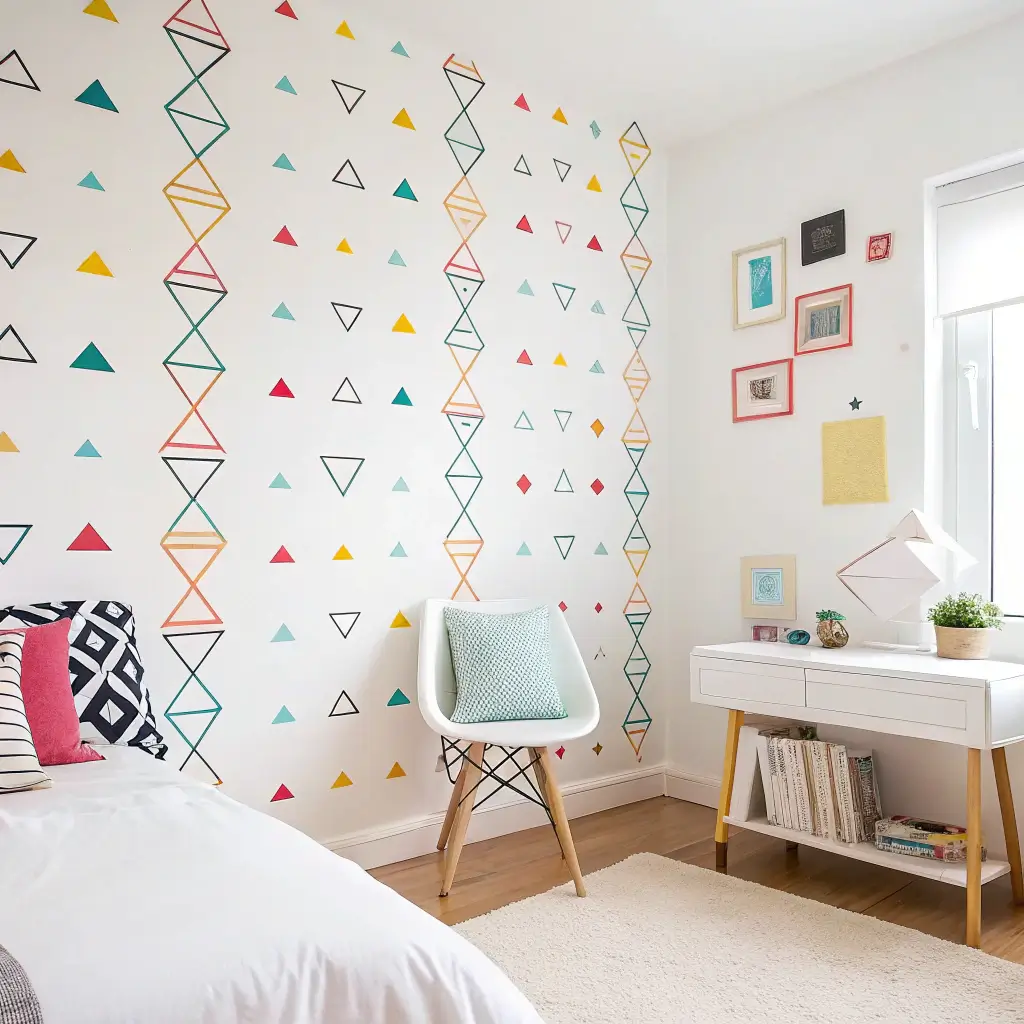
Painted Geometric Accent Wall
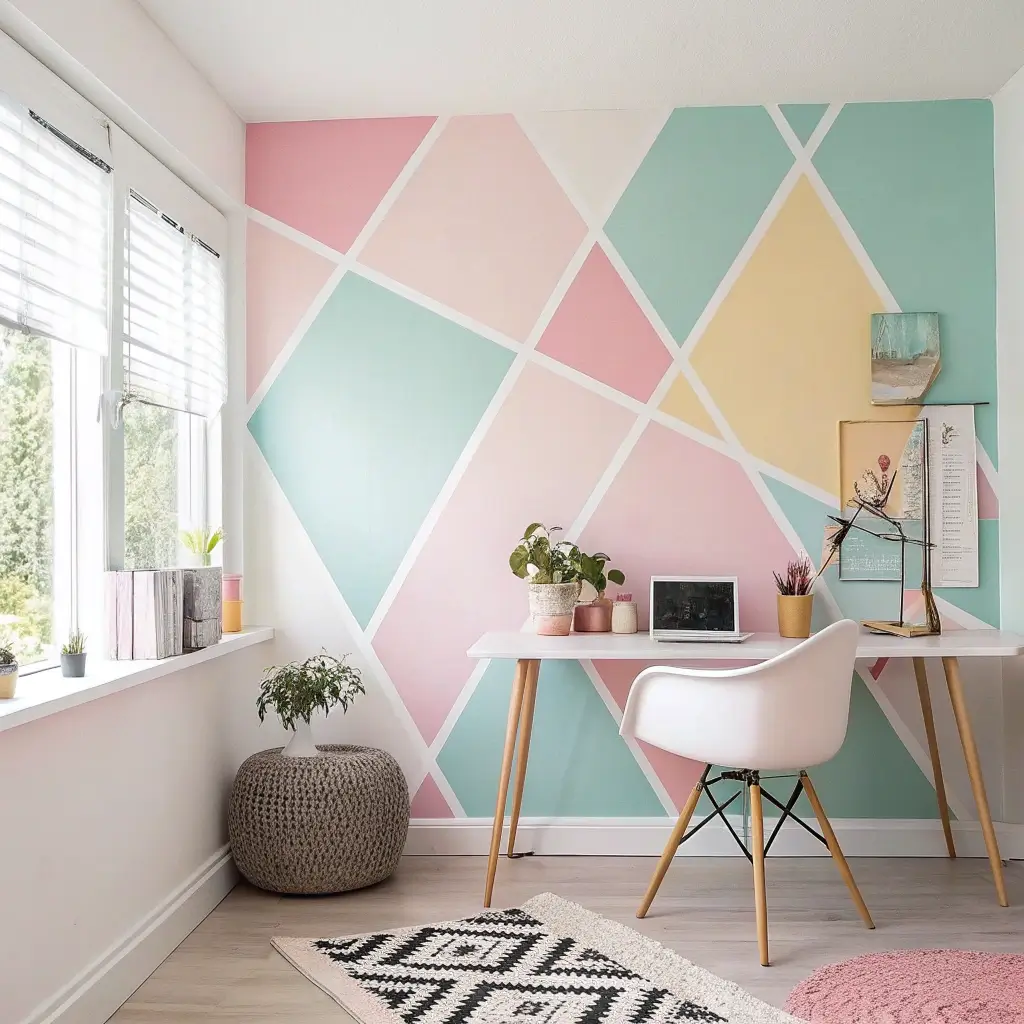
Here’s where we separate the weekend warriors from the “I’ll just hire someone” crowd. A geometric accent wall looks incredibly professional but costs about $30 in supplies. The catch? You need patience and painter’s tape. Lots of painter’s tape.
Planning Your Pattern
Don’t just wing it. I tried that once and ended up with triangles that looked more like abstract art gone wrong. Sketch your design on paper first, then scale it up using measurements.
Popular patterns that actually work:
- Triangles (start with equilateral ones)
- Hexagons (use a template)
- Chevron stripes (classic for a reason)
- Diamond shapes (easier than they look)
The Tape Game
This is where people usually rage quit. The trick? Press down your tape edges with a credit card to prevent bleeding. Also, remove the tape while the paint’s still slightly wet – waiting until it’s completely dry means you’ll peel off chunks of paint with it.
FYI, FrogTape works better than regular painter’s tape for crisp lines. Yeah, it costs more, but would you rather spend an extra $5 or three hours touching up bleeding edges?
Upcycled Furniture Makeover
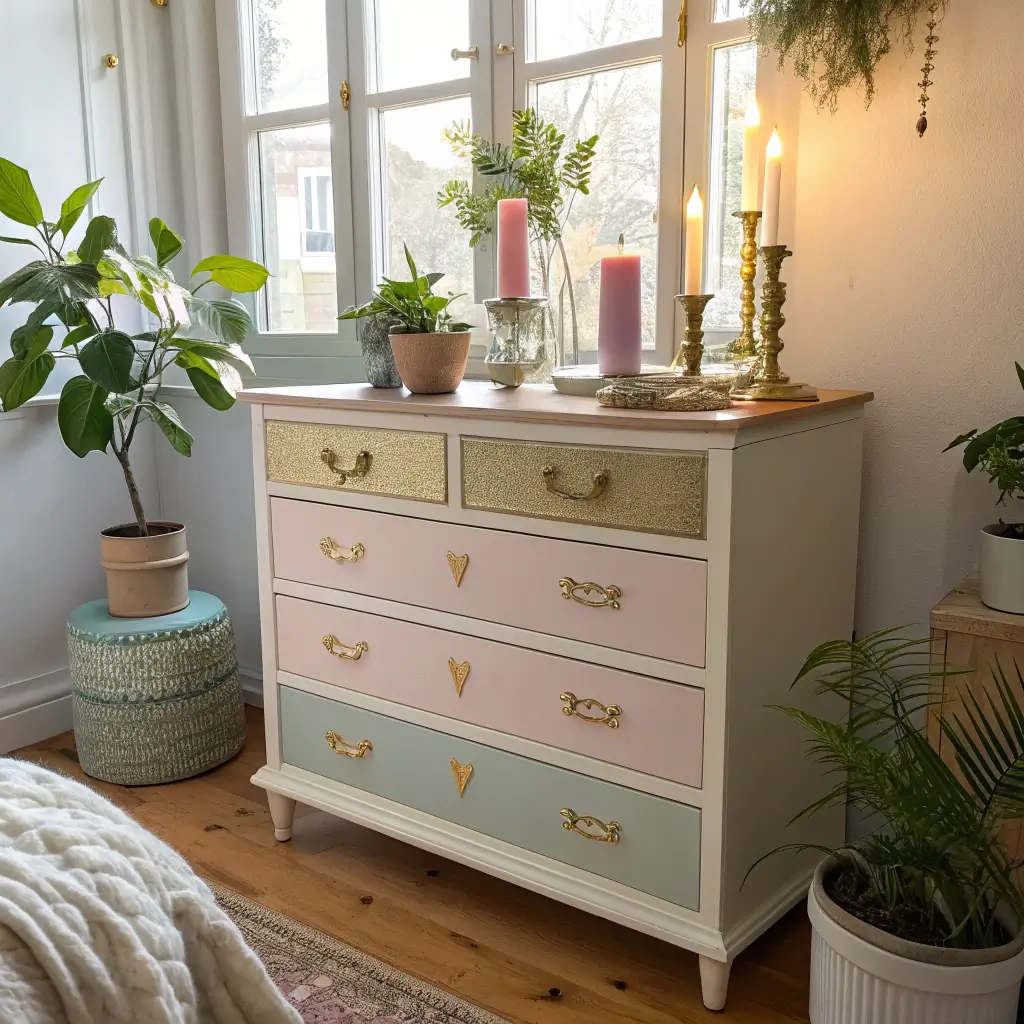
That dresser on Facebook Marketplace for $20? It’s about to become your new favorite piece. Upcycling furniture hits different when you realize you just saved $200 and got exactly what you wanted.
Prep Work Makes Perfect
Sand everything. I know it’s boring. I know you want to skip it. Don’t. Proper sanding makes the difference between paint that chips off in a week and paint that lasts years.
Start with 120-grit sandpaper to remove the old finish, then smooth it out with 220-grit. Your arms will hurt, but your furniture will look professionally done.
Paint Selection Matters
Chalk paint’s trendy, but let me save you some disappointment – it needs to be sealed, or it’ll chip faster than nail polish. I prefer furniture-specific paint like Benjamin Moore Advance. It self-levels (meaning no brush strokes) and doesn’t need a topcoat.
Want that vintage look? After your base coat dries, lightly sand the edges and high-touch areas. It’s called distressing, and it hides future dings like magic.
Handmade Decorative Pillows
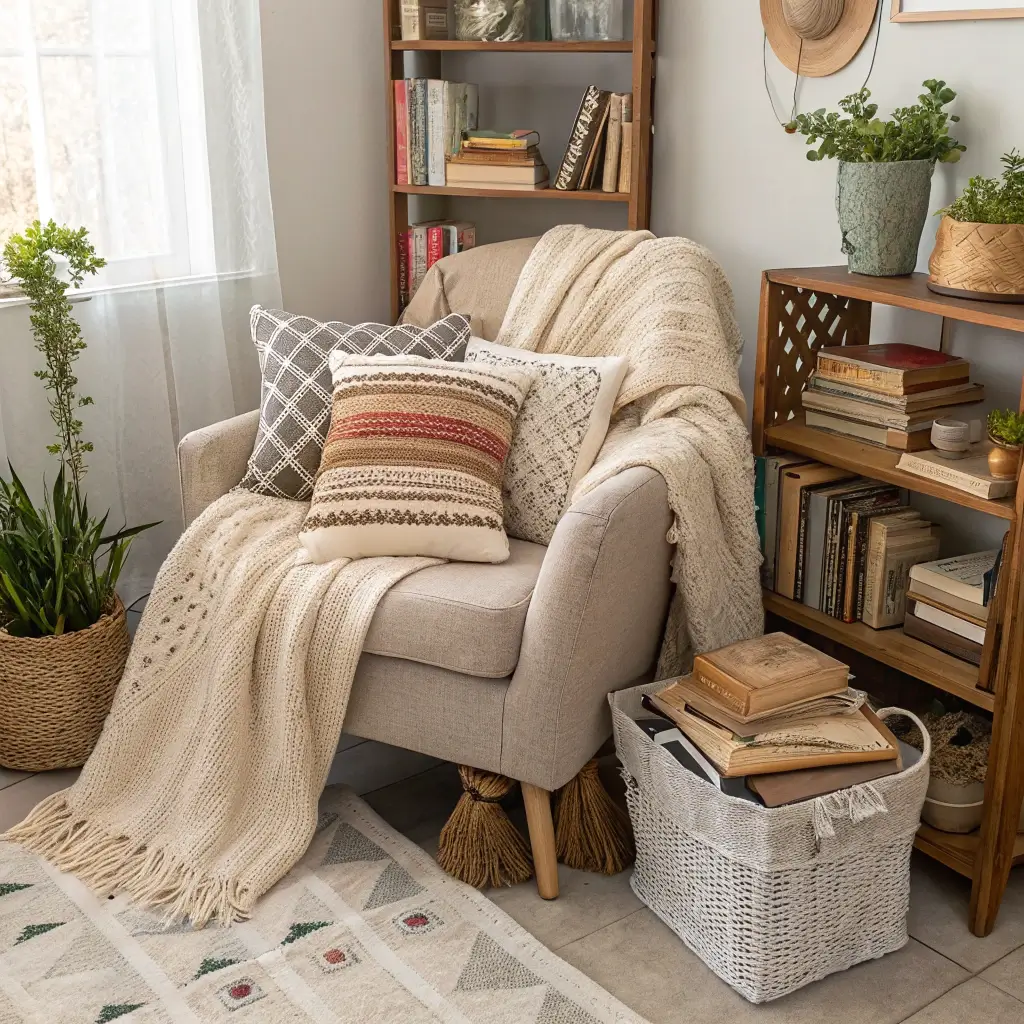
Store-bought throw pillows cost HOW much? $40 for a square of fabric? Nah. Making your own takes about 30 minutes and costs maybe $10. Even if you can barely thread a needle, you can pull this off.
No-Sew Options That Don’t Suck
Can’t sew? No problem. Fabric glue and iron-on hem tape work miracles. I made three pillows using nothing but fabric glue and determination. They’ve survived two years of couch fort construction and aggressive napping.
The envelope closure method means no zippers, no buttons, just overlapping fabric on the back. YouTube it – your mind will be blown by how simple it is.
Fabric Selection for Impact
Mix textures to make things interesting. Velvet + linen + a patterned cotton creates depth without trying too hard. Buy fabric remnants from craft stores – they’re usually 50% off and perfect for pillow-sized projects.
Personal favorite combo? Neutral base pillows with one bold pattern. It’s like wearing a statement necklace – one focal point, not a competition.
Also Read: 15 Stunning Bathroom Door Design Ideas to Transform Your Space
Mason Jar Storage and Decor
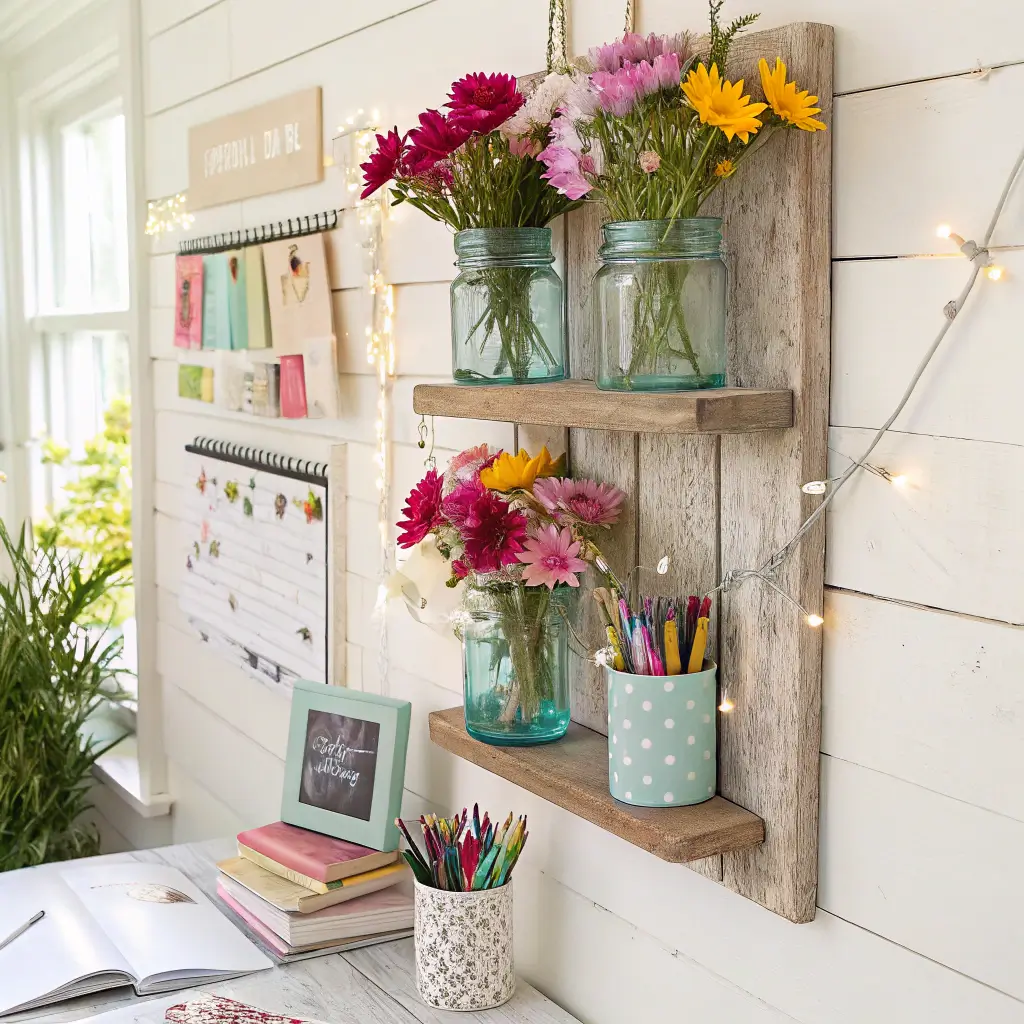
Mason jars might be basic, but they’re basic for a reason – they work for literally everything. I’ve got them holding makeup brushes, pencils, fairy lights, and yes, even actual food sometimes.
Beyond Basic Storage
Transform those jars from farmhouse cliché to actually cool:
- Spray paint the lids metallic colors
- Add leather or rope wrapping around the middle
- Etch designs using etching cream (easier than it sounds)
- Create hanging lanterns with wire and tea lights
Organization That Makes Sense
Mount jar lids under shelves or cabinets to create hidden storage. Screw the lid in place, then twist the jar on when needed. Instant under-shelf storage that looks intentional, not cluttered.
I use this in my bathroom for cotton balls and Q-tips. Frees up counter space and honestly looks pretty sophisticated for something made from spaghetti sauce jars.
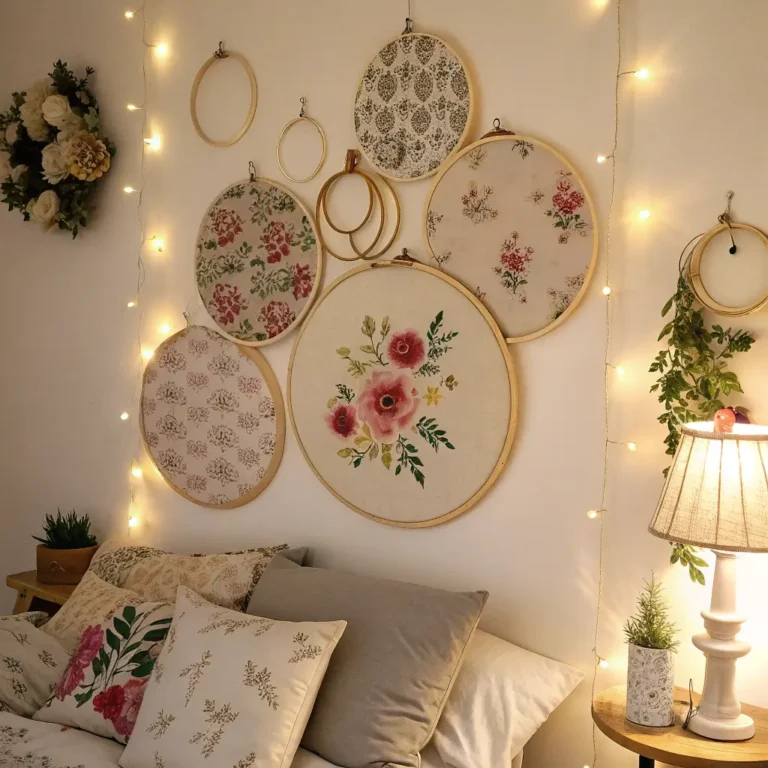
Boho Dreamcatcher Wall Art
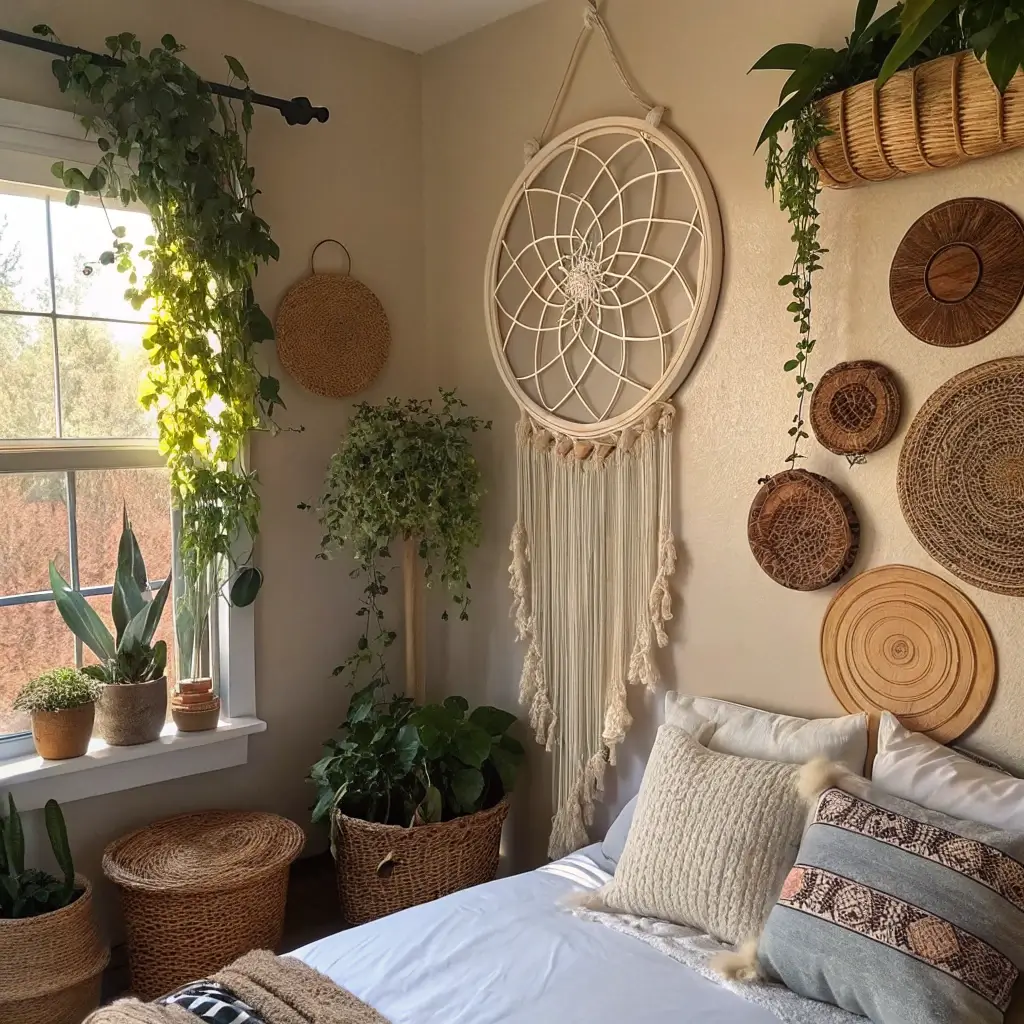
Dreamcatchers walked so macrame walls could run. But seriously, making your own dreamcatcher lets you customize size, colors, and materials to actually match your room instead of settling for whatever Target has this week.
Starting Your Web
The hardest part? Getting the web started. Once you establish the pattern, it’s literally just wrapping thread in circles. Use embroidery floss for thin, delicate webs or yarn for chunkier, more modern looks.
Traditional dreamcatchers use willow hoops, but embroidery hoops work perfectly and come in every size imaginable. Plus, they’re already perfect circles – no wrestling with branches required.
Modern Twists on Tradition
Who says dreamcatchers need feathers? I’ve made them with:
- Dried flowers
- Geometric metal pieces
- Tassels made from t-shirt yarn
- LED string lights woven through the web
- Pressed leaves and botanical elements
The key? Keep the color palette cohesive. Three colors max, or it starts looking like a craft store exploded on your wall.
Photo Collage Memory Wall
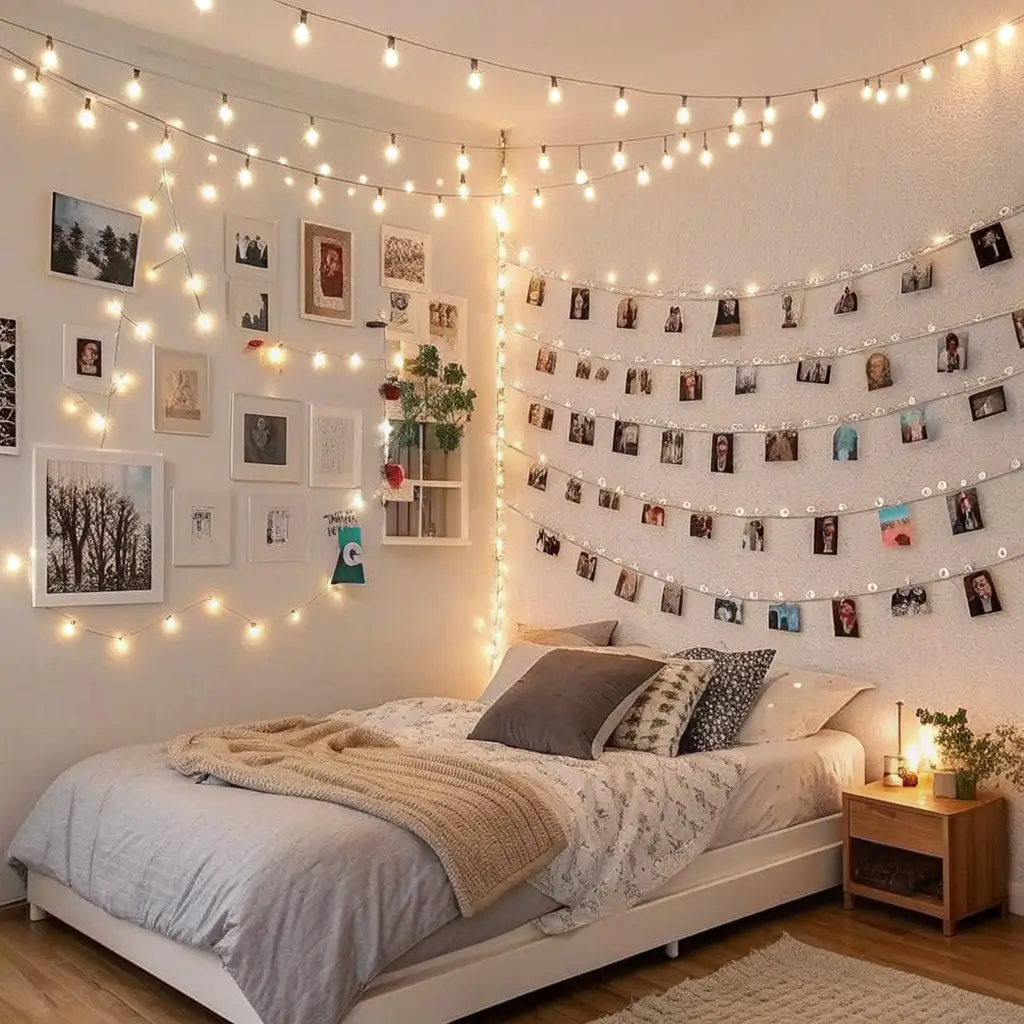
Instagram’s great and all, but there’s something about physical photos on your wall that hits different. Creating a photo collage that doesn’t look like a teenager’s locker requires some strategy though.
Layout Without Commitment
Before hammering a single nail, arrange your photos on the floor in your desired pattern. Take a picture of the layout with your phone. Trust me, you’ll forget the arrangement the second you pick them up.
Use painter’s tape to mark where each photo goes on the wall. This saves you from the “measure twice, hang seven times” nightmare I went through in my first apartment.
Mixing Sizes and Frames
Same-sized photos in identical frames? Boring. Mix it up with:
- Various frame sizes (keep the color consistent though)
- Some photos without frames (washi tape them directly to the wall)
- Add in ticket stubs, postcards, or pressed flowers
- Include a few small mirrors to break up the photos
The golden rule: Keep at least 2-3 inches between frames. Any closer and it looks cramped; any further and it stops feeling like a cohesive collection.
Also Read: 15 Gorgeous Single Door Design Ideas You’ll Love Instantly
DIY Terrarium Centerpieces
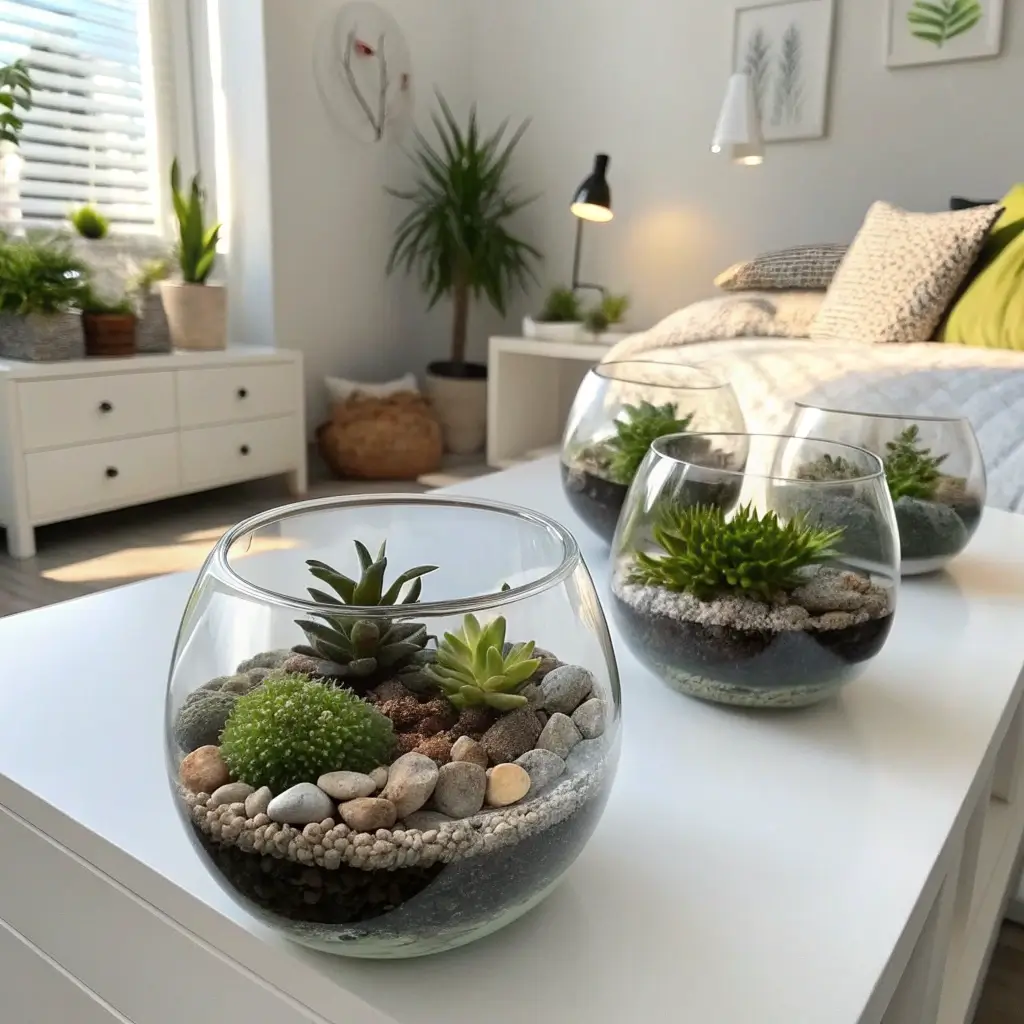
Terrariums give you all the plant parent vibes without the commitment of keeping something alive. Okay, you still need to water them occasionally, but we’re talking once a month, not daily anxiety about dying plants.
Building Your Mini Ecosystem
Layer like you’re making the world’s slowest parfait:
- Drainage rocks (aquarium gravel works)
- Activated charcoal (keeps things fresh)
- Potting soil (specifically for succulents)
- Your plants (succulents are forgiving)
- Decorative elements (tiny figurines, crystals, whatever sparks joy)
Container Creativity
Sure, you can buy those geometric glass terrariums everyone has. Or you can use:
- Old fishbowls
- Large wine glasses
- Vintage teacups
- Light bulbs (trickier but so cool)
- Clear Christmas ornaments
I made one in an old coffee pot I found at Goodwill. Cost me $3, looks like it came from West Elm. That’s what we call winning.
Washi Tape Wall Patterns
Washi tape might be the best invention for renters ever. Want an accent wall but can’t paint? Washi tape. Want to frame areas without nails? Washi tape. Accidentally put a hole in the wall? Okay, that one needs spackle, but washi tape can decorate around it 🙂
Pattern Possibilities
Start simple with stripes or a border around windows and doors. Once you get confident, try:
- Geometric mountains (triangles are your friend)
- Faux wallpaper effect with repeating patterns
- City skyline silhouettes
- Abstract designs (no rules, just vibes)
Application Tips That Actually Help
Unroll and loosely position your tape before pressing down. This lets you adjust for crooked lines (because walls are never as straight as you think). Use a ruler or credit card edge to ensure clean adhesion.
Also, buy more tape than you think you need. Running out mid-pattern is devastating, and matching colors later? Good luck with that.
Personalized Name Wall Sign
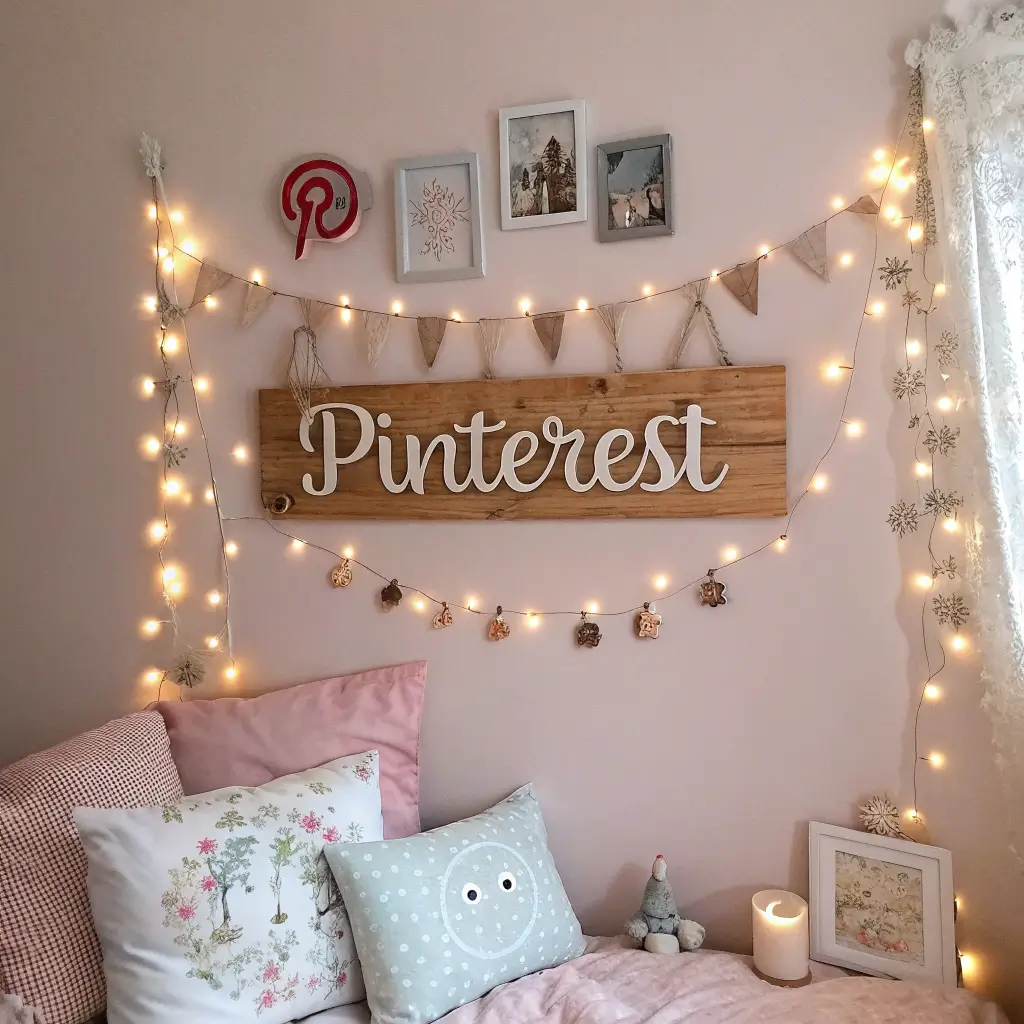
Nothing says “this is MY space” like literally putting your name on the wall. But those custom signs on Etsy cost a fortune. Making your own? Way cheaper and way more meaningful.
Materials That Work
Cardboard letters from craft stores are your budget-friendly base. Paint them, wrap them in yarn, cover them in fake flowers – whatever matches your vibe. I covered mine in book pages from a damaged dictionary I got for free from the library.
For a more permanent option, wood letters let you stain, burn, or paint designs that’ll last longer than your lease.
Installation Without Destruction
Command strips save the day again. For heavier wood letters, use picture hanging strips rated for the weight. Arrange letters on the floor first (sensing a pattern here?) to get spacing right.
Want floating letters? Attach small spacers to the back before mounting. Creates shadows that make everything look more professional and less “stuck on the wall.”
Recycled Bottle Planters

Those wine bottles aren’t just for recycling anymore. Turn them into hanging planters that make you look like you have your life together (even if you definitely don’t).
Cutting Glass (Without Losing Fingers)
The string-and-fire method actually works, IMO. Wrap cotton string soaked in acetone around where you want to cut, light it on fire, then immediately dunk in ice water. The temperature shock creates a clean break. Wear safety glasses – I cannot stress this enough.
Sand the edges smooth with wet sandpaper. Sharp glass edges and plants don’t mix well with late-night watering sessions.
Hanging Systems That Hold
Macrame hangers work great for bottle planters. Or try:
- Leather cord wrapped multiple times
- Chain from the hardware store (industrial vibes)
- Copper wire shaped into artistic holders
- Repurposed belt straps
Make sure whatever system you use can handle the weight of soil plus water. Physics doesn’t care how cute your planter looks.
Fabric Wall Panels for Texture
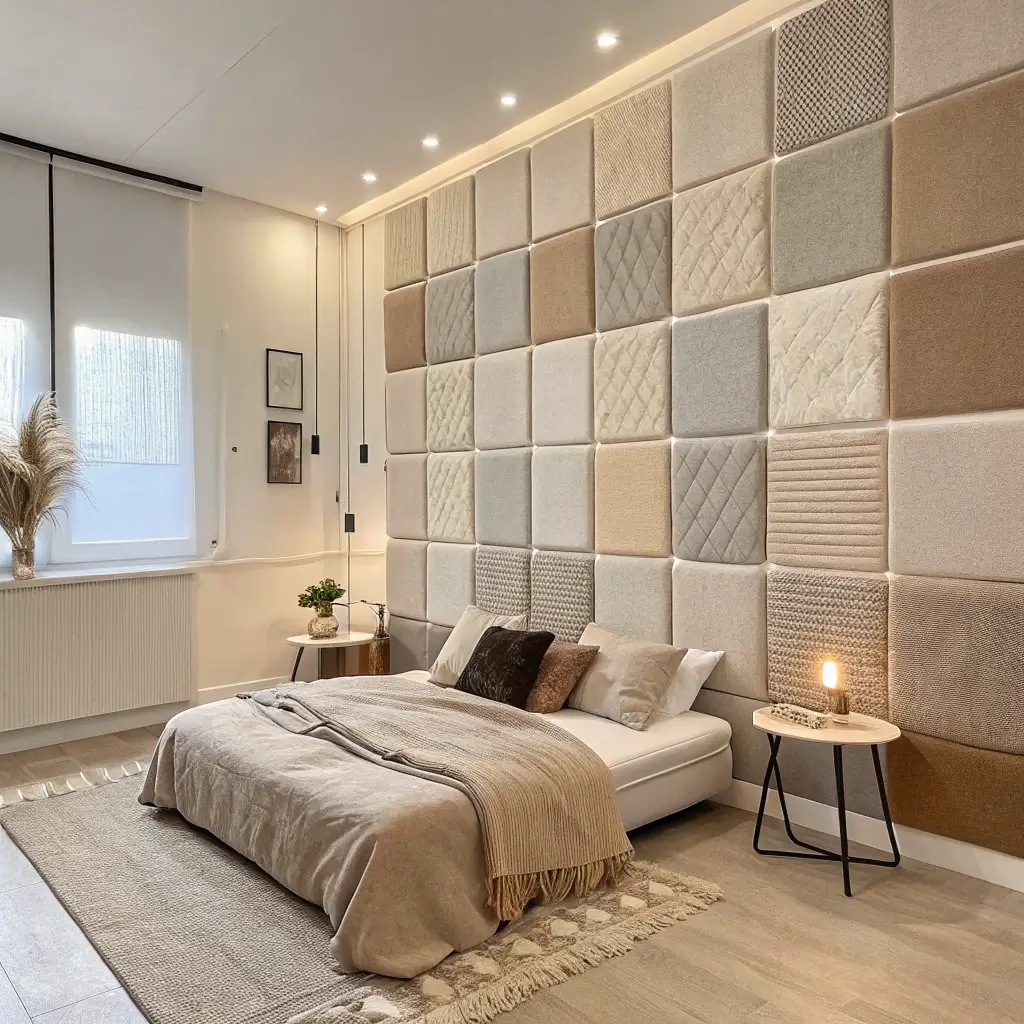
Flat walls? Boring. Textured fabric panels add dimension and can even improve room acoustics (goodbye, echo chamber apartment). Plus, they’re basically giant art pieces you can change whenever you’re over them.
Building Your Panels
Canvas frames or foam boards work as your base. Stretch fabric over them and secure with a staple gun or hot glue on the back. Pull tight but not so tight the frame warps – learned that one the hard way.
Layer different textures for interest:
- Burlap for rustic vibes
- Velvet for luxury feels
- Patterned cotton for color pops
- Linen for that expensive minimalist look
Arrangement Ideas
Create a gallery wall effect with multiple small panels or go bold with one large statement piece. Odd numbers look more intentional – three panels, five panels, whatever works for your space.
Mix fabric panels with regular artwork for a collected-over-time look that definitely didn’t all come from one Target run.
Chalkboard Accent Wall
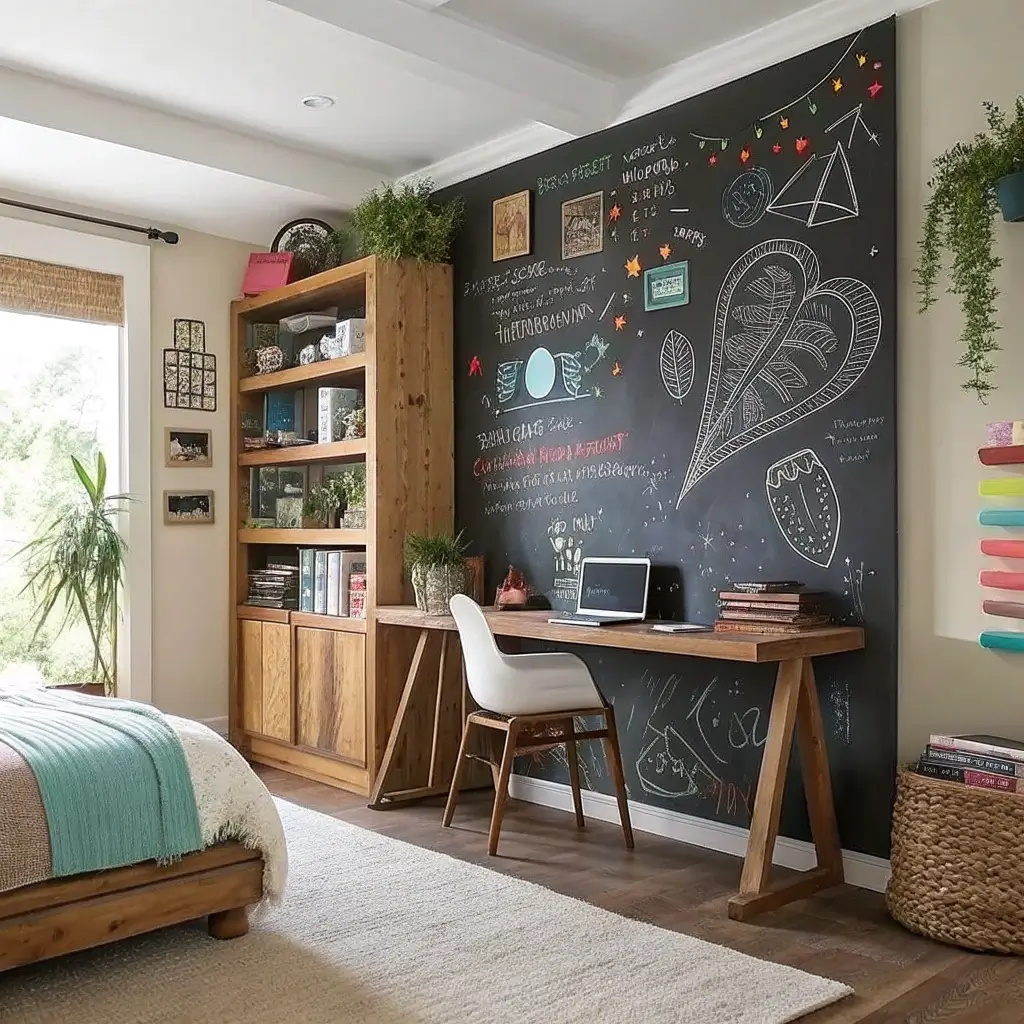
Chalkboard paint turned my kitchen wall into command central for grocery lists, motivational quotes, and occasionally passive-aggressive roommate notes. It’s functional art that changes whenever you want.
Paint Application Secrets
Three thin coats beat one thick coat every time. Sand lightly between coats with fine-grit sandpaper for that smooth-as-glass finish. Rushing this process gives you a bumpy surface that makes writing feel terrible.
Season your chalkboard before first use by rubbing chalk all over it and erasing. Skip this and you’ll have ghost writing forever. Not cute.
Beyond Basic Black
Chalkboard paint comes in colors now! Navy, green, even pink if that’s your thing. Magnetic primer underneath means you can stick things up without ruining your chalk art.
Frame your chalkboard area with molding for a built-in look. Or use washi tape for a temporary frame that changes with your mood.
Wrapping Up Your DIY Journey
Look at you! You just learned fifteen ways to transform your space without selling a kidney. The best part about these DIY room decor ideas? You can start with one and build from there. Nobody’s expecting you to tackle all fifteen this weekend (please don’t try that).
Pick the project that speaks to you most. Maybe it’s those floating shelves that’ll finally give your books a home, or perhaps that geometric wall is calling your name. Start small, learn as you go, and before you know it, you’ll have a space that actually feels like yours.
Remember – perfection is overrated. That slightly crooked shelf or not-quite-even paint line? That’s character. That’s what makes it yours. That’s what makes people ask “Where did you get that?” instead of assuming it came from a big box store.
So grab those supplies, put on your favorite playlist, and start creating. Your room’s about to get a serious glow-up, and your wallet’s going to thank you for it. Happy crafting, friend!