15 Easy DIY Closet Shelves Ideas for Budget-Friendly Storage
Look, we both know your closet looks like a tornado hit it. Mine did too until I discovered the magical world of DIY closet shelving – and trust me, it’s been a game-changer. After spending way too much time digging through piles of clothes and losing my favorite shoes in the abyss, I finally decided enough was enough.
The best part? You don’t need to blow your entire paycheck on fancy organizing systems. With some creativity and basic tools, you can transform that chaotic closet into an organized paradise. I’ve tested (and occasionally failed at) dozens of DIY shelving projects over the years, and I’m here to share the ones that actually work.
Floating Wooden Shelves for Shoes
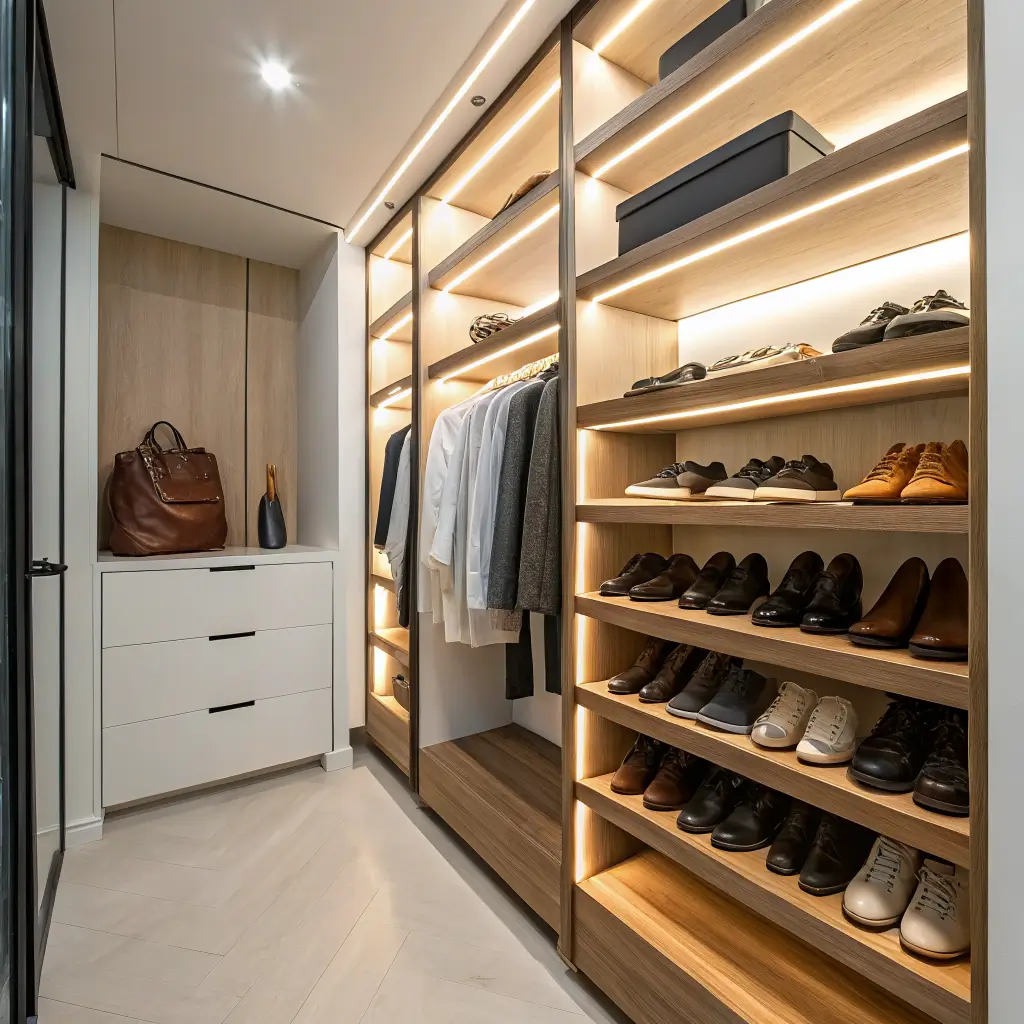
Let’s start with my personal favorite – floating wooden shelves. These bad boys completely revolutionized my shoe storage situation. Remember when I said I kept losing shoes? Well, floating shelves solved that problem in about two hours of work.
The beauty of floating shelves lies in their simplicity. You grab some wooden boards (I got mine from leftover hardwood flooring), sand them down, and mount them with invisible brackets. The result? Your shoes sit pretty at eye level, and you actually know what you own.
Here’s what makes them amazing:
- No floor space needed – perfect for small closets
- Customizable heights – adjust based on boot vs. flat storage
- Budget-friendly – usually under $30 per shelf
- Instant shoe gallery – seriously, it looks like a boutique
Pro tip: Space your shelves about 8-10 inches apart for regular shoes, but leave more room if you’re a boot person like me. Nothing worse than cramming your favorite ankle boots into a too-small space.
Corner Closet Shelf Organizer
Ever looked at that awkward corner in your closet and thought, “What a waste of space”? Yeah, me too. Corner shelf organizers are the unsung heroes of closet organization, turning dead zones into prime real estate.
I built mine using triangular wooden pieces stacked vertically with support brackets. The whole project took a Sunday afternoon and cost less than ordering takeout for a week. Now that corner holds all my handbags and clutches – items that used to live in a jumbled pile on the floor.
The trick with corner shelves is getting the measurements right. Measure twice, cut once – or in my case, measure five times because I’m paranoid. You want shelves that maximize the corner space without sticking out too far into your closet’s main area.
Why Corner Shelves Rock:
- Transform unusable space into storage gold
- Perfect for accessories, bags, or folded items
- Create visual interest in boring closets
- Cost about $40-50 to DIY
Ladder-Style Hanging Shelves
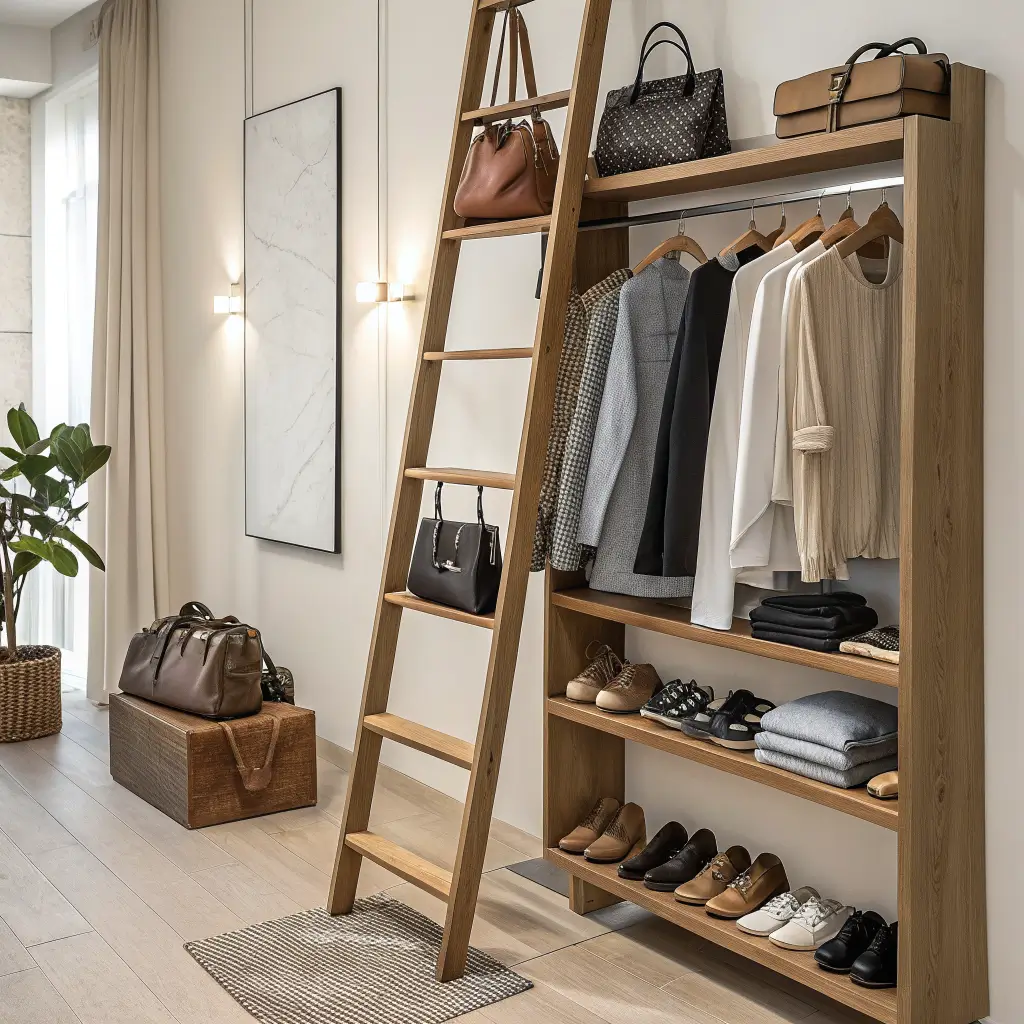
Okay, this one makes me feel like I’m living in a Pinterest board – and I mean that in the best way possible. Ladder shelves bring that trendy, industrial vibe while being ridiculously functional. Plus, they’re portable, which is perfect if you’re renting and can’t drill a million holes in the walls.
I made mine from an old wooden ladder I found at a garage sale ($15 score!). Simply lean it against the wall and boom – instant shelving. The rungs hold everything from folded sweaters to storage baskets. Want to get fancy? Add S-hooks for hanging scarves or belts.
The best part about ladder shelves? Zero commitment. Don’t like where it is? Move it. Redecorating? It adapts. Moving apartments? Take it with you. It’s basically the Swiss Army knife of closet storage.
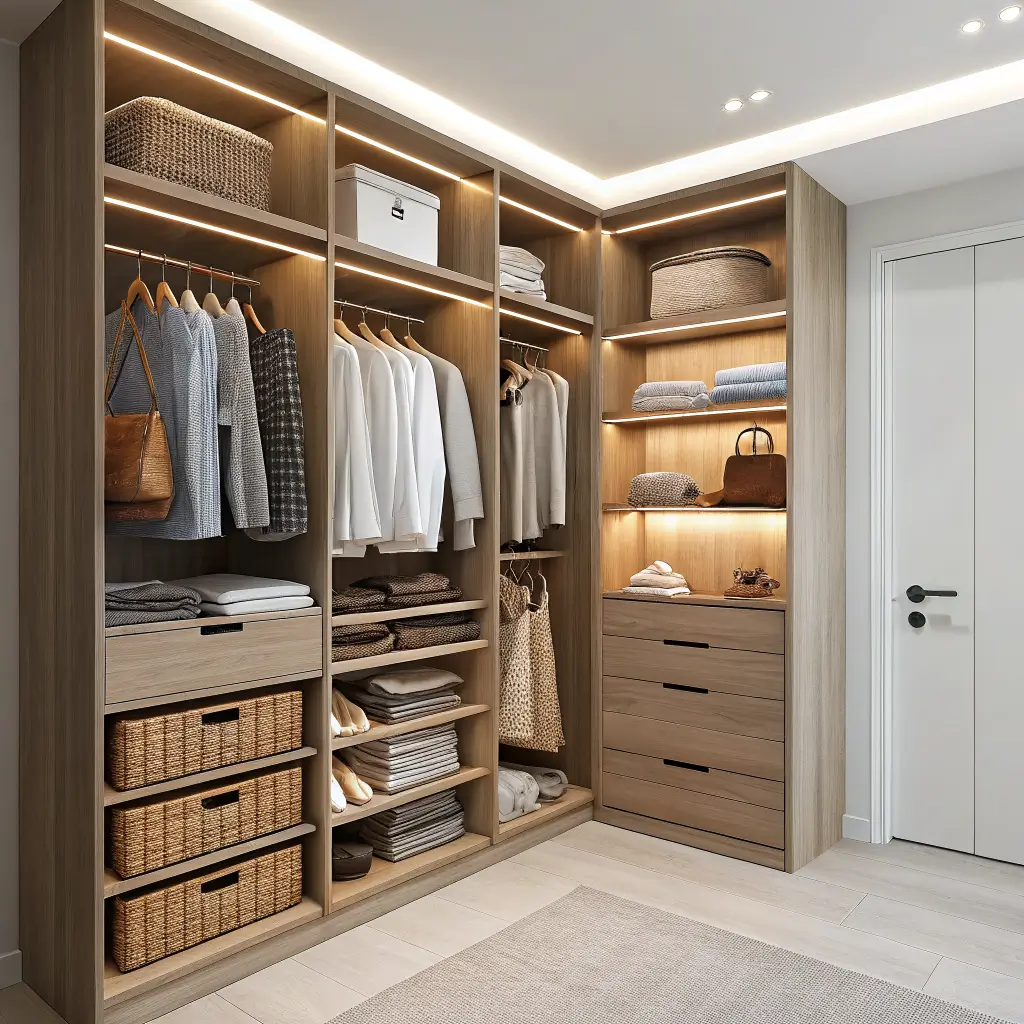
Adjustable Modular Shelving Units
If you’re indecisive like me (and let’s be honest, who isn’t?), modular shelving is your new best friend. These systems let you change your mind without starting from scratch – because sometimes your winter coat collection expands, and sometimes you go on a minimalism kick.
I went with a track system where brackets slide up and down mounted rails. It sounds complicated, but it’s actually easier than assembling IKEA furniture. The tracks mount to your closet walls, then shelves rest on adjustable brackets. Change seasons? Adjust shelf heights. New obsession with boots? Make more room.
Here’s why they’re worth the slightly higher investment:
- Grow with your needs – no rebuilding required
- Professional look without professional prices
- Mix shelf sizes – wide for sweaters, narrow for ties
- Usually runs $100-150 for a full closet setup
FYI, get the heavy-duty tracks if you’re storing anything substantial. I learned this the hard way when my “economy” version bowed under my sweater collection. Not fun :/
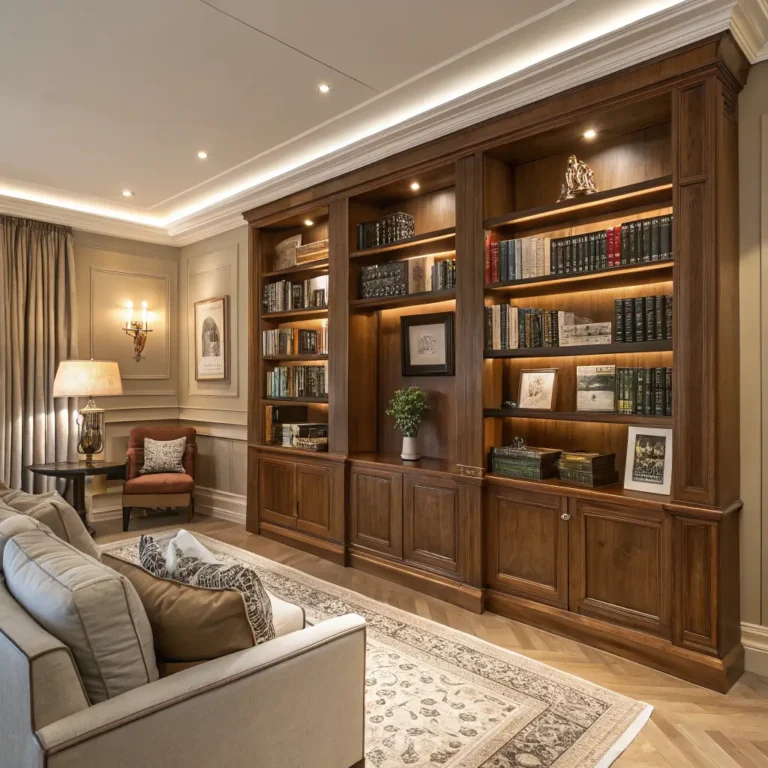
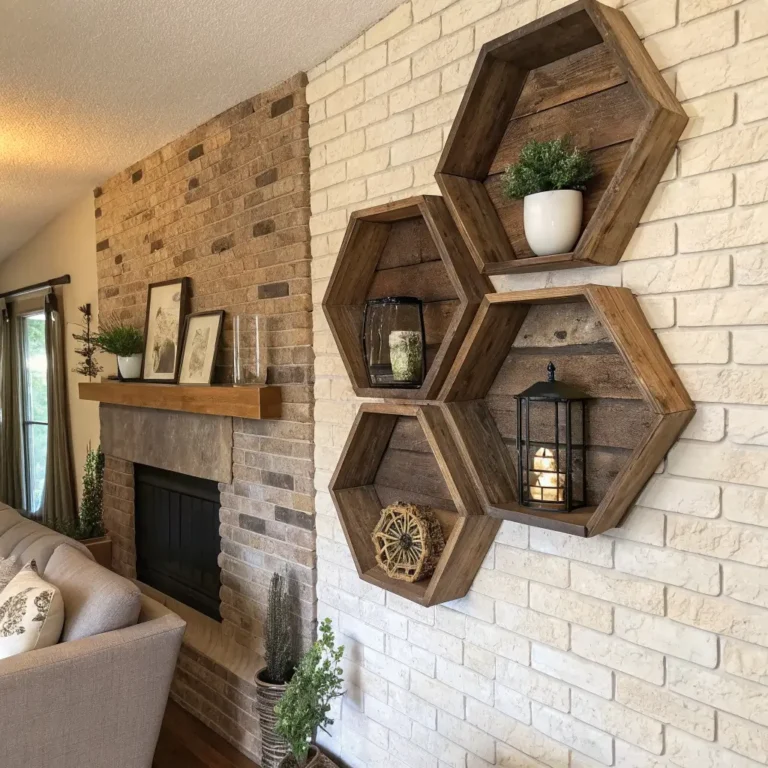
Rustic Reclaimed Wood Shelves
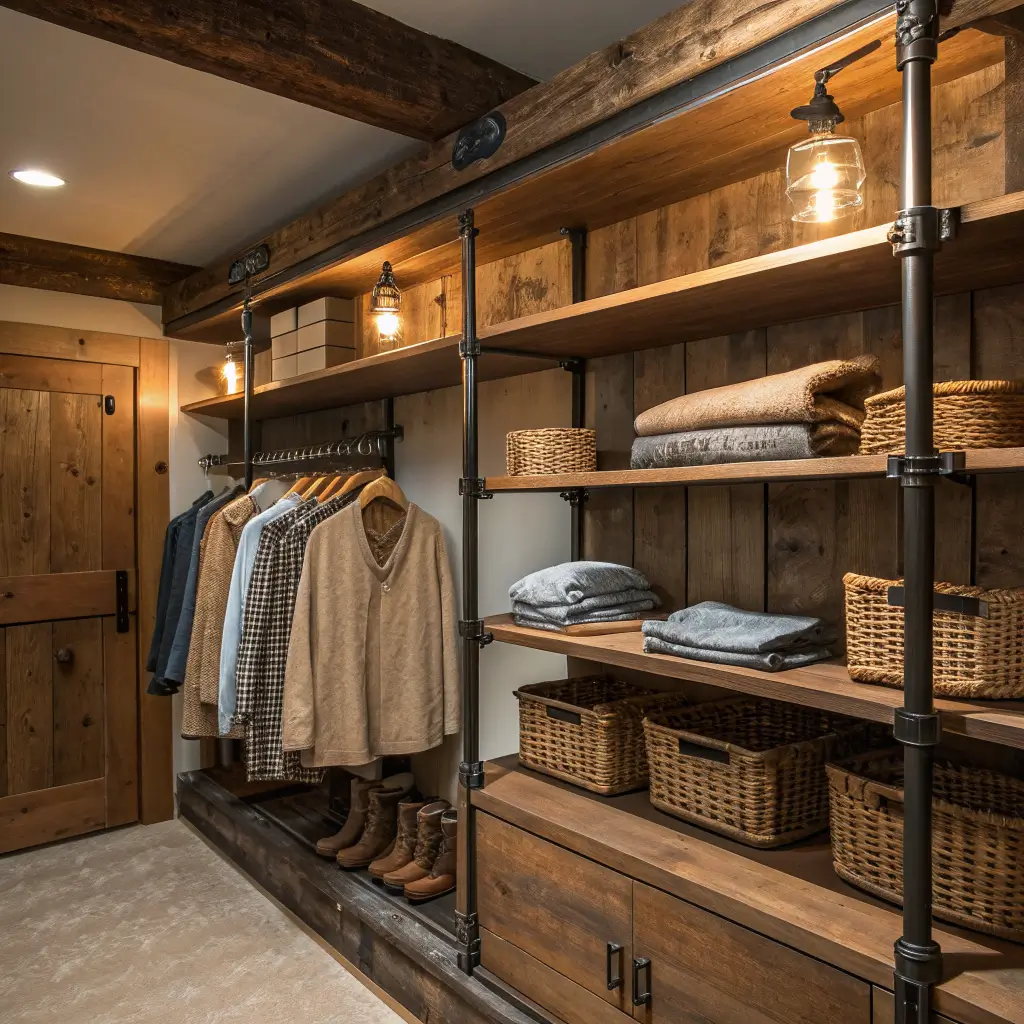
Want to know what screams “I have my life together” more than organized closets? Organized closets with character. Enter reclaimed wood shelves – the perfect marriage of function and Instagram-worthy aesthetics.
I salvaged barn wood from my uncle’s property (free wood, anyone?) and turned it into floating shelves with serious personality. Each board tells a story with its weathered texture and nail holes. The natural imperfections hide any DIY mistakes too – win-win!
Making Reclaimed Wood Work:
- Sand lightly – keep the character, lose the splinters
- Seal with polyurethane – protects clothes from rough spots
- Use heavy-duty brackets – old wood can be surprisingly heavy
- Mix with modern elements for contrast
The rustic vibe works especially well in walk-in closets where you want a boutique feel. Plus, you’re recycling materials, so you can feel good about your environmental impact while organizing your wardrobe.
Pull-Out Closet Baskets with Shelves
Let me paint you a picture: You’re getting ready, running late (as usual), and you need that specific white tank top. With pull-out baskets, you actually find it instead of destroying your entire closet. Game. Changer.
I installed mine on drawer slides attached to wooden shelves. The baskets (wire ones from the dollar store work perfectly) slide out completely, giving you full access to everything inside. No more archaeological digs to find items buried in the back.
What makes this system brilliant:
- See everything at once when pulled out
- Categorize easily – one basket per clothing type
- Prevents pile collapse – we’ve all been there
- Costs about $60-80 depending on basket quality
Pro tip: Label your baskets. I know it seems obvious, but trust me, future you will thank present you when you’re half-awake looking for workout clothes.
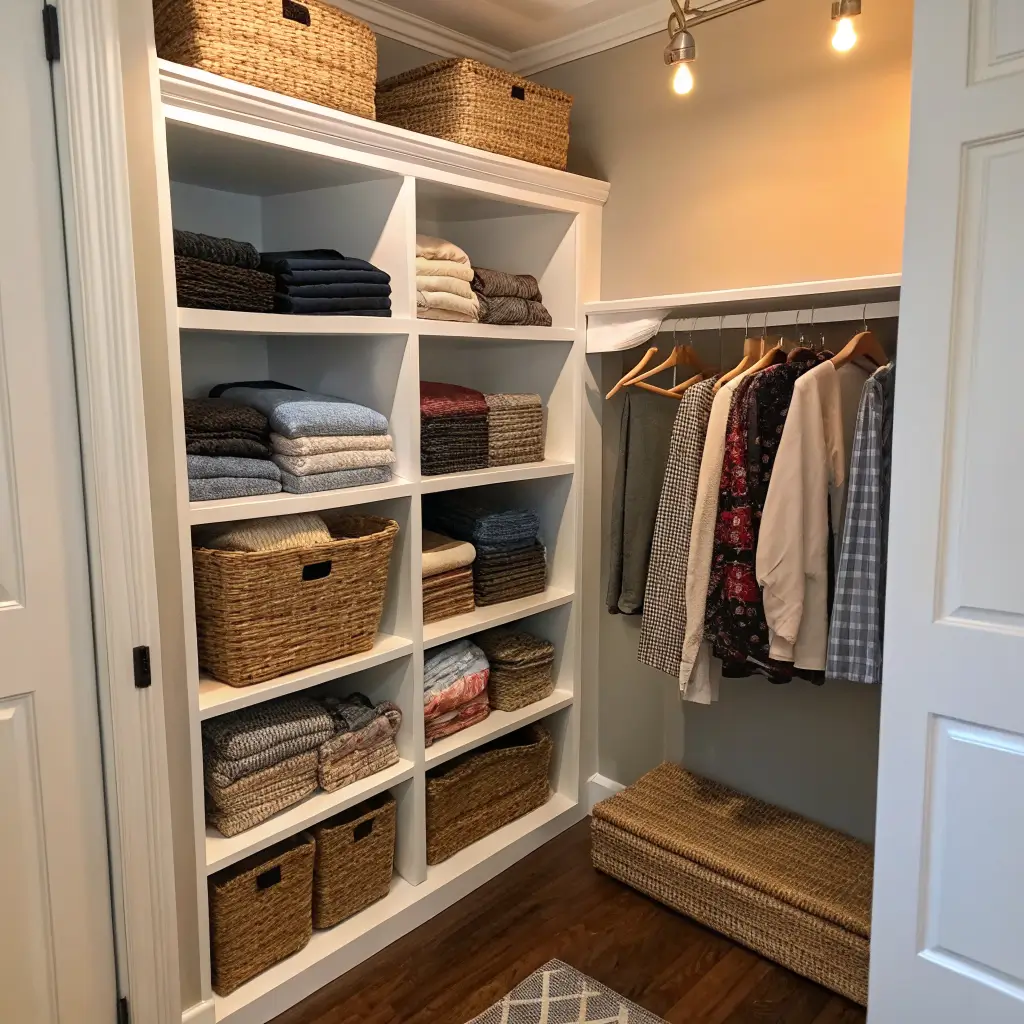
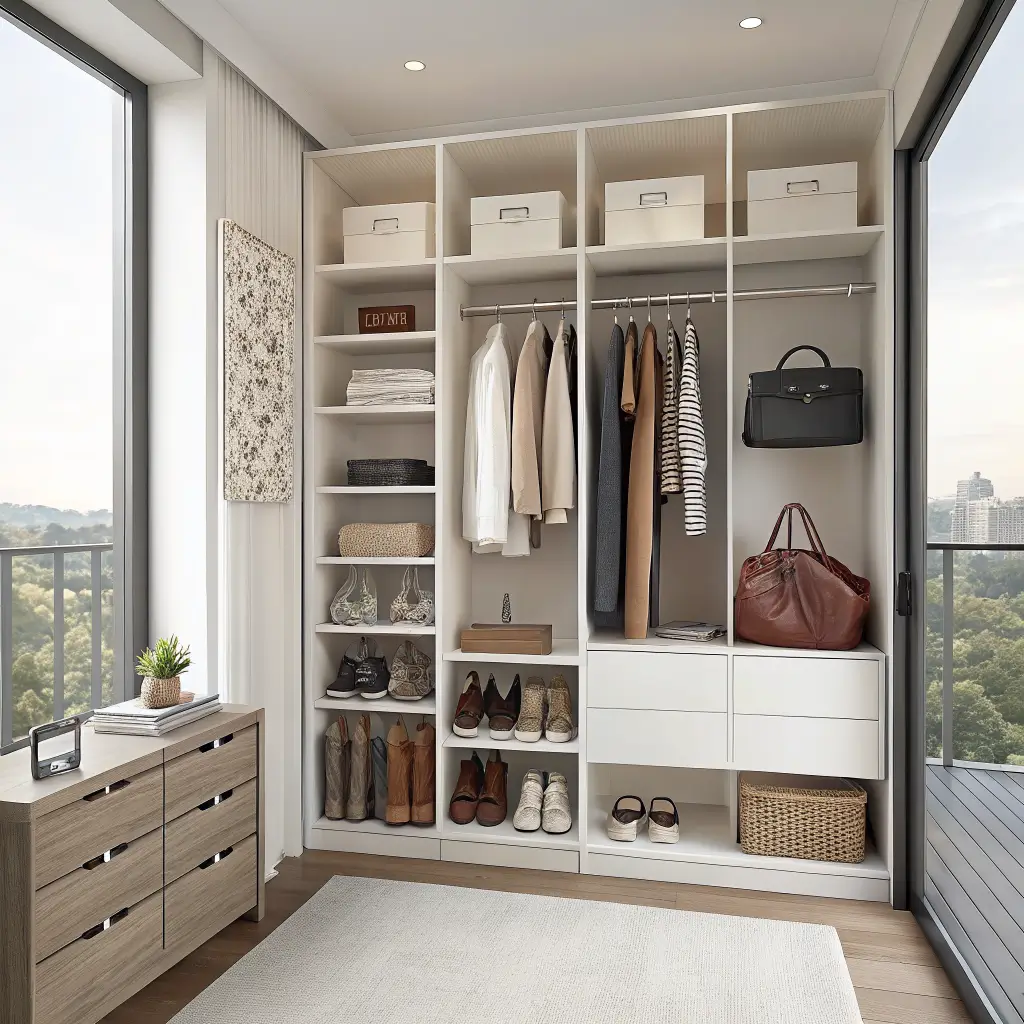
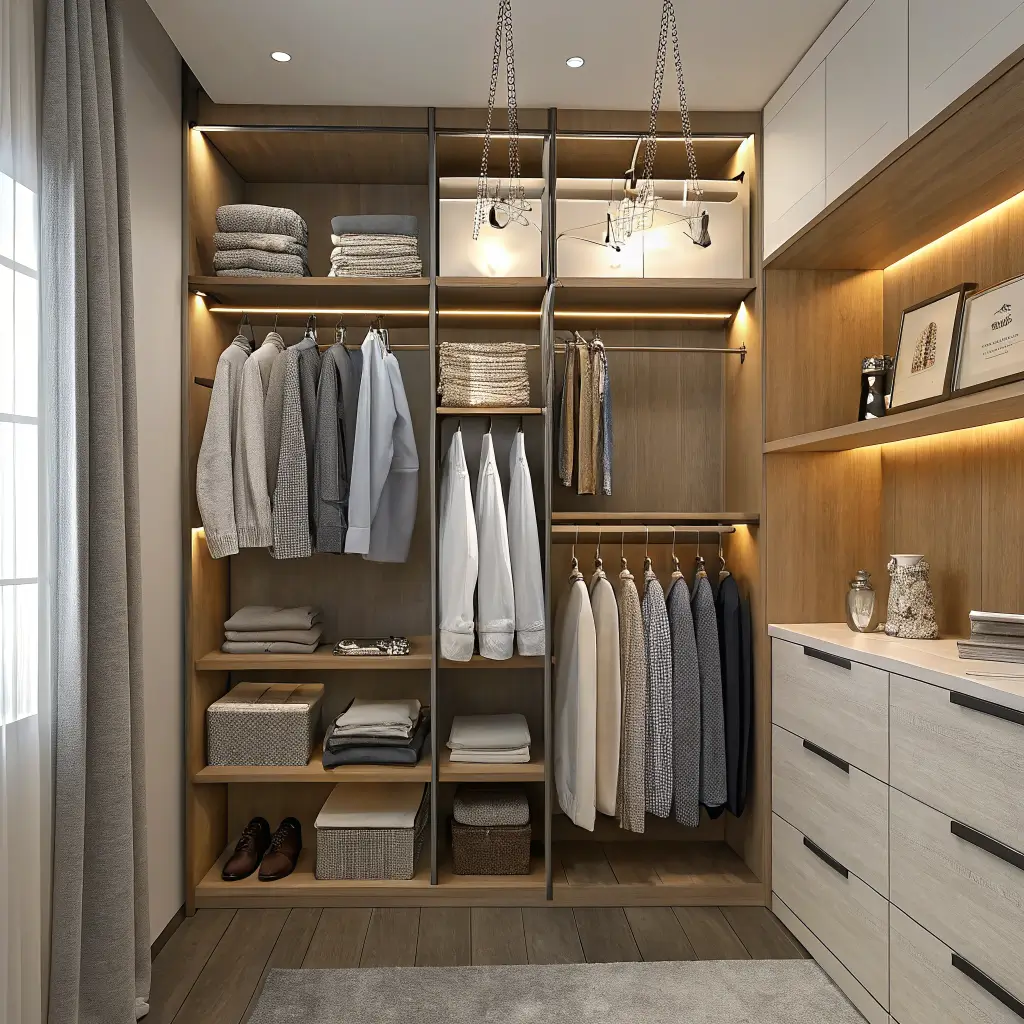
Hanging Rod and Shelf Combo
Sometimes the classics are classics for a reason. The rod-and-shelf combo might not be revolutionary, but when done right, it maximizes vertical space like nothing else. Think of it as the reliable friend who always shows up – not flashy, but absolutely essential.
I doubled my hanging space by installing a second rod below my existing one, with a shelf on top for boxes and bags. The key is getting the heights right. Leave about 40 inches for shirts and blouses, 50-60 for dresses, and put the shelf at least 12 inches above the rod.
Why this setup still rules:
- Doubles hanging capacity instantly
- Top shelf for seasonal items or luggage
- Works in any closet size
- Budget-friendly – usually under $40
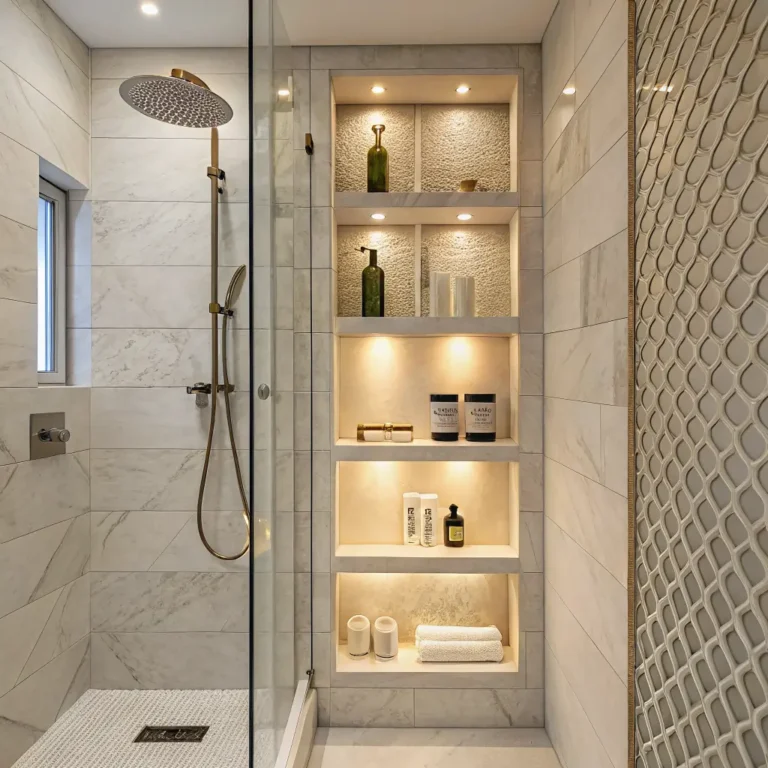
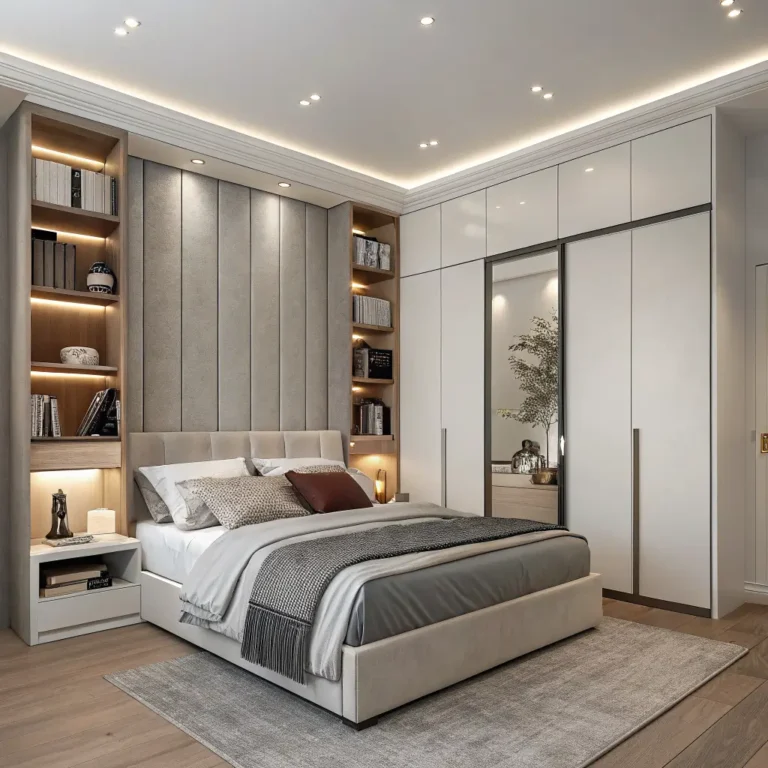
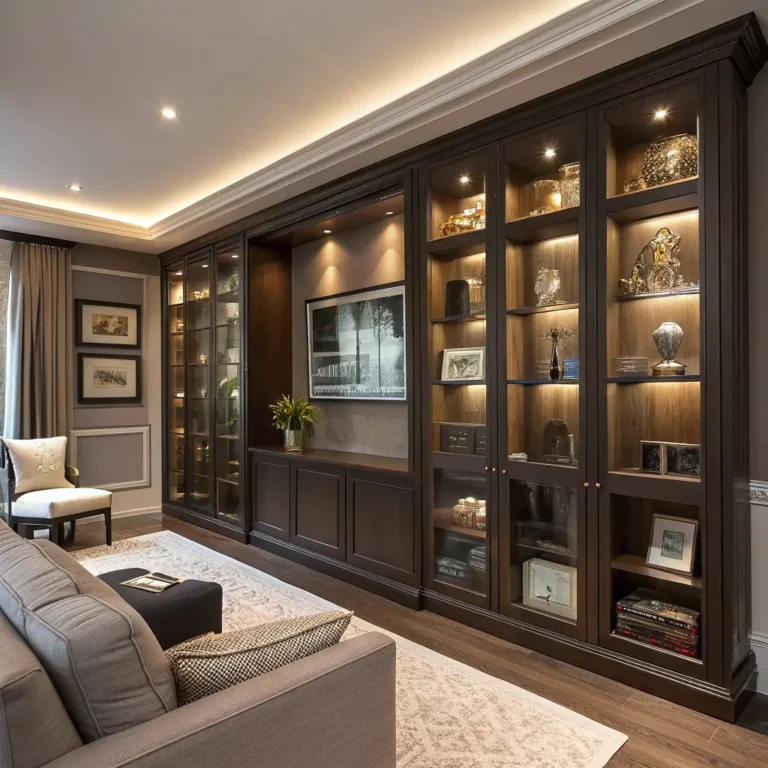
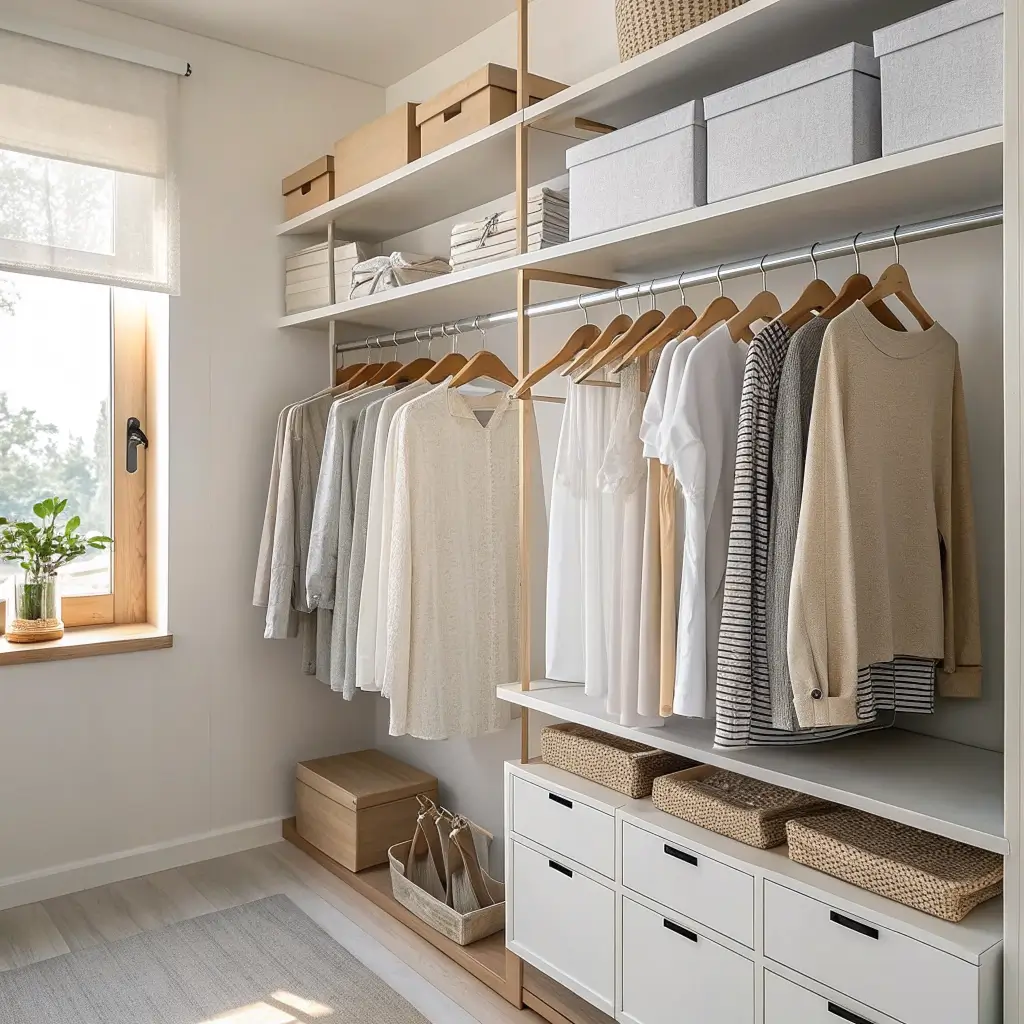
Minimalist White Wall-Mounted Shelves
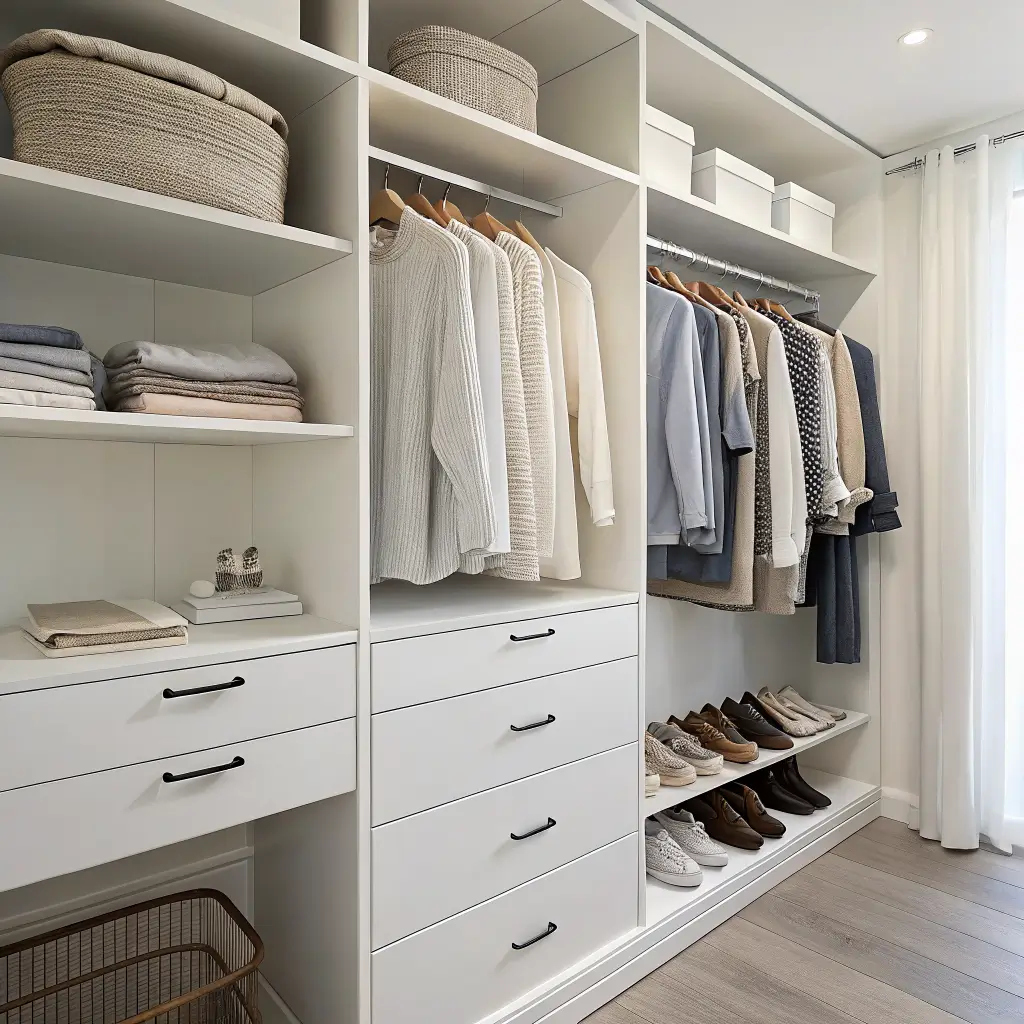
After years of cramming stuff into every available space, I discovered the beauty of minimalist shelving. Clean, white, wall-mounted shelves make your closet feel bigger and calmer – like a spa for your clothes.
I went with simple white melamine boards and hidden brackets. The uniform color creates visual continuity, making even my chaotic collection of accessories look intentional. It’s amazing how much more organized things appear when the shelving itself doesn’t compete for attention.
Minimalist Shelf Benefits:
- Makes small spaces feel larger
- Everything looks more organized automatically
- Easy to clean – just wipe down
- Affordable – basic white shelving is cheap
- Timeless look that won’t go out of style
The trick is keeping them uncluttered. I limit each shelf to one category and use matching containers for small items. Marie Kondo would be proud.
Tiered Shoe Display Shelves
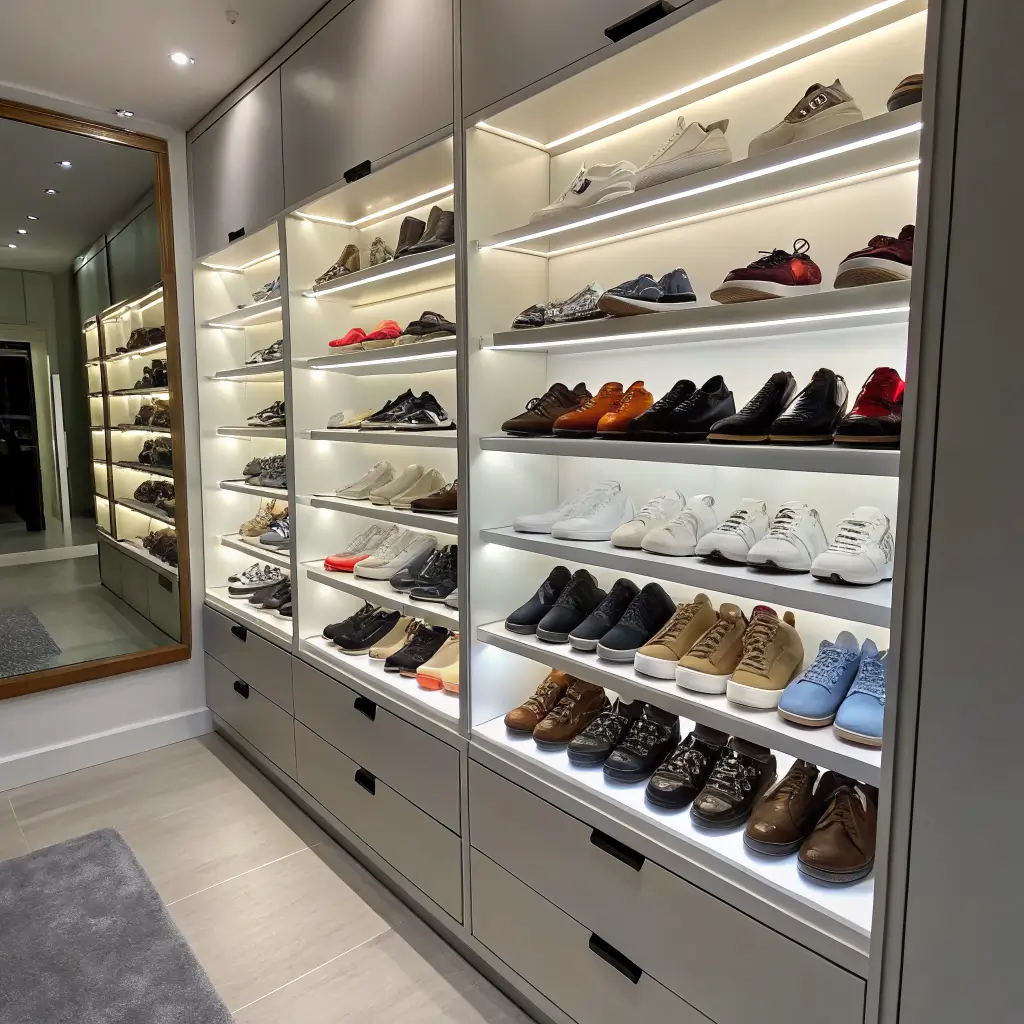
Can we talk about how shoes multiply when you’re not looking? One day you have five pairs, the next you’re drowning in footwear. Tiered display shelves turned my shoe chaos into an actual system where I can see every pair at once.
I built mine using stair-step style platforms, each tier about 3 inches higher than the last. Picture stadium seating, but for shoes. Your heels sit in back, flats in front, and everything stays visible. No more buying duplicates because you forgot you already owned black pumps!
What makes tiered shelving awesome:
- Maximum visibility – see all options at once
- Space-efficient – uses vertical space smartly
- Customizable tier heights based on shoe types
- DIY cost: about $30-40 in materials
IMO, this setup works best for daily-wear shoes. Keep your fancy occasion shoes in boxes up top – they don’t need prime real estate.
Also Read: 15 Functional Store Shelves Design Ideas for Perfect Layouts
Cube Storage Shelf System
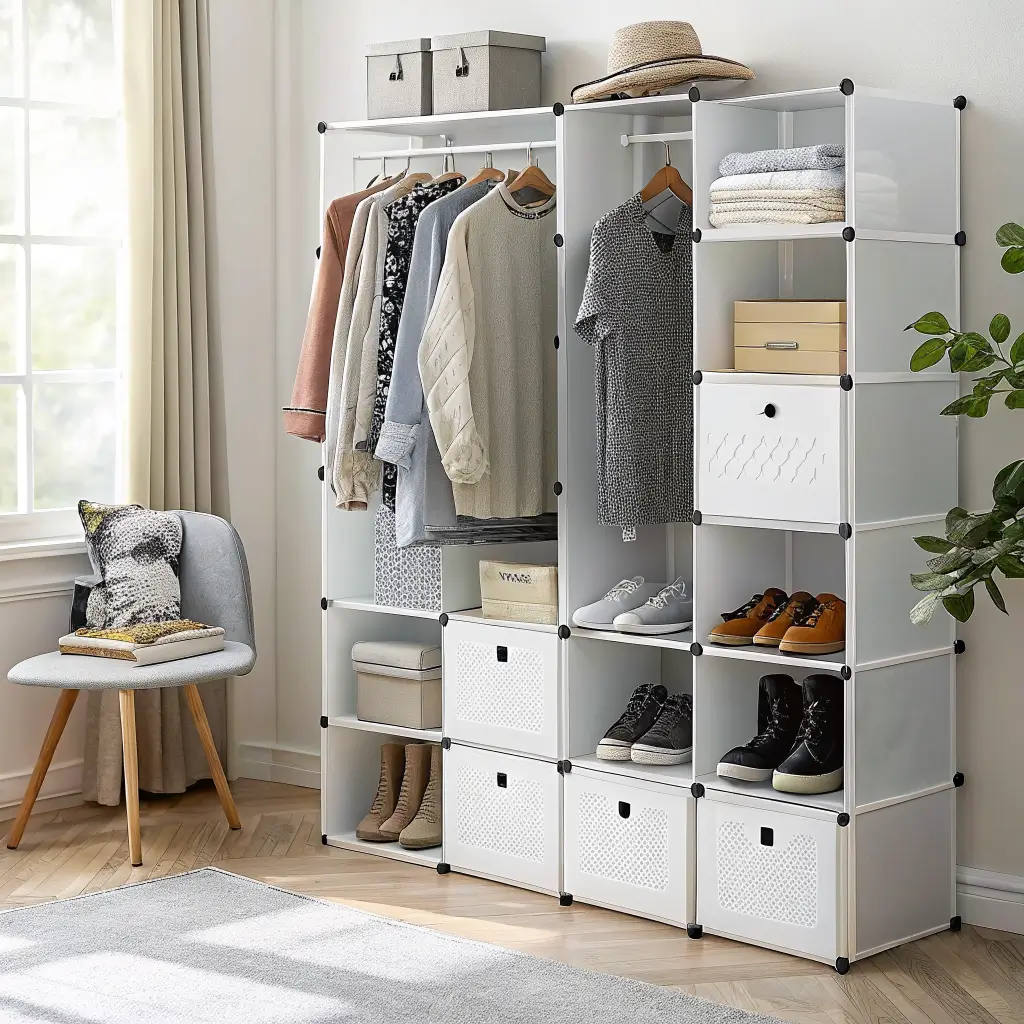
Remember playing with blocks as a kid? Cube storage is basically the adult version, except now you’re building organizational masterpieces instead of towers. These modular cubes let you create exactly the configuration your closet needs.
I started with a basic 6-cube unit and expanded over time. Each cube holds a different category – one for gym clothes, one for pajamas, one for those jeans I swear I’ll fit into again someday. Add fabric bins for a cleaner look, or leave them open for easy access.
Why Cubes Conquer Closets:
- Infinitely expandable – add cubes as needed
- Mix open and closed storage with bins
- Strong enough to sit on – double as a bench
- Price ranges from $40-100 depending on size
The beauty lies in flexibility. Rearrange them seasonally, stack them differently when you move, or separate them into multiple units. It’s like closet Legos for adults.
Wire Mesh Shelving with Hooks
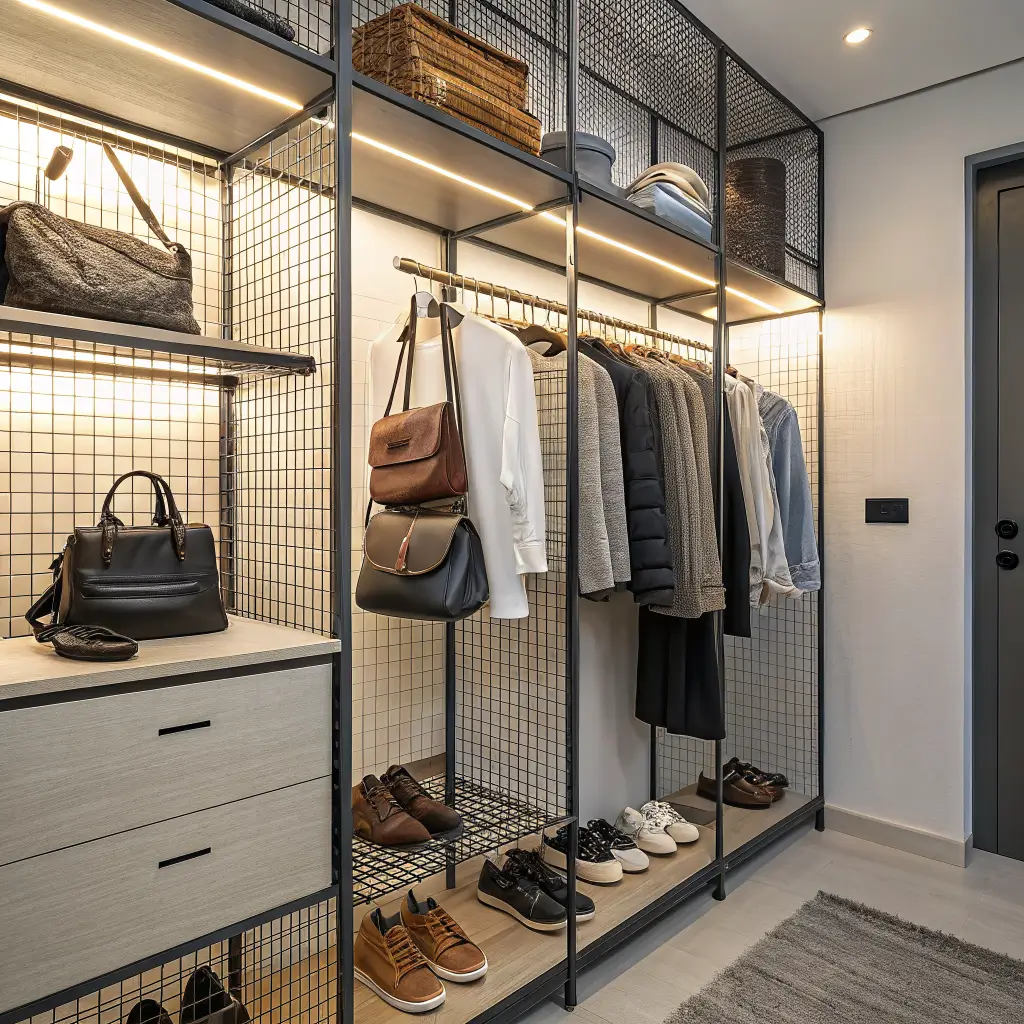
Industrial chic meets practical storage – that’s wire mesh shelving in a nutshell. I initially chose it because it was cheap, but now I genuinely love the aesthetic. Plus, the mesh design means no dust collection and excellent air circulation for your clothes.
The built-in grid pattern is secretly genius. You can add S-hooks anywhere for hanging bags, belts, or scarves. I even zip-tie small baskets directly to the mesh for corralling tiny items like socks and underwear.
Here’s what makes wire mesh worth considering:
- See-through design prevents hidden messes
- Incredibly versatile with endless hook options
- Lightweight but strong
- Budget champion – often under $20 per shelf
DIY Closet Shelf with Sliding Drawers
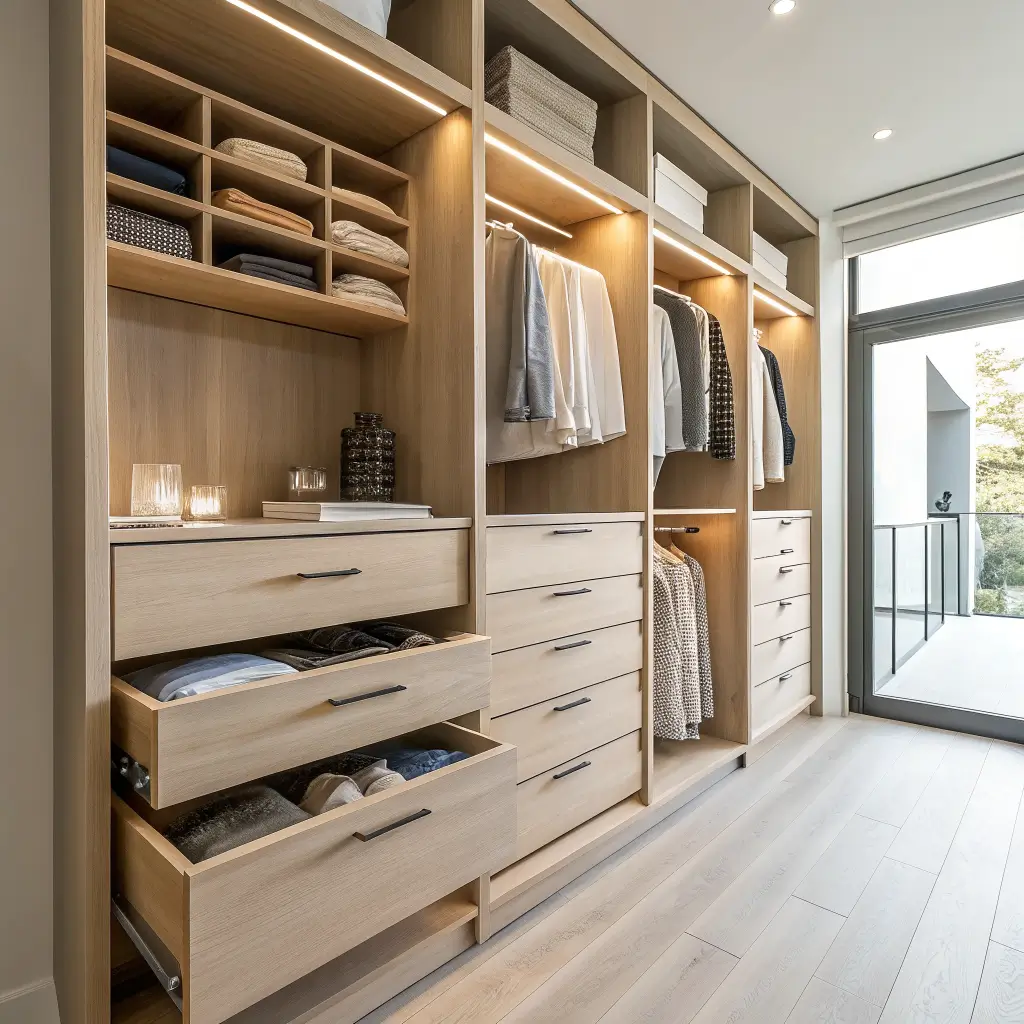
Who says closets can’t have drawers? I retrofitted my shelves with DIY sliding drawers, and honestly, it feels like I’m living in the future. The satisfaction of smoothly sliding out a drawer full of perfectly folded t-shirts? Chef’s kiss
Building these requires basic woodworking skills and drawer slides from the hardware store. I made shallow drawers (about 4 inches deep) that fit between existing shelves. They’re perfect for underwear, ties, belts – basically anything that usually ends up in a tangled mess.
Sliding Drawer Success Tips:
- Measure your shelf depth carefully
- Use soft-close slides – trust me on this
- Keep drawers shallow for better visibility
- Install handles or cutouts for easy pulling
- Budget about $25-30 per drawer
Also Read: 15 Creative Shelves in Bedroom Ideas That Transform Your Room
Open Shelving for Accessories

Let’s be real – accessories are meant to be seen, not hidden away. Open shelving turns your collection into functional art. My watches, sunglasses, and jewelry now live on display shelves where I can actually see (and use) them.
I installed narrow floating shelves specifically for accessories. Small dishes hold rings, hooks underneath catch necklaces, and my watch collection sits pretty on a DIY watch roll I keep on the shelf. Everything stays organized and accessible.
Why open shelving wins for accessories:
- Visual reminder of what you own
- Prevents tangling and damage
- Decorative element in your closet
- Quick morning access when you’re rushing
Hanging Closet Shelf Dividers
Ever had a perfectly organized shelf turn into an avalanche zone? Yeah, shelf dividers solve that problem. These vertical separators keep your neat stacks from becoming the Leaning Tower of Sweaters.
I made mine from thin plywood cut to match my shelf depth. They slide onto the shelf (some clip on, others stand freely) and create designated sections. Each section gets a category – workout wear, jeans, sweaters – and magically stays put.
Divider Benefits:
- Maintains organization long-term
- Prevents toppling stacks
- Creates clear categories
- Usually costs $15-20 for a set
- Removable and adjustable
Bamboo or Rattan Shelf Units
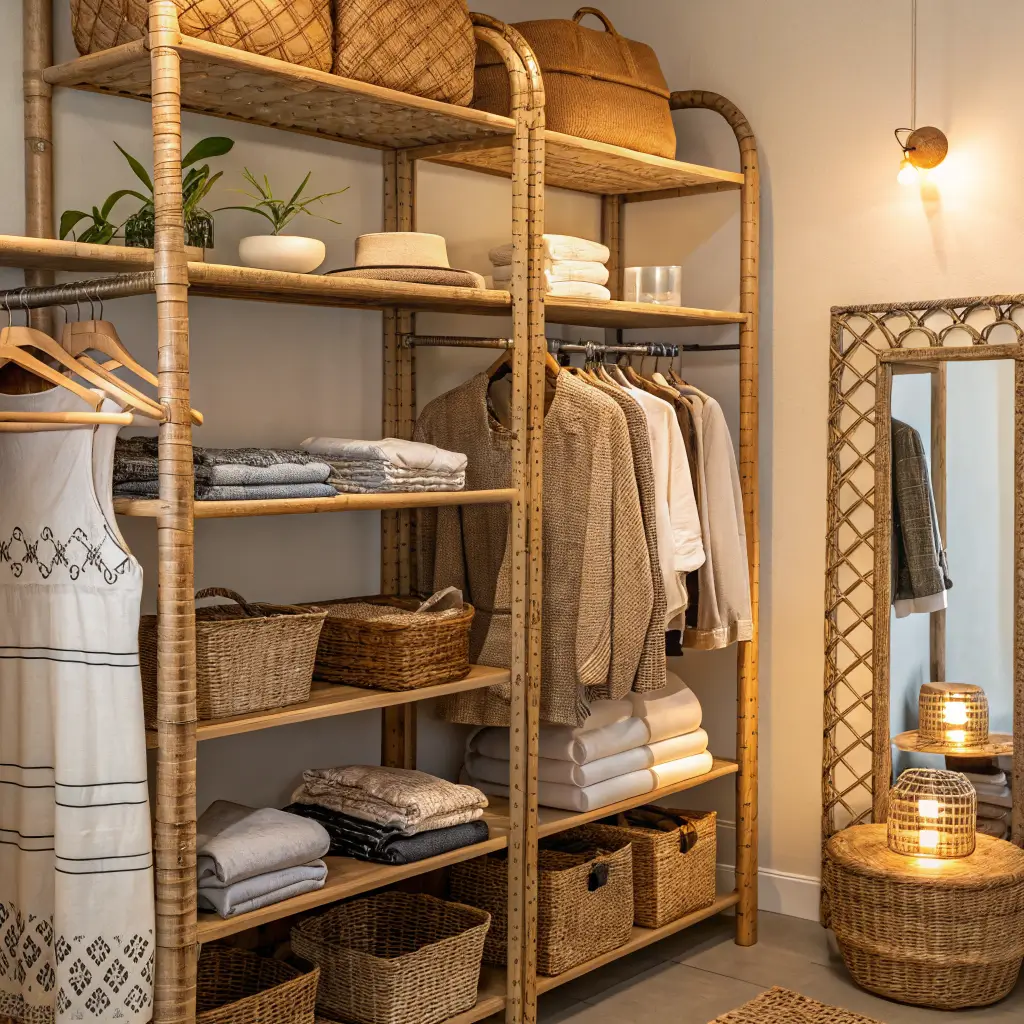
Want to add some zen to your closet? Bamboo and rattan shelving brings natural warmth and surprising durability. Plus, they’re eco-friendly, so you can feel good about your choice while organizing your life 🙂
I found bamboo shelving units at a discount store and modified them to fit my closet. The natural material adds texture and breaks up the monotony of typical closet materials. They’re also naturally antimicrobial – bonus points for keeping things fresh!
What makes natural materials special:
- Sustainable and renewable resources
- Lightweight yet strong
- Adds organic texture to sterile spaces
- Naturally resists moisture and odors
- Price varies wildly – shop around
The bamboo trend isn’t going anywhere, so investing in these pieces means your closet stays stylish for years. Plus, if you ever get tired of them in the closet, they work great in other rooms too.
Final Thoughts
After transforming my disaster zone of a closet into an organized sanctuary, I can honestly say DIY shelving changed my daily routine. No more frantic searching, no more wrinkled clothes from the bottom of piles, and definitely no more buying duplicates of things I forgot I owned.
The best part about these DIY solutions? You can mix and match them. Start with one project that addresses your biggest pain point. Maybe it’s shoe storage, maybe it’s accessibility – whatever drives you crazy every morning. Build from there as your budget and time allow.
Remember, the perfect closet doesn’t happen overnight (despite what those home makeover shows suggest). Take it one shelf at a time, learn from the mistakes – like when I mounted a shelf so high I needed a stepladder to reach it – and adjust as you go. Your closet should work for your life, not some magazine’s idea of perfection.
The key is starting somewhere, anywhere really. Pick the easiest project from this list and give it a shot this weekend. Once you see how much better even one small improvement makes, you’ll be hooked on the DIY closet organization game. Trust me, your future self will thank you every single morning when getting dressed becomes a pleasure instead of a battle.