10 Creative Interior Wall Design Ideas for Modern Spaces
You know that feeling when you walk into someone’s home and their walls just speak to you? Not literally, of course – that would be concerning.
But there’s something about a well-designed wall that makes a room come alive. I’ve spent the last decade experimenting with every wall treatment imaginable, from disastrous DIY attempts (hello, crooked shelves) to surprisingly successful weekend projects that friends still compliment years later.
Let me share ten wall design ideas that actually work – no Pinterest fails here. These aren’t just pretty concepts; they’re practical solutions I’ve either tried myself or watched transform friends’ spaces from boring boxes into homes with personality. Trust me, your walls deserve better than that beige paint from 2010.
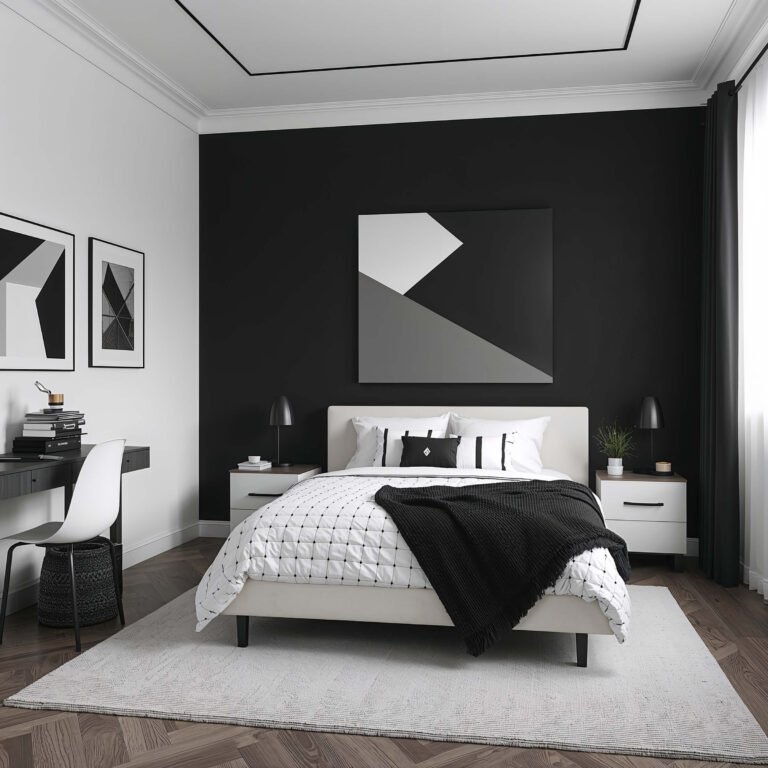
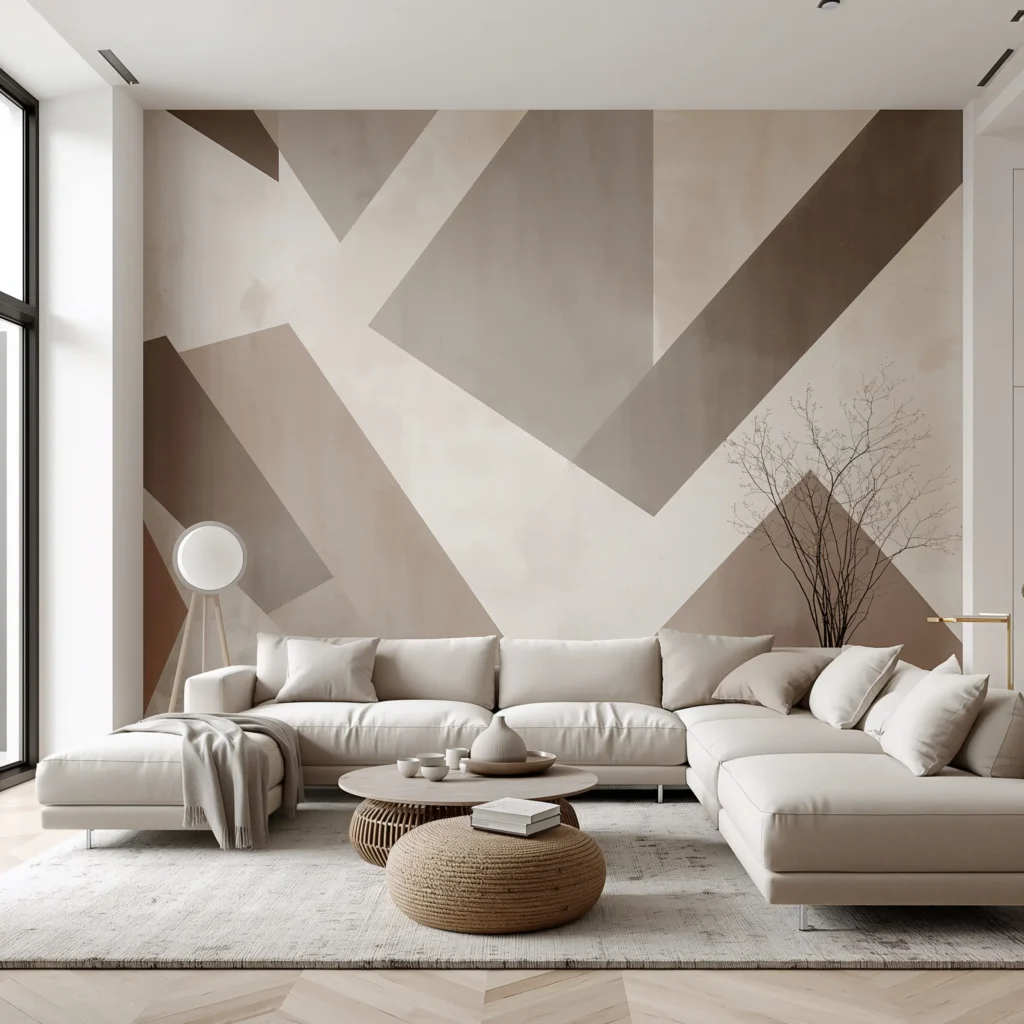
Geometric Accent Wall: The Modern Statement Maker
Ever walked into a room and thought, “Wow, that wall means business”? That’s exactly what a geometric accent wall does. I remember the first time I attempted one – armed with nothing but painter’s tape and misplaced confidence. The result? Let’s just say triangles shouldn’t look like abstract interpretations of triangles.
But here’s the thing: geometric walls are forgiving once you understand the basics. You don’t need artistic skills or a degree in geometry. All you need is patience, quality tape, and maybe a level (learned that one the hard way). The beauty lies in the precision of clean lines and the drama of contrasting colors.
Planning Your Geometric Design
Start with a simple pattern if you’re new to this game. Triangles, hexagons, or even basic stripes work brilliantly. I typically sketch my design on paper first – nothing fancy, just enough to visualize the end result. Pro tip: larger shapes are easier to execute and often look more sophisticated than tiny, intricate patterns.
Choose colors that complement your existing decor but don’t be afraid to go bold. My living room features a navy and gold geometric pattern that seemed risky at first. Now? It’s the backdrop for every Zoom call because colleagues keep asking about it.
Execution Tips That Actually Work
Here’s what nobody tells you about creating geometric walls: the tape removal is more important than the tape application. Pull it off while the paint is slightly wet for crisp lines. Wait too long, and you’ll chip the paint. Remove too early, and you’ll smudge everything.
Measure twice, tape once – seriously. Use a laser level if you have one; they’re game-changers for keeping lines straight. And FYI, don’t cheap out on painter’s tape. The good stuff costs more but saves you from touch-up nightmares.
Textured Plaster Wall: Bringing Old-World Charm Home
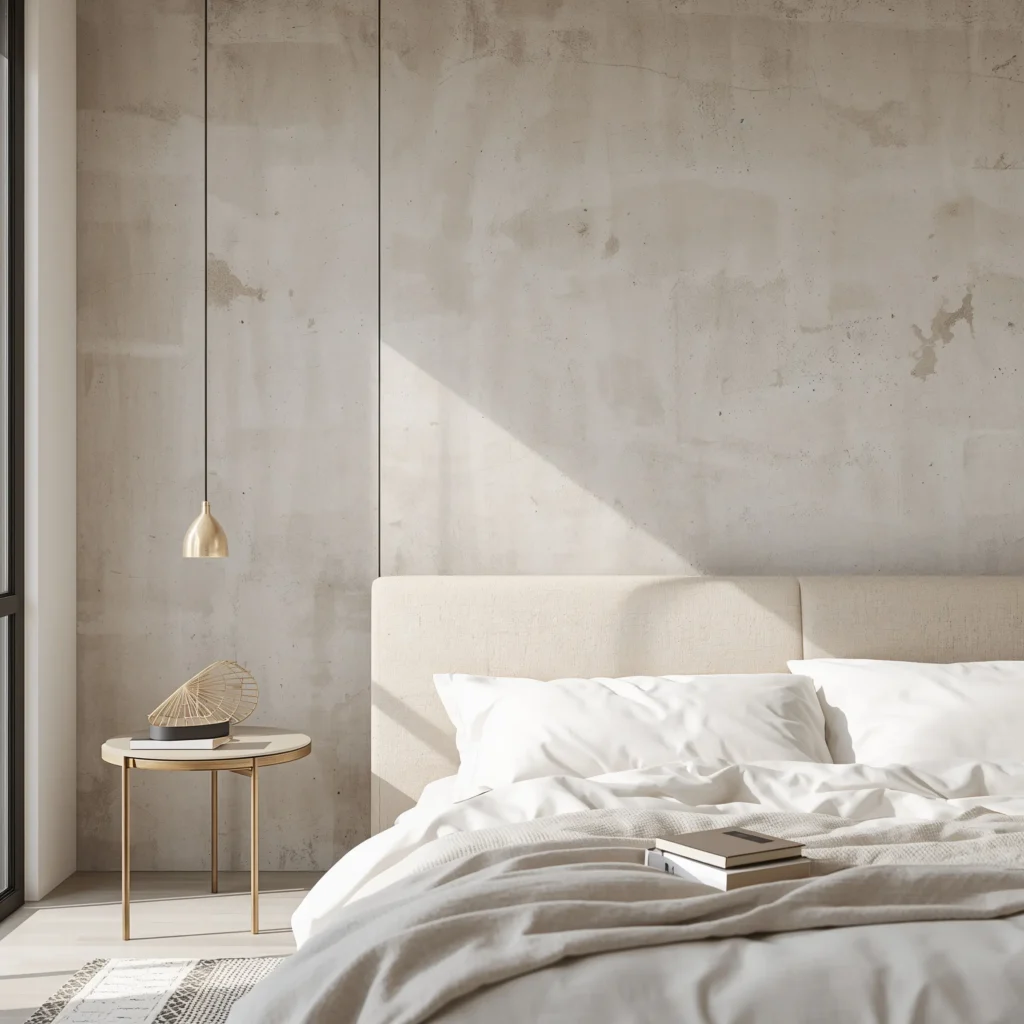
Remember when smooth walls were everything? Yeah, we’re over that now. Textured plaster walls add depth and character that flat paint simply can’t match. They hide imperfections like a Instagram filter for your walls – and who doesn’t need that?
I discovered textured plaster during a trip to Italy, where every ancient wall told a story through its imperfect surface. Bringing that vibe home seemed impossible until I realized modern techniques make it surprisingly achievable.
Choosing Your Texture Style
You’ve got options here, and each creates a different mood:
• Venetian plaster: Smooth with subtle texture, perfect for elegant spaces
• Skip trowel: Creates a Mediterranean feel with its random pattern
• Knockdown texture: Modern and subtle, great for minimalist lovers
• Combed texture: Adds linear interest without overwhelming the space
My guest bedroom sports a skip trowel finish that transforms morning light into art. Every sunrise creates new shadows and highlights – it’s like having a living painting.
DIY or Professional Installation?
Look, I’m all for DIY projects, but textured plaster requires skill. I attempted it once in my bathroom – let’s just say I now pay professionals for plaster work. If you’re determined to DIY, start with a small, hidden area first. Practice your technique before tackling that focal wall.
The investment in professional installation pays off though. Good plaster work lasts decades and adds serious value to your home. Plus, watching a skilled plasterer work is oddly therapeutic – like those satisfying cake decorating videos, but for walls.
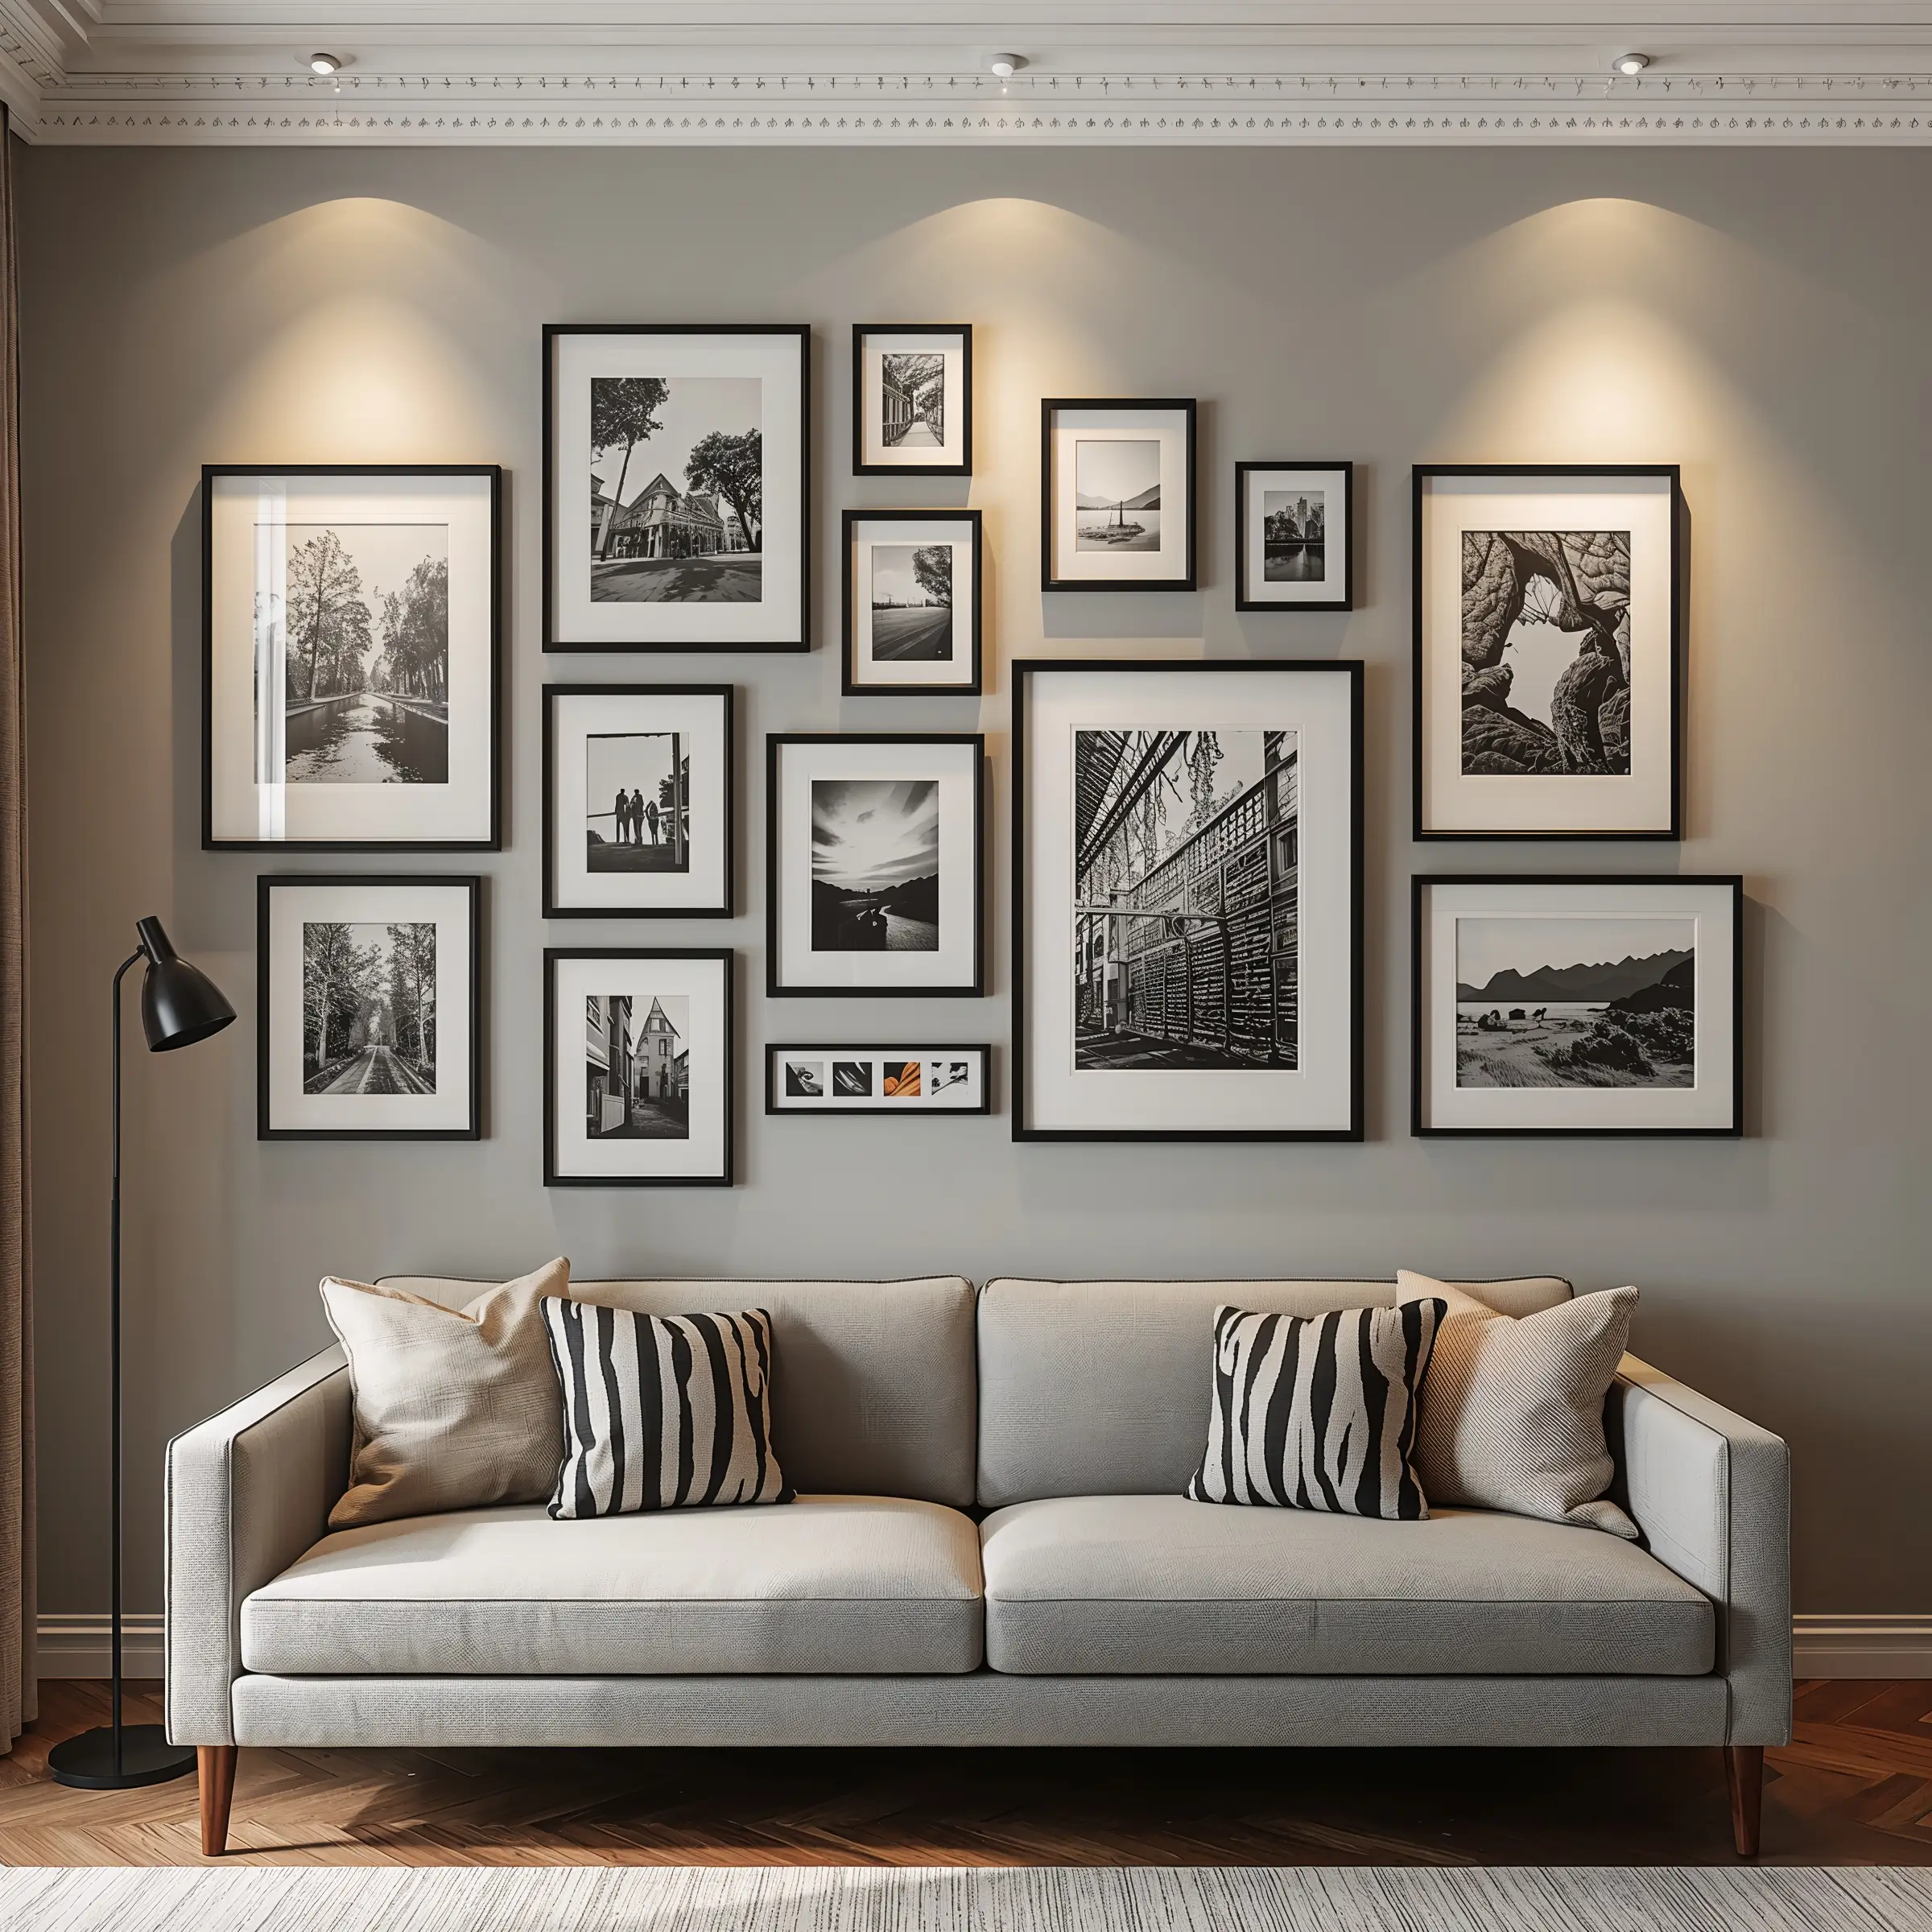
Gallery Wall with Frames: Your Personal Museum
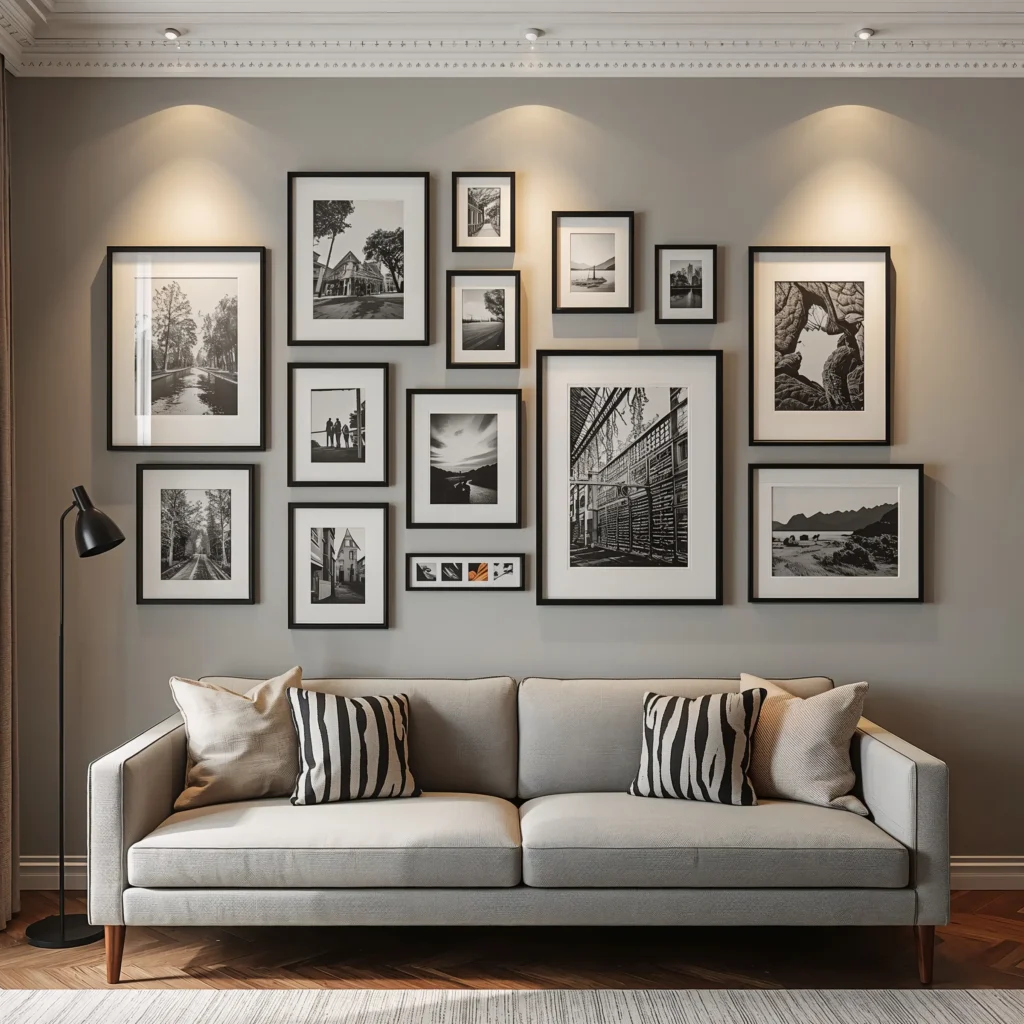
Who needs expensive art when you can create your own gallery? Gallery walls let you showcase everything from family photos to concert tickets, creating a visual autobiography that guests actually want to look at. The best part? You can change it whenever the mood strikes.
My first gallery wall was a disaster – mismatched frames hung at weird angles that made visitors dizzy. But I’ve learned the secrets to gallery wall success, and spoiler alert: it’s not as hard as those perfect Instagram posts make it seem.
Planning Your Gallery Layout
Start on the floor. Seriously, lay out your frames on the ground first. This lets you play with arrangements without turning your wall into Swiss cheese. Take a photo of your final floor arrangement – you’ll thank me later when you’re standing there with a hammer, trying to remember where everything goes.
Mix frame sizes but maintain some consistency. I use the same frame color (black or gold) throughout, which creates cohesion even with varied sizes. Three large pieces, five medium, and several small works well for most walls.
Content That Tells Your Story
Forget those generic “Live, Laugh, Love” prints. Your gallery wall should reflect you:
• Personal photos (but not just selfies, please)
• Travel memorabilia like maps or postcards
• Kids’ artwork in proper frames – instant sophistication
• Pressed flowers or leaves from meaningful places
• Typography prints with inside jokes or favorite quotes
My hallway gallery includes my daughter’s first drawing, a receipt from our honeymoon dinner, and a photo of my dog looking ridiculously dignified. It’s weird, wonderful, and completely us.
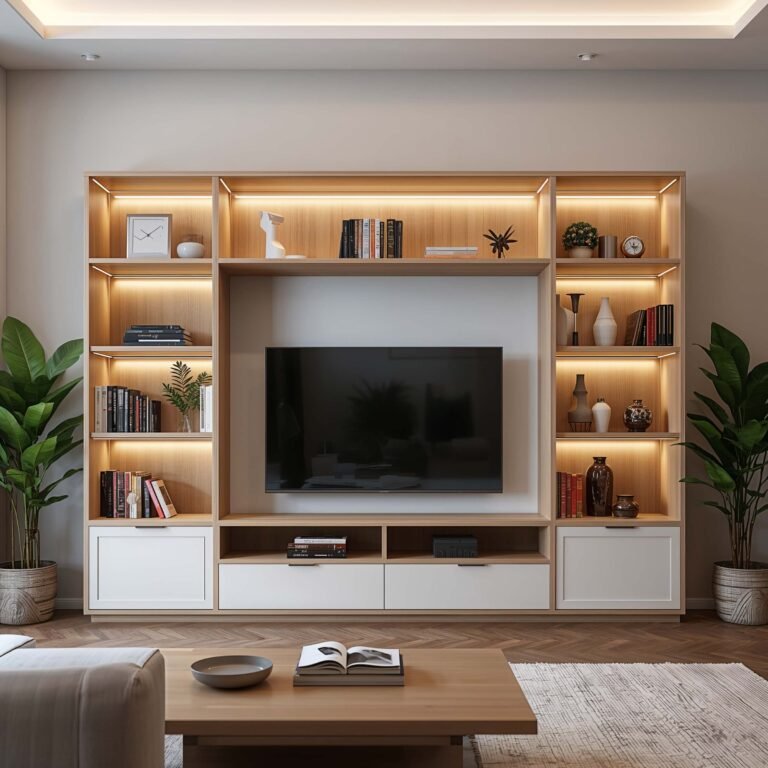
Floating Shelves Display: Function Meets Style
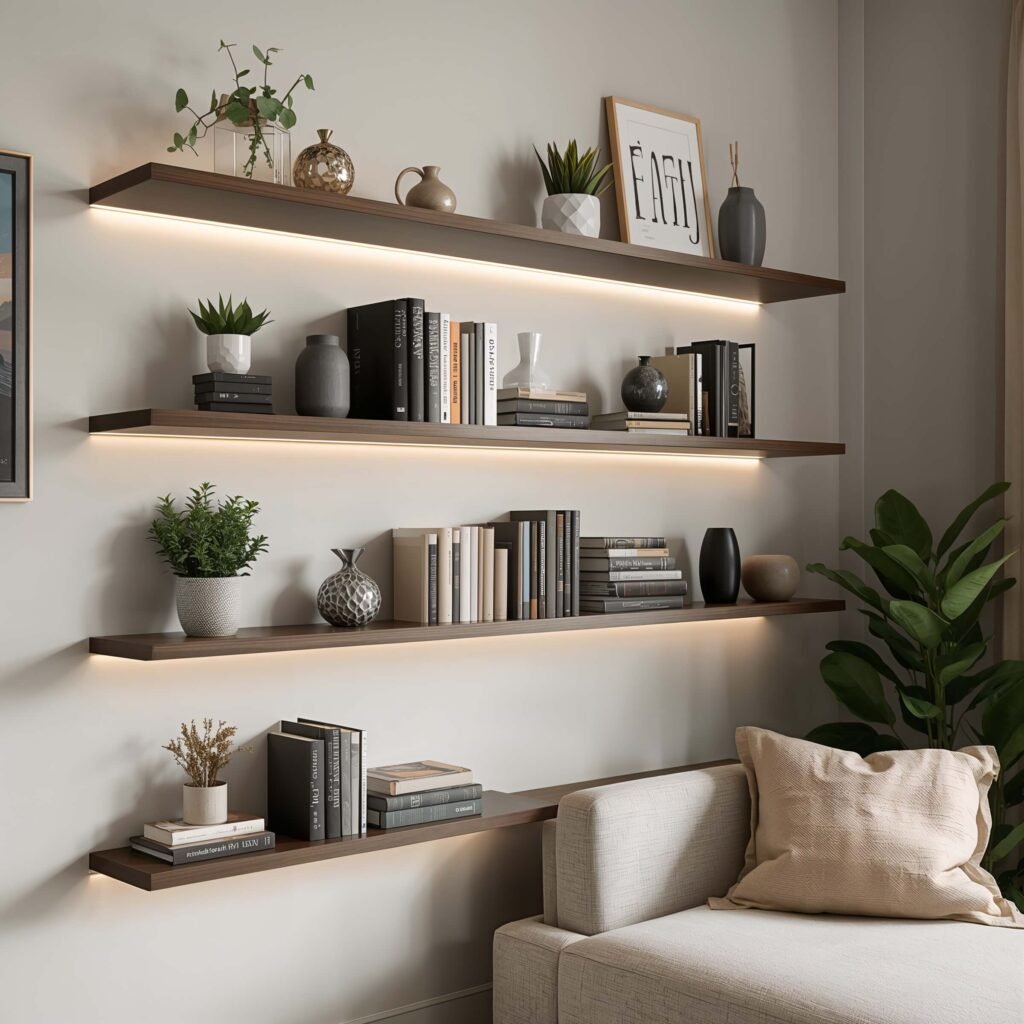
Floating shelves solve two problems at once: storage and decoration. They’re like the Swiss Army knife of wall design – practical, versatile, and surprisingly stylish when done right. Plus, they make you look organized even when you’re not (my secret weapon).
I installed my first floating shelves five years ago, and they’ve been through countless redecorations. Books, plants, candles, random flea market finds – these shelves have displayed it all without complaint.
Strategic Shelf Placement
Location matters more than you think. Eye level works for display items, while higher shelves handle storage. Stagger shelf lengths for visual interest – three identical shelves in a row looks institutional, but varied lengths create movement.
Consider weight distribution too. I learned this after my “great shelf collapse of 2019” when I overloaded a shelf with hardcover books. Now I distribute heavy items across multiple shelves and use proper wall anchors religiously.
Styling Your Floating Shelves
Here’s my formula for shelf styling that looks effortless:
• Rule of thirds: Divide each shelf mentally into three sections
• Vary heights: Mix tall vases with short bowls
• Add greenery: Plants breathe life into any display
• Include negative space: Don’t fill every inch
• Layer items: Place artwork behind smaller objects for depth
The trick is making it look casual while being completely intentional. Arrange, step back, adjust, repeat. IMO, the best shelf displays look like they just happened naturally.
Two-Tone Painted Walls: The Easiest Drama You’ll Ever Create
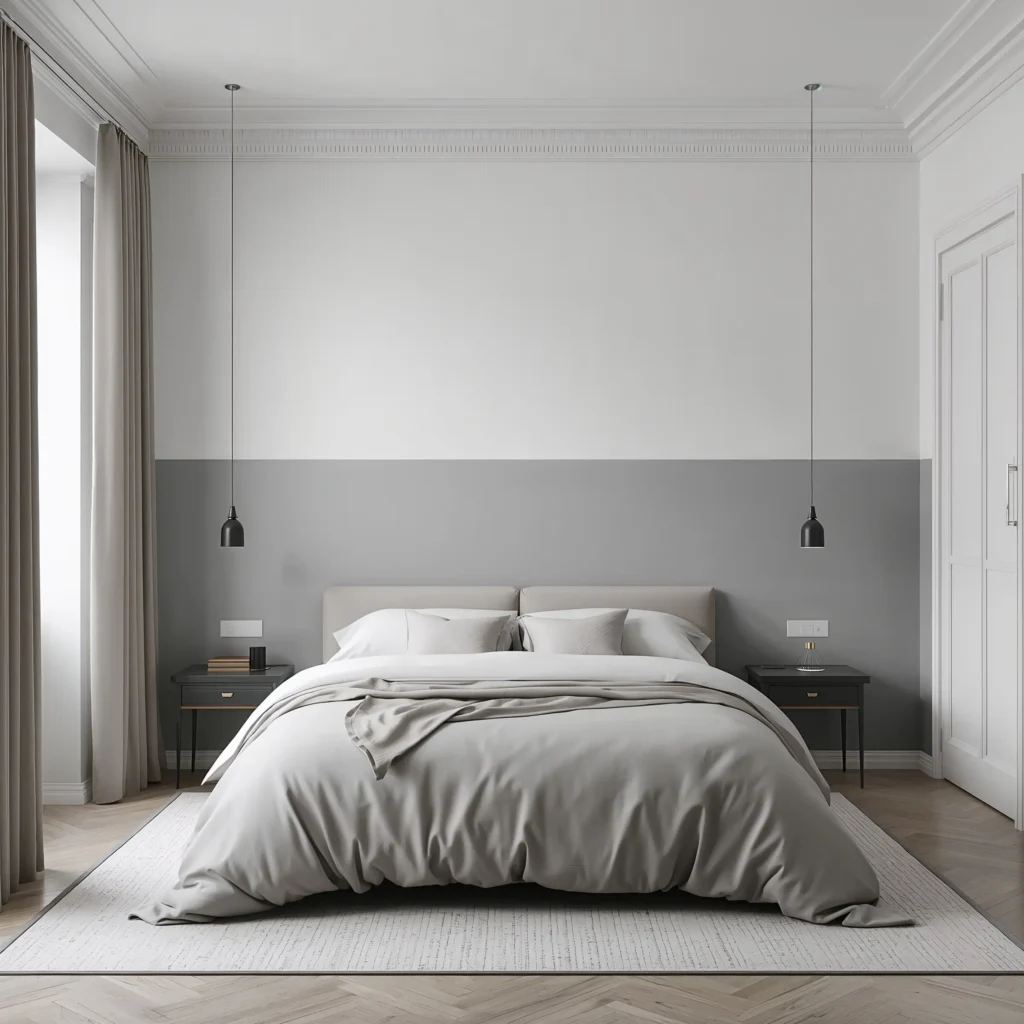
Why settle for one paint color when two creates twice the impact? Two-tone walls add architectural interest to boring boxes – I mean, rooms. They’re basically the pushup bra of interior design: instant lift with minimal effort.
My dining room rocks a deep green bottom half with crispy white above. Sounds simple, right? It is, but the effect makes everyone think I hired a designer. (I didn’t, unless YouTube University counts.)
Choosing Your Color Split
The traditional split sits at chair rail height (about 36 inches), but rules are meant to be broken. I’ve seen stunning rooms with the split at two-thirds height, creating a cozy, grounded feeling. Consider your ceiling height – lower ceilings benefit from higher color breaks, while tall ceilings can handle lower splits.
Color selection makes or breaks this look:
• Complementary colors for subtle sophistication
• High contrast for modern drama
• Tonal variations of the same color for gentle interest
• Dark bottom, light top to ground the space
• Bold bottom, neutral top for controlled excitement
Achieving the Perfect Line
That horizontal line between colors needs to be perfect – wobbly lines scream amateur hour. Use a laser level and high-quality painter’s tape. Press the tape edge with a credit card to seal it completely before painting.
Here’s my secret weapon: paint the tape edge with the base color first, let it dry, then apply your second color. This seals any tiny gaps and guarantees crisp lines. You’re welcome 🙂
Vertical Garden Wall: Bringing the Outside In
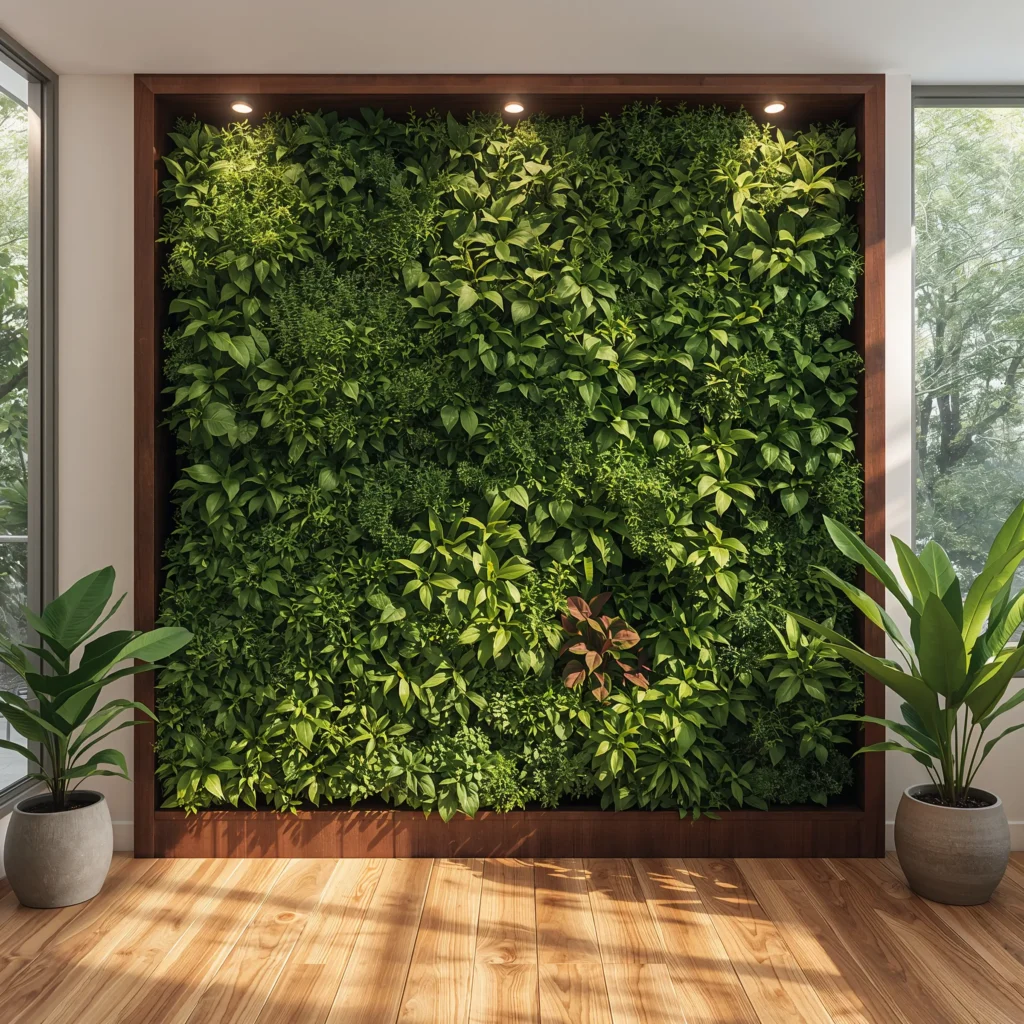
Plants on walls? Absolutely. Vertical gardens transform blank walls into living art that actually improves your air quality. It’s like having a piece of rainforest in your living room, minus the humidity and mosquitoes.
I installed my first vertical garden three years ago after killing yet another houseplant (RIP, fiddle leaf fig #4). Turns out, vertical gardens are harder to neglect because they’re right there, staring at you, demanding attention.
Choosing Your System
Several options work depending on your commitment level:
• Pocket planters: Fabric or felt pockets, perfect for herbs
• Modular systems: Plastic grids that click together
• Mounted planters: Individual pots on a grid or rails
• Hydroponic systems: High-tech but low maintenance
• DIY pallets: Rustic and cheap, great for outdoor walls
Start small – I mean it. My first attempt covered an entire wall, and the maintenance nearly broke me. Now I have a manageable 4×4 foot section that brings joy without exhaustion.
Plant Selection for Success
Choose plants that match your light conditions and laziness level. (We’re being honest here, right?) Low-light warriors like pothos, snake plants, and ZZ plants forgive neglect. If your wall gets sun, try succulents or air plants.
Consider maintenance access too. You’ll need to water, prune, and occasionally replant. My vertical garden sits beside my kitchen sink – convenient for watering and impossible to ignore.
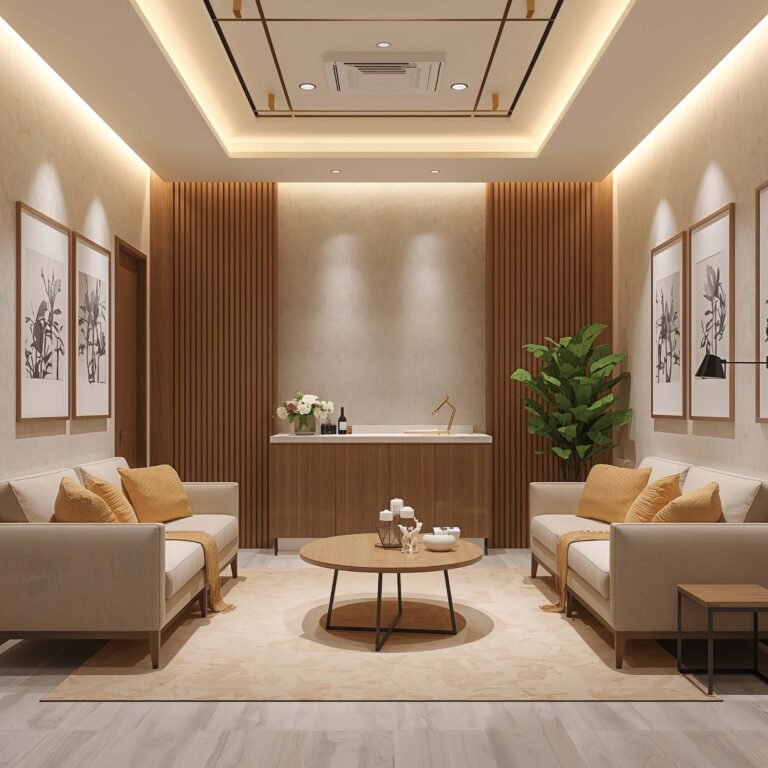
Rustic Wood Paneling: Not Your Grandpa’s Wood Walls
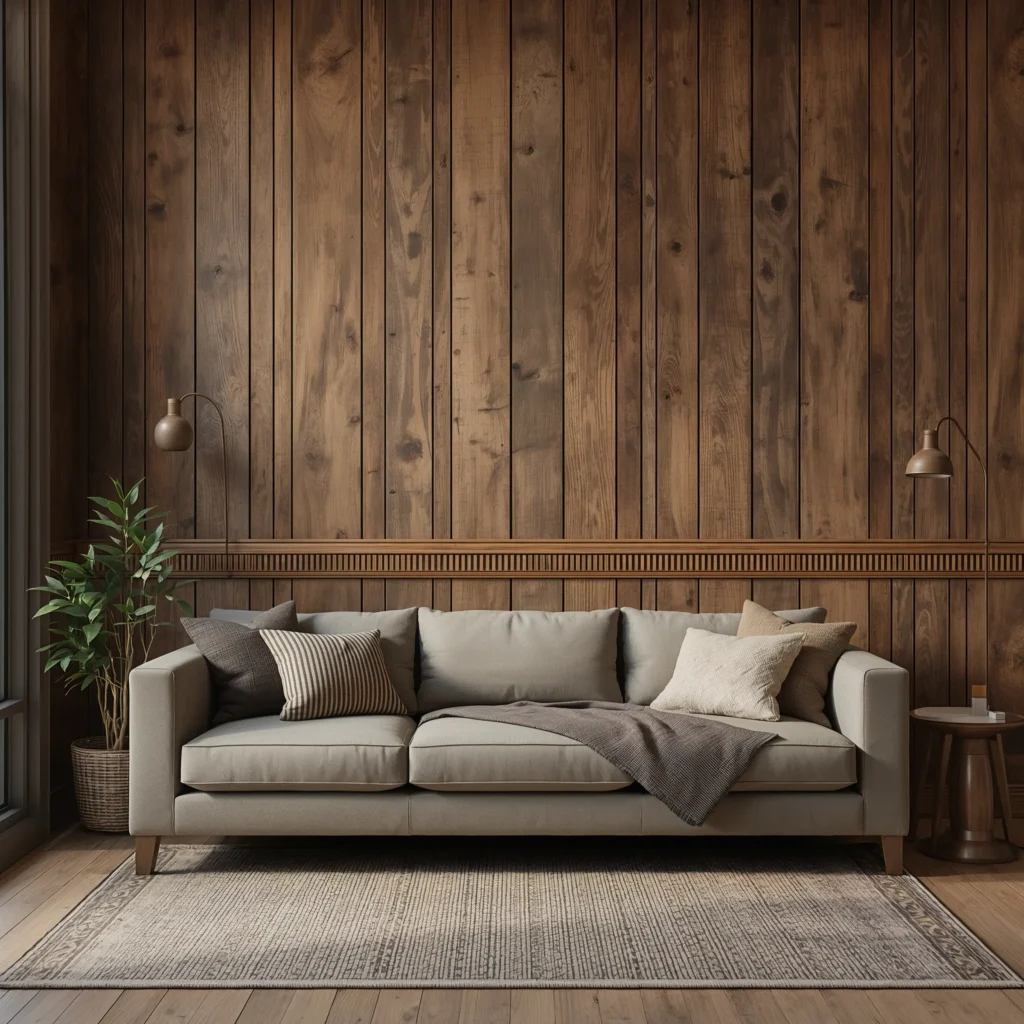
Wood paneling got a bad rap thanks to 1970s basement rec rooms, but modern rustic wood walls are having a serious moment. They add warmth and texture that makes spaces feel intentional and cozy, not dated and dark.
I fought my partner on adding wood paneling to our bedroom for months. “It’ll look like a cabin,” I complained. Guess what? It does look like a cabin – a gorgeous, magazine-worthy cabin where I actually want to spend time.
Wood Selection and Treatment
Your wood choice sets the entire mood:
• Reclaimed barn wood: Instant character with eco-friendly bonus points
• Shiplap: Clean lines, modern farmhouse vibes
• Board and batten: Traditional with a contemporary twist
• Live edge planks: Organic luxury that shows off natural wood grain
• Whitewashed wood: Bright and beachy without the darkness
Consider the finish too. Natural oil brings out grain, while paint can lighten things up. Mix wide and narrow planks for visual interest – uniform widths can look manufactured.
Installation Tips That Matter
Proper installation prevents warping and gaps. Acclimate your wood to the room for at least 48 hours before installation. This isn’t optional – I skipped this once and watched beautiful planks twist into modern art.
Leave expansion gaps at edges – wood moves with humidity changes. Cover these with trim for a professional finish. And please, use a stud finder. Screwing into drywall alone leads to sagging sadness.
Minimalist Wall Stickers: Maximum Impact, Minimum Commitment
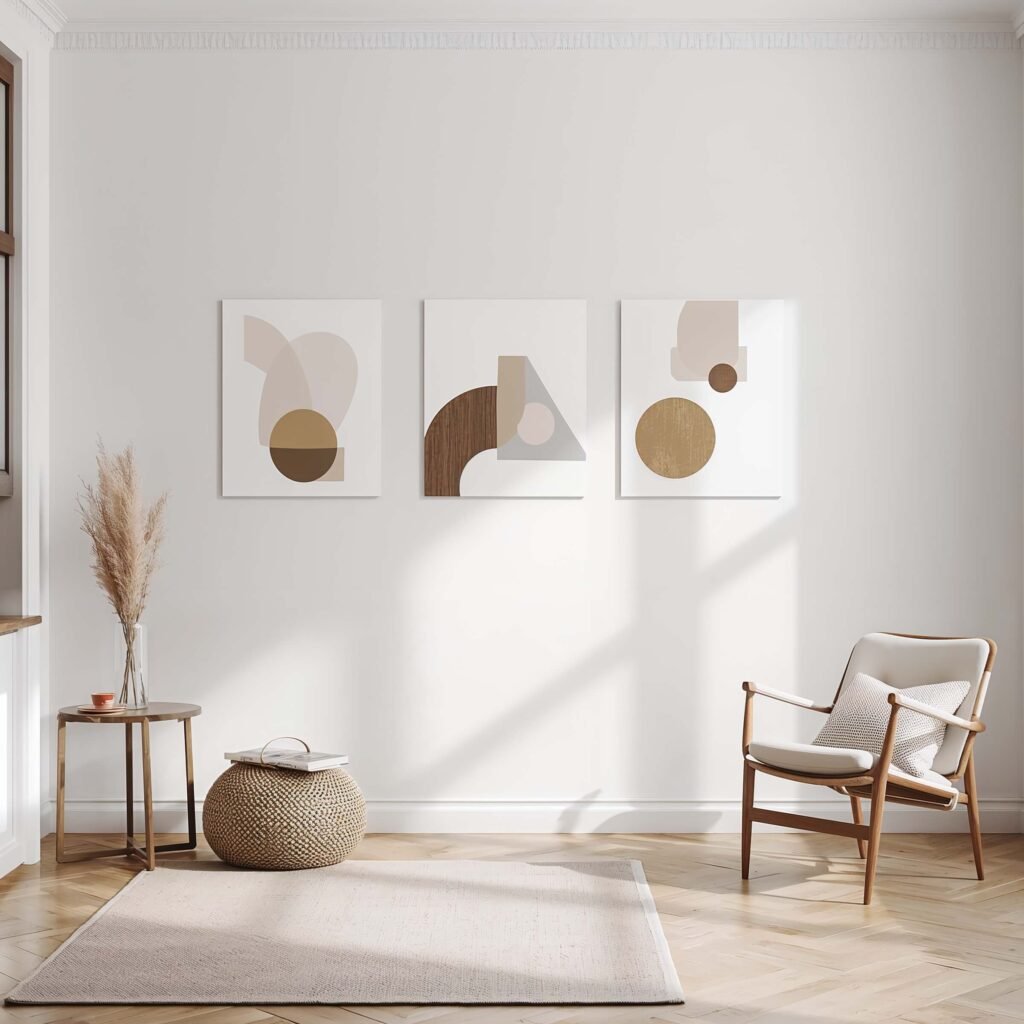
Hear me out – wall stickers aren’t just for kids’ rooms anymore. Modern minimalist decals add personality without permanence. They’re perfect for renters or commitment-phobes who want style without the five-year plan.
I discovered adult wall stickers while living in a rental that banned painting. One geometric mountain range decal later, and my bland bedroom had a focal point that sparked conversations.
Selecting Sophisticated Stickers
Forget cartoon characters and motivational quotes. Look for:
• Geometric patterns that could pass for painted designs
• Botanical silhouettes for organic elegance
• Architectural elements like faux molding or windows
• Abstract designs that add interest without overwhelming
• Constellation maps for subtle celestial vibes
Quality matters here. Cheap stickers bubble, peel, and look exactly like cheap stickers. Invest in vinyl decals with good reviews – they apply smoothly and remove cleanly.
Application Without Aggravation
The transfer process makes or breaks your sticker experience. Clean your wall thoroughly first – any dust or grease causes bubbling. Use the provided application tape and squeegee out bubbles as you go.
Start from the center and work outward, especially with large decals. Take your time; rushing leads to crooked disasters that’ll haunt you daily. Trust me, that slightly off-center tree in my first apartment still bothers me.
Ombre Color Wall: The Gradient That Grows on You
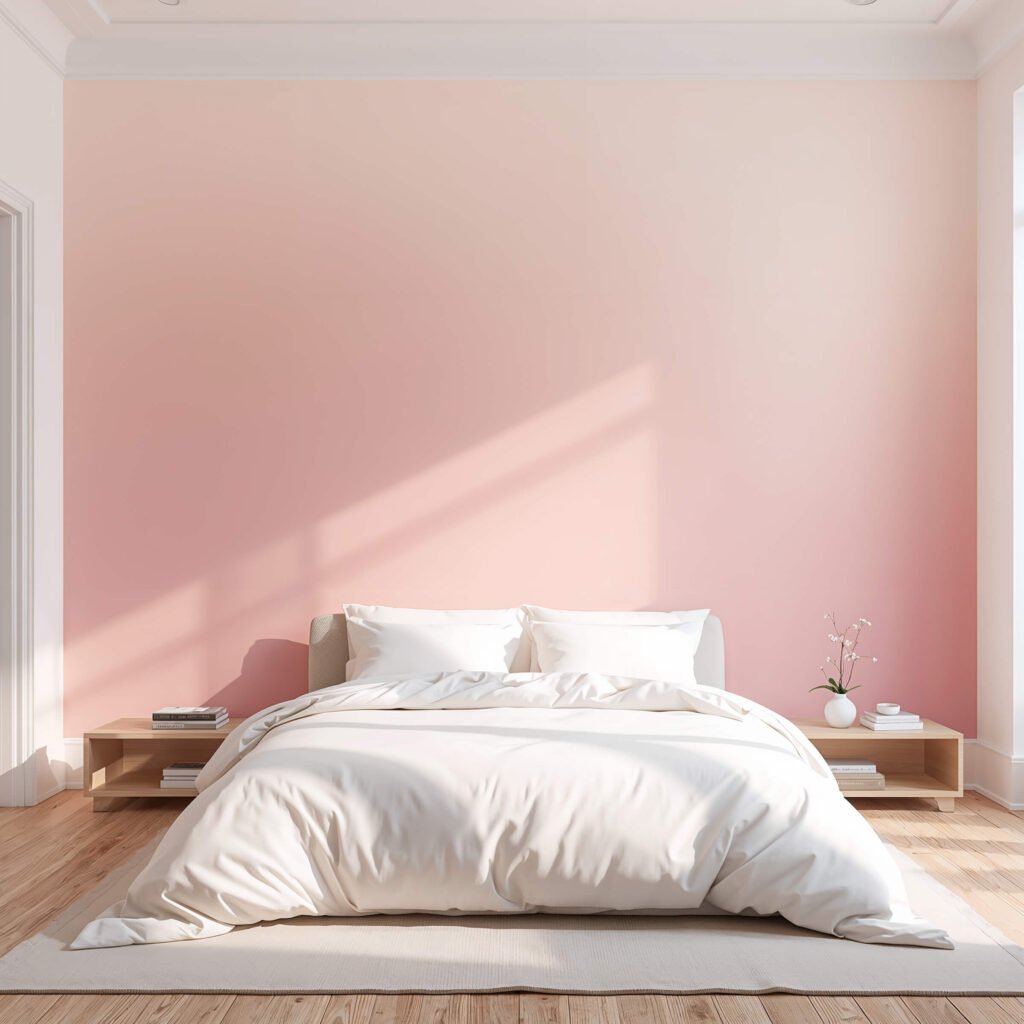
Ombre walls create dreamy transitions that make rooms feel larger and more dynamic. It’s like watching a sunset on your wall, except it never ends and doesn’t make you sleepy.
My bathroom ombre wall transitions from deep teal to barely-there aqua. Every morning feels like waking up underwater – in the best possible way. Friends assume I hired a professional, but honestly? It’s easier than you’d think.
Planning Your Gradient
Successful ombre requires planning:
• Choose your color family – staying within one hue prevents muddiness
• Decide on direction – vertical, horizontal, or diagonal
• Determine transition zones – usually 3-5 color bands work best
• Test your colors – paint samples on poster board first
• Mark your sections – light pencil marks guide your gradient
The key is subtle transitions. Harsh lines between colors scream “DIY fail” while smooth blending looks intentional and sophisticated.
Blending Techniques That Work
Forget those complex tutorials with seventeen steps. Here’s what actually works: paint your sections while previous colors are still wet. Use a large, barely damp brush to blend where colors meet. Work in manageable sections – trying to ombre an entire wall at once leads to patchy disasters.
The secret weapon? A sea sponge. Dabbing at transition zones creates natural blending that brushes can’t achieve. Yeah, you’ll look ridiculous dabbing at your wall, but the results speak for themselves.
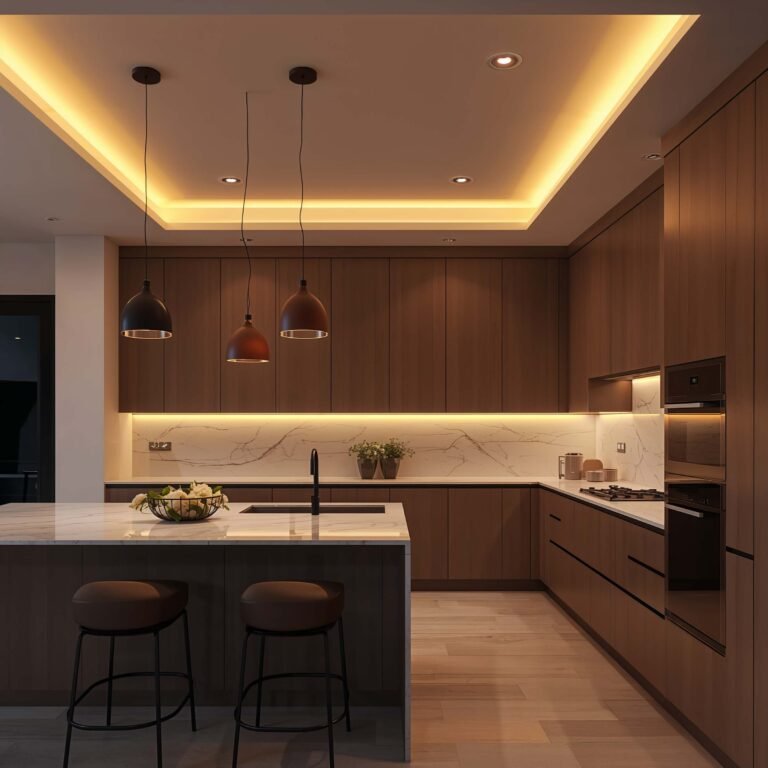
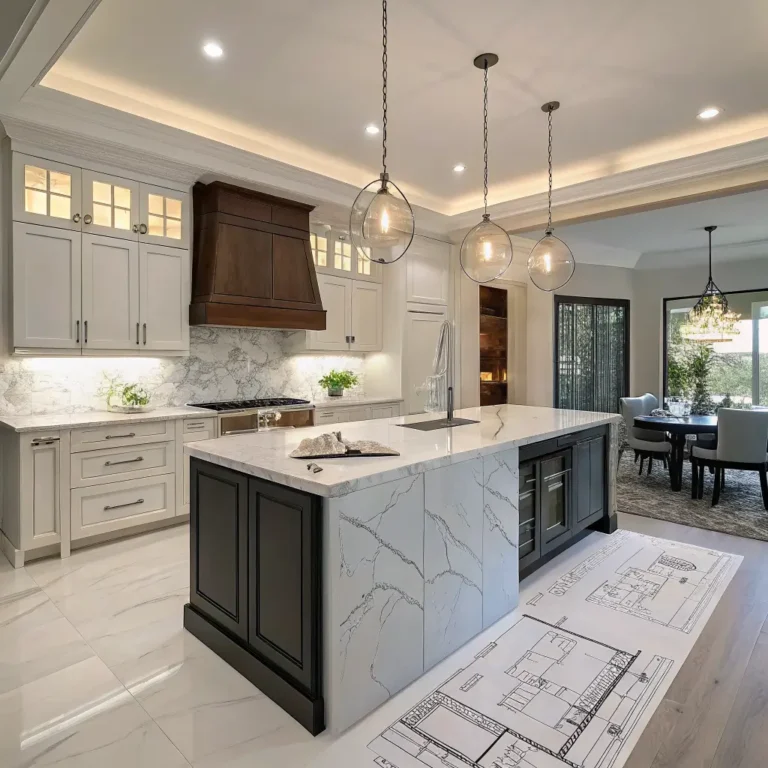
Wall-Mounted Lighting Features: Illuminating Your Style
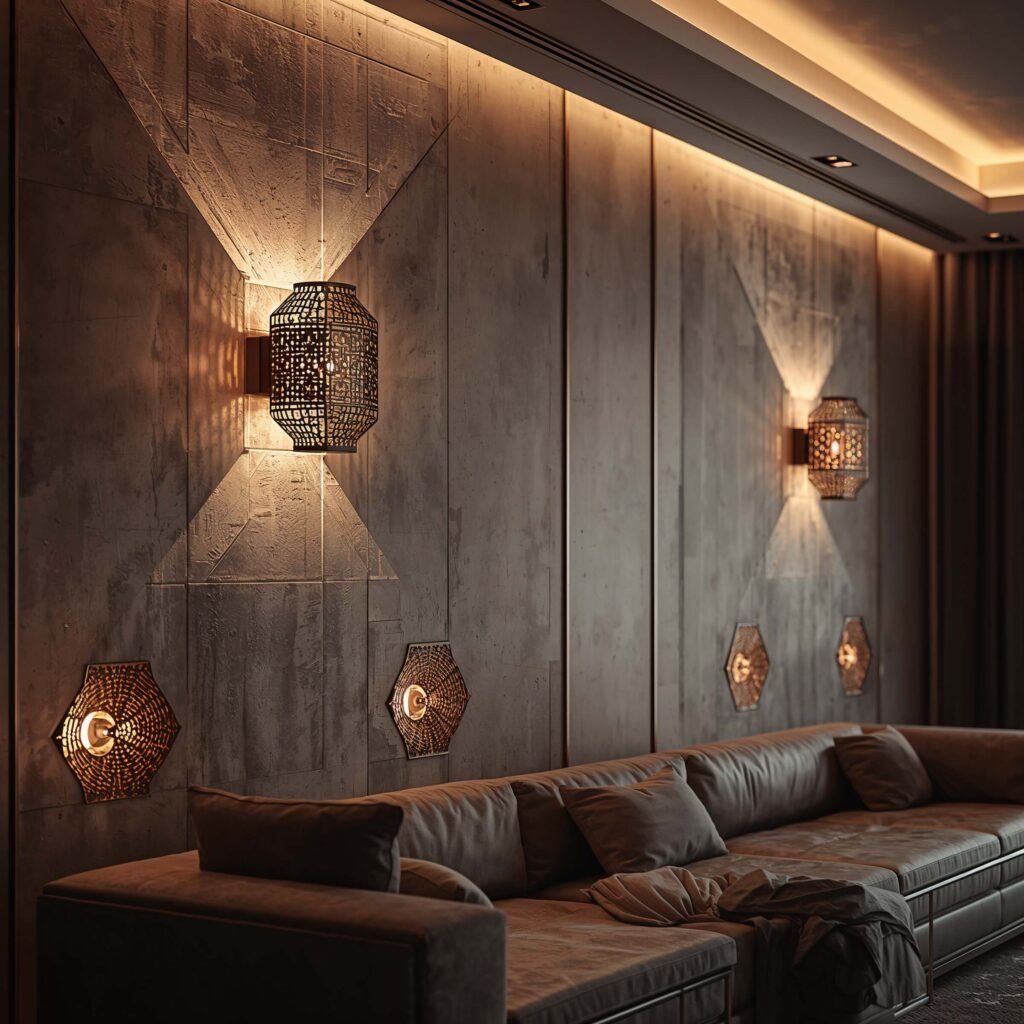
Lighting changes everything, and wall-mounted fixtures do double duty as art and illumination. They’re jewelry for your walls – functional accessories that complete the look.
I replaced boring overhead lighting with strategic wall sconces two years ago. The transformation was immediate: harsh overhead glare became warm, inviting ambiance. Plus, my electricity bill dropped because targeted lighting means I’m not illuminating the entire room just to read.
Choosing Fixtures That Shine
Consider both form and function:
• Swing-arm sconces for bedside reading without nightstand clutter
• Picture lights to highlight artwork (or make cheap prints look expensive)
• LED strips behind floating shelves for subtle glow
• Decorative sconces that work as sculpture even when off
• Neon signs for personality (yes, they’re back)
Match metals to your existing hardware for cohesion. Mixed metals can work, but it requires confidence and planning. My rule? Maximum two metal finishes per room.
Installation Without Intimidation
Electrical work scares people, but many wall lights now offer plug-in options. No electrician required – just strategic cord management. Cord covers painted to match your wall make wires disappear.
For hardwired options, consider hiring a professional. I attempted one electrical installation myself; let’s just say the electrician who fixed it was very polite about my “creative” wiring choices.
Position lights at eye level when seated for task lighting, higher for ambient glow. Test positions with tape and cardboard cutouts before drilling. Once you’ve made holes in your wall, you’re committed – ask me about the constellation of patched holes behind my headboard.
Making These Ideas Your Own
Here’s the thing about wall design: what works in my space might not work in yours, and that’s totally fine. These ideas are starting points, not rigid rules. Your walls should tell your story, not mine or anyone else’s.
Start with one wall, one idea. See how it feels living with it for a few weeks. You might surprise yourself – that bold geometric pattern you were nervous about could become your favorite feature. Or maybe you’ll discover you’re more of a minimalist sticker person. There’s no wrong answer here.
The biggest mistake people make? Overthinking it. Walls can be repainted, shelves can be moved, and even that textured plaster can be smoothed if you really hate it (though you probably won’t). Your home should evolve with you, and these wall treatments are just tools to help that happen.
So grab some painter’s tape, order those floating shelves, or finally commit to that vertical garden you’ve been pinning for months. Your walls are waiting to become something special. And when friends ask who designed your space, you can honestly say you did – with maybe a little help from someone who’s made all the mistakes so you don’t have to.
Trust me, transforming your walls transforms how you feel in your space. It’s not just about aesthetics; it’s about creating a home that energizes you every morning and welcomes you every evening. Now stop scrolling through inspiration and start creating. Your walls will thank you, and more importantly, you’ll thank yourself every time you walk through your door.