10 Amazing DIY Dining Table Ideas That Will Inspire Your Home
Remember that time you walked into someone’s house and their dining table just stopped you in your tracks? Yeah, I want that for you.
After building five dining tables myself (and nearly divorcing my partner over sawdust in the living room), I’ve learned what works, what doesn’t, and what makes people ask, “Where’d you buy that?”
Here’s the thing – building your own dining table isn’t just about saving money. Sure, you might save a few hundred bucks, but you’re also creating something that perfectly fits your space, style, and that weird corner where nothing else seems to work. Plus, you get bragging rights for life.
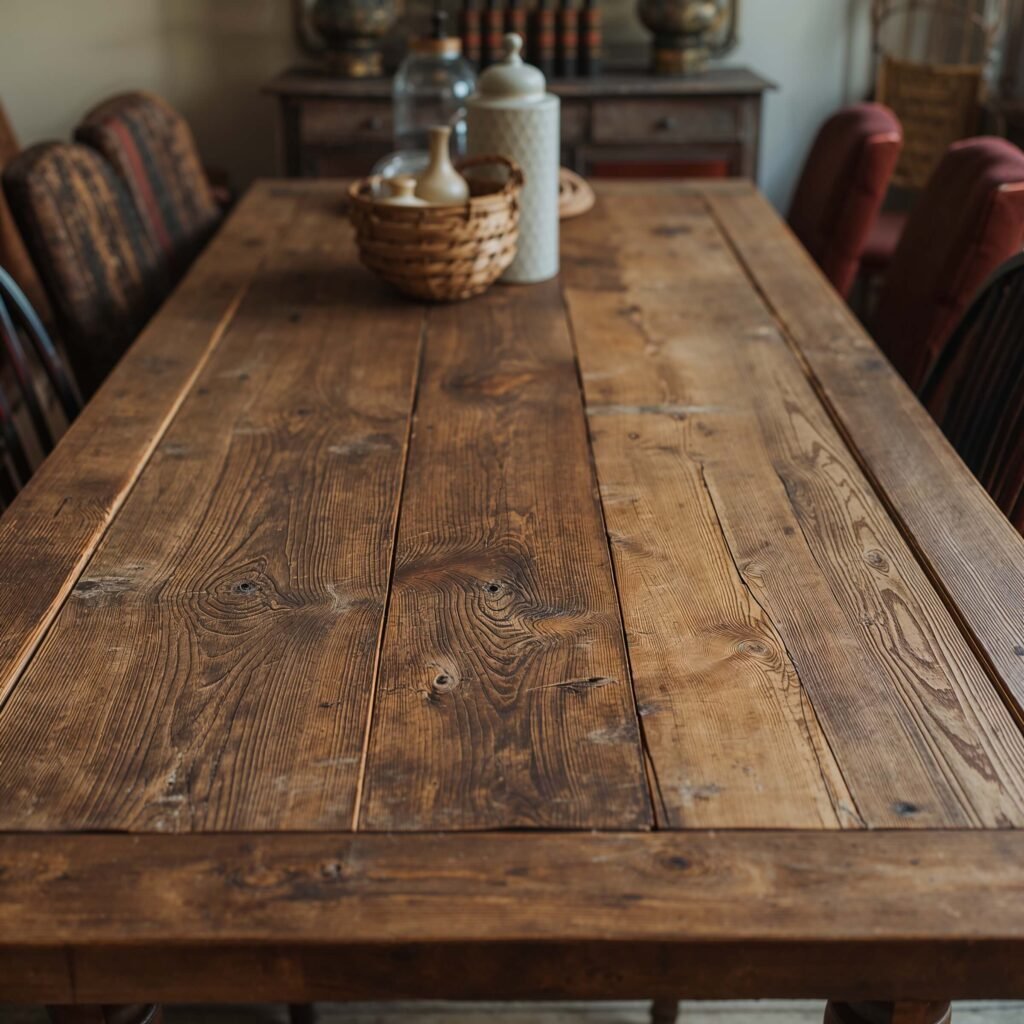
Rustic Pallet Wood Dining Table
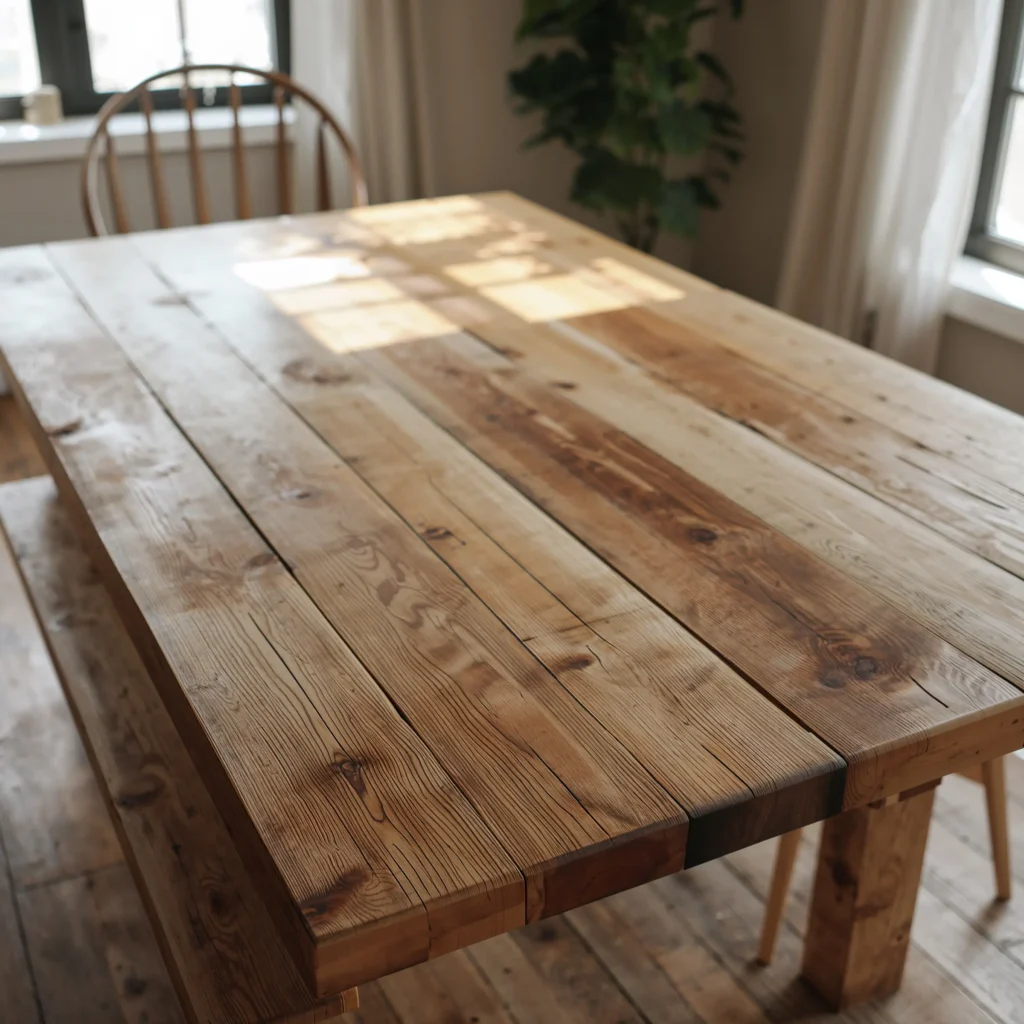
Let’s kick things off with the gateway drug of DIY furniture – pallet wood. I built my first pallet table three years ago, and honestly? It still gets compliments at every dinner party.
Why Pallet Wood Works So Well
The beauty of pallet wood lies in its imperfections. Those natural weathering marks, nail holes, and color variations create character you couldn’t fake if you tried. And before you ask – yes, free pallets are everywhere. Check behind grocery stores, construction sites, or Craigslist.
Finding the right pallets makes all the difference:
- Look for heat-treated pallets (marked with “HT”)
- Avoid chemically treated ones (marked “MB”)
- Hardwood pallets last longer than pine
- Check for minimal splitting or warping
Building Your Rustic Masterpiece
Start by dismantling your pallets carefully. A reciprocating saw works wonders here, though a crowbar and patience work too. Sand everything down – and I mean everything. Nobody wants splinters with their spaghetti.
The construction process stays pretty straightforward. Create your tabletop by arranging boards in whatever pattern speaks to you. I went with alternating wood tones for visual interest. Secure everything with wood glue and pocket screws underneath. For the base, you can keep it simple with 4×4 posts or get fancy with angled legs.
Pro tip: Apply a clear polyurethane finish to protect the wood while maintaining that rustic look. Three coats minimum, folks. Trust me on this one.
Foldable Wall-Mounted Dining Table
Living in a shoebox apartment? Been there. This space-saving solution literally changed my life when I lived in a 400-square-foot studio.
The Space-Saving Champion
A wall-mounted folding table gives you dining space when you need it and wall art when you don’t. The mechanism stays surprisingly simple – basically a heavy-duty piano hinge and some strategic support brackets.
Here’s what you’ll need:
- Solid wood board (at least 1.5 inches thick)
- Heavy-duty piano hinge (rated for 100+ pounds)
- Folding shelf brackets or chains for support
- Wall anchors rated for serious weight
- Level (because crooked tables = rolling peas)
Installation That Won’t End in Disaster
Finding studs becomes non-negotiable here. Your drywall anchors might claim they hold 75 pounds, but do you really want to test that theory with hot soup involved?
Mount your support ledger board directly into at least two studs. Attach the piano hinge to both the ledger and your tabletop. The folding brackets or chains provide support when the table’s in use. Test everything with gradual weight before trusting it with your grandmother’s china.
The best part? You can customize the height for bar-style eating or standard dining. Mine doubles as a standing desk during the day. Multi-functional furniture FTW!
Industrial Pipe Frame Dining Table
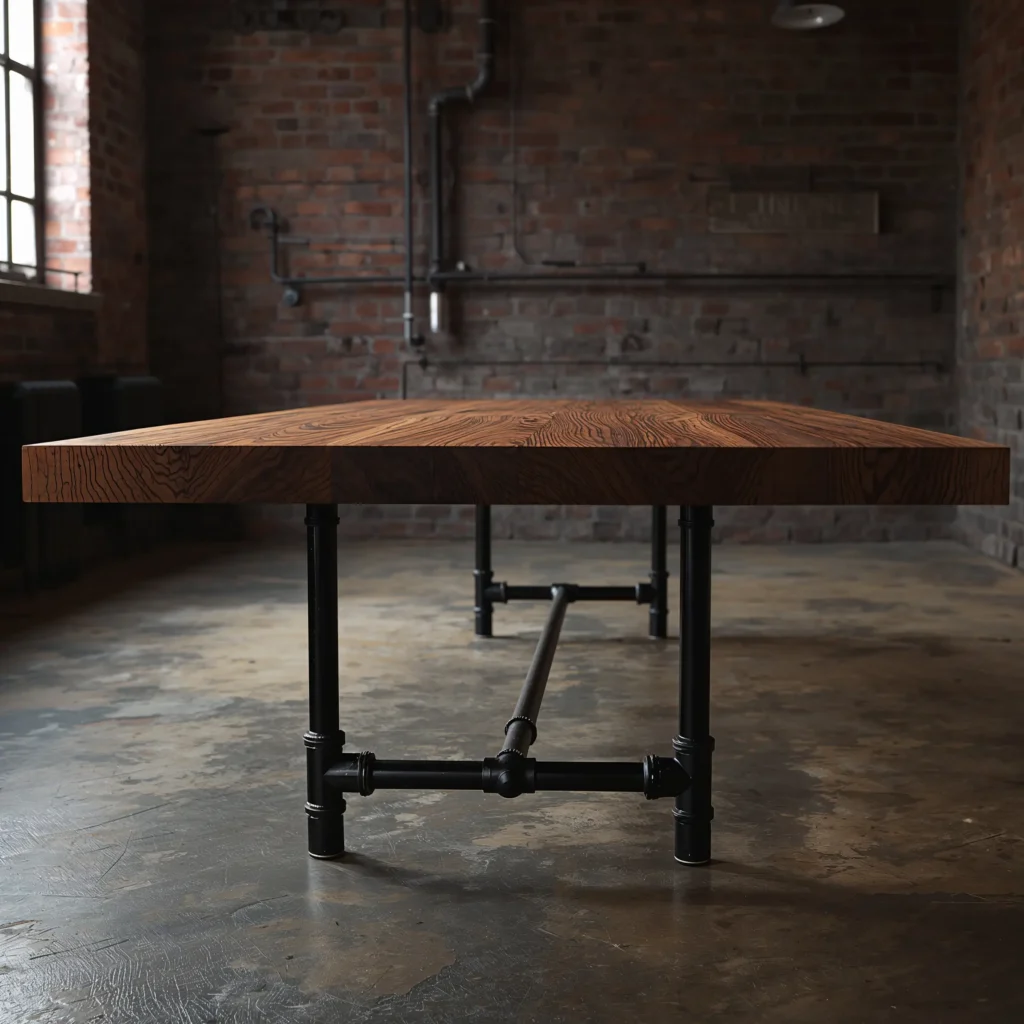
Want that trendy industrial look without the industrial price tag? This style delivers serious wow factor while keeping your wallet happy.
Getting That Factory-Chic Vibe
The industrial pipe table combines raw metal piping with warm wood for a contrast that just works. I built mine for about $200, compared to the $800+ versions at West Elm.
Shopping list for the frame:
- Black iron pipes (¾” or 1″ diameter)
- Floor flanges (4 minimum)
- Elbows and T-joints
- Pipe caps for feet
- Thread sealant (unless you enjoy wobbly tables)
Assembly Without the Headache
Here’s where things get fun. Design your frame first – sketch it out or use free online pipe calculators to figure out lengths. Most hardware stores will cut and thread pipes to your specifications.
Start with the legs, connecting pipes with joints to create your desired height. Build the frame in sections for easier handling. The tabletop support frame connects everything together. Use floor flanges to attach the wood top to the pipe frame.
Wood selection matters here. Butcher block countertops work amazingly well and come pre-finished. Reclaimed barn wood adds character. Even a simple pine top looks elevated with the industrial base.
Also Read: 10 Cozy 6 Seater Dining Table Ideas for Family Gatherings
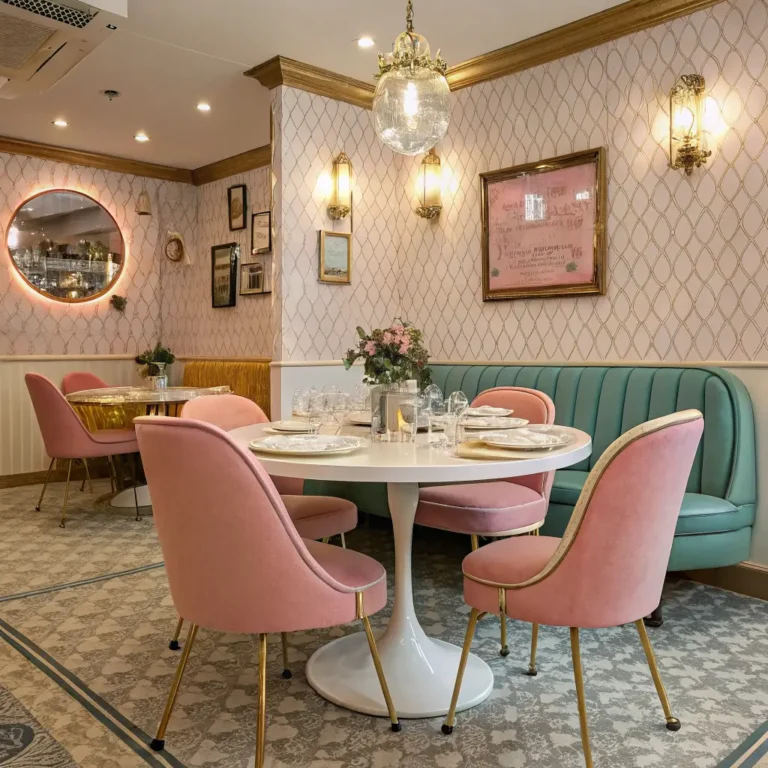
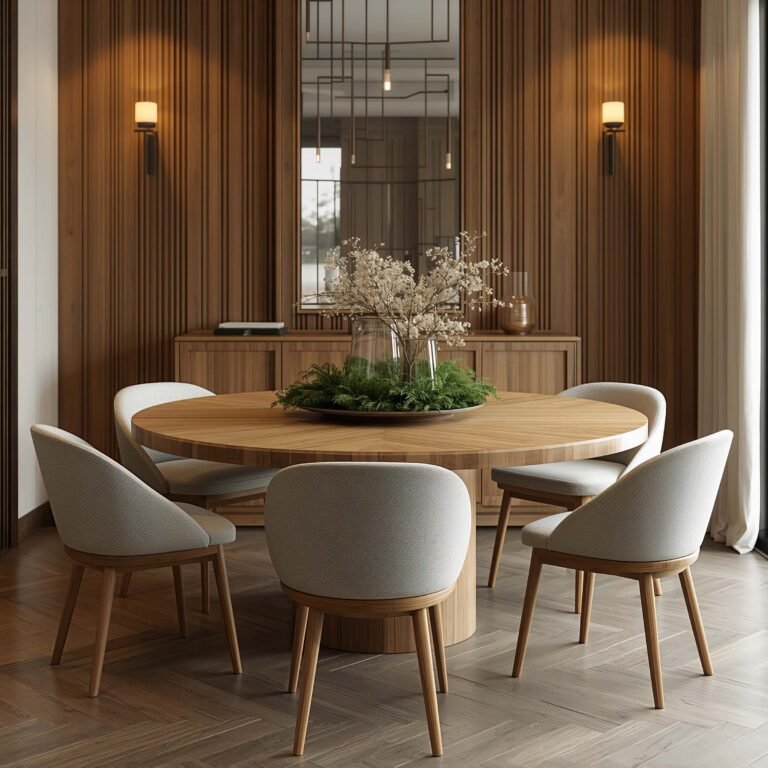
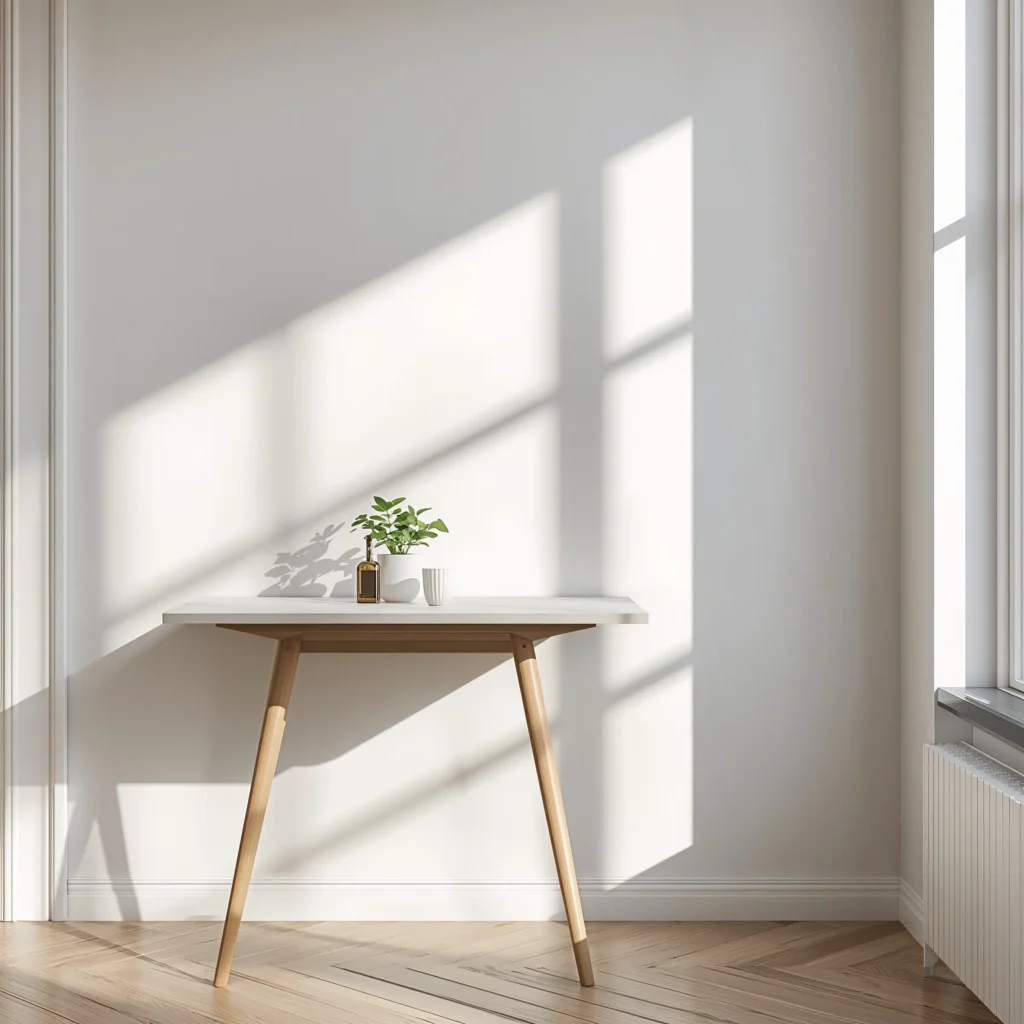
Minimalist Scandinavian Dining Table
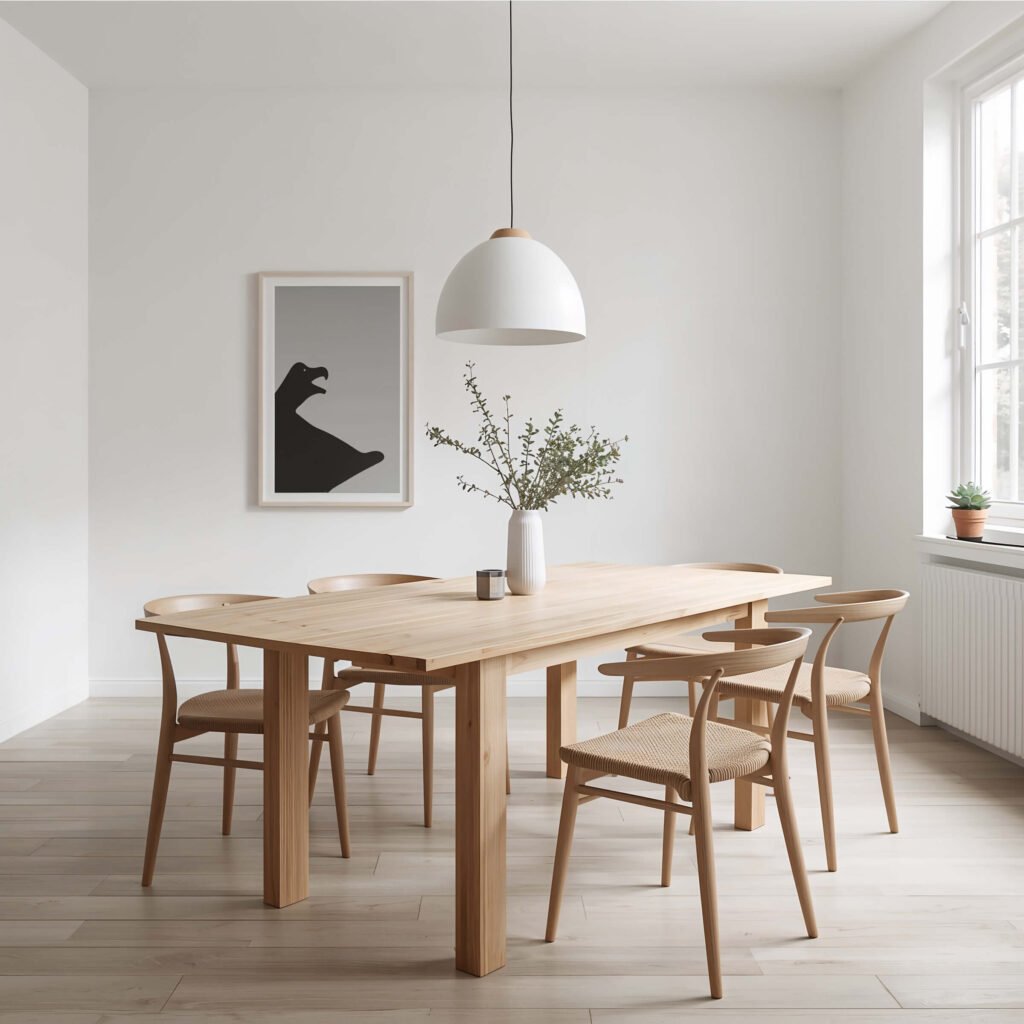
Sometimes less really is more. This clean-lined beauty proves you don’t need fancy tools or techniques to create something stunning.
The Art of Simplicity
Scandinavian design focuses on functionality, natural materials, and clean lines. Think light woods, tapered legs, and zero unnecessary ornamentation. My Scandi table gets used more than any other piece I’ve built – probably because it goes with literally everything.
Materials that nail the aesthetic:
- Light hardwoods (birch, ash, or white oak)
- Tapered furniture legs (buy pre-made to save time)
- Natural oil finishes (no glossy polyurethane here)
- Minimal hardware – let joinery do the work
Construction That Celebrates Wood
The tabletop requires attention to grain direction and board selection. Choose boards with minimal knots and consistent color. Edge-glue them carefully, alternating growth ring directions to prevent warping.
Sand progressively from 80 to 220 grit. Yes, it takes forever. No, you can’t skip grits. The silky-smooth finish defines this style. Apply a natural oil finish – Danish oil or tung oil work perfectly. They enhance the wood grain without adding artificial shine.
Attaching legs stays refreshingly simple. Angled mounting plates create that signature tapered look while providing rock-solid support. Position them slightly inset from the edges for visual lightness.
Farmhouse X-Base Dining Table
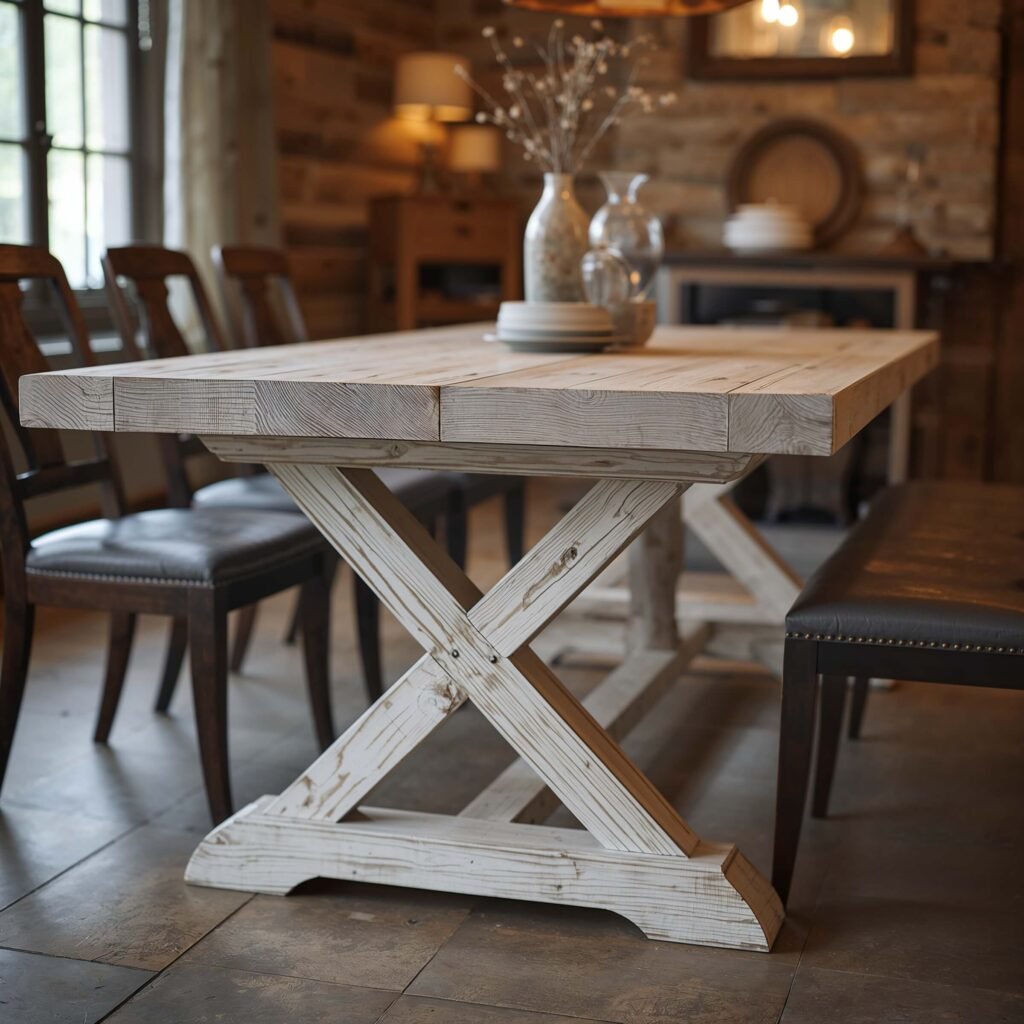
Ever wonder why farmhouse tables feel so inviting? It’s that perfect blend of sturdy construction and welcoming imperfection that makes everyone want to gather around.
Building That Cozy Farmhouse Feel
The X-base design isn’t just aesthetic – it’s structurally sound and uses less lumber than traditional four-post designs. Win-win, right?
Your shopping list includes:
- 2x4s or 2x6s for the base
- 2×10 or 2×12 boards for the top
- Wood glue and pocket screws
- Carriage bolts for the X-brace
- Stain or paint (distressed white = classic farmhouse)
Creating the Signature X-Base
Start with the legs – two vertical posts on each end connected by a horizontal stretcher at the top. The magic happens with the X-brace. Cut your diagonal pieces with 45-degree angles on each end. They should overlap perfectly in the center.
Secure the X with a carriage bolt through the center intersection. This allows slight movement as wood expands and contracts seasonally. Smart building prevents future cracking.
The tabletop can go rustic or refined. Breadboard ends add authenticity and help prevent warping. Just remember they require specific joinery techniques – watch a YouTube tutorial or three before attempting.
Concrete Top Dining Table
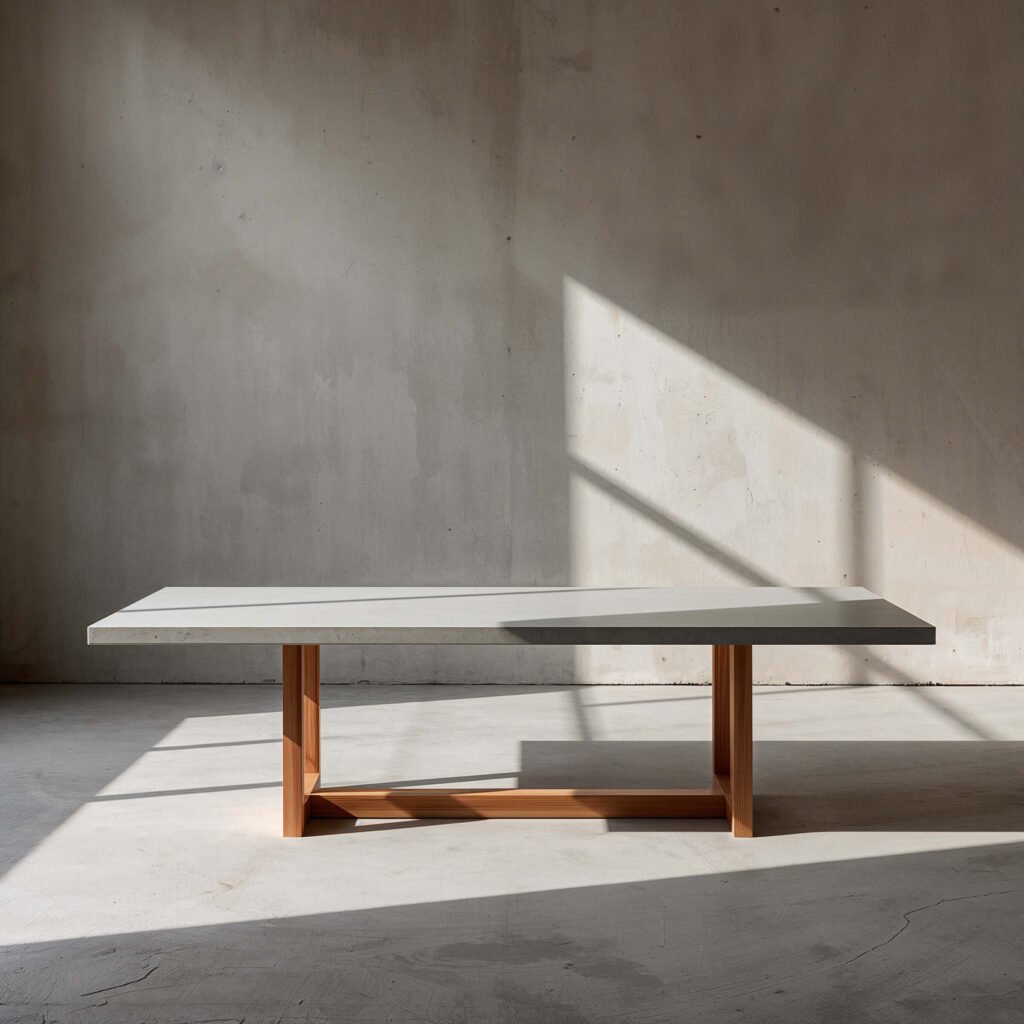
Okay, hear me out. Concrete dining tables sound crazy until you see one in person. Then you understand why they’re everywhere in high-end restaurants.
Why Concrete Actually Makes Sense
Concrete tops are virtually indestructible, heat-resistant, and completely customizable. Plus, making one costs a fraction of buying stone slabs. I built mine after spilling red wine on my third wooden table. No regrets.
Essential supplies:
- Concrete countertop mix (not regular concrete)
- Melamine boards for the form
- Reinforcement mesh or rebar
- Concrete sealer (food-safe)
- Vibrating sander (for removing bubbles)
Pouring Your Own Stone Masterpiece
Building the form takes patience. Use melamine because concrete won’t stick to it. Create a rectangular frame with walls at least 2 inches tall. Seal every seam with silicone – concrete finds leaks like water finds basements.
Mix your concrete following package directions exactly. This isn’t the time for improvisation. Pour in layers, adding reinforcement mesh between them. Vibrate thoroughly to eliminate air bubbles – they’ll show on your finished surface.
After curing (usually 48-72 hours), carefully remove the form. Sand any rough edges with diamond pads. Apply multiple coats of concrete sealer, especially for dining use. The base can be anything sturdy enough to support the weight – steel frames or thick wooden legs work best.
Also Read: 12 Chic Dining Table Design Modern Luxury Ideas for Interiors
Epoxy River Wood Dining Table
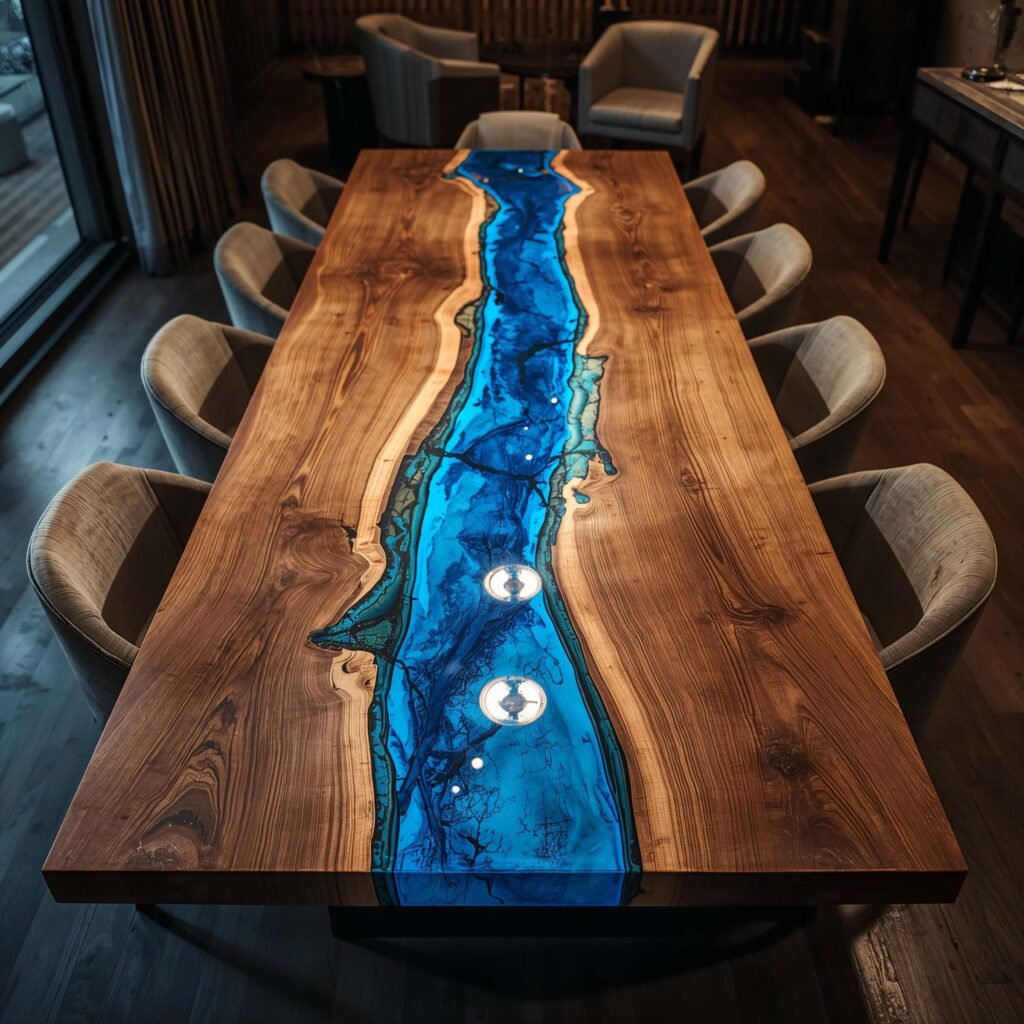
Instagram made these famous, and honestly? They deserve the hype. Creating a river table feels like making functional art.
The Showstopper Everyone Wants
River tables feature live-edge wood slabs with epoxy resin “rivers” running through them. They’re conversation starters, art pieces, and functional furniture rolled into one. Warning: building one is addictive. I’m on table number three :/
What you’ll need:
- Live-edge wood slabs (check local sawmills)
- Epoxy resin (deep-pour formula)
- Resin dyes or pigments
- Release tape and melamine base
- Respirator and gloves (safety first)
Creating Your River
Select wood slabs with interesting edges and grain patterns. The gap between slabs becomes your river – typically 2-6 inches wide. Build a form around your wood using melamine and seal everything meticulously.
Calculate resin volume carefully – running out mid-pour ruins everything. Mix according to instructions, add color if desired, and pour in thin layers to prevent overheating. Each layer needs to cure before adding the next.
The finishing process makes or breaks the table. Sand through progressive grits up to 3000 for glass-like clarity. Apply final finish coats of thin epoxy or polyurethane. The result? A table that looks like it belongs in a museum.
Reclaimed Door Dining Table
Old doors as tables might sound weird, but stick with me. This idea transforms architectural salvage into seriously cool furniture.
From Entrance to Centerpiece
Solid wood doors make incredible tabletops – they’re already flat, finished, and full of character. Plus, you’re recycling! Mother Earth approves.
Door selection tips:
- Solid wood only (no hollow-core)
- Check for lead paint (test kits are cheap)
- Panel doors add visual interest
- Longer doors = bigger tables
Transformation Time
Strip any old paint or varnish – chemical strippers work fastest. Sand thoroughly, paying attention to detailed areas. Those panels and moldings that made the door interesting also trap dirt and old finish.
For the base, get creative. Industrial pipe legs complement ornate doors. Hairpin legs modernize traditional styles. Salvaged architectural columns create a cohesive vintage look.
Seal everything well. Doors weren’t designed for food service, so they need extra protection. Multiple coats of polyurethane or epoxy resin create a durable, cleanable surface.
Hairpin Leg Modern Dining Table
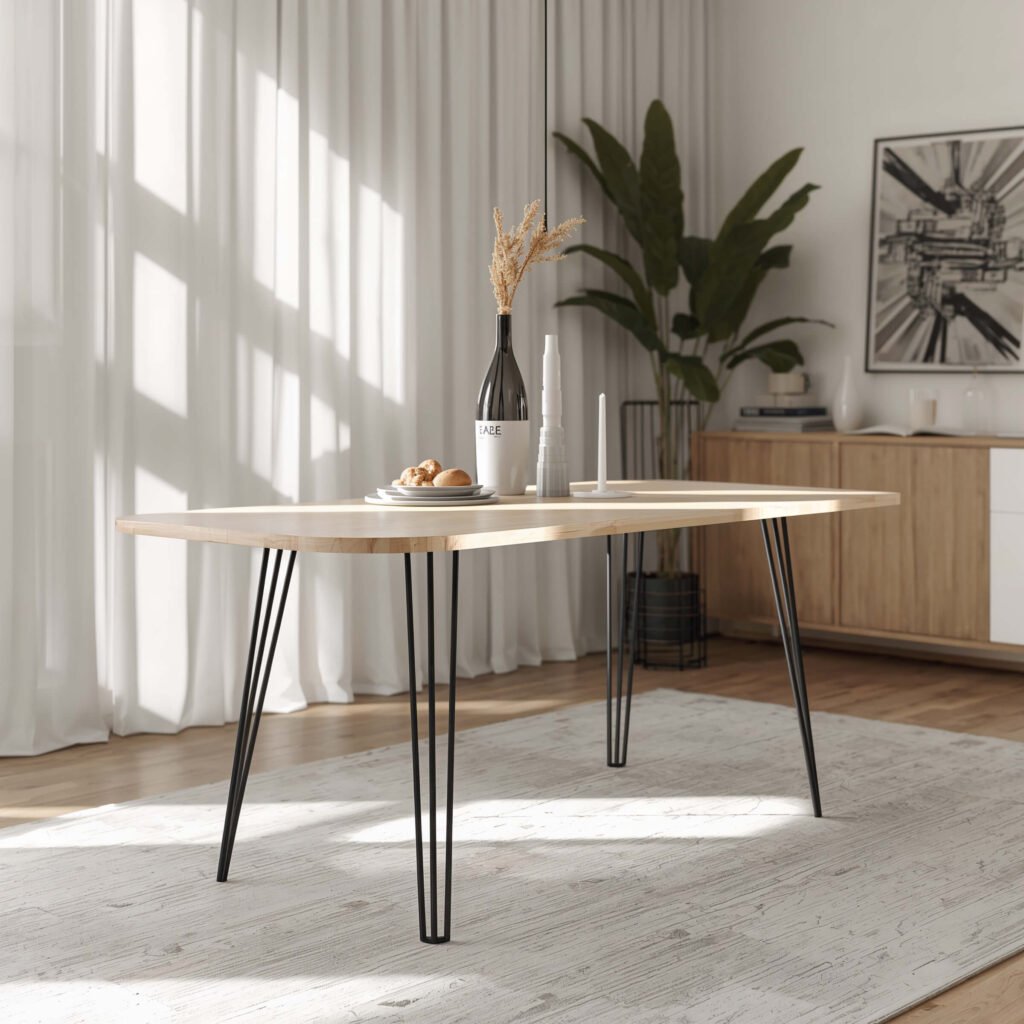
Want mid-century modern style without mid-century prices? Hairpin legs instantly modernize any tabletop while keeping construction dead simple.
The Modern Minimalist’s Dream
Hairpin legs exploded in popularity for good reason – they’re sturdy, stylish, and stupidly easy to install. Seriously, if you can use a drill, you can build this table.
Shopping simplified:
- Hardwood boards or butcher block top
- Hairpin legs (28-30 inches for dining height)
- Mounting screws
- Wood finish of choice
Assembly in Under an Hour
Choose your top first. Butcher block countertops from home improvement stores work brilliantly. Edge-glued panels save time versus making your own. Even reclaimed wood gets modernized with hairpin legs.
Position legs carefully – typically 4-6 inches from corners for stability. Mark mounting holes, pre-drill to prevent splitting, and screw in place. That’s literally it. You just built a table.
The finish defines the final look. Natural oil maintains wood warmth. Painted tops add color. Stains create depth. IMO, the simpler the better with this style.
Also Read: 10 Creative Foldable Dining Table Ideas That Save Space
Crate Style Modular Dining Table
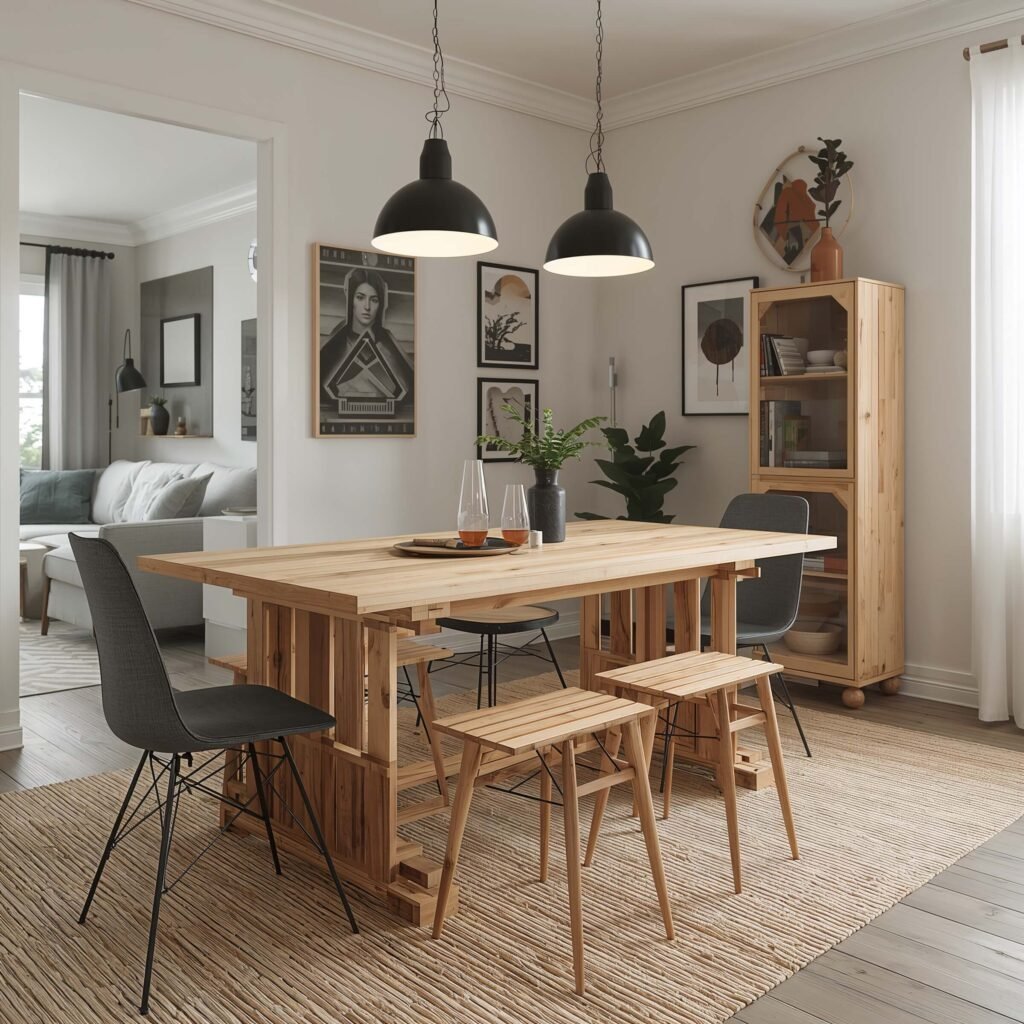
Here’s my favorite flexible solution – a table that adapts as your needs change. Moving? Take it apart. Need extra seating? Add modules.
Flexibility Meets Function
The crate concept uses individual box modules that stack and arrange in different configurations. Build four crates for a coffee table, stack eight for dining height, or spread them out for a massive feast table.
Per crate materials:
- 1×4 or 1×6 boards
- Wood glue and brad nails
- Corner brackets for reinforcement
- Felt pads (protect floors and crates)
Building Your Modular System
Each crate follows the same pattern – four sides and a bottom. Keep dimensions consistent for proper stacking. 24×18 inches works well for standard dining configurations.
Reinforce corners with brackets hidden inside. Add felt pads to protect both floors and crate tops when stacking. Sand everything smooth – modular means more edges to bump against.
The magic happens in arrangement. Stack two high for dining, arrange in an L for corner seating, or separate for multiple surfaces. Add a glass or wood top to unify the look for formal dining.
Final Thoughts
Building your own dining table transforms more than just your dining room. You gain skills, confidence, and a story to tell every time someone compliments your furniture. Plus, that sense of accomplishment when you’re eating dinner on something you created? Priceless.
Start with whichever design excites you most. Don’t obsess over perfection – those little imperfections add character and prove it’s handmade. Remember, every expert builder started with their first project, probably made mistakes, and definitely learned along the way.
Your dining table should reflect your style, fit your space, and make you smile every time you see it. Whether you go rustic with pallets or modern with hairpin legs, you’re creating more than furniture – you’re building memories around every meal shared at your handmade table.
Now grab some tools, pick your favorite design, and show everyone what you’re capable of creating. Trust me, your first DIY dining table won’t be your last 🙂