10 Stylish Bookshelf Organization Ideas for Small Rooms
Look, we both know your bookshelf situation needs help. You’ve got books stacked horizontally on top of vertical ones, that weird gap where nothing quite fits, and let’s not even talk about the dust situation happening behind those paperbacks you haven’t touched since 2019. Sound familiar? Yeah, I thought so.
Here’s the thing – I’ve been there. My bookshelves used to look like a literary tornado hit them every time I tried to find that one cookbook I swore I owned.
But after years of trial, error, and way too many Pinterest boards, I’ve discovered some game-changing organization ideas that actually work in real life, not just in those impossibly perfect Instagram photos.
Ready to transform your shelves from hot mess to hot damn? Let’s get into it.
Color-Coded Book Arrangement
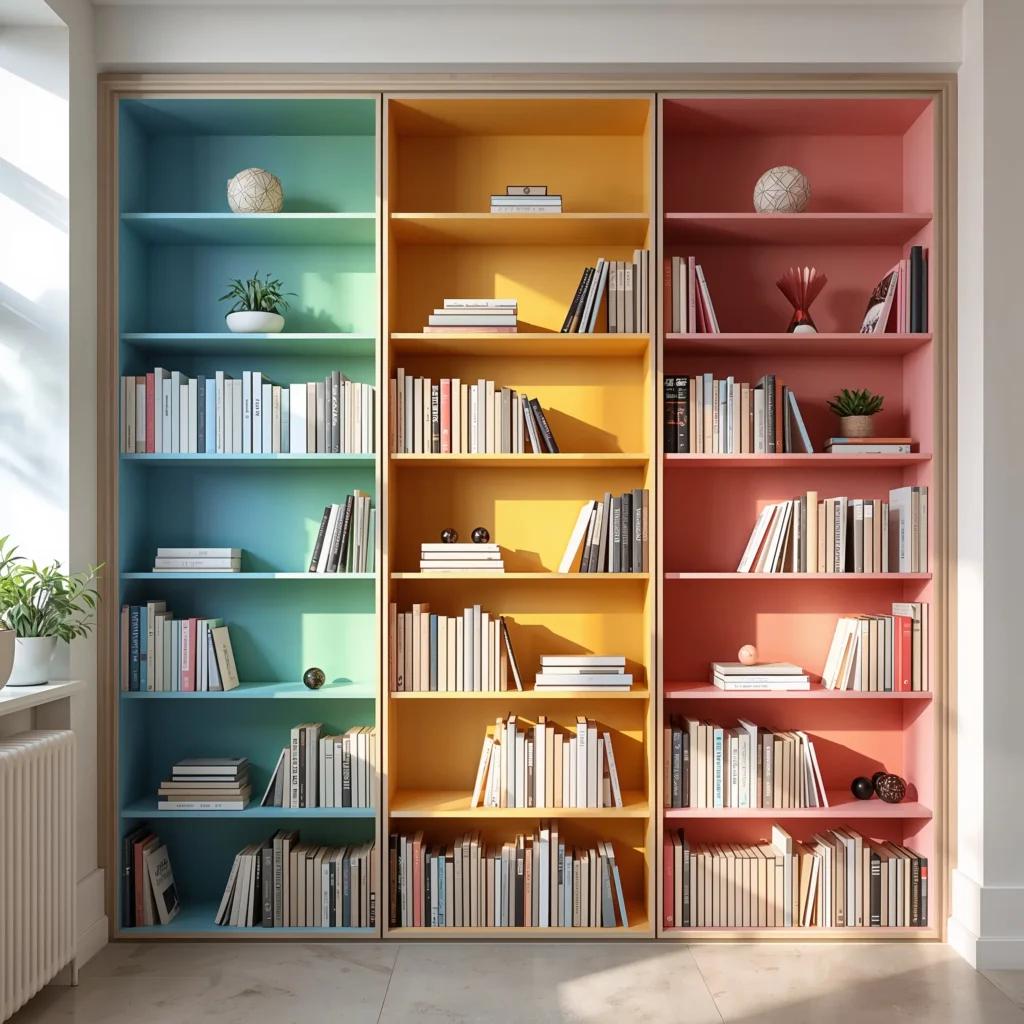
Why Rainbow Bookshelves Actually Make Sense
Okay, I know what you’re thinking. Color-coding books seems like something only influencers with too much time do, right? Wrong. This method completely changed how I interact with my books, and here’s why it’s actually practical.
First off, our brains remember colors way better than titles. Can’t remember the name of that productivity book? You’ll definitely remember it had a bright orange spine. I started color-coding my main bookshelf about two years ago, and finding specific books became ridiculously easier.
The visual impact hits different too. When friends come over, they immediately notice the shelf – it becomes an instant conversation starter. Plus, there’s something weirdly satisfying about seeing all your books arranged in a gradient. It’s like having functional art on your wall.
Making It Work in Real Life
Start by pulling all your books off the shelf. Yes, all of them. Trust the process here. Group them into color families first – don’t worry about getting the exact rainbow order perfect on your first try.
Pro tip: Dark colors (blacks, deep blues, purples) look amazing on one end, transitioning through reds, oranges, yellows, to whites on the other. Got a bunch of beige or brown books? Group them together as a neutral zone between colors.
What about multi-colored spines? Pick the dominant color and roll with it. Nobody’s going to judge you if your teal-and-pink book ends up in the teal section. This isn’t the Library of Congress – it’s your personal space.
The Unexpected Benefits
Here’s something nobody tells you about color-coding: it forces you to actually look at your collection. I discovered I owned three copies of the same book (different covers, obviously), and realized I had a serious addiction to books with blue covers. Who knew?
The arrangement also makes your space feel more cohesive. Even if the rest of your room looks like a disaster zone, those organized rainbow shelves create a focal point that tricks people into thinking you have your life together. Works every time.
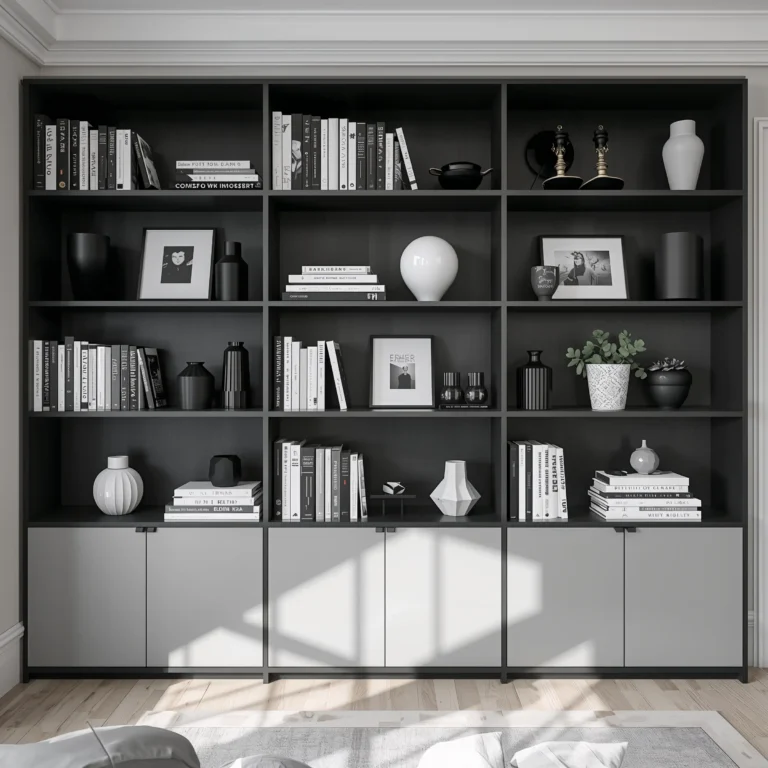
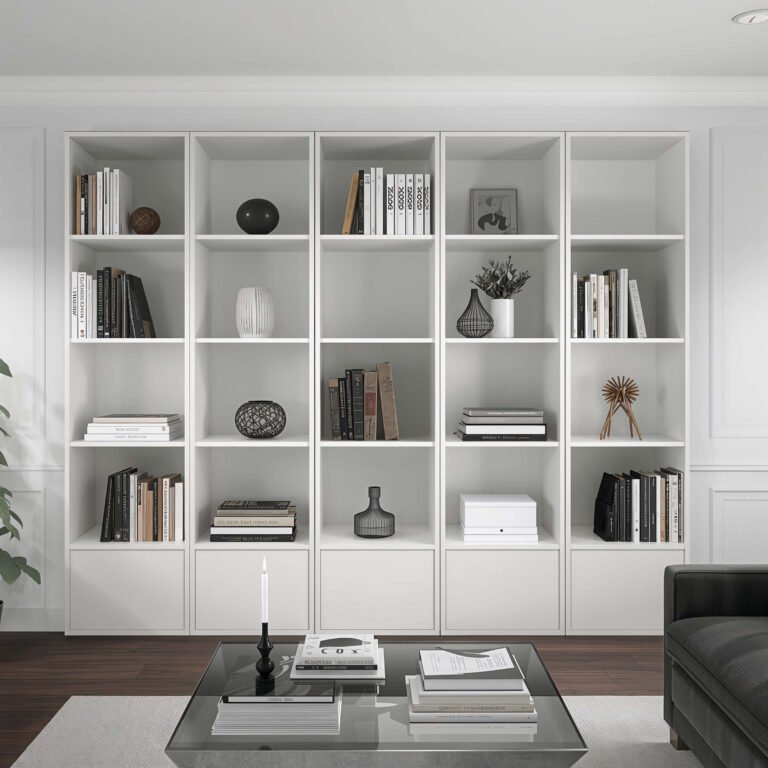
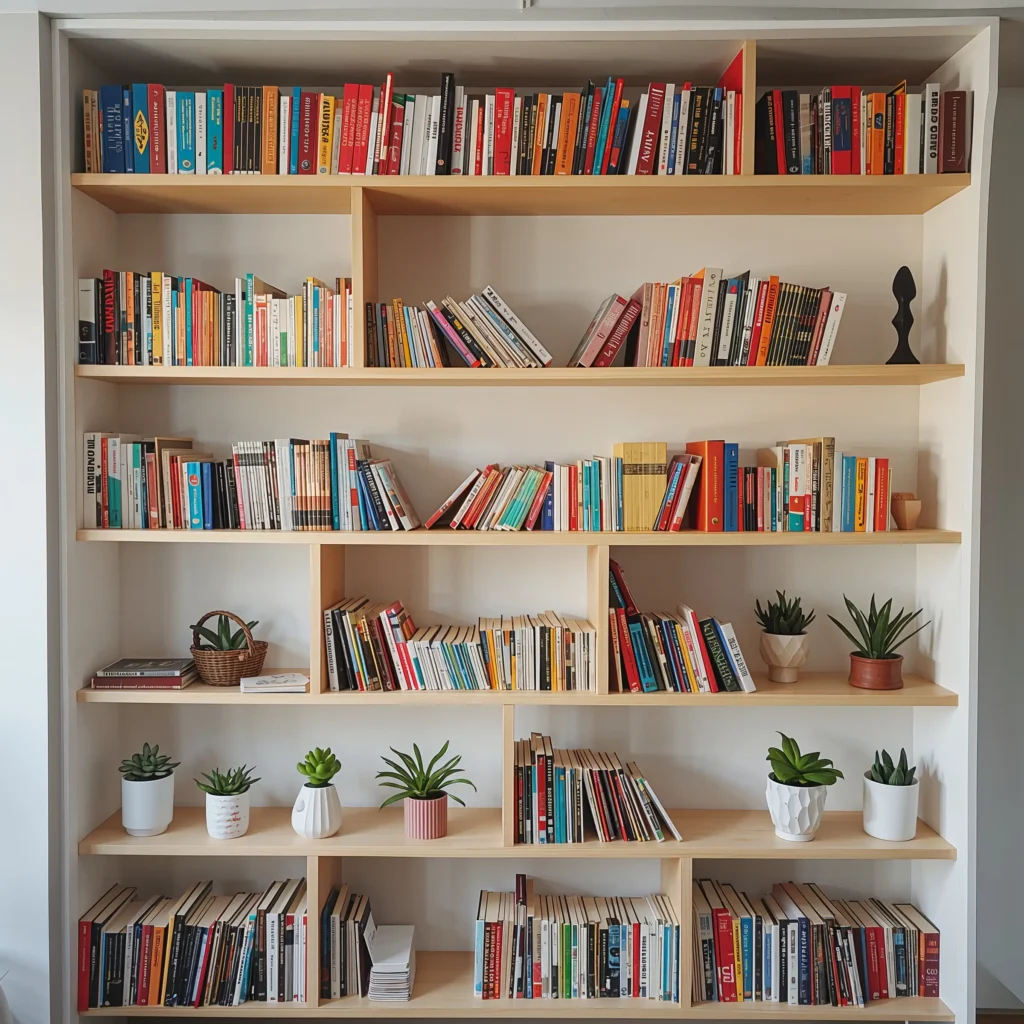
Minimalist Floating Shelves

Less Shelf, More Impact
Floating shelves hit different when you do them right. I’m talking about those clean, invisible-bracket shelves that make your books look like they’re defying gravity. After installing these in my home office, I can’t imagine going back to traditional bookcases.
The beauty of floating shelves? They force you to be selective. You can’t just cram every book you’ve ever owned onto them. This constraint actually becomes a blessing – you display only the books that matter, creating a curated look that screams intentionality.
Want to know the best part? These shelves make small spaces feel bigger. Traditional bookcases eat up visual space and make rooms feel cramped. Floating shelves keep the floor clear and walls open, creating an airy vibe that makes even tiny rooms breathe better.
Installation Without the Drama
Let me save you from my mistakes. Always use a stud finder. Always. I learned this the hard way when my first attempt at floating shelves became falling shelves at 2 AM. Not fun.
Pick shelves that are at least 8 inches deep for standard books. Anything shallower and your books will stick out awkwardly, ruining that clean minimalist vibe you’re going for. For oversized art books or coffee table books, go with 10-12 inch depth.
Styling Your Floating Shelves
Here’s where minimalism gets fun. With floating shelves, negative space becomes your friend. Don’t fill every inch – leave breathing room between book groups. I like using the rule of thirds: books on one third, decorative object on another third, empty space on the final third.
Mix horizontal and vertical book placement to create visual interest. Stack 3-4 books horizontally, then place a small plant or decorative object on top. This breaks up the monotony without cluttering the space.
Consider the sight lines too. Place your most attractive book covers face-forward at eye level. Those beautiful editions deserve to be seen, and they add personality without requiring extra decor.
Vertical & Horizontal Stack Mix
Breaking the Rules (On Purpose)
Who decided all books need to stand vertically anyway? Mixing vertical and horizontal stacks creates dynamic visual rhythm that makes your shelves way more interesting than traditional library-style arrangements.
I stumbled onto this method by accident when I ran out of vertical space. Started stacking books horizontally out of desperation, then realized it actually looked intentional and sophisticated. Sometimes the best design choices come from solving problems, not following rules.
The horizontal stacks serve double duty too. They become pedestals for small decorative items, picture frames, or that succulent you’re definitely going to keep alive this time. Really.
Creating Balance Without Overthinking
Start with your vertical books as the foundation. Every 8-10 vertical books, add a horizontal stack of 3-5 books. This creates natural breaks that prevent your shelf from looking like one long, boring line of spines.
Size matters here (stop giggling). Put your larger, heavier books in horizontal stacks at the bottom of shelves. They create visual weight that grounds the whole arrangement. Smaller paperbacks work better standing vertically – they get lost in horizontal stacks.
The Practical Perks
Ever notice how some books just won’t stay upright? Those floppy paperbacks that lean like they’ve had one too many? Horizontal stacking solves this problem instantly. No more bookends needed.
This method also protects your books better. Vertical storage can warp spines over time, especially for heavy hardcovers. Rotating some books to horizontal position gives their spines a break. Your books will thank you by lasting longer.
Plus, pulling books from horizontal stacks feels different – more deliberate, more special. It slows down your selection process in a good way, making you more mindful about what you’re choosing to read.
Also Read: 10 Creative Nursery Bookshelf Ideas to Transform Your Baby’s Room
Decorative Basket Inserts
Storage That Doesn’t Look Like Storage
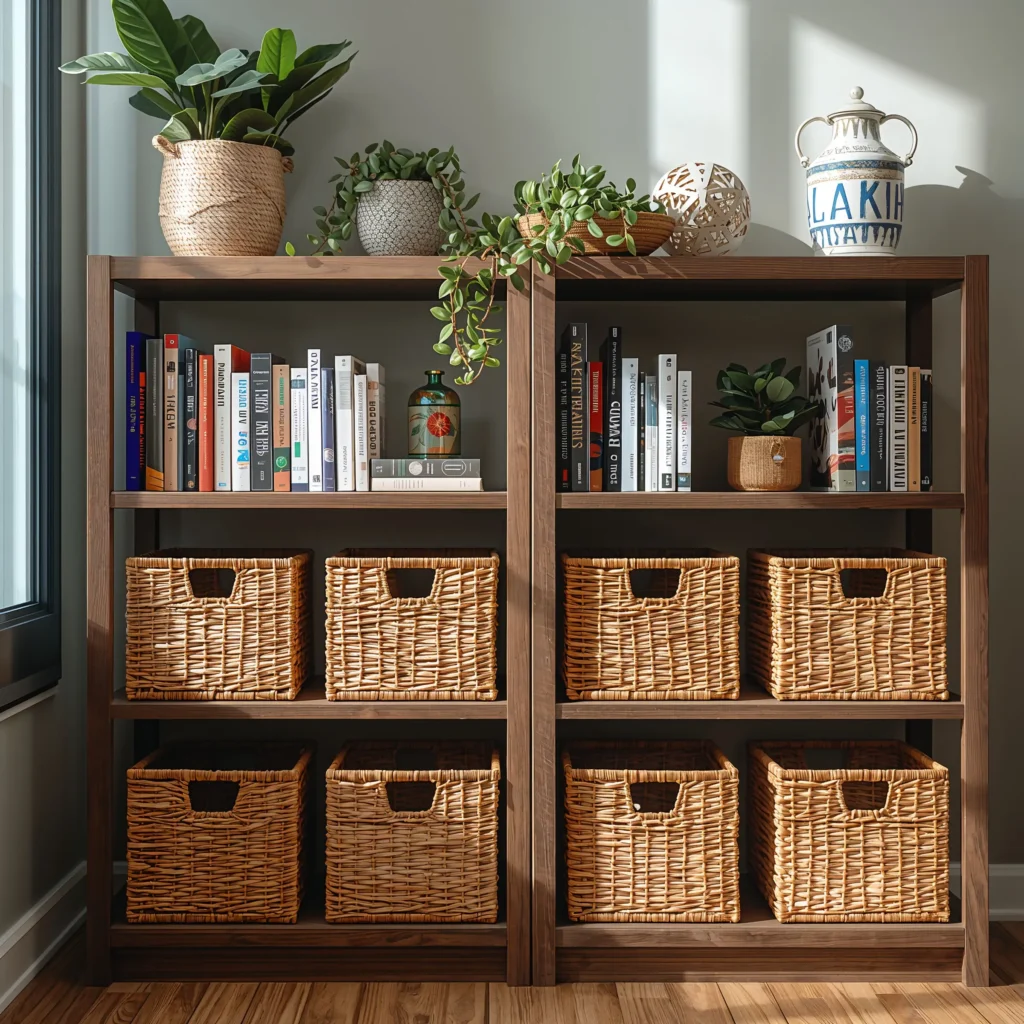
Baskets on bookshelves? Genius move. I discovered this trick when I needed somewhere to hide all those random items that don’t deserve display status but need to live somewhere accessible. Decorative baskets become your secret weapon against visual clutter.
Think about all the stuff that usually junks up your shelves: charging cables, notebooks, reading glasses, bookmarks, random pens. Baskets swallow all this chaos while looking intentionally decorative. It’s basically organized deception, and I’m here for it.
The texture contrast works magic too. Books bring paper and color, baskets add natural materials and warmth. Together, they create a layered look that feels collected over time, not staged for a photoshoot.
Choosing Baskets That Actually Work
Skip the flimsy decorative-only baskets. You need something sturdy enough to actually use without falling apart after three months. Woven seagrass or rattan baskets hold up best and look expensive even when they’re not.
Size your baskets to fit your shelf height with about an inch of clearance. Too tight and you’ll struggle to pull them out; too short and they look lost. Measure twice, buy once – learned that lesson the expensive way.
Want a cohesive look? Stick to one basket style throughout your shelving. Mixed basket styles can work, but it requires a designer eye to pull off without looking chaotic. When in doubt, matching baskets never fail.
What Goes Where
I use baskets to create hidden zones on my shelves. One basket holds all my bookish accessories – bookmarks, reading light, page flags. Another corrals tech stuff like earbuds and charging cables. The third? That’s where I stash books I’m embarrassed to display. We all have them; don’t pretend you don’t.
Label the baskets if you want, but I prefer the mystery. Unlabeled baskets force you to remember what’s where, which naturally limits how much junk you accumulate. If you can’t remember what’s in a basket, you probably don’t need it.
Themed Shelf Zones
Creating Mini Collections Within Your Collection
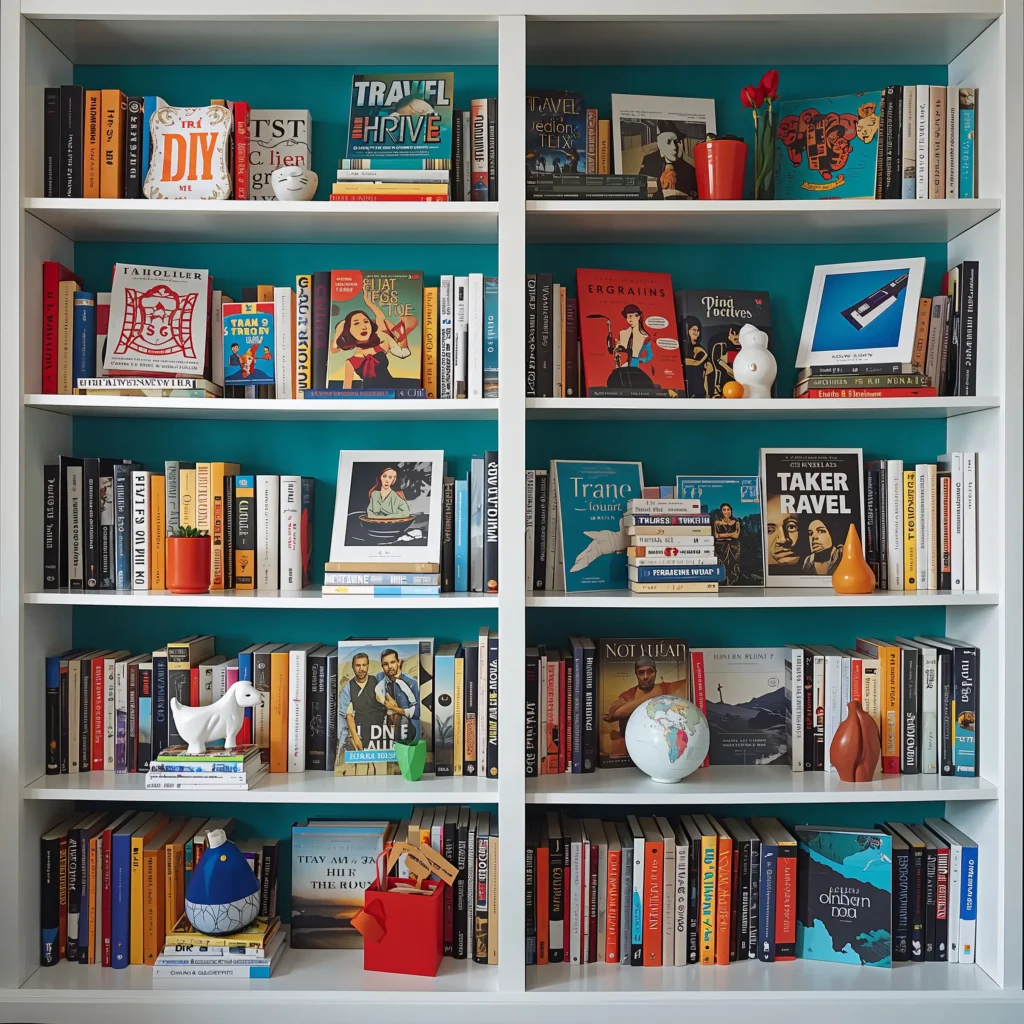
Why scatter your books randomly when you can create intentional zones that actually make sense? I organize my shelves into themes, and it’s transformed how I use my library. No more hunting through every shelf to find that one cookbook.
My setup? Top shelf holds travel and photography books (pretty spines, rarely accessed). Middle shelves get fiction split by genre – literary fiction on the left, sci-fi and fantasy on the right. Bottom shelf rocks all the practical stuff: cookbooks, DIY guides, reference books I actually use.
This system works because it matches how our brains categorize information. When you want a mystery novel, you know exactly where to look. FYI, this method also makes lending books easier – you can quickly show someone your entire collection of whatever they’re interested in.
Making Themes Visual
Here’s where it gets fun. Each zone can have its own personality. My cookbook section includes a small vintage scale and wooden spoon. The travel section features a small globe and some postcards tucked between books. These visual cues reinforce the zones while adding character.
Don’t overthink the decorations though. One or two items per zone maximum. You’re creating subtle divisions, not shrine displays for each category. The books should still be the stars; everything else just supports them.
Flexible Zones for Real Life
Your zones should match your life, not some arbitrary system. Got kids? Create a low shelf zone just for children’s books. Work from home? Dedicate a zone to professional development books within arm’s reach of your desk.
Seasons change, interests evolve. I shuffle my zones every six months or so, bringing different themes to eye level based on what I’m into. Winter means cooking and indoor hobbies get prime placement. Summer? Travel guides and outdoor adventure books take center stage.
The beauty of themed zones? They grow and shrink naturally. Really into bread baking right now? That zone expands. Over your philosophy phase? That zone shrinks. Your shelves become a living reflection of your current interests.
Rotating Display Shelves
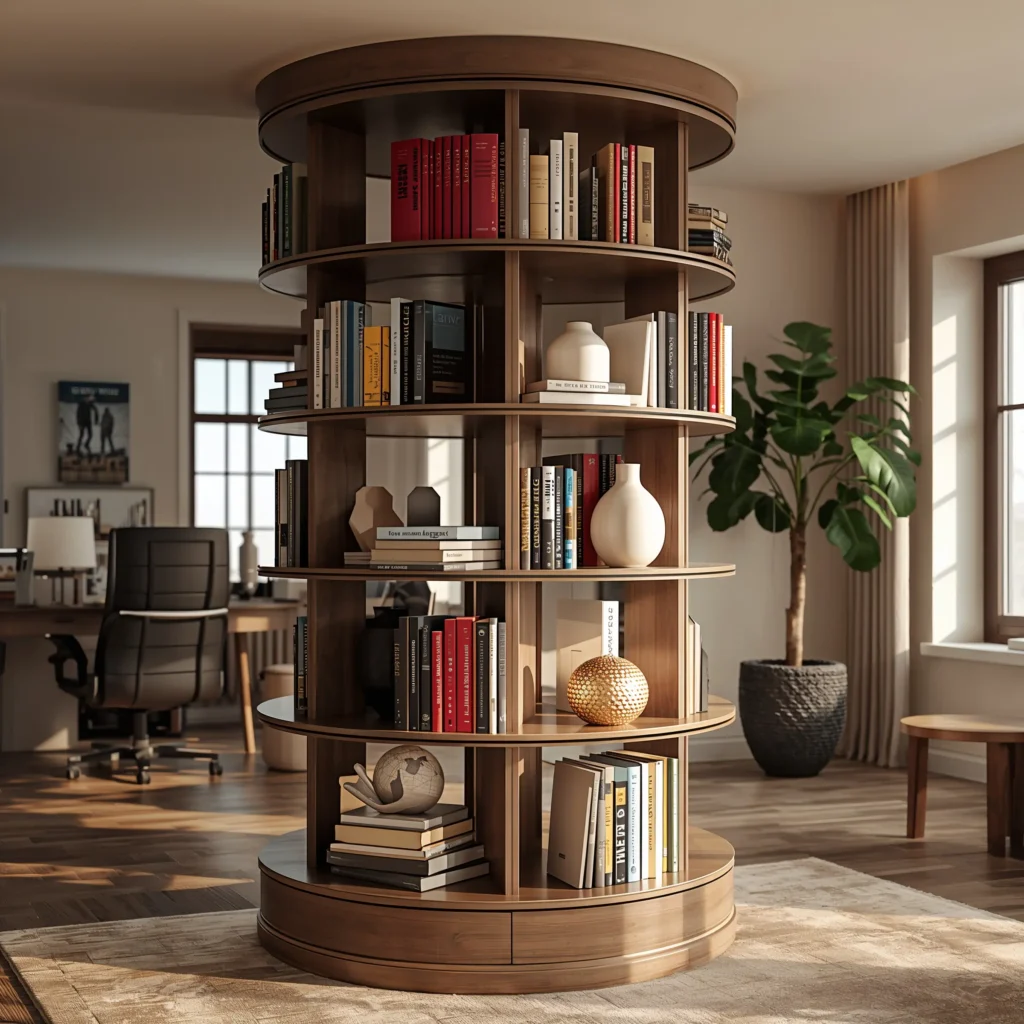
Keep It Fresh Without Buying New Books
Static bookshelves get boring. There, I said it. That’s why I started rotating my displays monthly, and now my shelves feel like they’re constantly evolving. Regular rotation keeps your space feeling fresh without spending money on new books.
Think of it like a personal bookstore where you’re both the curator and customer. Every month, I pick a theme and create a featured display. October? Horror and gothic literature front and center. December? Cozy mysteries and winter-themed covers. It’s basically seasonal decorating for book nerds.
This rotation serves a practical purpose too. Books you forgot you owned suddenly reappear. I’ve “discovered” amazing books in my own collection just by pulling them out for display. It’s like shopping your own shelves.
Creating Display-Worthy Arrangements
Face-forward displays change everything. Pick 3-5 books with gorgeous covers and display them like a bookstore would. Lean them against the back of the shelf with other books supporting them from behind. Instant focal point.
Mix sizes for visual interest. A large coffee table book, a standard hardcover, and a small paperback create natural stepping stones for the eye. Add a small object between them – a candle, small plant, or decorative piece – to complete the vignette.
The Rotation Schedule That Actually Works
Monthly rotations sound ambitious, but here’s my lazy person’s hack: only rotate one shelf or section at a time. First Sunday of the month, spend 15 minutes switching up one display area. That’s it. Manageable and sustainable.
Keep a note on your phone of books you want to feature. See a holiday coming up? Jot down relevant titles. Notice certain covers that would look amazing together? Add them to the list. When rotation day comes, you’re not starting from scratch.
Document your displays with photos. Sounds extra, but you’ll thank yourself later when you’re trying to remember that perfect arrangement from last spring. Plus, these photos make great bookstagram content if you’re into that 🙂
Also Read: 10 Gorgeous Bookshelf Wall Decor Ideas You’ll Love Instantly
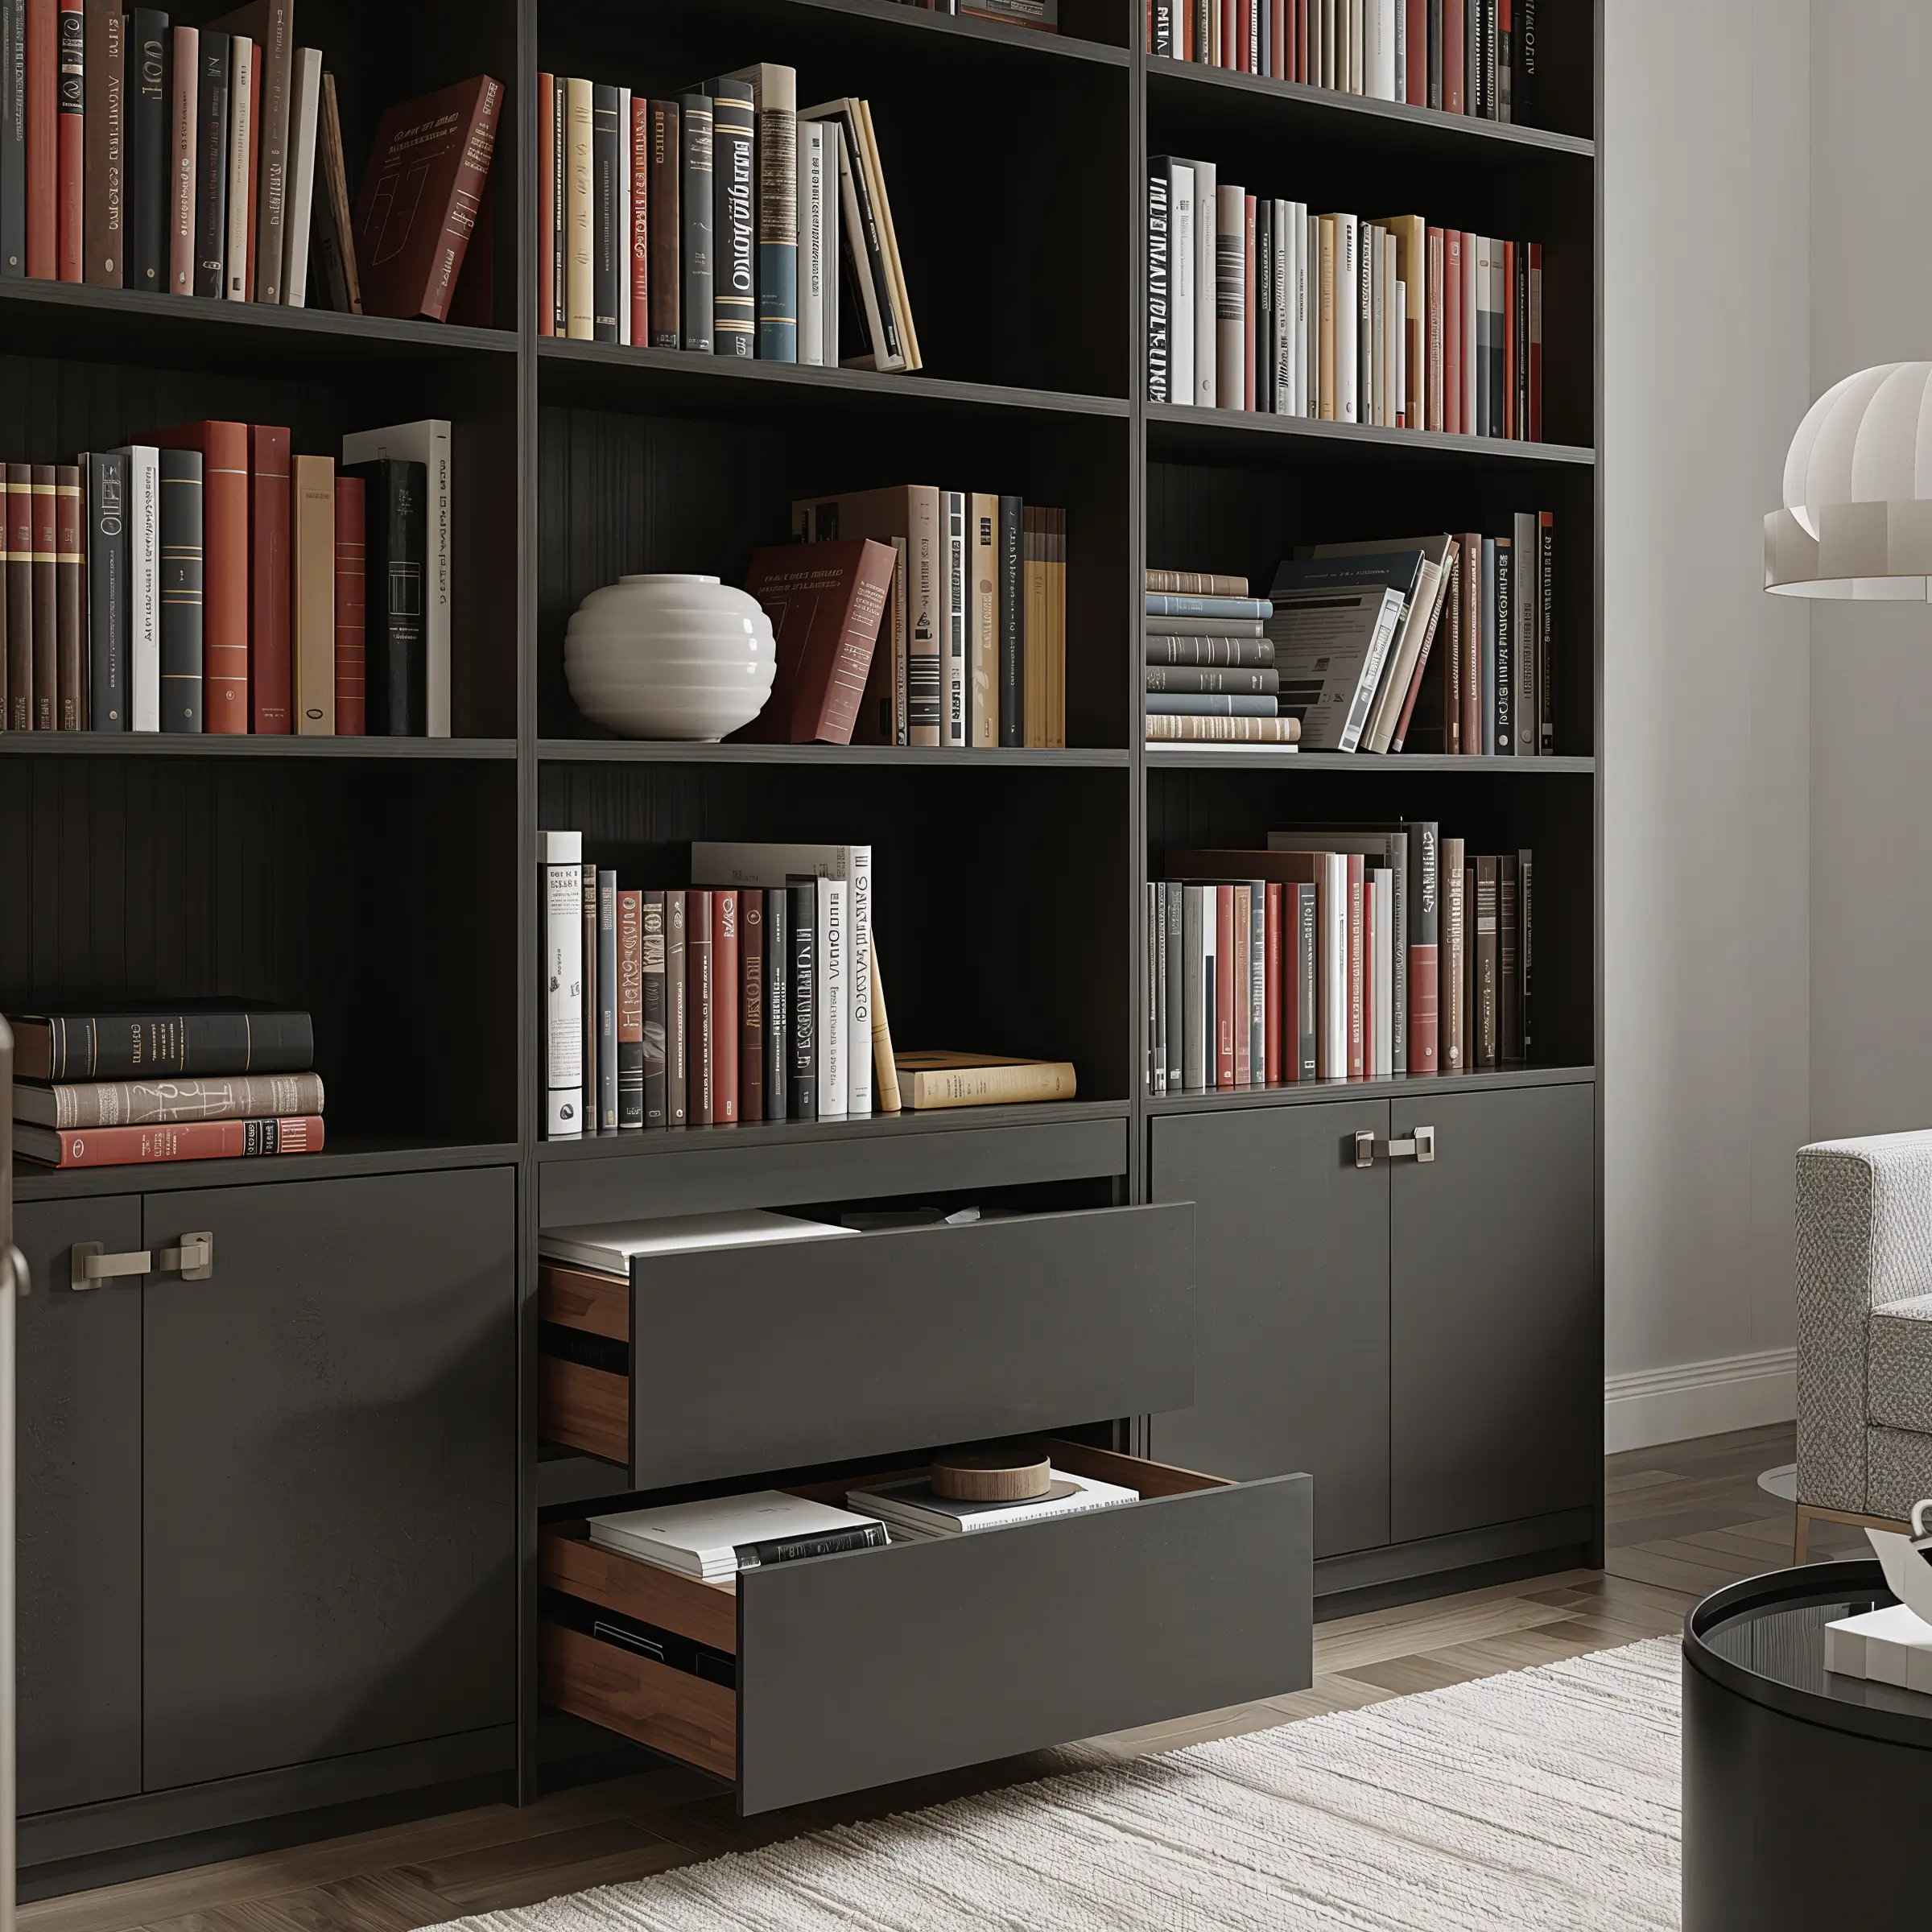
Hidden Storage Compartments
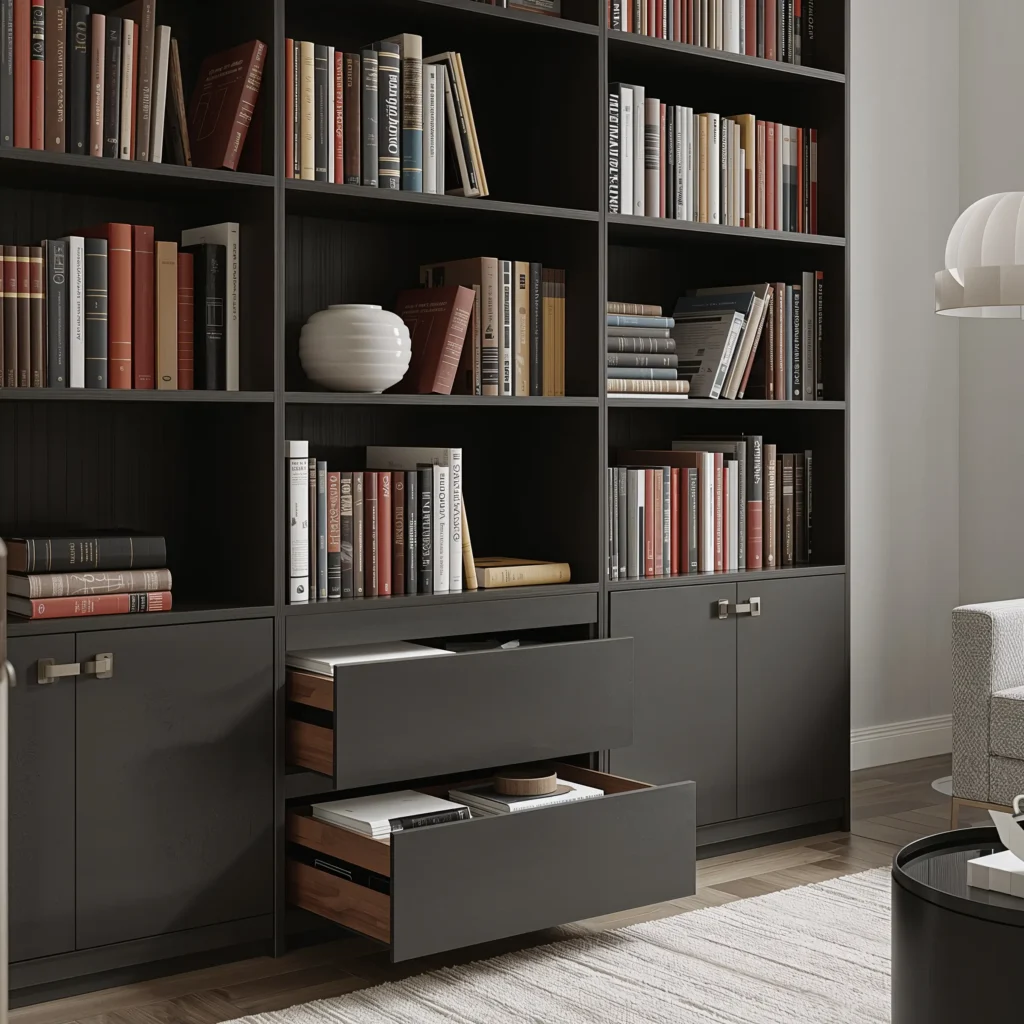
Secret Storage for Not-So-Secret Stuff
Let’s get real – not everything needs to be on display. Those self-help books you’re slightly embarrassed about? The pile of journals you started but never finished? Hidden compartments let you keep things accessible but not visible.
I installed a few fake book boxes on my shelves, and they’re brilliant. From the outside, they look like regular books. Inside? They hide everything from spare keys to emergency chocolate. Nobody’s the wiser, and your shelves maintain their sophisticated appearance.
Behind-the-books storage works too. Push your front row of books forward about 3 inches and use the space behind for slim items. I hide gift cards, important documents, and backup bookmark stashes back there. It’s like having a secret shelf within your shelf.
DIY Hidden Storage Solutions
You don’t need fancy furniture for hidden storage. Decorative boxes that fit your shelf dimensions work perfectly. Cover them with book spines from damaged books (check thrift stores) for ultimate camouflage. Hot glue gun + old book covers = custom hidden storage.
Magazine holders turned backwards become instant hidden compartments. The solid back faces out, looking like a plain divider, while the open side faces the wall, hiding whatever you stuff inside. Genius for hiding paperwork or bills you’re definitely going to deal with soon.
What to Hide (And What to Display)
Hide the ugly but necessary: instruction manuals, warranty papers, spare batteries, gift wrap supplies. Also hide books you’re keeping for sentimental reasons but don’t want to explain to every visitor. We all have that signed copy of a book from an ex, right? Just me? Moving on.
Display what tells your story and sparks conversation. Hide what’s purely functional or potentially embarrassing. The goal is curated authenticity – real enough to be genuine, edited enough to be presentable.
Book Spine Art Display
Turn Your Books Into Art
Who says you need to read the spines? Flipping books around to show their pages creates incredible textural displays that nobody expects. I tried this with a small section of damaged paperbacks, and now it’s my favorite shelf feature.
The neutral color palette of book pages works with any decor style. It’s like having a piece of abstract art that happens to be made of books. Plus, it’s a great way to keep books you love but don’t want to display because their spines are ugly or damaged.
This technique works especially well with old books from thrift stores. Those yellowed, aged pages create beautiful gradient effects. Stack books of varying heights with spines facing in, and you’ve got instant sculpture.
Creating Spine Art Arrangements
Start small with 5-7 books in one section. Mix heights and thicknesses for visual interest. Hardcovers and paperbacks create different textures – hardcovers give clean lines while paperbacks offer softer, more organic edges.
Add one colorful spine facing out every 5-6 reversed books. This pop of color prevents the neutral section from feeling flat while maintaining the overall calm aesthetic. It’s about balance, not extremes.
Want to level up? Create patterns with the page edges. Arrange books from thick to thin, creating a slope effect. Or alternate thick and thin books for a rhythmic pattern. These subtle details make people look twice.
When and Where to Use This Technique
This works best as an accent, not your entire shelf system. IMO, one or two shelves maximum, or dedicated sections within shelves. Too much and you lose the impact – plus, finding specific books becomes impossible.
Use spine art in spaces where you want visual calm. Bedrooms, meditation spaces, or anywhere you’re trying to reduce visual stimulation. The neutral tones create a resting place for your eyes among busier elements.
Seasonal Decor Rotation
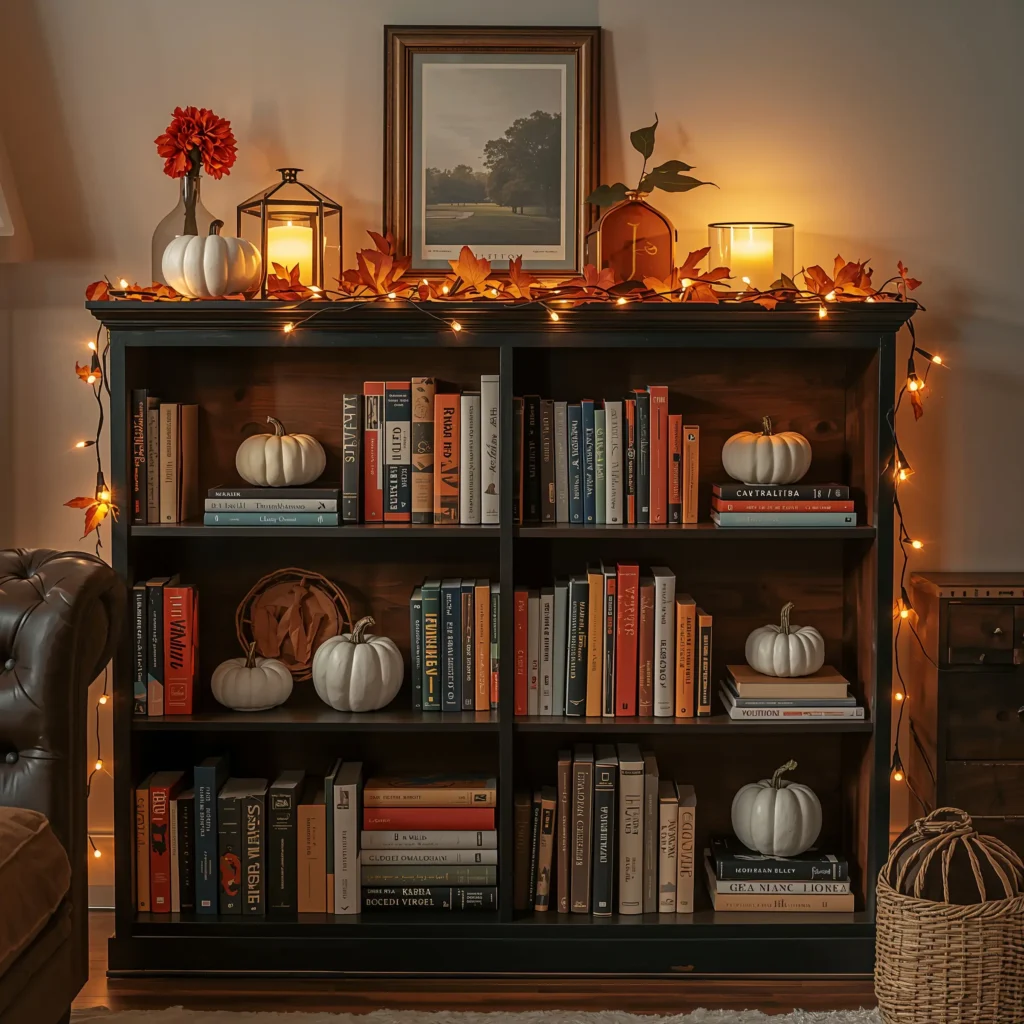
Your Shelves Should Celebrate Too
Why should your mantle have all the seasonal fun? I started decorating my bookshelves seasonally two years ago, and now I can’t imagine not doing it. Small seasonal touches make your whole space feel current and intentional.
Spring means adding small potted plants or fresh flowers between books. Summer brings seashells and vacation souvenirs. Fall? Mini pumpkins, dried leaves, and warm-toned accents. Winter gets twinkle lights, pinecones, and cozy textures.
The key is restraint. One or two seasonal items per shelf, max. You’re accessorizing your books, not drowning them in holiday store explosion. Think accent pieces, not complete takeover.
Easy Swaps That Make Big Impact
Bookmark ribbons in seasonal colors instantly change the vibe. Swap out your regular bookmarks for ones that match the season. Orange and black for Halloween, pastels for spring, metallics for New Year’s. Such a simple change, but it works.
Switch up bookends seasonally too. Plain wooden ones for fall, metallic for winter holidays, colorful or patterned for summer. Bookends are functional decor, might as well make them work harder.
Create seasonal book displays featuring relevant titles. October gets horror and thrillers. December showcases books with winter settings. February? Romance novels, obviously. These rotating displays keep your collection feeling fresh and relevant.
Storage Solutions for Off-Season Items
Here’s the thing nobody talks about: where to store seasonal decor when it’s not in use. I use one of those hidden storage baskets (remember those?) exclusively for off-season shelf decor. Everything stays together, ready for next year.
Take photos before you pack things away. You’ll forget that perfect arrangement by next year, trust me. A quick phone pic saves future you from reinventing the wheel. Plus, you can track what worked and what didn’t.
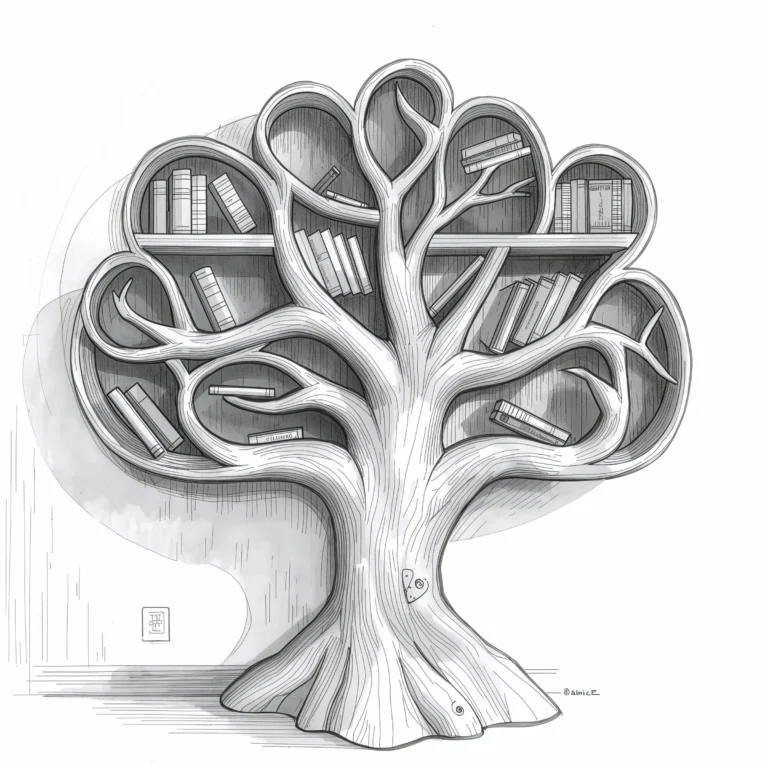
Also Read: 10 Stunning Tree Bookshelf Ideas and Cozy Reading Corners
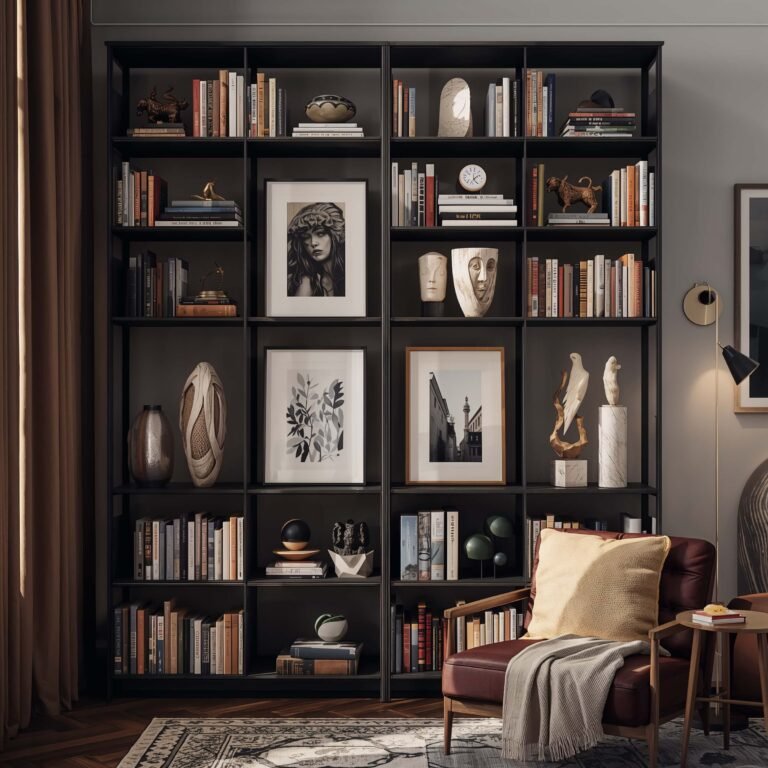
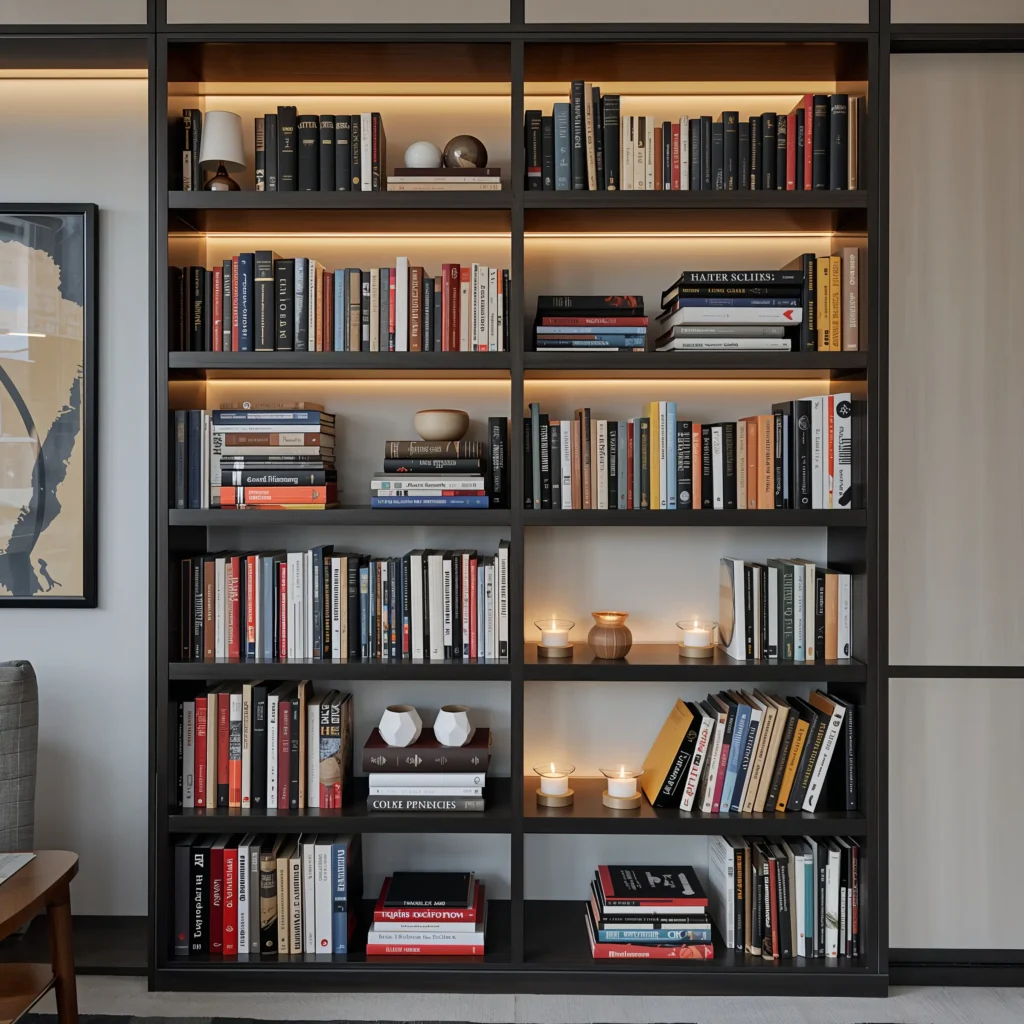
Layered Books & Decor Combo
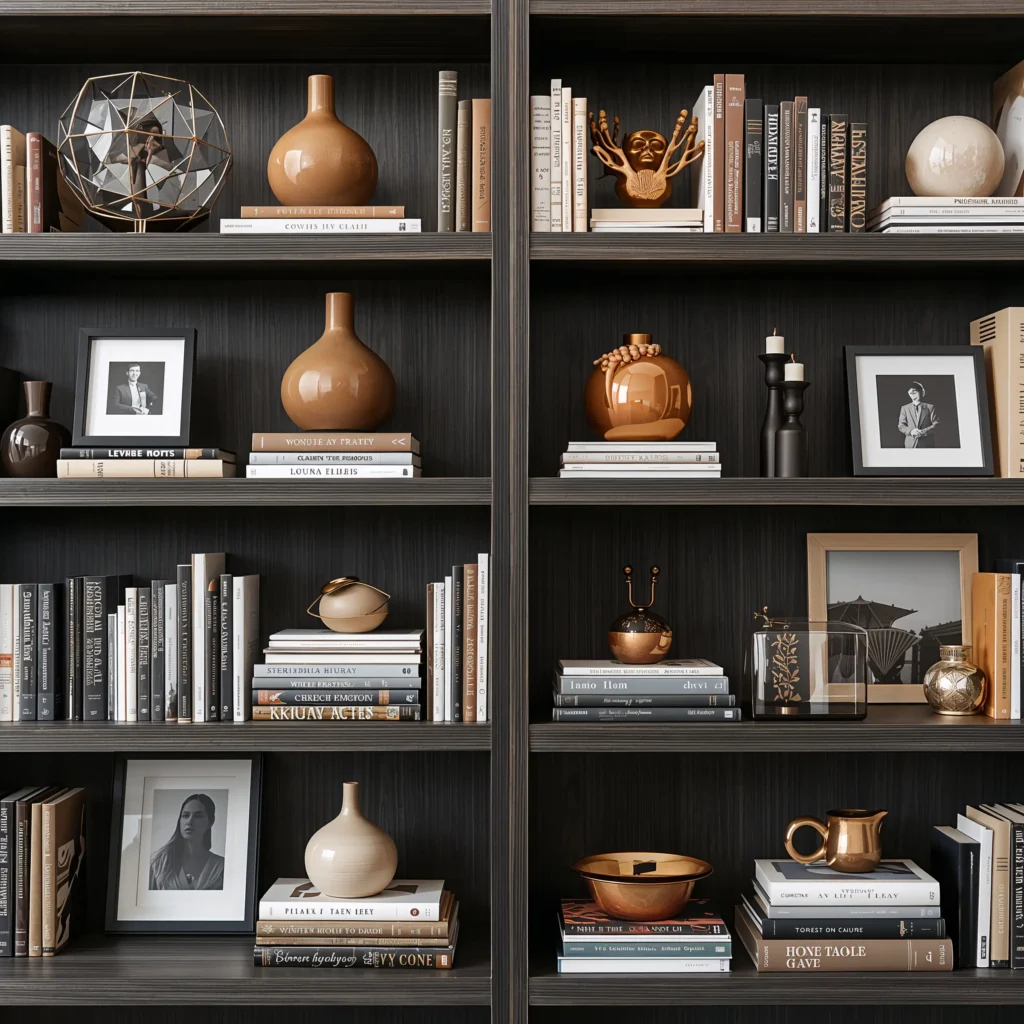
The Art of Strategic Layering
Flat shelves are boring shelves. Layering books with decor creates depth and interest that makes people want to look closer. I learned this from a interior designer friend, and it completely changed how I style my shelves.
Start with books as your background layer. Then add medium-sized decorative objects in front – think picture frames, small plants, or decorative boxes. Finally, tiny items like crystals or small figurines create the front layer. Three layers, infinite possibilities.
The trick is varying heights across layers. Tall books in back, medium frame in middle, low decorative object in front. This creates sight lines that draw the eye through the arrangement instead of stopping at the first thing.
Balancing Books and Decor
Here’s my golden ratio: 70% books, 30% decor. Any more decor and your bookshelf becomes a regular display shelf. Any less and it feels too library-like for most homes. This balance keeps things interesting without losing the bookshelf’s primary purpose.
Group decorative items in odd numbers. Three small succulents, five vintage cameras, one statement piece. Even numbers feel formal and staged; odd numbers feel natural and collected. Don’t ask me why this works – it just does :/
Keep decor thematically related to books when possible. Vintage typewriter near your writing books. Globe near travel guides. Small telescope by astronomy books. These connections make the whole arrangement feel intentional rather than random.
Practical Layering Tips
Leave finger space between layers. You still need to actually grab books, and nobody wants to knock over your carefully arranged decor every time they want to read. Two fingers width between layers minimum.
Use bookstands or plate stands to prop special books at angles within your layers. This adds dimension and showcases beautiful covers while maintaining the layered look. Plus, angled books are easier to grab than ones buried behind decor.
Rotate your front layer items seasonally while keeping the book foundation stable. This gives you flexibility to refresh the look without completely reorganizing. Work smarter, not harder.
Making It All Work Together
Look, you don’t have to implement all ten of these ideas at once. Start with one or two that speak to you and build from there. Maybe you begin with color-coding one shelf and adding a few baskets. Or perhaps seasonal rotation feels like the natural first step.
The point is to create shelves that work for YOUR life. My perfect shelf organization might be your nightmare, and that’s totally fine. These ideas are meant to inspire, not dictate. Take what serves you, leave what doesn’t.
Remember: the best bookshelf is one you actually use. If your organization system is so precious that you’re afraid to pull books out, you’ve missed the point. Books are meant to be read, touched, shared. Your shelves should invite interaction, not intimidate with perfection.
I’ve been reorganizing my bookshelves for years, and here’s what I’ve learned: it’s never really done. Your collection grows, your interests shift, your style evolves. And that’s the beauty of it. Your bookshelves become a living, breathing reflection of who you are right now.
So grab that pile of books that’s been sitting on your floor for months (we both know it’s there) and start experimenting. Try something new. Make mistakes. Have fun with it. Because at the end of the day, the best bookshelf organization is the one that makes you smile every time you walk past it.
Your books have been patient. Now it’s time to give them the home they deserve. And who knows? You might just discover that organizing your bookshelves becomes less of a chore and more of a creative outlet. That’s what happened to me, and honestly? I wouldn’t have it any other way.