10 Trendy Basement Floor Ideas That Wow Every Guest
You know that feeling when you walk down to your basement and the cold, dreary concrete floor just sucks the life out of you? Yeah, I’ve been there.
My basement used to look like something straight out of a horror movie – complete with that classic dungeon vibe nobody really wants.
But here’s the thing: your basement doesn’t have to be the forgotten stepchild of your home.
With the right flooring, you can turn that underground space into your favorite hangout spot, a killer home office, or even that man cave you’ve been dreaming about since forever.
After renovating three basements (yes, I’m apparently a glutton for punishment), I’ve learned what works, what doesn’t, and what’ll have you crying into your contractor’s invoice.
So grab a coffee, and let’s chat about 10 basement flooring options that actually make sense for real people with real budgets.
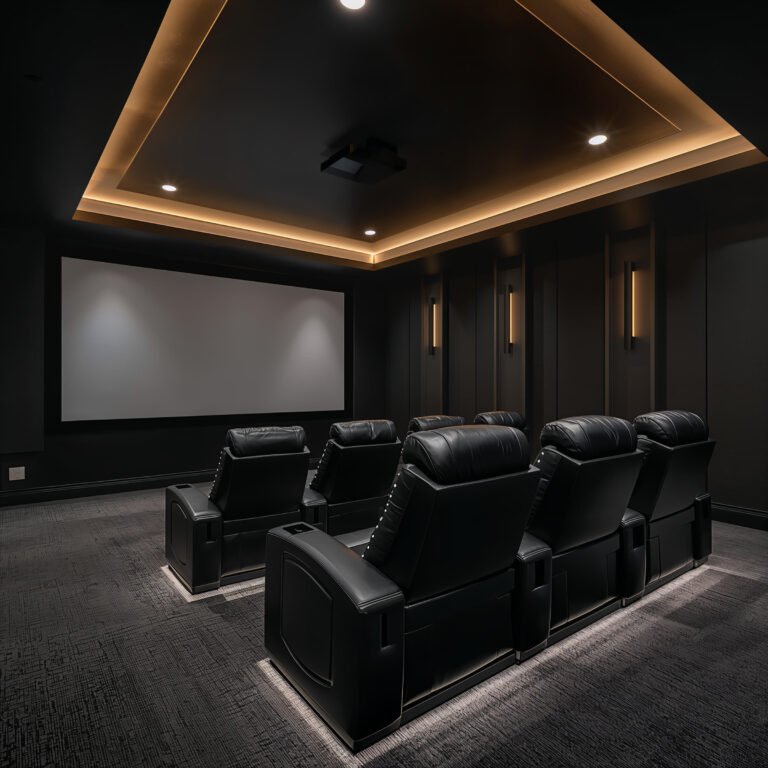
Polished Concrete Elegance
Why Concrete Floors Aren’t Just for Warehouses Anymore
Remember when polished concrete was only found in industrial spaces and hipster coffee shops? Well, times have changed, my friend. Polished concrete has become the dark horse of basement flooring, and honestly, I get the appeal.
The process transforms your existing concrete slab into something that looks like it belongs in a modern art museum. You grind down the surface, apply some fancy densifiers, and polish it until it shines like your neighbor’s unnecessarily expensive car. The result? A floor that’s practically bulletproof and looks sophisticated AF.
What really sold me on polished concrete for my brother’s basement was the zero-maintenance lifestyle. You literally just mop it occasionally, and you’re done. No refinishing, no special treatments, just pure simplicity.
The Real Deal on Costs and Installation
Here’s where it gets interesting. The cost ranges from $3 to $12 per square foot, depending on how fancy you want to get with it. Want basic polish? You’re looking at the lower end. Want decorative scoring, staining, or those cool metallic epoxy effects? Better start saving those pennies.
Installation pros:
- Uses your existing slab (hello, cost savings!)
- Moisture-resistant when properly sealed
- Reflects light, making your basement feel bigger
- Can incorporate radiant heating underneath
The not-so-great parts:
- Cold underfoot (slippers become your best friend)
- Can be slippery when wet
- Shows every single dust bunny
- Hard on dropped items (RIP, my favorite coffee mug)
Waterproof Vinyl Planks
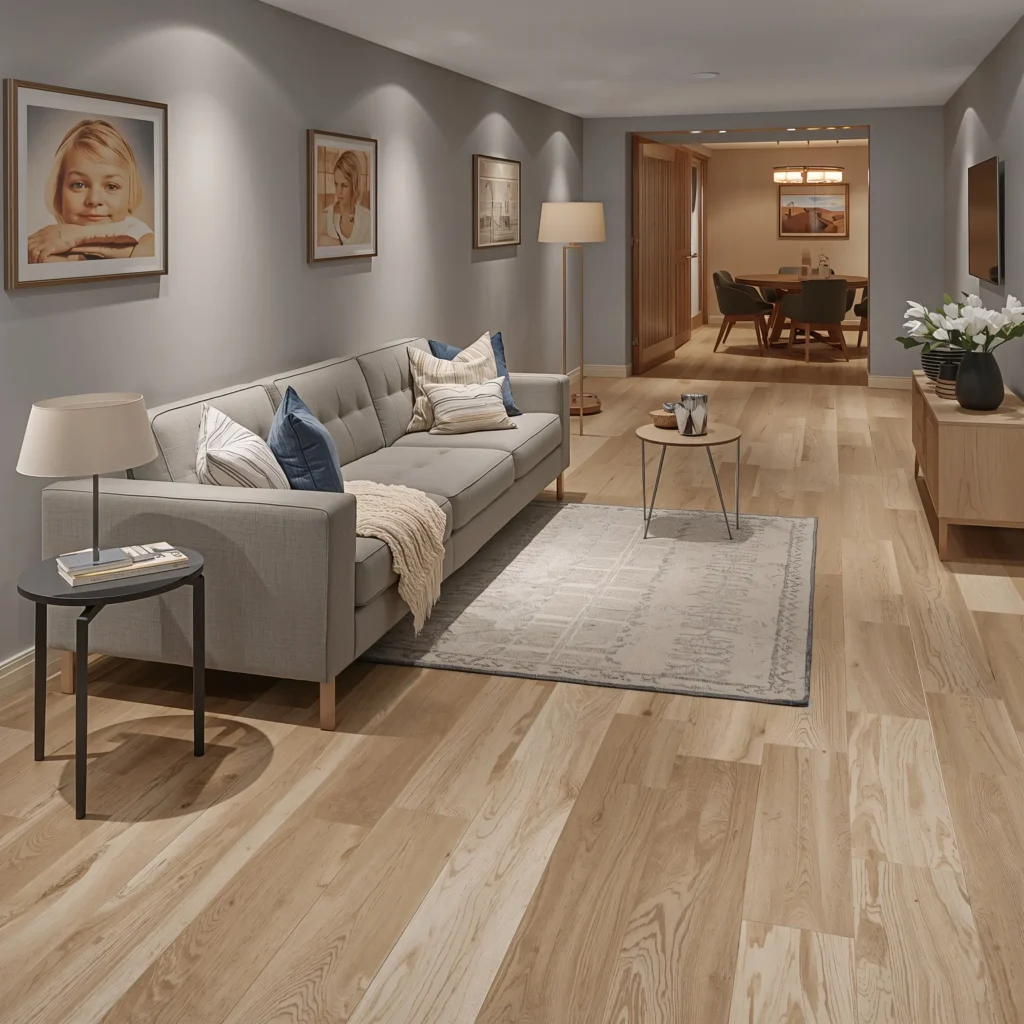
The Basement Floor MVP
If basements had a best friend, it would be waterproof vinyl planks. Seriously, these things laugh in the face of moisture problems. I installed these in my own basement two years ago, and they’ve survived everything from my teenager’s spilled energy drinks to that time our water heater decided to throw a tantrum.
The technology behind these planks blows my mind. They’ve got this rigid core that’s completely waterproof, topped with a photographic layer that looks exactly like hardwood or stone. I mean, my mother-in-law still doesn’t believe it’s not real wood, and she’s been visiting for years.
Installation and Living With Vinyl Planks
What makes vinyl planks especially awesome for basements? They float over your existing floor. No glue, no nails, just click them together like the world’s easiest puzzle. I managed to install 600 square feet in a weekend, and trust me, I’m no Bob Vila.
Here’s what you need to know:
- Cost: $2 to $7 per square foot
- Thickness ranges from 4mm to 8mm (thicker = better)
- Most come with attached underlayment
- Can handle temperature fluctuations like a champ
The click-lock system means you can actually take them with you if you move. How’s that for thinking ahead? Plus, if you damage one plank (looking at you, workout equipment), you can pop it out and replace just that piece.
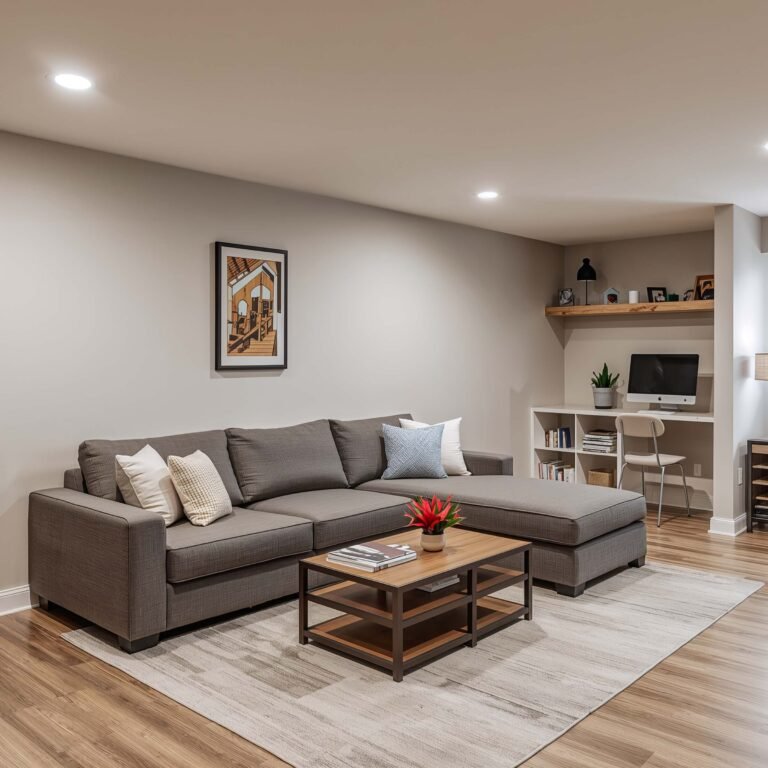
Rustic Wood-Look Laminate
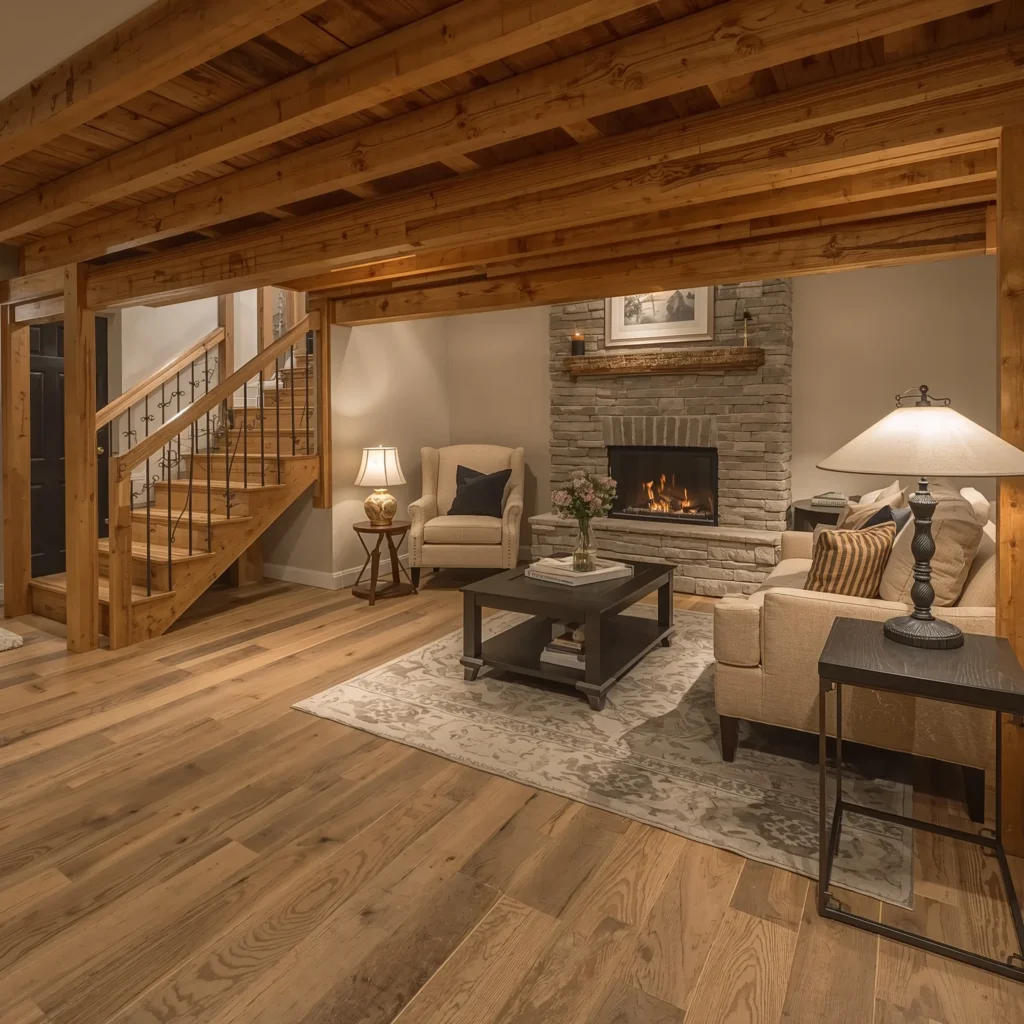
When You Want That Cabin Vibe Without the Cabin Problems
Ever walk into one of those Pinterest-perfect rustic basements and wonder how they keep real wood from warping underground? Spoiler alert: it’s probably not real wood. Modern laminate flooring has gotten so good at mimicking wood grain that you need to get on your hands and knees to tell the difference.
I went with rustic wood-look laminate in my first basement renovation, and five years later, it still looks fantastic. The key? Choosing laminate specifically rated for below-grade installation. Not all laminate plays nice with basements, so don’t just grab whatever’s on sale at the big box store.
Making Laminate Work in Your Basement
The trick with laminate in basements is all about moisture management. You absolutely need a vapor barrier, and I’m talking about the good stuff, not just some plastic sheeting from the hardware store. Trust me on this one – I learned the hard way.
Laminate basement essentials:
- AC rating of 3 or higher for durability
- Minimum 10mm thickness for basement use
- Quality underlayment with moisture barrier
- Leave expansion gaps (moisture makes things move)
- Cost: $1 to $5 per square foot
One thing nobody tells you? Laminate can be loud. Like, really loud. Your basement ceiling becomes a drum kit every time someone walks around. Invest in good underlayment with sound dampening properties, or your family upstairs will hate you.
Also Read : 10 Beautiful Basement Stairwell Ideas to Transform Your Space
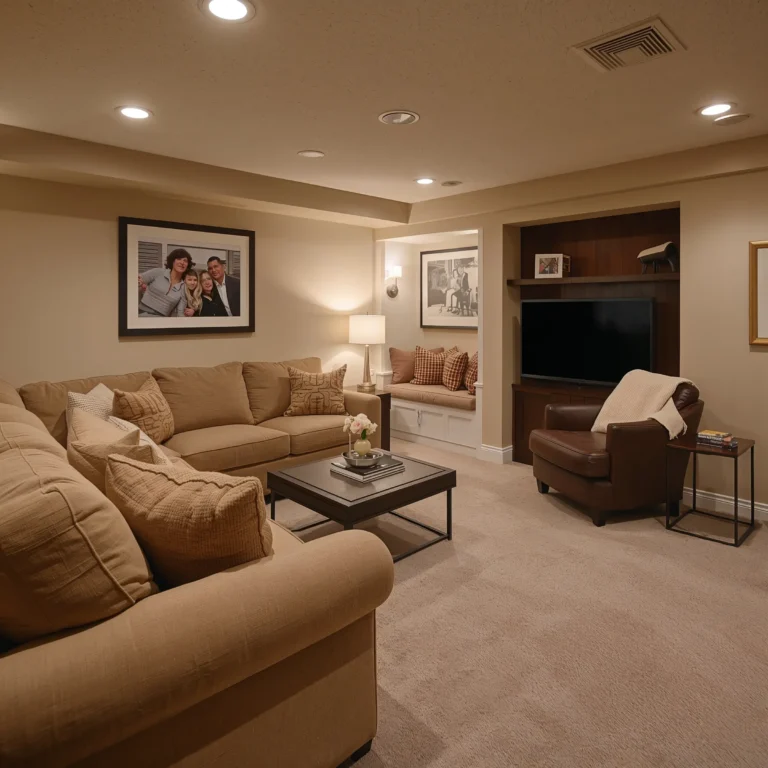
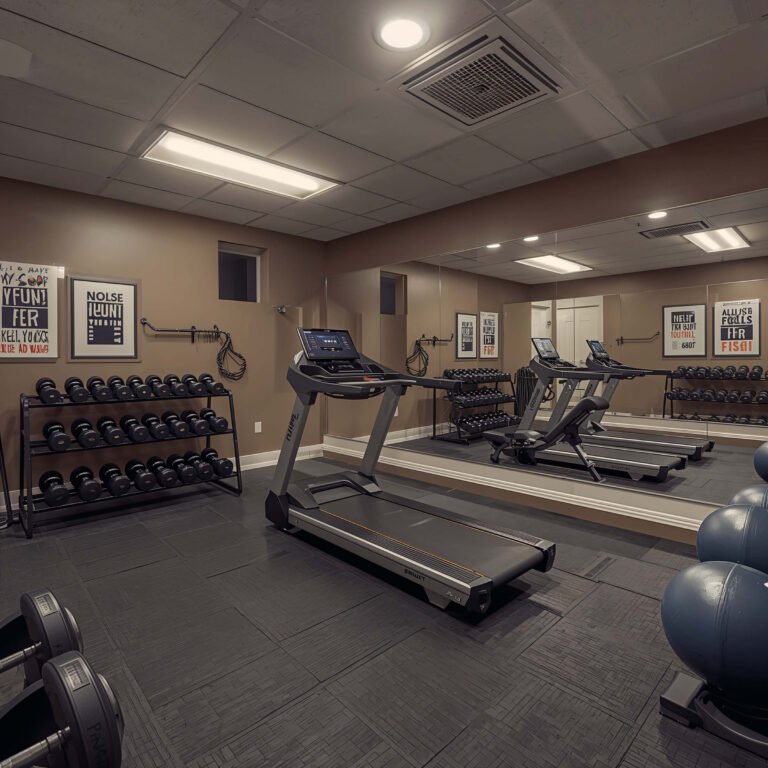
Cozy Carpet Tiles
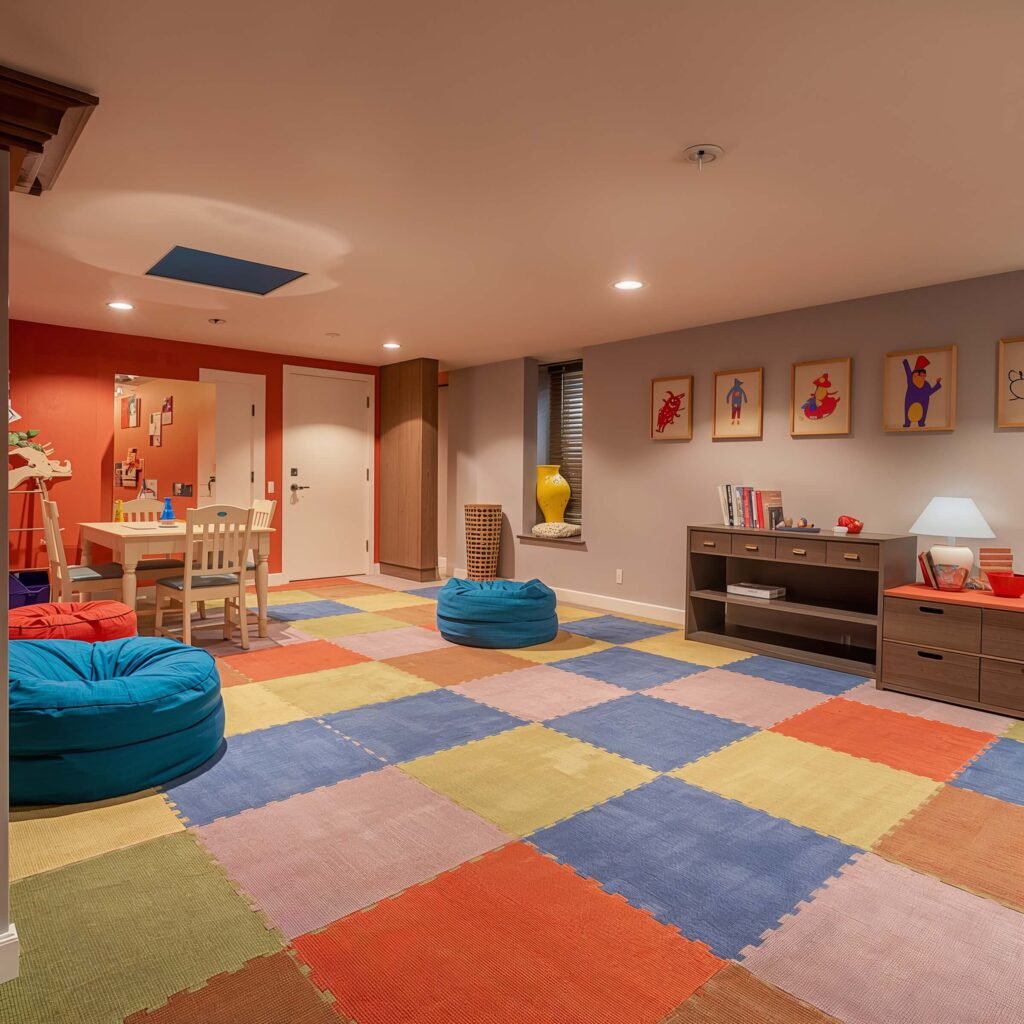
The Comfort Choice That Actually Makes Sense
Okay, hear me out before you start typing angry comments about carpet in basements. Carpet tiles are not your grandma’s wall-to-wall shag. These modular squares have revolutionized basement flooring, and I’m kind of obsessed with them.
Picture this: you spill wine during movie night (we’ve all been there). With regular carpet? Panic mode. With carpet tiles? You pop out the offending square, throw in a replacement, and keep watching Netflix. It’s basically flooring with a ctrl+z function.
Why Carpet Tiles Beat Traditional Carpet Every Time
I installed carpet tiles in my basement office area, and the comfort factor is unreal. No more frozen toes during winter Zoom calls. Plus, you can create patterns, define zones, or go completely wild with colors. Want a checkerboard pattern? Go for it. Feeling minimalist? Stick to one color.
The carpet tile advantage:
- Individual tile replacement (game-changer!)
- Built-in moisture barriers available
- Cost: $1 to $10 per square foot
- DIY-friendly installation
- Can mix and match colors/patterns
FYI, not all carpet tiles are created equal. Look for ones with waterproof backing and low-pile height for basements. The fluffy ones might feel nice, but they’ll hold moisture like a sponge, and nobody wants that situation.
Sleek Epoxy Resin Finish

The Instagram-Worthy Floor That’s Tougher Than It Looks
Want to know what floor makes everyone stop and say “Whoa, what IS that?” Epoxy resin floors, that’s what. These glossy, seamless surfaces look like they belong in a modern art gallery, but they’re tough enough to handle whatever basement life throws at them.
I helped my buddy install an epoxy floor in his basement workshop last summer, and let me tell you, the transformation was insane. We went from sad, stained concrete to this mirror-like surface that makes his tool collection look like it’s floating. The metallic epoxy options? Chef’s kiss – they create this 3D effect that’s absolutely mesmerizing.
The Truth About DIY Epoxy
Now, before you run to YouTube University thinking you’ll knock this out in a weekend, pump the brakes. Epoxy installation is not for the faint of heart. The prep work alone will make you question your life choices. You need to grind the concrete, fix cracks, and get that surface cleaner than your kitchen counters.
Epoxy floor reality check:
- Professional installation: $3 to $12 per square foot
- DIY kits: $50 to $600 (results may vary wildly)
- Cure time: 24-72 hours minimum
- Lifespan: 10-20 years with proper care
- Can be slippery (anti-slip additives are your friend)
The biggest mistake people make? Rushing the process. This isn’t like painting a wall where you can touch up mistakes. Once that epoxy starts curing, you’re committed. My advice? Either hire a pro or practice on your garage floor first 🙂
Modern Tile Patterns
Beyond Basic Subway Tile
Tiles in the basement used to mean one thing: boring 12×12 squares that screamed “rental property.” But have you seen what’s happening in the tile world lately? Modern tile patterns are having a serious moment, and basements are the perfect canvas for getting creative.
I recently went full design nerd and installed hexagonal tiles in a herringbone pattern in my basement bathroom. Was it extra work? Absolutely. Do I feel like a design genius every time I see it? You bet. The key is choosing tiles that can handle basement conditions while still looking like a million bucks.
Choosing and Installing Basement-Friendly Tiles
Not all tiles love basement life. You need porcelain or ceramic tiles with low water absorption rates (under 0.5% for porcelain). Natural stone looks gorgeous but can be problematic in basements unless it’s properly sealed and maintained.
Tile installation must-haves:
- Waterproof membrane under tiles
- Proper subflooring (no direct-on-concrete for best results)
- Quality grout and sealers
- Cost: $2 to $20 per square foot
- Professional installation often worth it
Here’s something nobody mentions: large format tiles (24×24 or bigger) make your basement look huge. But they’re also harder to install on potentially uneven basement floors. It’s a trade-off between visual impact and installation headaches.
Also Read: 10 Creative Basement Living Room Ideas for Small Spaces
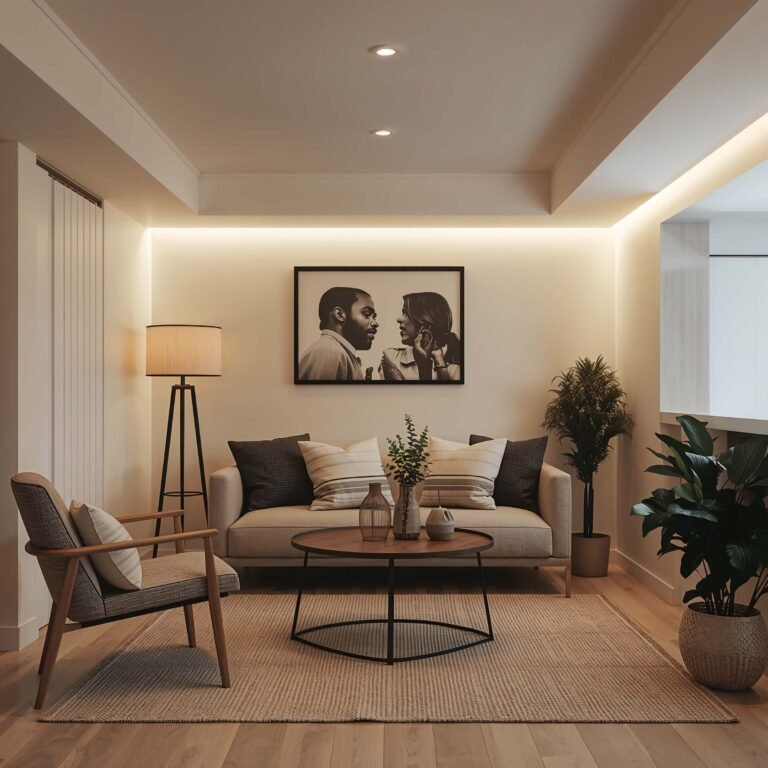
Cork Flooring Comfort

The Eco-Friendly Underdog
Can we talk about how cork flooring is criminally underrated? This stuff is like walking on a cloud, naturally antimicrobial, and sustainable enough to make your eco-conscious friends jealous. Plus, it’s got this unique texture that adds character without trying too hard.
I installed cork in my basement yoga studio (yes, I’m that person now), and the difference in comfort is mind-blowing. My knees actually thank me during workouts, and the natural insulation keeps the floor temperature comfortable year-round. Who knew tree bark could be this awesome?
Making Cork Work Below Grade
The elephant in the room with cork? Moisture concerns. But modern cork flooring has come a long way. Look for cork tiles or planks with waterproof cores and proper sealing. This isn’t your wine bottle cork we’re talking about.
Cork flooring breakdown:
- Cost: $3 to $12 per square foot
- Natural thermal and acoustic insulation
- Requires resealing every 3-5 years
- Can dent under heavy furniture
- Floating floor installation works best in basements
IMO, cork is perfect for basement bedrooms or play areas where comfort matters more than absolute durability. Just don’t put it in your basement gym where you’re dropping weights – learned that lesson the expensive way.
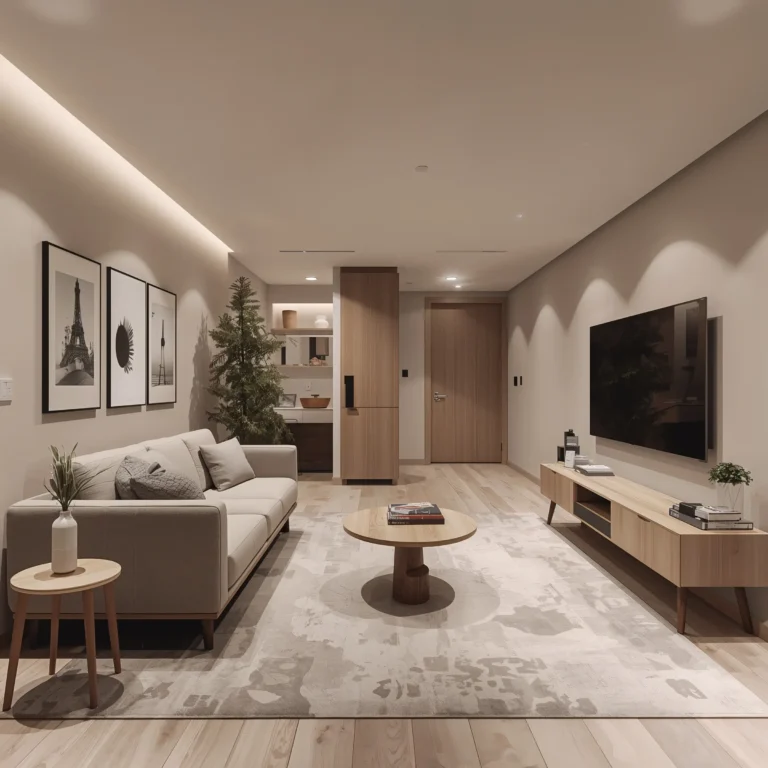
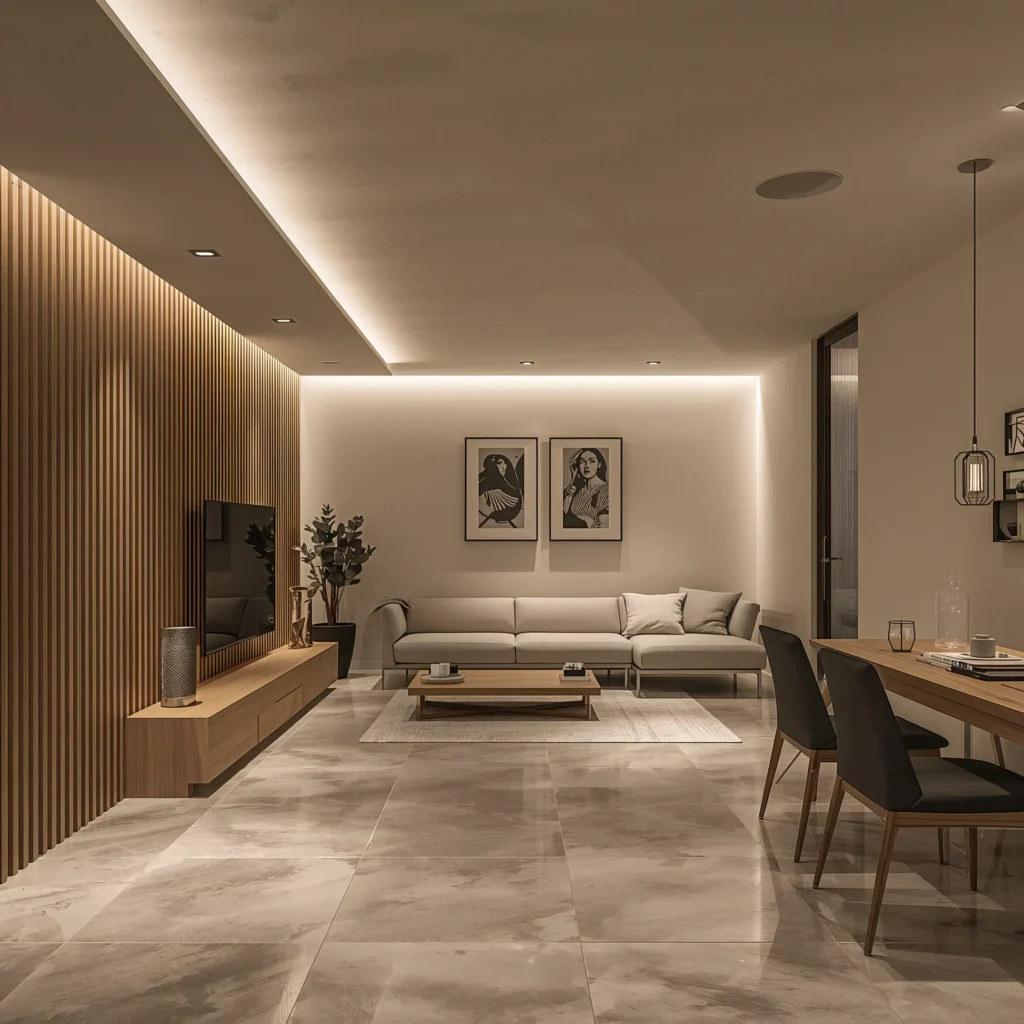
Warm Engineered Hardwood

Real Wood That Actually Works Underground
Traditional hardwood in a basement is basically asking for disaster. But engineered hardwood? That’s a different story. This clever invention uses a real wood veneer on top of plywood layers, giving you the look of hardwood without the warping drama.
My neighbor swore he’d never put wood in his basement after a flooding incident years ago. Fast forward to last year, and he’s showing off his engineered hardwood floors like they’re his firstborn child. The warmth and character real wood brings to a basement is hard to replicate with anything else.
The Engineering Behind Engineered Wood
What makes engineered hardwood basement-friendly? The cross-layered construction resists expansion and contraction better than solid wood. You still need proper moisture control (sensing a theme here?), but it’s way more forgiving than traditional hardwood.
Engineered wood considerations:
- Cost: $3 to $14 per square foot
- Can be refinished 1-3 times (depending on veneer thickness)
- Floating or glue-down installation options
- Needs acclimation time before installation
- Choose products rated for below-grade use
One trick I learned? Go for wider planks with longer lengths. They make your basement feel more spacious and modern. Just make sure your subfloor is level, or you’ll hear every creak and pop when walking around.
Luxury Vinyl Sheet Flooring

The Budget-Friendly Surprise
Don’t confuse luxury vinyl sheet with your grandmother’s kitchen vinyl. Modern luxury vinyl sheet flooring is like the Swiss Army knife of basement floors – versatile, practical, and surprisingly good-looking. Plus, installation is easier than assembling IKEA furniture.
I’ll admit, I was skeptical when my contractor suggested vinyl sheet for my rental property’s basement. But at $2 per square foot installed, with zero seams for water to sneak through? I became a believer real quick. Three tenants later, it still looks brand new.
Why Vinyl Sheet Deserves Respect
The biggest advantage of vinyl sheet? It’s one continuous piece (or minimal seams in large spaces). No gaps, no edges lifting, just smooth, waterproof flooring that laughs at basement moisture. Modern printing technology means you can get incredibly realistic wood and stone looks too.
Vinyl sheet specifics:
- Cost: $0.50 to $5 per square foot
- Cushioned options available for comfort
- Can be loose-laid or glued down
- 15-20 year lifespan with proper care
- Great for uneven subfloors
The only downside? If you damage one section, you might need to replace the whole floor. But honestly, at these prices, that’s not exactly breaking the bank.
Also Read: 10 Stunning Basement Apartment Ideas for Cozy Modern Living
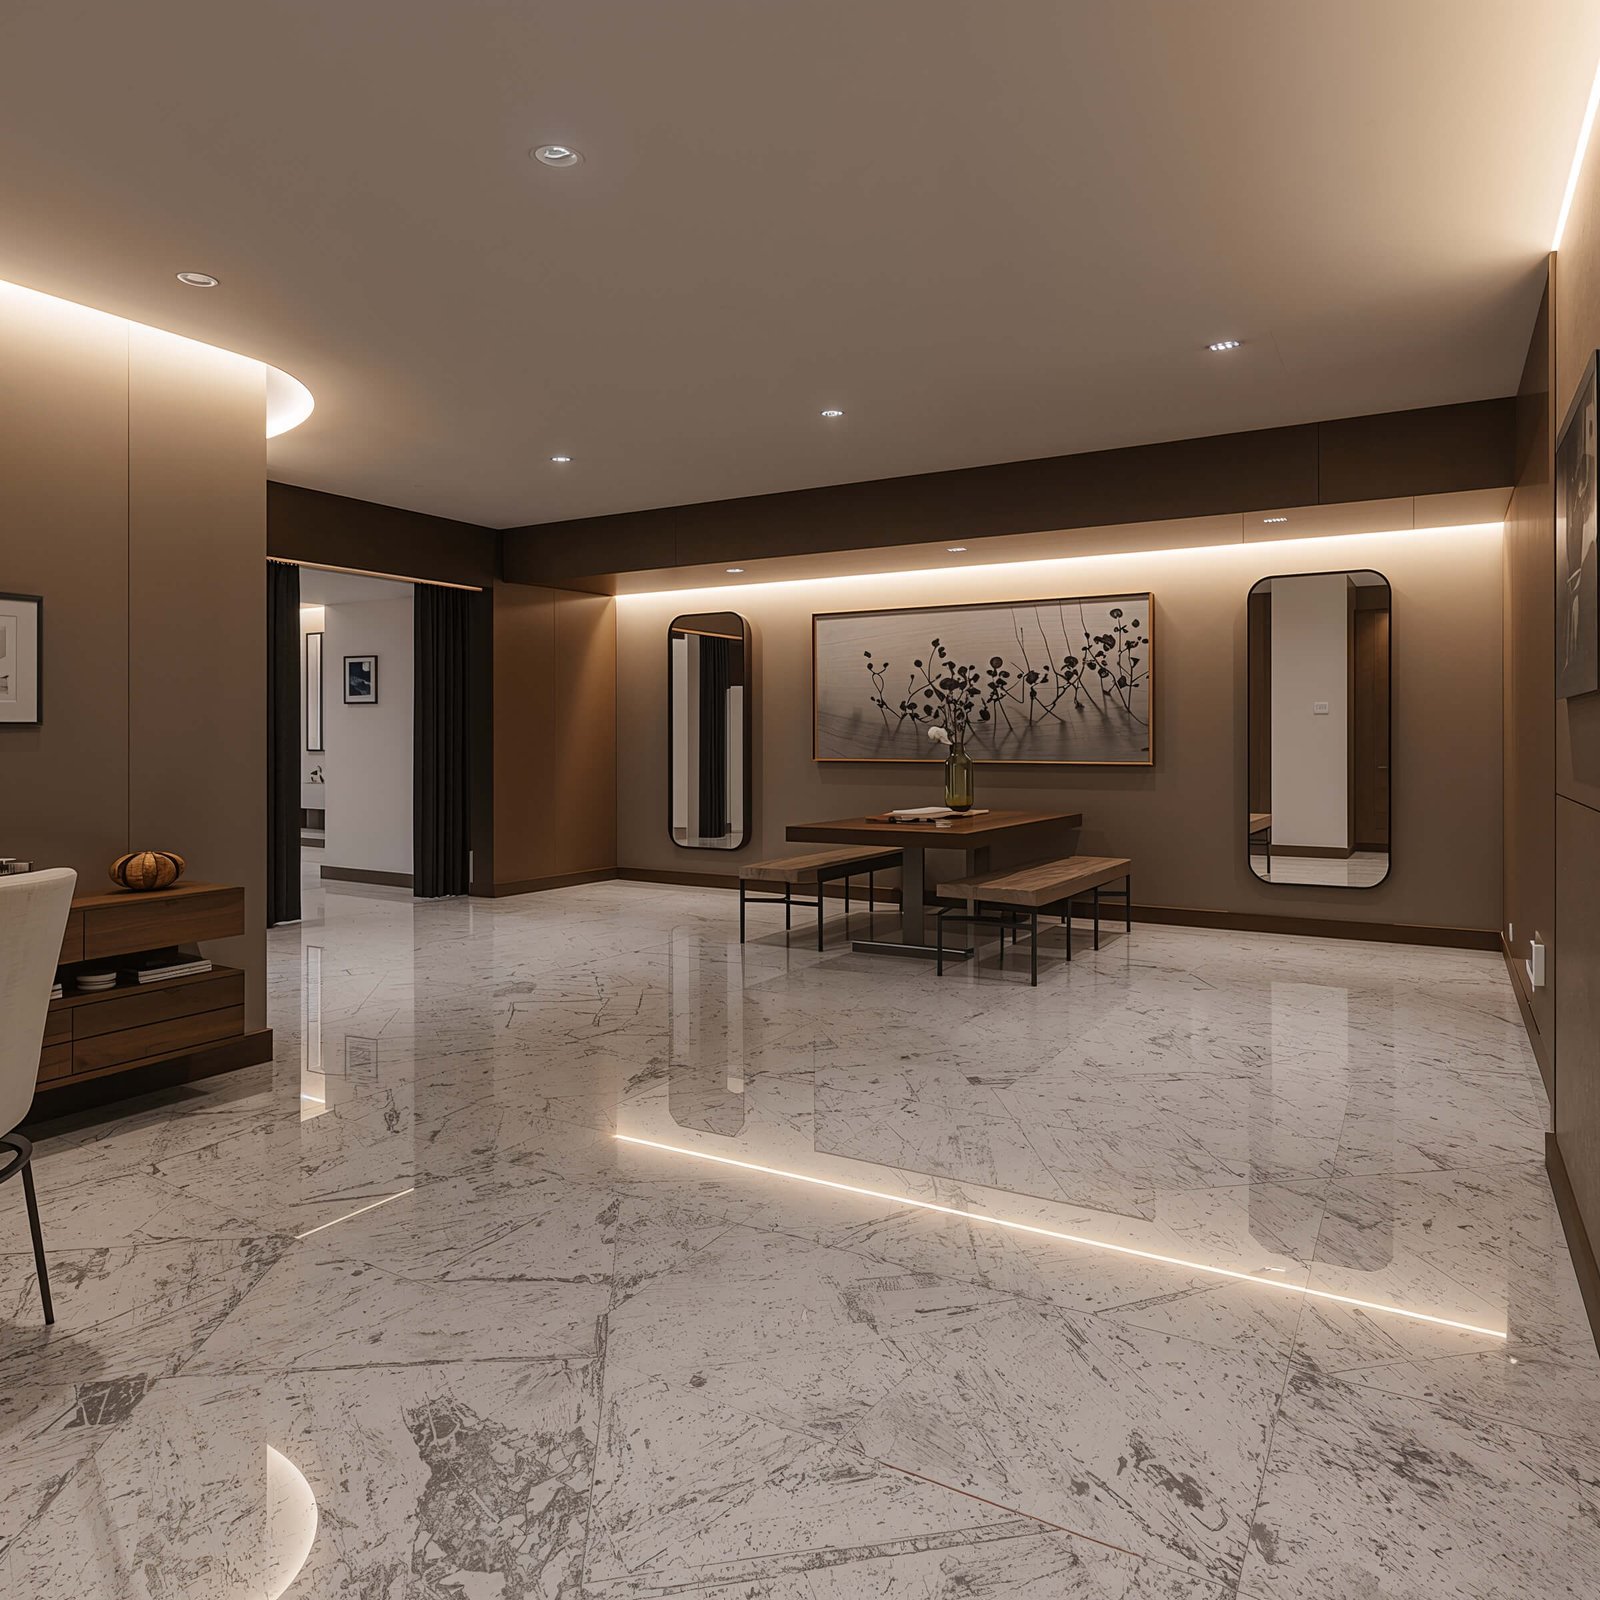
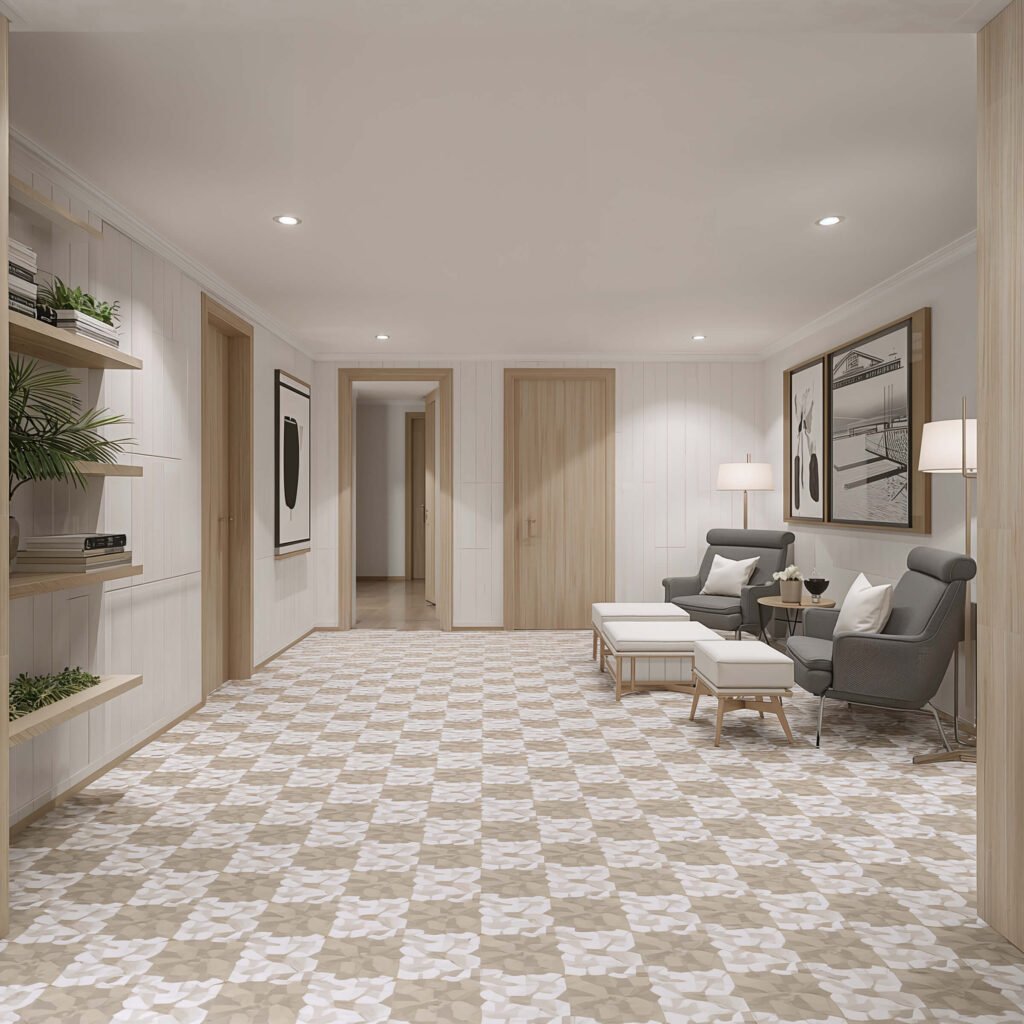
Patterned Porcelain Tiles
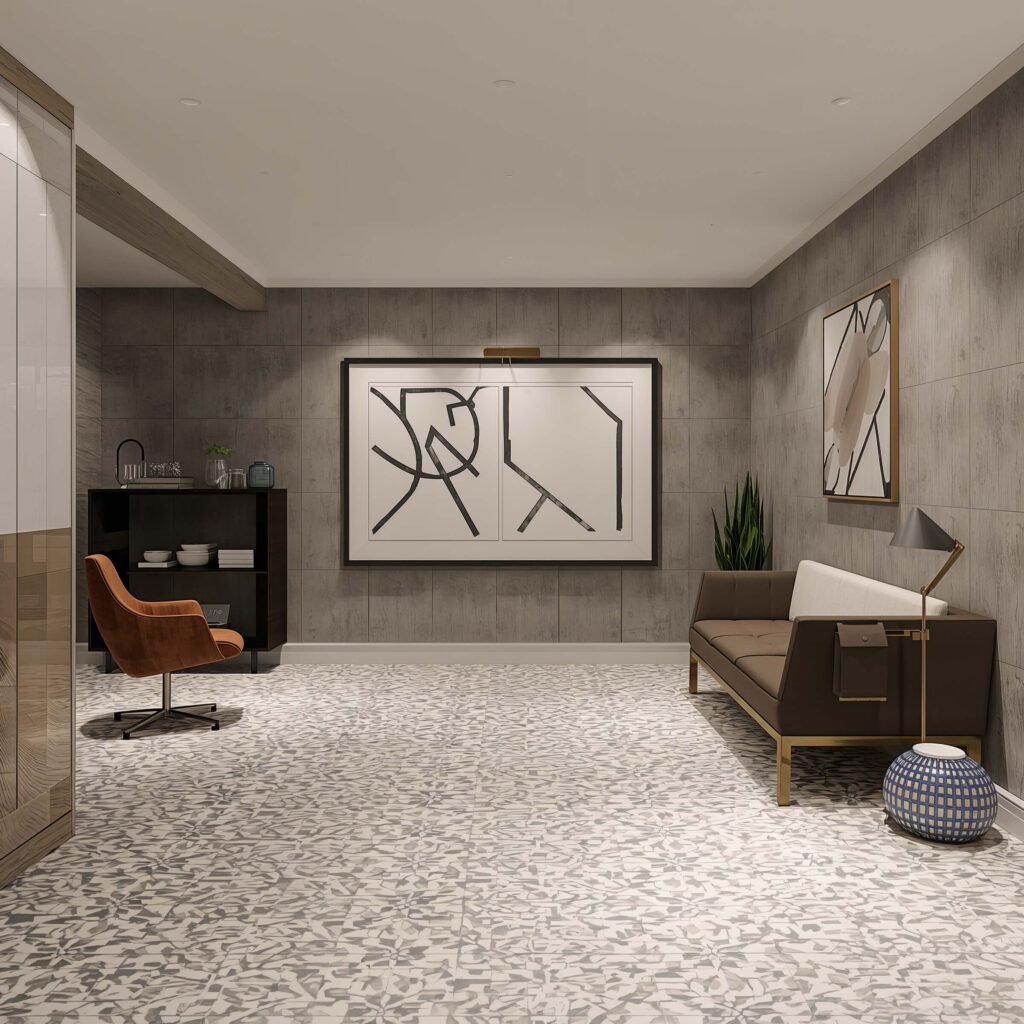
When You Want to Make a Statement
If you’re tired of playing it safe, patterned porcelain tiles are your ticket to basement glory. These aren’t just floors; they’re conversation starters. Moroccan patterns, geometric designs, faux encaustic tiles – the options will make your head spin (in a good way).
I went absolutely wild with patterned porcelain in my basement bar area. Black and white geometric tiles that look like they belong in a boutique hotel. Did it take forever to lay out the pattern correctly? Yes. Do I regret anything? Not even a little bit.
Pattern Tile Installation Tips
Here’s the thing about patterned tiles: planning is everything. You can’t just start slapping tiles down and hope for the best. Dry lay your entire pattern first, take photos, and number your tiles if necessary. Trust me, this extra step will save your sanity.
Patterned tile essentials:
- Cost: $3 to $15 per square foot
- Order 15-20% extra for pattern matching
- Porcelain over ceramic for basements
- Consider hiring a pro for complex patterns
- Smaller grout lines showcase patterns better
Want to know a secret? You can use patterned tiles to define zones in an open basement. Bar area gets the fancy tiles, regular flooring everywhere else. It’s like an area rug that never needs vacuuming.
Making Your Final Choice
After all this flooring talk, you’re probably wondering which option wins the basement floor Olympics. Here’s the truth: the best basement floor is the one that fits your lifestyle, budget, and moisture situation.
What works in my dry, finished basement might be a disaster in your occasionally damp storage space. Consider how you actually use your basement. Is it a high-traffic family room? Go durable with epoxy or vinyl planks. Cozy bedroom? Cork or carpet tiles bring the comfort. Want to impress the neighbors? Polished concrete or patterned tiles steal the show.
The most important thing? Deal with moisture issues first. I don’t care if you’re laying down solid gold tiles – if you’ve got water problems, your beautiful new floor will become an expensive mistake. Test your concrete for moisture, fix any drainage issues, and always use appropriate moisture barriers.
Remember, your basement doesn’t have to be the sad, forgotten space where you store Christmas decorations and pretend doesn’t exist. With the right flooring choice and a weekend (or three) of work, you can transform it into your favorite room in the house. And isn’t that worth getting your hands a little dirty?