10 Creative DIY Birthday Decor Ideas That Wow Your Guests
Let’s be real here – you’re probably scrolling through Pinterest at 2 AM, panicking about an upcoming birthday party and wondering how everyone else makes their celebrations look like they hired a professional event planner.
Well, I’ve got some good news for you! You don’t need to spend your entire paycheck or possess magical crafting abilities to create stunning birthday decorations.
I’ve been throwing DIY parties for years (some epic wins, some… well, let’s not talk about the Great Glitter Explosion of 2023), and I’ve learned that the best decorations come from creativity, not your credit card.
These ten ideas will transform any space into a celebration zone that’ll have your guests asking, “Did you really make this yourself?”
1. Balloon Wall Backdrop DIY
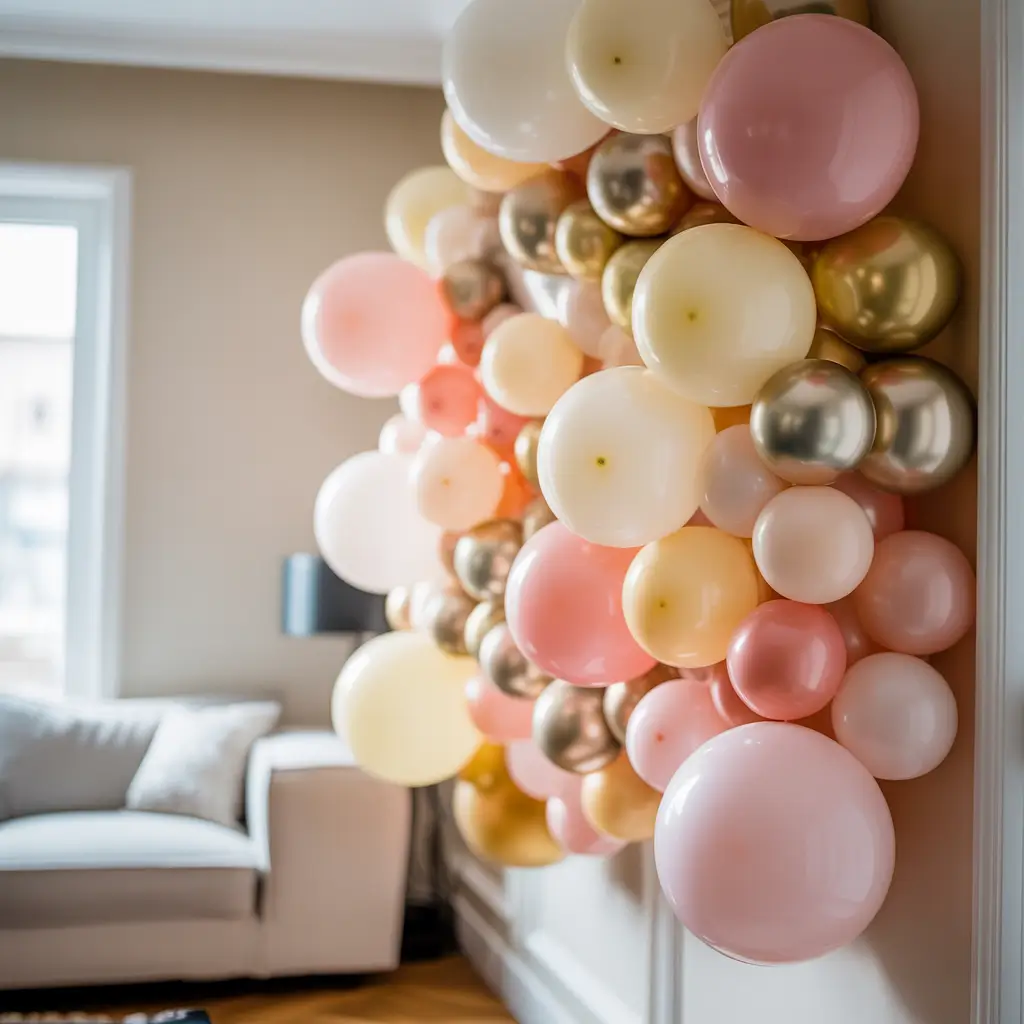
This one’s a total game-changer, and honestly, it’s way easier than it looks.
Creating a balloon wall backdrop sounds intimidating, but trust me – if I can do it while simultaneously burning dinner, you’ve got this. The secret lies in planning your color scheme and having the right tools.
Start with a balloon strip (you can grab these online for like $5) or create your own grid using fishing line. I personally love the strip method because it keeps everything uniform, and let’s face it, my eyeballing skills aren’t exactly architect-level precise.
Here’s what you’ll need:
- Balloon strip or fishing line
- Balloons in 3-4 coordinating colors
- Balloon pump (your lungs will thank you)
- Command strips for wall mounting
- Scissors
The trick is varying your balloon sizes – use 11-inch, 9-inch, and 5-inch balloons to create depth. Fill about 80% of your balloons to full size, then add smaller ones to fill gaps. This creates that organic, professional look that screams “I definitely didn’t panic-craft this at midnight.”
Pro tip: Inflate your balloons the night before and store them in a large garbage bag. They’ll stay fresh, and you won’t be frantically pumping balloons while guests are arriving.
2. Fairy Light Photo Wall Decor
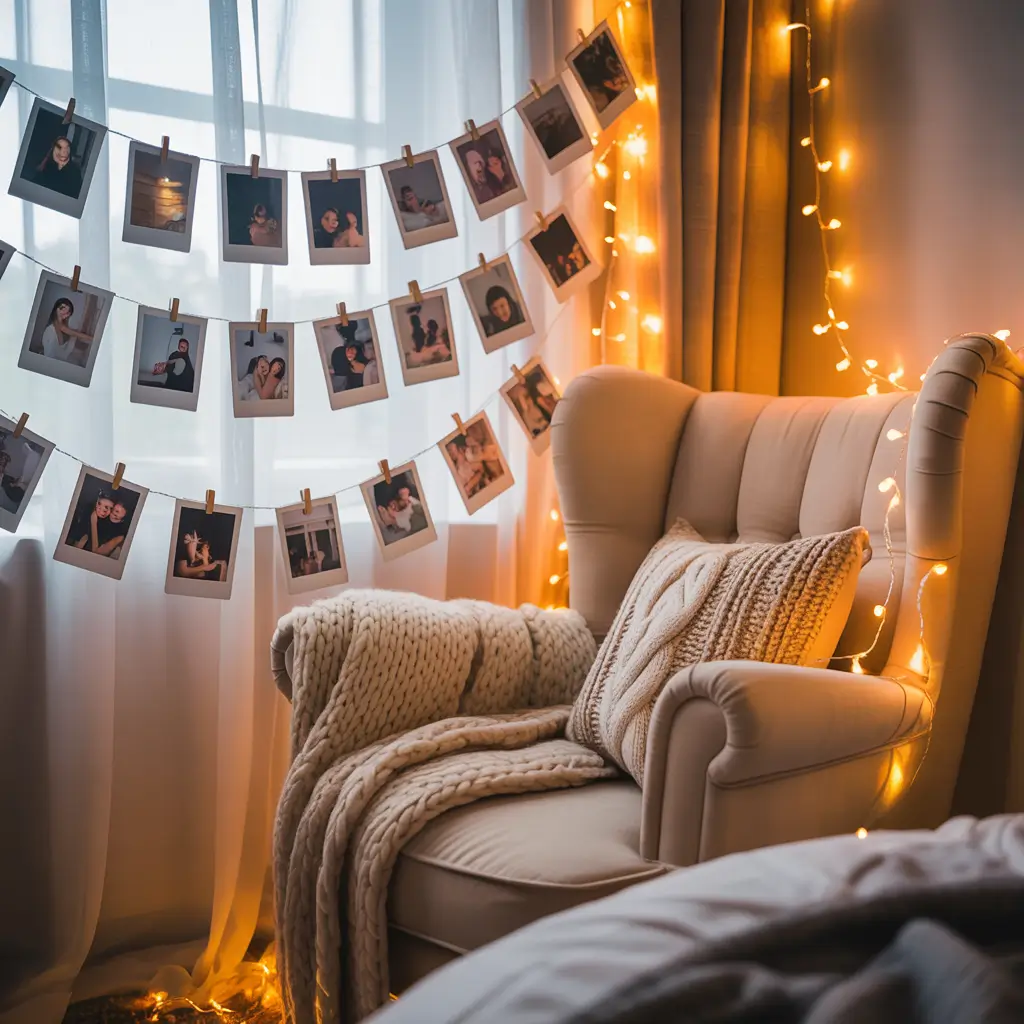
Nothing says “magical birthday vibes” quite like twinkling lights, am I right?
Fairy lights are basically the duct tape of party decorating – they fix everything and make any space look instantly enchanting. I’ve used this setup for everything from sweet sixteens to “dirty thirty” celebrations, and it never fails to create the perfect photo backdrop.
The beauty of a fairy light photo wall lies in its simplicity. You’re essentially creating a curtain of lights that serves as both decoration and the ultimate selfie station. Your guests will be fighting over who gets to pose there first.
Materials you’ll need:
- 6-8 strands of warm white fairy lights
- Small nails or adhesive hooks
- Polaroid photos or printed memories
- Mini clothespins
- Optional: sheer curtain or tulle for added texture
String your lights vertically from ceiling to floor, spacing them about 8-10 inches apart. The key is creating gentle curves rather than rigid straight lines – nobody wants their party to look like a prison yard 🙂
Attach printed photos using mini clothespins along the light strands. Mix recent photos with throwback memories for that nostalgic touch that’ll have everyone saying “Aww, remember when…”
3. Paper Flower Birthday Setup
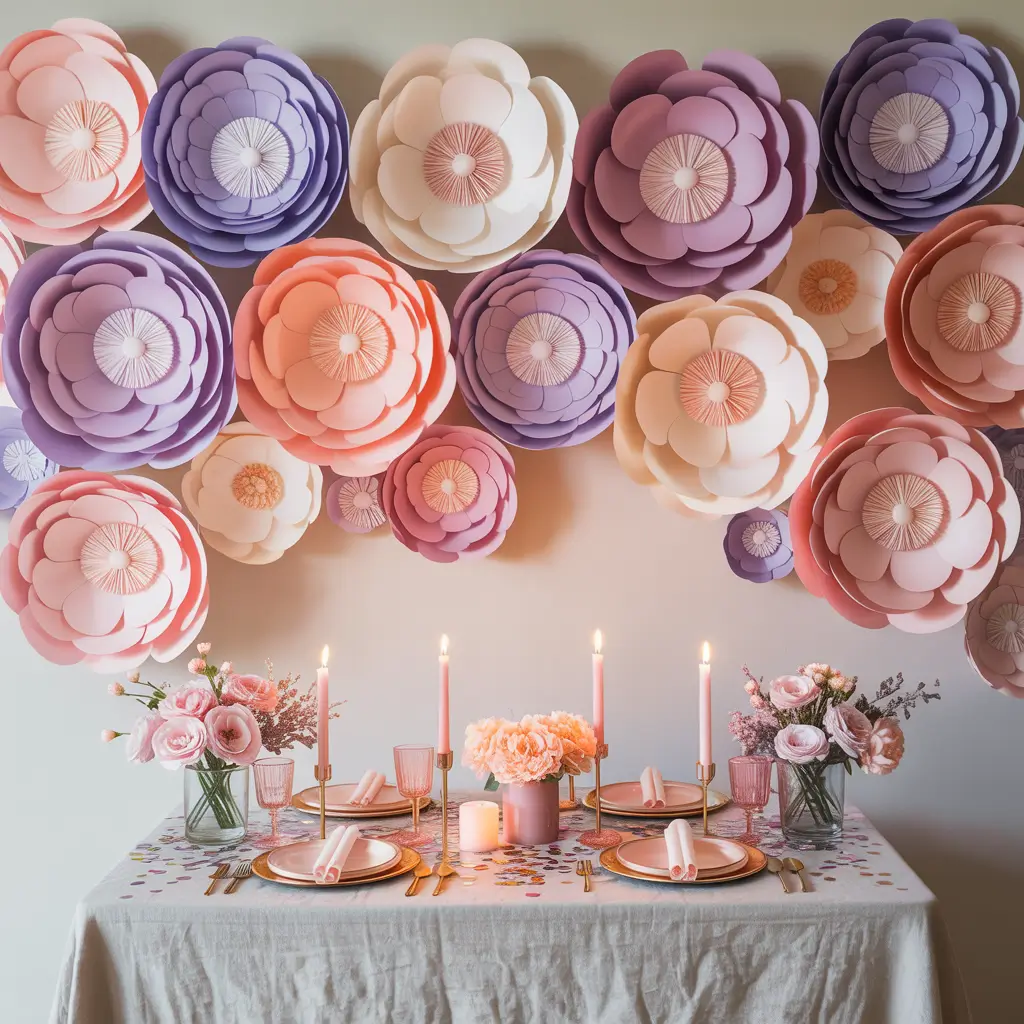
Okay, before you roll your eyes and think “I’m not crafty enough for this,” hear me out.
Paper flowers have gotten a bad rap because people think they’re complicated. But here’s the thing – you don’t need to create botanical masterpieces. Sometimes the most impactful decorations are the simplest ones.
I discovered this during my sister’s birthday when I was broke but determined to make something beautiful. Turns out, giant paper flowers made from tissue paper or crepe paper create incredible visual impact for minimal effort and cost.
The foolproof method:
- Stack 8-10 sheets of tissue paper
- Fold accordion-style (about 1-inch folds)
- Tie the center with floral wire
- Round the edges with scissors
- Gently separate and fluff each layer
Create flowers in varying sizes – some massive statement pieces (18-20 inches) and smaller accent flowers (8-10 inches). Mount them on the wall at different heights using removable adhesive strips.
The color combination makes or breaks this look. Stick to 2-3 colors max, and don’t be afraid to go bold. A wall of coral, blush, and cream flowers creates stunning depth without looking chaotic.
Also Read: 10 Stunning 18th Birthday Decor Ideas You’ll Love
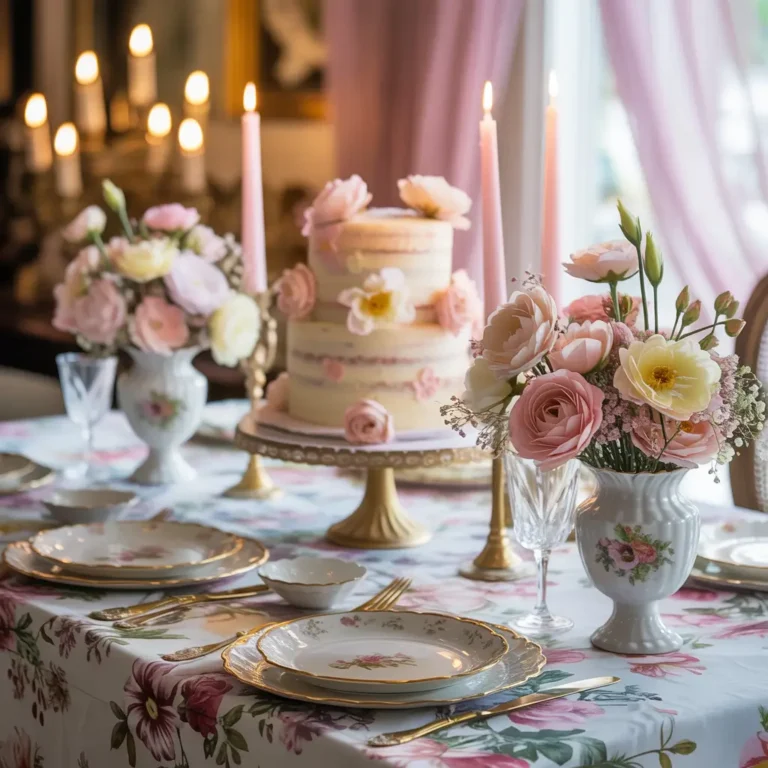
4. DIY Birthday Table Centerpiece Ideas
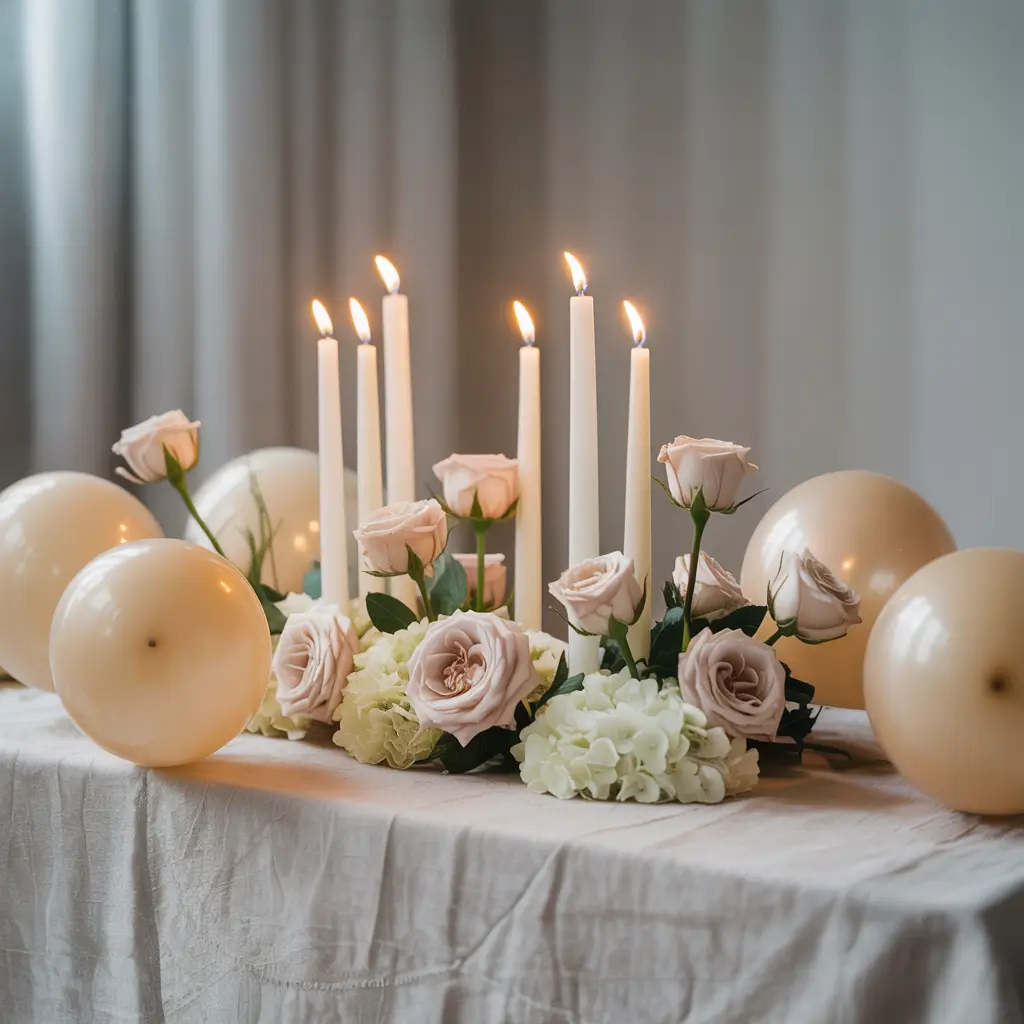
Let’s talk about table centerpieces that don’t block conversation or cost a fortune.
I’ve sat at too many dinner parties where the centerpiece was so tall I had to play peek-a-boo just to talk to the person across from me. Your birthday table should encourage connection, not create barriers.
The Mason Jar Cluster Method works every single time. Gather mason jars in different sizes, wrap them with twine or ribbon that matches your theme, and fill them with:
- Fresh flowers from the grocery store (way cheaper than a florist)
- Battery-operated fairy lights
- Colorful candies that match your color scheme
- Seasonal elements like pinecones or shells
Group them in odd numbers (3 or 5 jars per cluster) and vary the heights. This creates visual interest without overwhelming the table space.
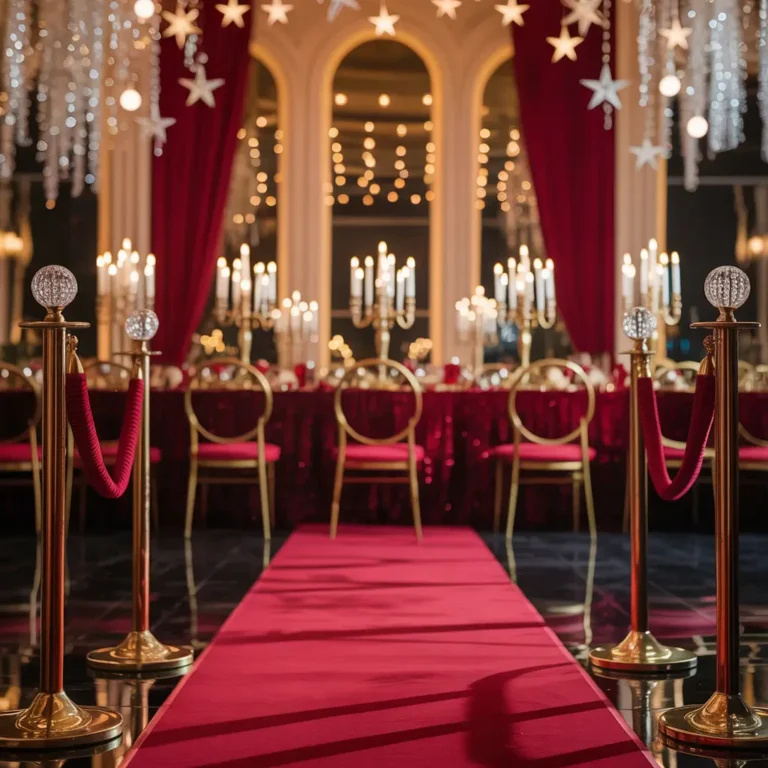
For a more modern approach, try the floating candle setup. Fill clear glass bowls with water, add food coloring to match your theme, and float tea lights or small candles. Scatter flower petals around the base for that extra touch of elegance.
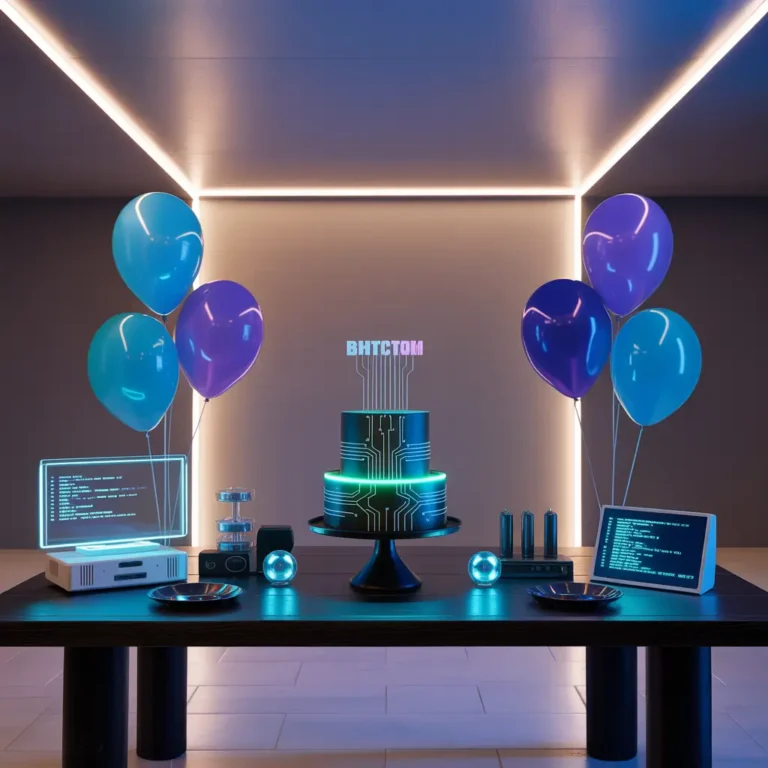
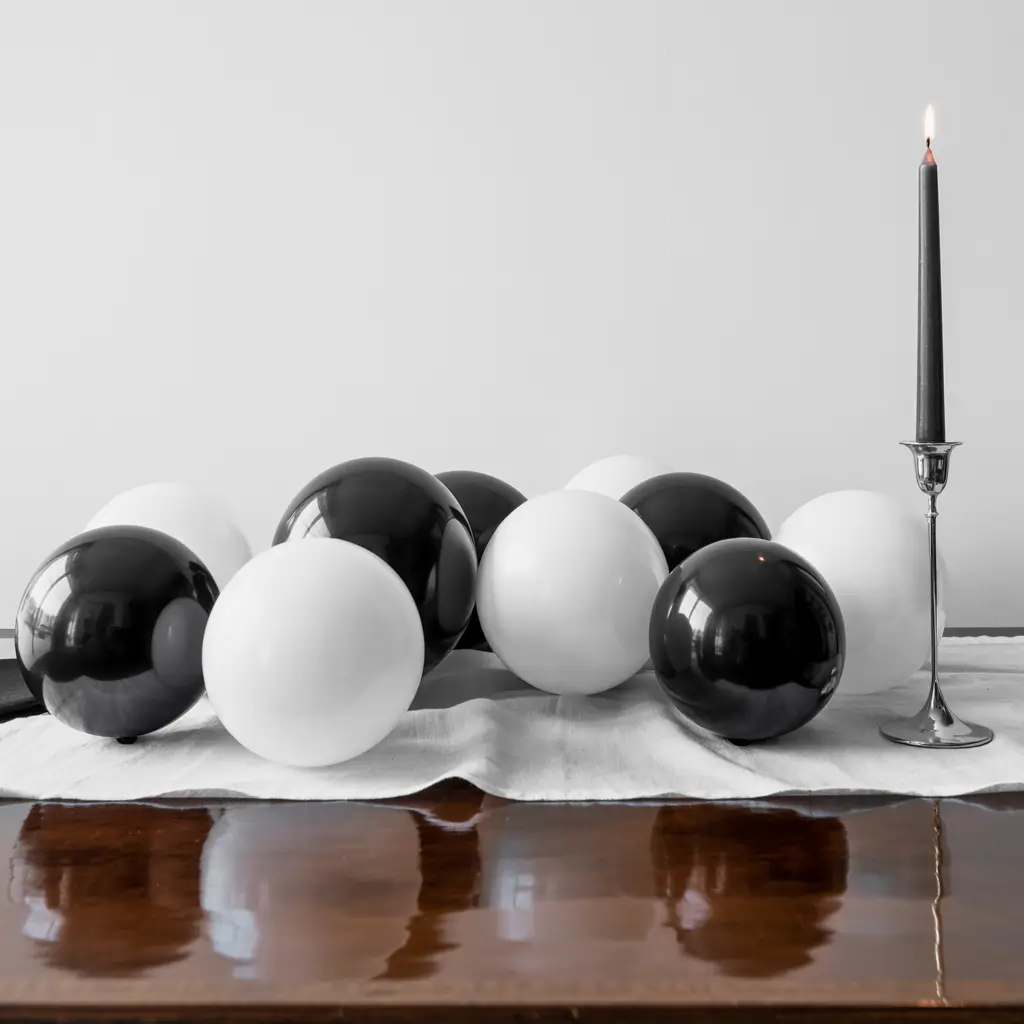
5. Minimalist Black & White Birthday Decor
Sometimes less really is more, and your wallet will definitely agree.
I went through a phase where I thought more decorations automatically meant a better party. Spoiler alert: it doesn’t. Some of my most memorable celebrations have been the cleanest, most minimalist setups.
Black and white decor feels sophisticated and timeless. It photographs beautifully, works for any age, and you probably already have half the materials at home.
Key elements for nailing this look:
- Black and white balloons in a 70/30 ratio (more white than black)
- White tablecloth with black napkins and plates
- Black frames with white matting for photo displays
- White flowers in black vases
- Black and white striped paper straws
The magic happens in the contrast and clean lines. Avoid clutter and focus on a few statement pieces rather than filling every surface. A single black balloon arch against a white wall creates more impact than scattered decorations everywhere.
Typography plays a huge role here too. Create custom signs using black markers on white poster board, or print bold black text on white paper. Keep the fonts clean and modern – think sans-serif rather than fancy script.
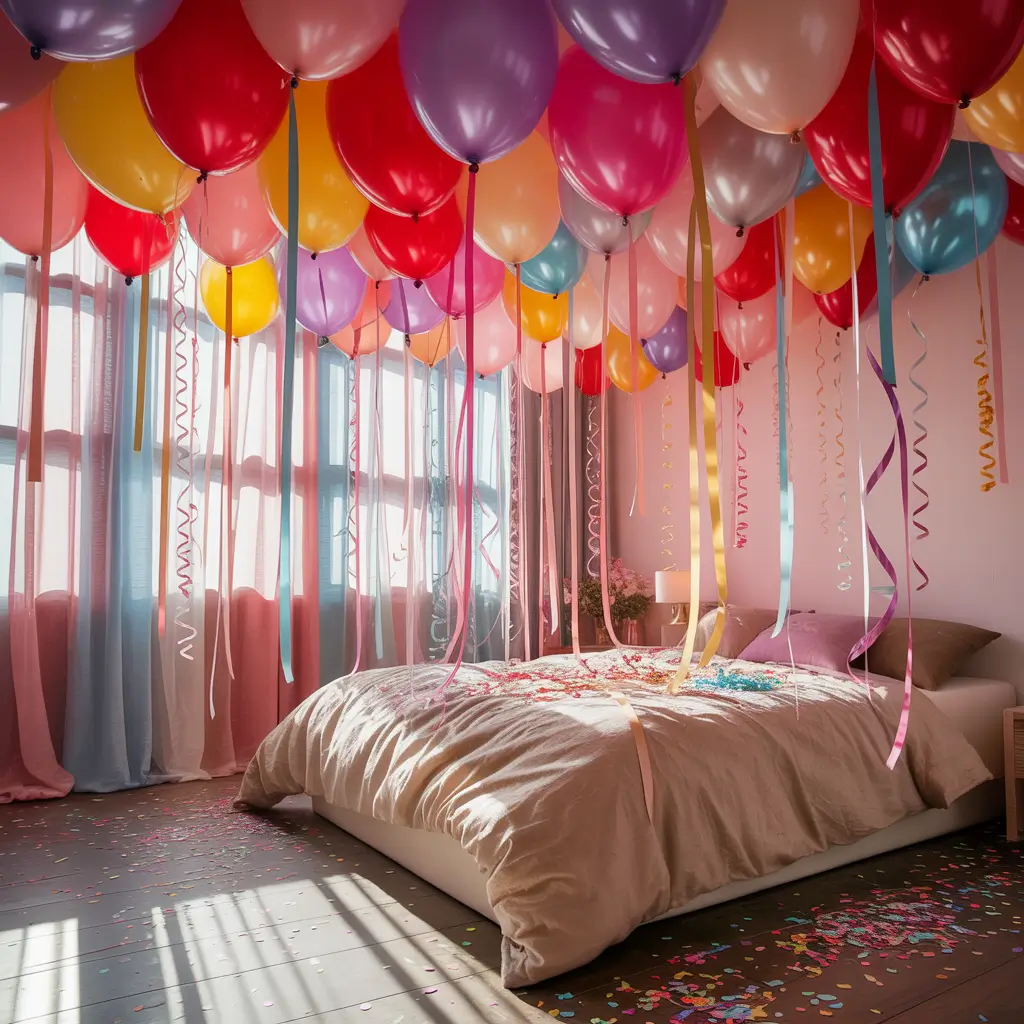
6. DIY Room Ceiling Balloon Surprise
Want to create a moment that’ll make the birthday person’s jaw drop? This is it.
Picture this: someone walks into a room and looks up to find the entire ceiling covered in balloons. It’s like stepping into a dream, and honestly, it’s not as complicated as it sounds.
I first tried this for my best friend’s surprise party, and the look on her face was absolutely priceless. The key is helium balloons with long ribbons that hang down at varying lengths, creating a canopy effect.
Here’s the game plan:
- Calculate your ceiling space (roughly 1 balloon per square foot)
- Choose 2-3 balloon colors that complement each other
- Use different ribbon lengths (3 feet, 5 feet, 7 feet)
- Attach balloons to the ceiling using removable adhesive hooks
The ribbons create movement and visual interest as people walk through the space. Pro tip: add small weights to some ribbons so they hang straight while others float freely.
Budget hack: Mix helium balloons with air-filled balloons attached directly to the ceiling. Your guests won’t notice the difference, but your wallet definitely will.
Also Read: 10 Cute Pink Birthday Decor Ideas for a Magical Celebration
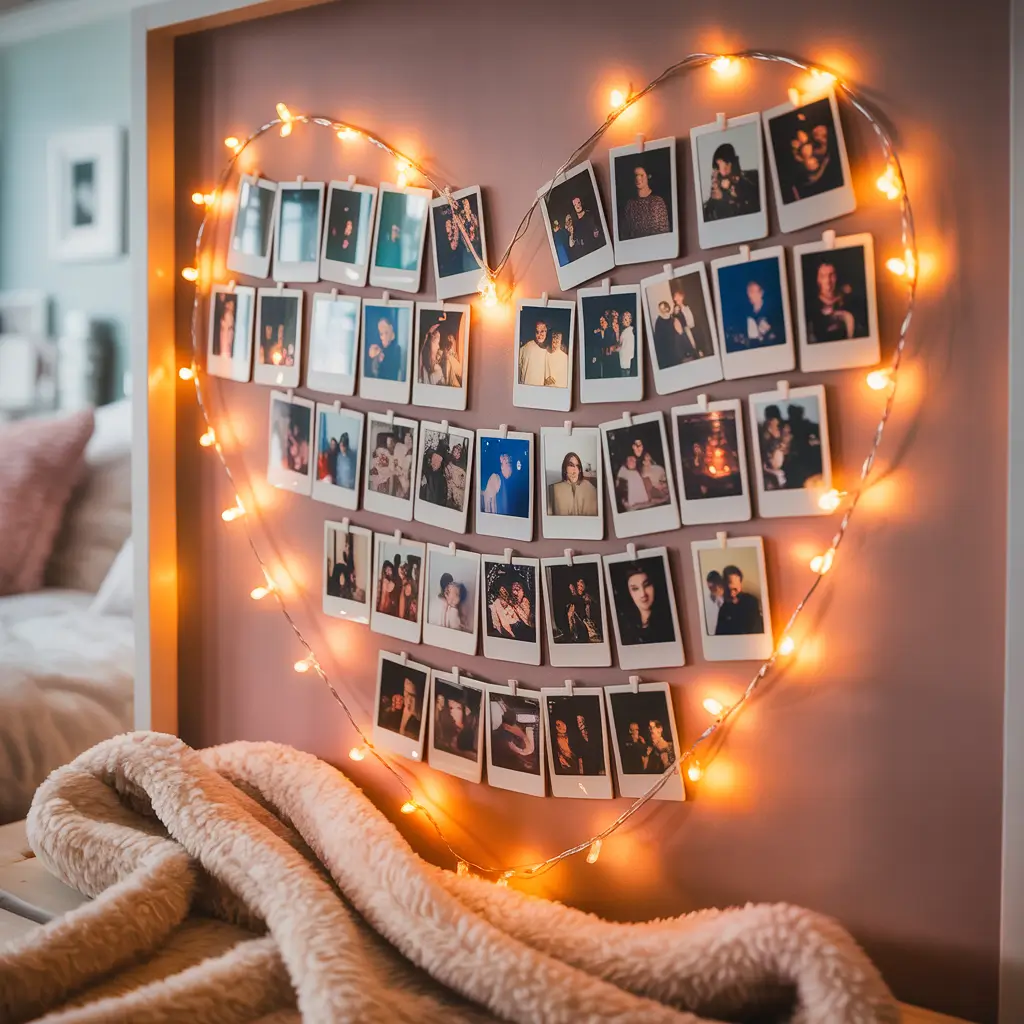
7. Aesthetic Polaroid Memory Wall
This one hits right in the feels every single time.
There’s something magical about physical photos in our digital world. A Polaroid memory wall creates an interactive element that gets guests talking, laughing, and sharing stories.
I love this idea because it serves multiple purposes – decoration, entertainment, and a keepsake the birthday person can treasure long after the party ends.
Setting up your memory wall:
- Create a large heart, number, or geometric shape on the wall using painter’s tape
- Provide instant cameras (you can find affordable options online)
- Set up a small table with markers for guests to write messages
- Use washi tape or mini clothespins to attach photos as they develop
Make it interactive by creating photo prompts on small cards: “Take a selfie with the birthday person,” “Capture your favorite party moment,” or “Show us your dance moves.” This encourages guests to participate and creates candid, genuine moments.
The beauty of this setup is watching it evolve throughout the party. By the end of the night, you’ll have a wall full of memories that perfectly captures the celebration’s energy.
8. Handmade Birthday Banner with Kraft Paper
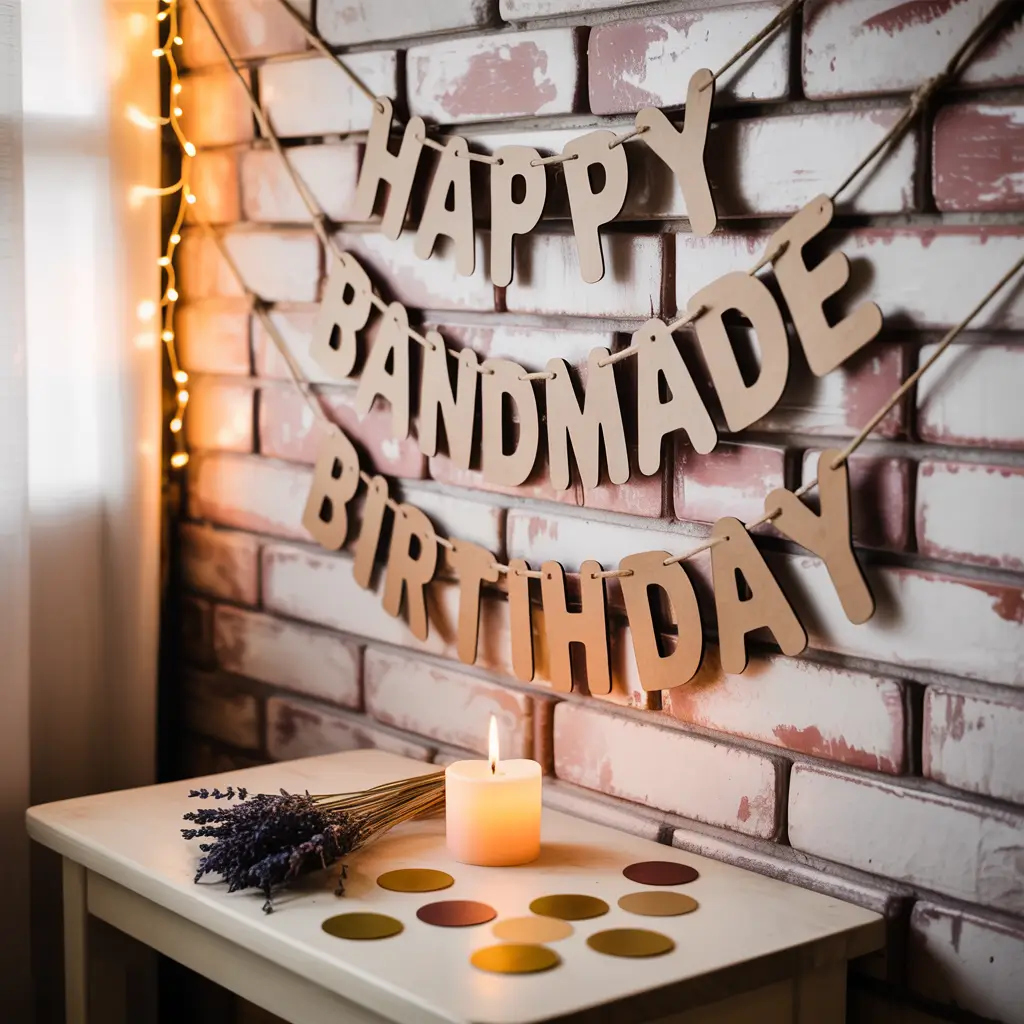
Sometimes the simplest touches make the biggest impact.
Store-bought banners are fine, but there’s something special about handmade decorations. They show thought and effort, plus you can customize them exactly how you want.
Kraft paper banners have this rustic, authentic feel that works for virtually any party theme. I’ve used this technique for everything from kids’ birthdays to adult celebrations, and it always adds that personal touch that guests notice.
Materials needed:
- Kraft paper or brown paper bags
- Black or white markers
- Scissors
- Twine or ribbon
- Hole punch
- Optional: stamps or stencils for uniform lettering
Cut your paper into pennant shapes (triangle flags work great) or rectangles. Hand-letter your message – “Happy Birthday,” the person’s name, or their age. The imperfect, handwritten look is actually part of the charm.
Design variations:
- Ombre effect using different shades of the same color
- Mixed fonts for a playful, eclectic look
- Add small illustrations or doodles around the letters
- Use stamps for consistent lettering if your handwriting isn’t banner-worthy
String everything together with twine, leaving extra length on both ends for easy hanging. The natural texture of kraft paper photographs beautifully and complements almost any color scheme.
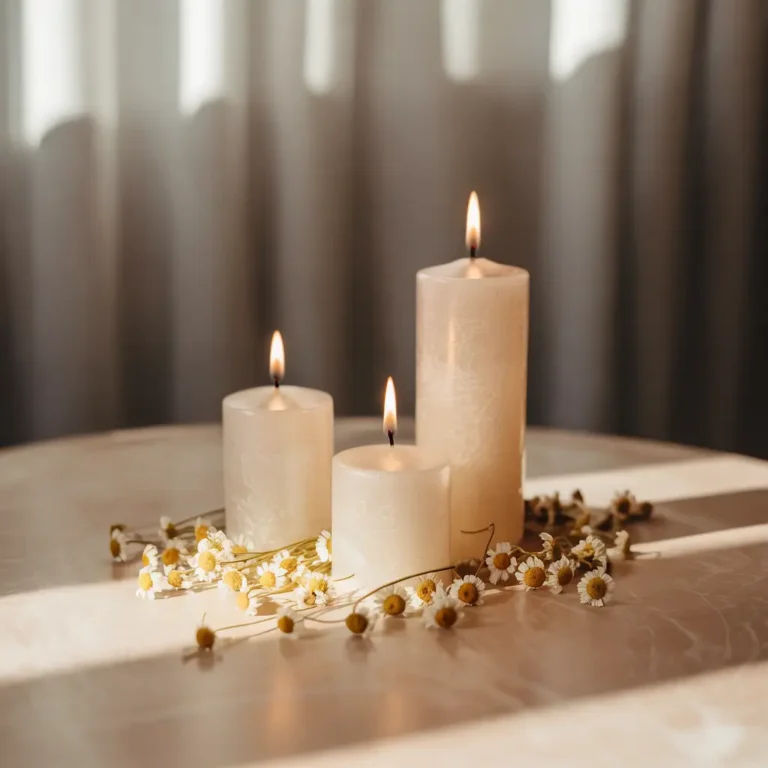
9. DIY Candlelight Birthday Corner Setup
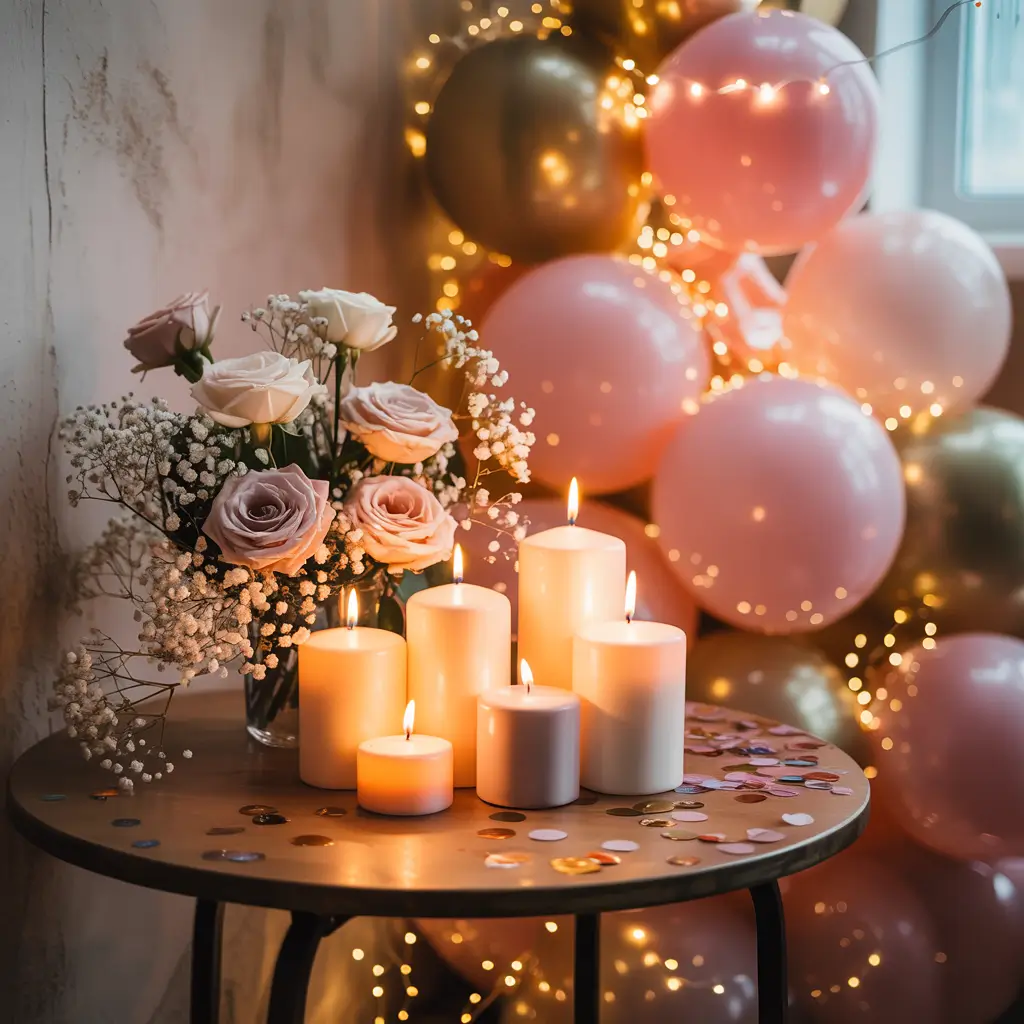
Create an intimate, cozy atmosphere that feels like a warm hug.
Not every birthday celebration needs to be high-energy and bright. Sometimes you want to create a space that feels intimate and special, where meaningful conversations happen and memories are made.
A candlelight corner setup transforms any space into a cozy retreat. I love setting this up as a quiet zone where guests can escape the main party energy and connect on a deeper level.
Essential elements:
- Candles of varying heights (safety first – use battery-operated if needed)
- Soft throw pillows and blankets
- Low seating options like floor cushions
- Warm-toned fairy lights for backup lighting
- Small side table for drinks and snacks
Safety considerations are crucial here. If you’re using real candles, place them in glass hurricanes or lanterns to prevent accidents. Battery-operated candles have come a long way and create almost the same ambiance without the fire risk.
Layer different textures – soft fabrics, natural wood, maybe some plants or flowers. The goal is creating a space that feels separate from the main party while still being part of the celebration.
Also Read: 10 Gorgeous Birthday Table Decor Ideas for Every Celebration
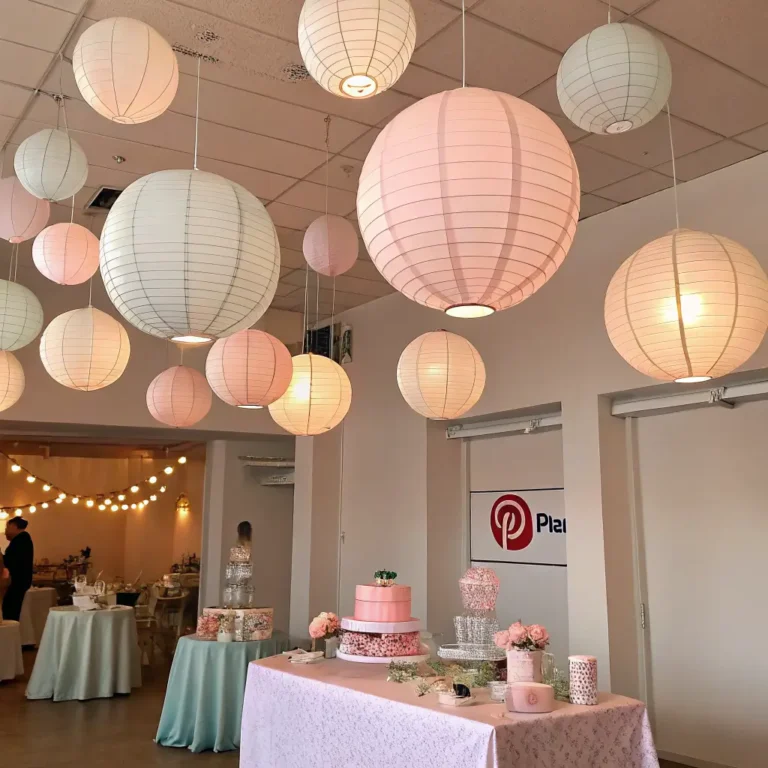
10. Pastel Theme DIY Birthday Decoration
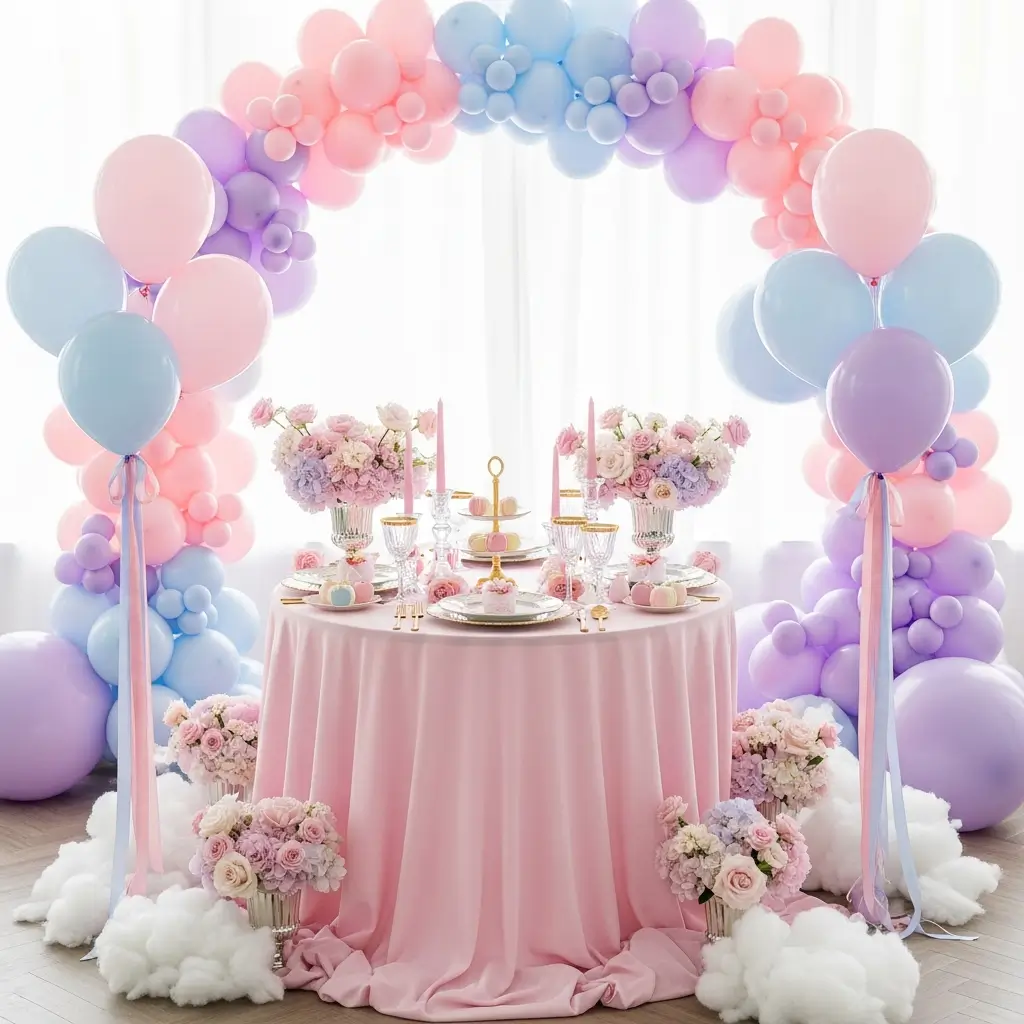
Soft, dreamy, and absolutely perfect for creating that ethereal party atmosphere.
Pastel themes never go out of style because they’re universally flattering and create such a peaceful, happy vibe. I’ve noticed that pastel decorations photograph incredibly well too – everything looks soft and Instagram-ready without trying too hard.
The key to nailing pastel decor is balance and restraint. Too many pastel colors together can look chaotic, but the right combination creates magic.
Winning color combinations:
- Blush pink, sage green, and cream
- Lavender, soft yellow, and white
- Mint green, peach, and ivory
- Dusty blue, mauve, and champagne
DIY pastel elements that pack a punch:
- Tissue paper pom-poms in graduated sizes
- Watercolor paper table runners (literally just brush watercolors across paper)
- Pastel balloon garlands with greenery accents
- Soft fabric draping using tulle or chiffon
- Hand-dipped candles in pastel wax
The beauty of pastel themes lies in their versatility. They work for any age, any season, and any venue. Plus, most pastel decorations can be repurposed for other celebrations – talk about getting your money’s worth!
Texture plays a huge role in pastel decor. Mix matte and shiny finishes, soft and structured elements. Think velvet ribbons with paper flowers, or metallic accents with fabric draping.
Bringing It All Together
Here’s the thing about DIY birthday decorations – they don’t have to be perfect to be beautiful. Some of my favorite party memories come from celebrations where things didn’t go exactly as planned, but the love and effort showed through anyway.
The real secret to successful DIY party decor isn’t having perfect crafting skills or an unlimited budget. It’s about understanding what creates atmosphere and focusing your energy on a few key elements rather than trying to do everything.
Pick 2-3 ideas from this list that speak to you and the birthday person’s personality. A balloon wall backdrop paired with a simple centerpiece and some fairy lights will create more impact than trying to incorporate every single trend you’ve seen online.
Remember, your guests aren’t coming to judge your decorating skills – they’re coming to celebrate someone special. The decorations are just the backdrop for the real magic: bringing people together to create memories.
So grab your supplies, put on some good music, and start creating. Your future self (and your Instagram feed) will thank you! 🙂
FYI, most of these projects can be prepped days in advance, which is a total lifesaver when you’re juggling party planning with everything else life throws at you. Trust me, your stress levels will thank you for the preparation.
Now stop scrolling through Pinterest and start creating something amazing. You’ve got this!