15 Brilliant Camper Bathroom Remodel Ideas for a Fresh, Spacious Look
Alright, let’s talk about the elephant in the room. Or should I say, the entire bathroom in the camper? Because let’s be honest, most camper bathrooms feel less like a private oasis and more like a glorified broom closet with plumbing.
You know the feeling. You step in, and suddenly you’re performing a complex ballet just to turn around without elbowing the shower, the sink, and the toilet all at once. It’s a symphony of claustrophobia.
But what if I told you it doesn’t have to be that way? What if your tiny home-on-wheels could boast a bathroom that feels—dare I say it—spacious, fresh, and maybe even a little bit luxurious? I’ve been there, wrestling with a shower curtain that’s a little too friendly and storage that seems to vanish into thin air.
After years of trial, error, and a few hilarious mishaps (we don’t need to talk about the time I tried to install a full-sized towel bar), I’ve compiled the ultimate list of game-changing ideas.
This isn’t just about slapping on a new coat of paint. We’re talking about smart, strategic, and seriously brilliant upgrades that will transform your cramped camper bathroom from a necessary evil into a space you might actually enjoy.
So, grab your toolbox and your sense of adventure. We’re about to make some magic happen
15 Brilliant Camper Bathroom Remodel Ideas
1. Install a Compact Corner Sink
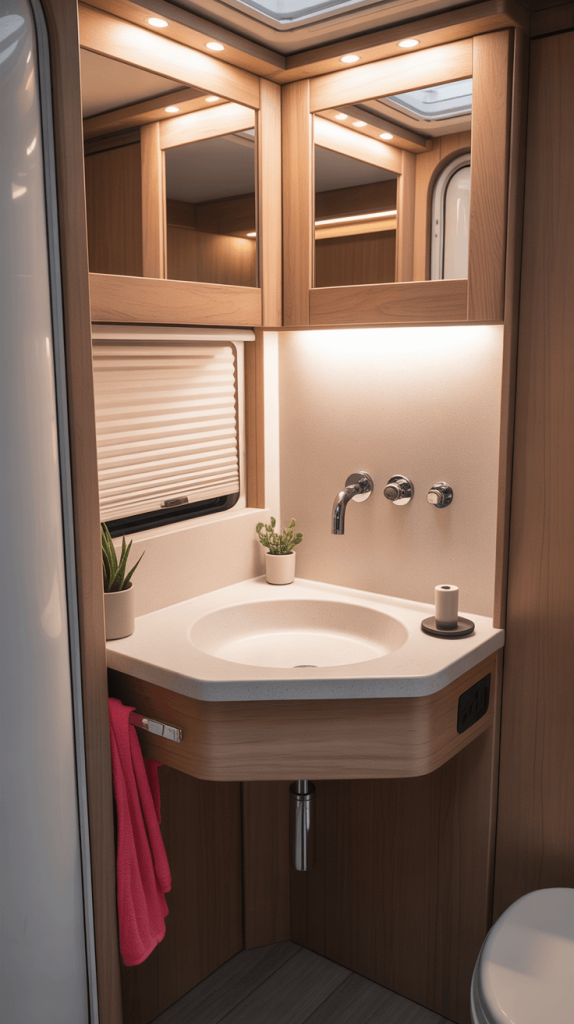
Let’s start with the basics. The sink is often the biggest space-hog in a camper bathroom. That big, bulky rectangular basin right in the middle of everything? It’s the main culprit behind your daily battle for personal space.
A compact corner sink is an absolute game-changer. By tucking the sink away into a corner, you instantly free up a massive amount of floor space and central real estate. Suddenly, you can actually move your feet! Modern corner sinks are designed to be super functional, often with deep bowls and sleek faucets. You’re not sacrificing utility; you’re gaining sanity.
Why this works:
- Maximizes Unusable Space: It utilizes a corner that was probably just collecting dust bunnies anyway.
- Improves Traffic Flow: The path from the door to the toilet or shower becomes clear and unobstructed.
- Offers a Modern Look: It immediately makes the bathroom look more intentional and designed, rather than just a jumble of fixtures someone crammed in.
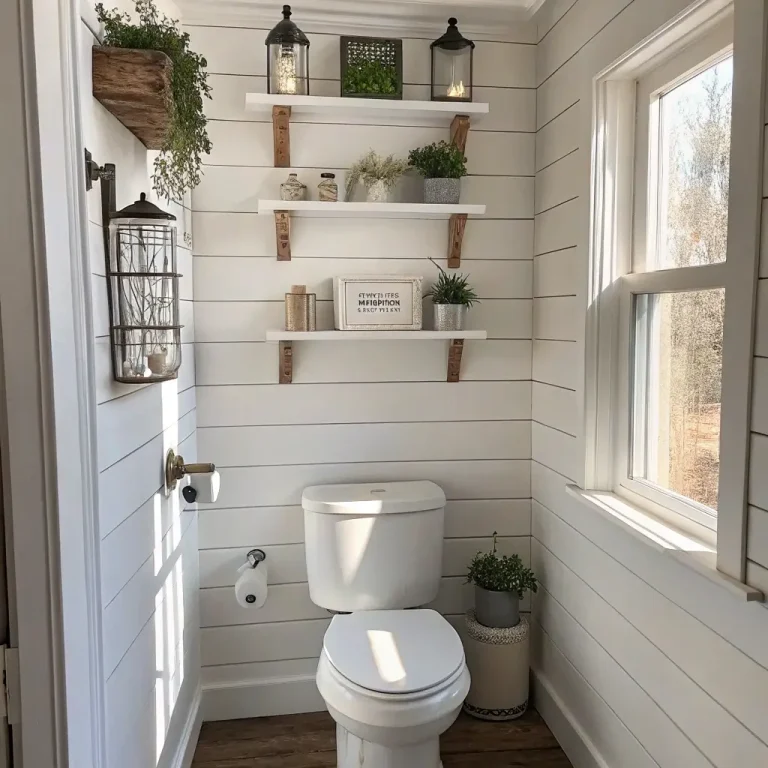
2. Add Foldable or Wall-Mounted Shelving
Floor space is the most valuable currency in a camper, so why are you wasting it on a freestanding shelf unit that’s just waiting to tip over at the first sharp turn? Foldable or wall-mounted shelving is the answer to all your storage prayers.
Think of it as giving your bathroom a superpower: the ability to create storage out of thin air. When you’re parked and need access to your toiletries, towels, and supplies, you flip down the shelves. When it’s time to hit the road, you fold them right back up against the wall, securing everything and preventing a projectiles-in-the-night scenario.
My personal favorite options:
- Teak Shower Shelves: These guys fold flat against the wall, look gorgeous, and are naturally water-resistant.
- Magnetic Spice Racks: No, really! Small, metal magnetic spice racks from IKEA are perfect for holding small bottles, bobby pins, and other metal items. Stick them to the wall or the side of a metal cabinet.
- Simple Wall-Mounted Corner Shelves: These create a little nook for your soap or toothbrush holder without intruding into the room.
3. Opt for a Multi-Function Showerhead

The days of that sad, drippy showerhead that feels like you’re being spit on by an angry bird are over. Upgrading your showerhead is one of the single biggest upgrades for your daily quality of life on the road.
But we’re not just talking about any showerhead. You want a multi-function model. Look for one that has a few key features:
- A Pause Button: This is a total game-changer for conserving water. You can get wet, pause the flow to lather up, and then rinse off without wasting a drop. Your freshwater tank will thank you.
- Adjustable Settings: A mist setting for gentle washing, a powerful jet for rinsing off stubborn campfire smoke, and a massage setting for those sore muscles after a long hike.
- Handheld Option: Many models are detachable, making it infinitely easier to rinse down the shower walls and clean the entire bathroom. Trust me, this makes cleanup a breeze.
Also Read: 15 Inspiring Full Bathroom Remodel Ideas for a Stunning Transformation
4. Install a Space-Saving Pocket Door
This one might be a slightly more involved project, but holy cow, is it worth it. A standard door that swings inward eats up a huge amount of precious square footage. You have to plan your entire bathroom layout around its arc.
A pocket door slides neatly into a compartment within the wall, effectively vanishing when it’s open. This completely eliminates the door-swing problem and makes the entire bathroom feel more open and accessible. It’s a more significant remodel, often involving some wall reconstruction, but the payoff in terms of sheer usable space is monumental. If you’re doing a more extensive gut job, this should be at the very top of your list.
5. Upgrade to a Compact Toilet
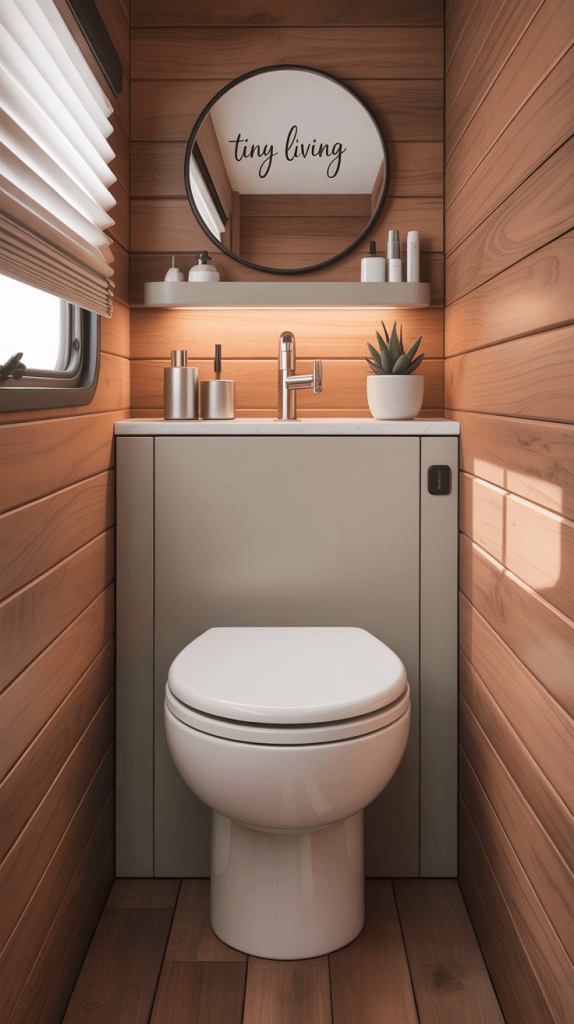
Camper toilets have come a long way. If you’re still rocking an old, bulky, and inefficient model, an upgrade can save space and improve your overall experience. You have two fantastic options:
- A Cassette Toilet: These are the modern standard for a reason. The waste tank is separate and easily removable from the outside of the camper. This means you can replace a huge, fixed black tank with a more manageable, slide-out cassette that you can easily carry to a dump station. No more awkward hoses and hoping your hose length is just right.
- A Macerating/Upflush Toilet: Have you ever dreamed of putting a bathroom literally anywhere in your rig, regardless of where the black tank is? These powerful toilets grind waste and pump it up and over to your tank, giving you incredible flexibility in your floor plan. They can be a bit pricier, but the design freedom they offer is incredible.
6. Add Glass or Acrylic Shower Doors
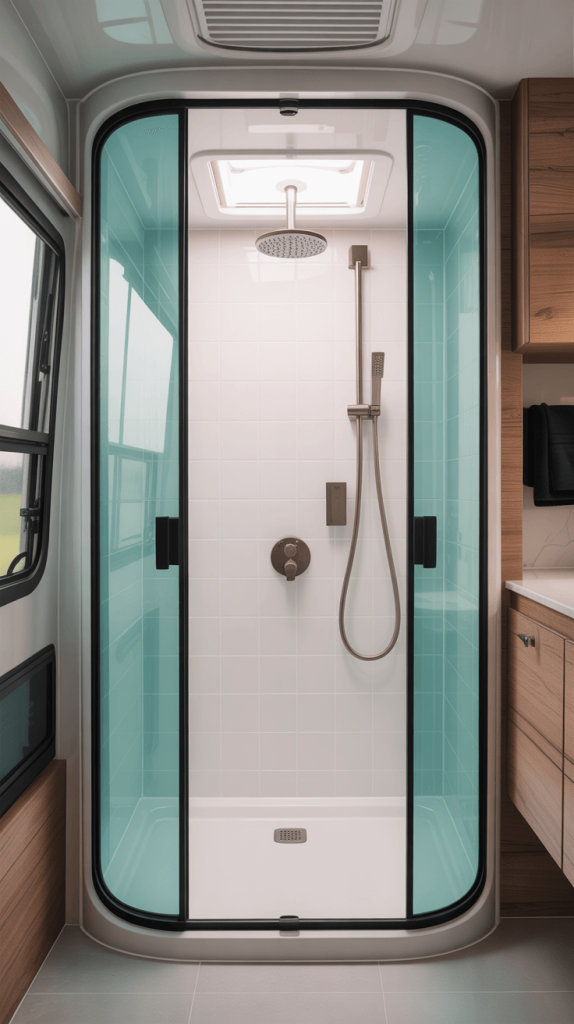
I get it. A shower curtain is cheap and easy. But it’s also a visual barrier that chops your already tiny bathroom in half, making it feel even smaller. Replacing that clingy vinyl curtain with a clear glass or acrylic shower door works absolute wonders.
A clear barrier allows light to flow through the entire space, making it feel instantly larger and more open. It also creates a more permanent, “real home” feel. Worried about safety? Tempered glass is incredibly strong, and lightweight acrylic options are a fantastic and safe alternative that won’t shatter on a bumpy road. They’re also much easier to keep clean and free of mildew than a gross shower curtain liner.
Also Read: 15 Brilliant RV Bathroom Remodel Ideas for Style & Functionality
7. Use a Built-In Laundry Hamper
Where do your dirty clothes go in a camper? On the floor? On the toilet lid? On a hopelessly overstuffed hook? A dedicated, built-in hamper solves this problem elegantly.
You can install a simple, slide-out wire basket in a vanity cabinet, or use a clever fold-down fabric hamper that hangs on the back of the door. The key is that it has a dedicated home and doesn’t consume living space. This keeps your bathroom tidy and prevents that “dirty laundry explosion” feeling that can make a small space feel chaotic and messy.
8. Install LED Lighting Under Cabinets
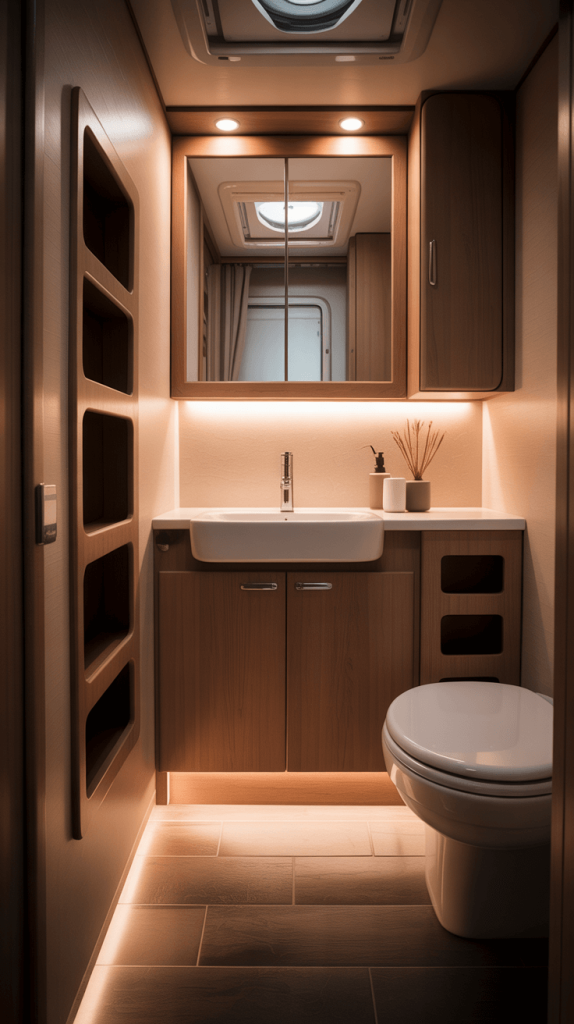
Most camper bathrooms are lit by one sad, central ceiling light that casts shadows everywhere, making the space feel dark and cave-like. The solution? Strategic LED lighting.
Stick-on, battery-operated, or hardwired LED light strips under your vanity or above your mirror are a revelation. They provide direct, shadow-free light exactly where you need it—on your face for grooming, and on the countertop for cleaning. They also consume very little power, so you can leave them on for ambiance without draining your batteries. Choosing a warm white light (around 2700-3000K) will keep the space feeling cozy, not like a laboratory.
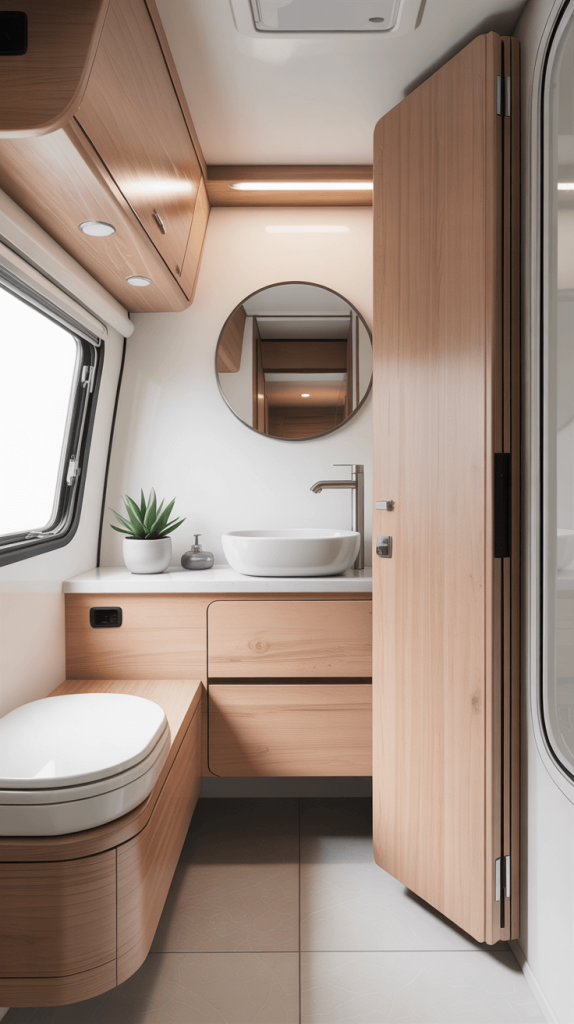
9. Upgrade to a Wall-Mounted Vanity
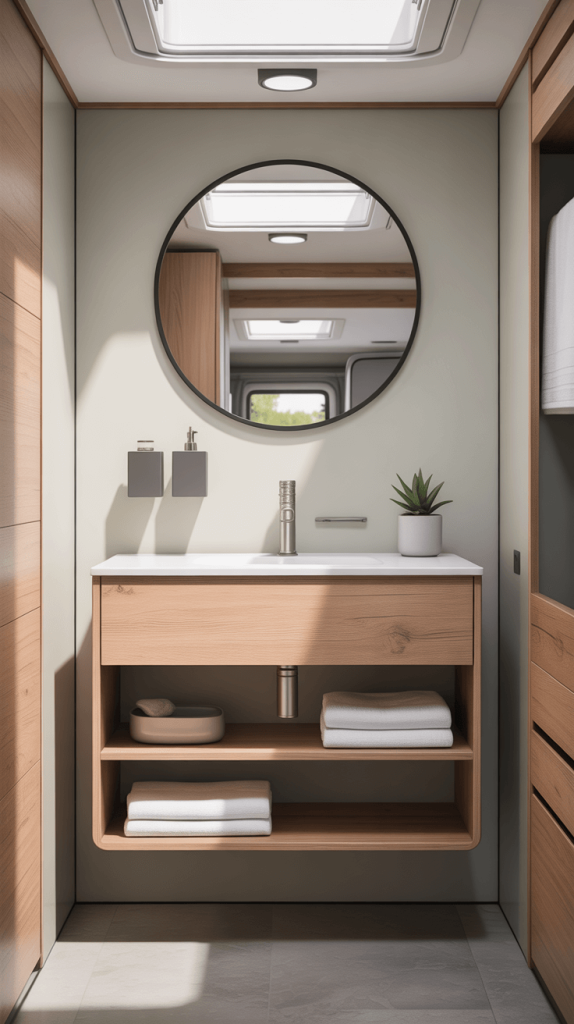
This is the big brother to the wall-mounted shelf idea. If you’re really ready to commit, ditching the floor-standing vanity for a wall-mounted (or “floating”) vanity is a genius move. By lifting the entire vanity off the floor, you create a visible line of sight underneath it. This tricks the eye into perceiving more floor space, making the room feel dramatically larger and less cluttered.
Bonus: It’s also much easier to clean the floor when there are no pesky vanity legs in the way. You can just sweep or mop right underneath. You can find small, pre-made floating vanities, or for the ultimate custom fit, build your own to perfectly match your dimensions.
Also Read: 15 Creative Guest Bathroom Remodel Ideas to Impress Your Guests
10. Maximize Storage with Multi-Purpose Mirrors
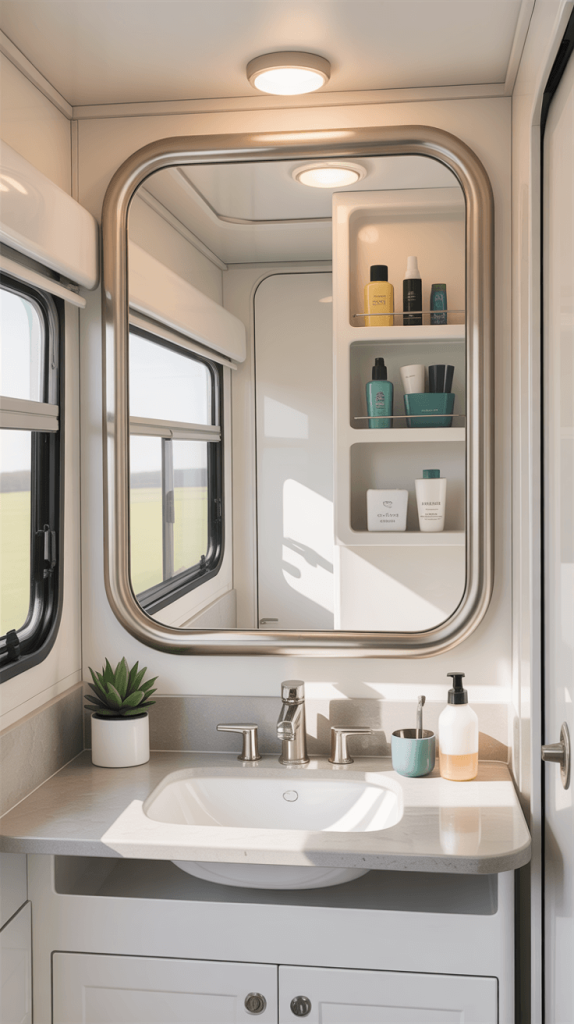
A mirror is non-negotiable. But a mirror that’s just a mirror is a missed opportunity. In a camper, every single surface needs to work for its keep.
Enter the medicine cabinet or a mirror with a hidden storage compartment. This is such a simple swap with a massive payoff. Suddenly, all your everyday items—toothpaste, medicine, floss, skincare—have a hidden home behind the mirror, freeing up your precious counter space. It keeps things looking neat, organized, and uncluttered. No more knocking over a lineup of bottles every time you reach for the TP.
11. Use a Multi-Function Towel Rack
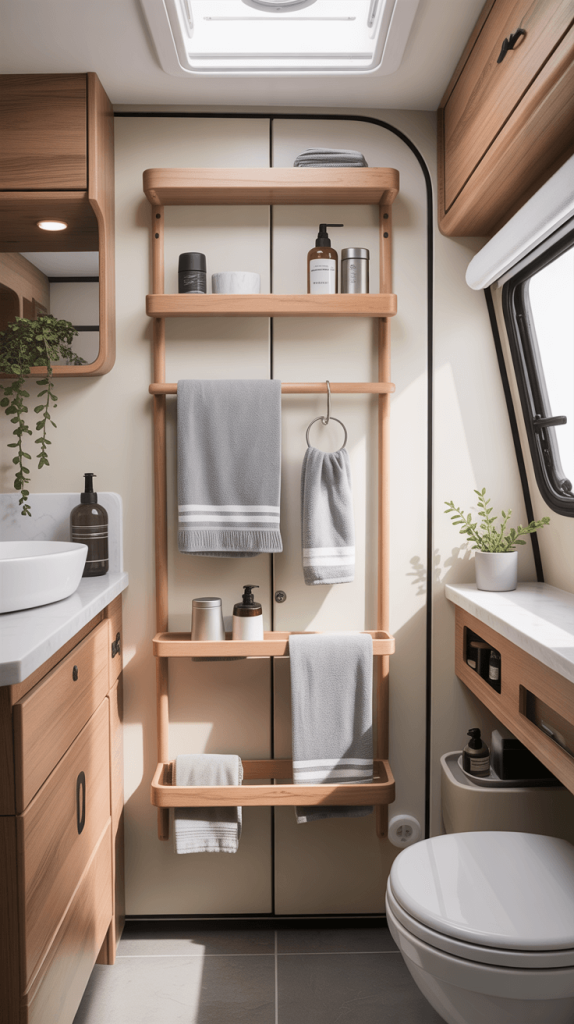
A single bar for a single towel is the definition of inefficiency. A multi-function rack is a powerhouse of organization. Look for a design that incorporates:
- Several bars for multiple towels or washcloths.
- Hooks on the ends for robes or loofahs.
- A shelf on top for extra toilet paper storage or decorative items.
This one fixture can handle nearly all your bathroom textile storage needs. Mount it on the back of the door or on a blank wall, and you’ve just consolidated your storage beautifully. IMO, this is one of the easiest and most effective upgrades you can do in an afternoon.
12. Opt for Light-Colored or Reflective Finishes
This is Design 101, but it’s absolutely critical in a tiny space. Dark colors absorb light and make walls feel like they’re closing in on you. Light colors reflect light and create an airy, open feeling.
- Paint: Choose a light, neutral color for your walls and ceiling. Think whites, very light grays, soft beiges, or pale blues.
- Fixtures: Brushed nickel, chrome, or polished nickel finishes are reflective and help bounce light around.
- Surfaces: A glossy finish on your walls or a high-gloss paint on your ceiling will be more reflective than a matte finish.
You’re not actually adding physical space, but you are maximizing the feeling of space, which is just as important for your comfort. It’s the oldest trick in the book because it actually works.
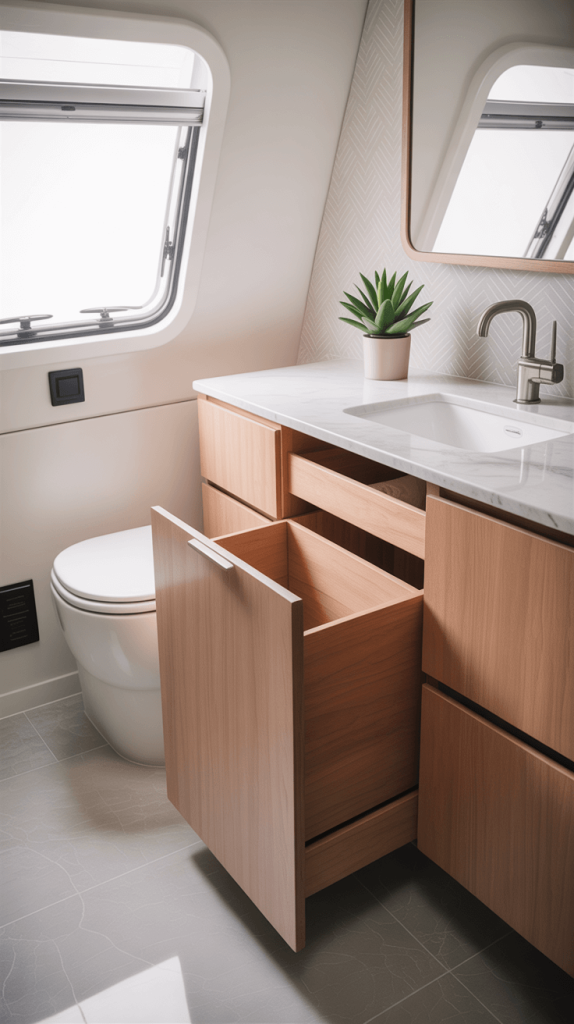
13. Incorporate Hidden Storage Drawers
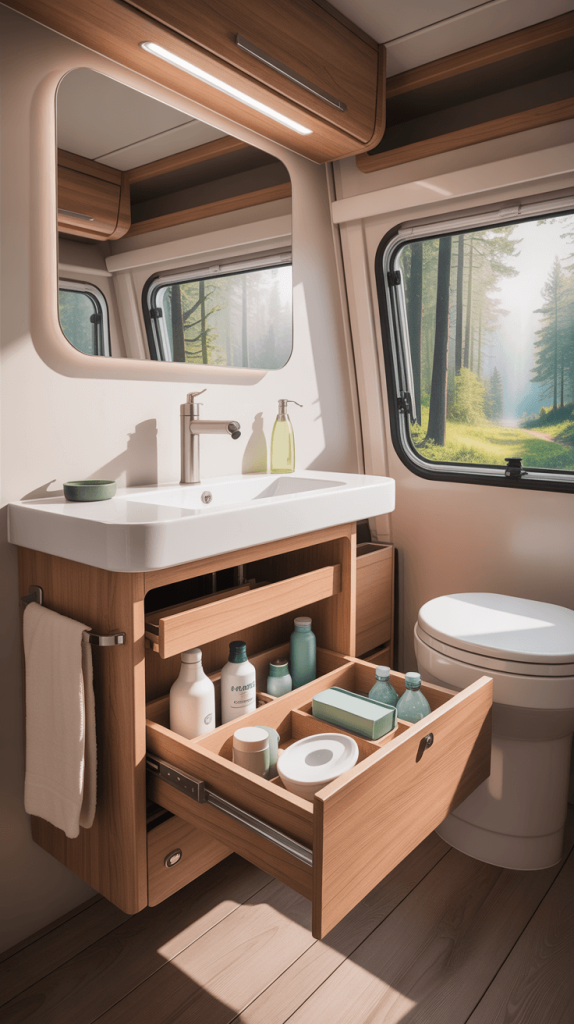
Ever look at the weird, empty space next to your shower or under the sink and think, “There’s gotta be a way to use that?” There is. Custom built-in drawers are the secret weapon of professional camper converters.
These can be shallow drawers for smaller items, or deeper pull-outs for bulkier supplies. The space beside a shower stall is often just dead air. Framing in a tall, narrow pull-out cabinet there gives you a perfect spot for cleaning supplies, an toilet brush holder, or extra shampoo bottles. It’s all about identifying those wasted voids and claiming them for the storage revolution.
14. Add a Decorative, Functional Shower Curtain
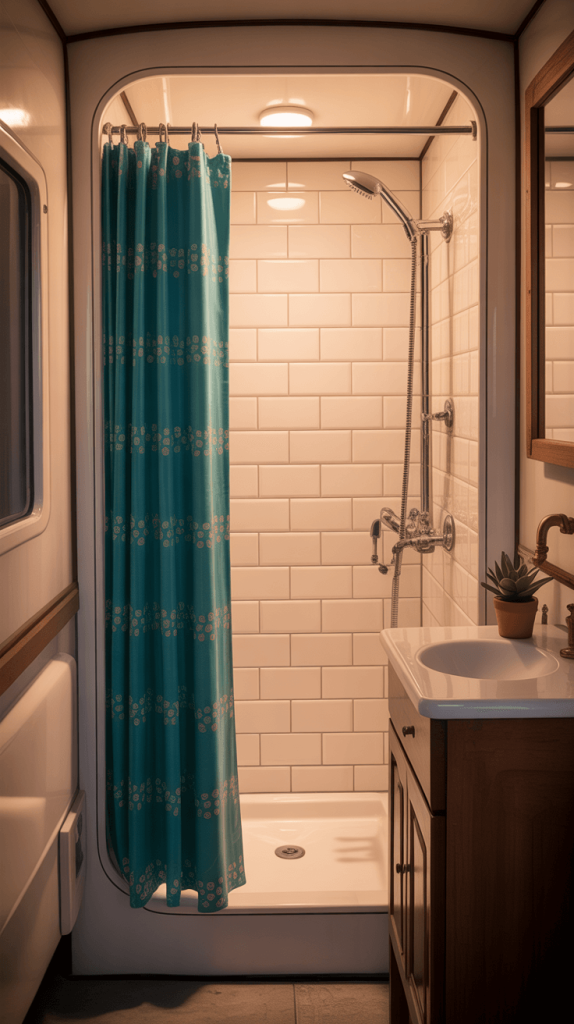
Okay, I know I just raved about glass doors. But if a door isn’t in the budget or your layout just won’t allow it, you can still make a shower curtain work for you. The key is to choose one that is both decorative and functional.
Ditch the sad, mildewy plastic liner and invest in a fabric shower curtain liner that you can actually wash. Then, choose an outer curtain that reflects your personal style—a fun pattern, a calming color, something that makes you happy. Keeping the curtain pulled open and tied back when the shower isn’t in use helps maintain the illusion of a larger space. It’s a simple, cheap way to inject a huge dose of personality into your tiny room. FYI
15. Create a Spa-Like Atmosphere with Aromatherapy
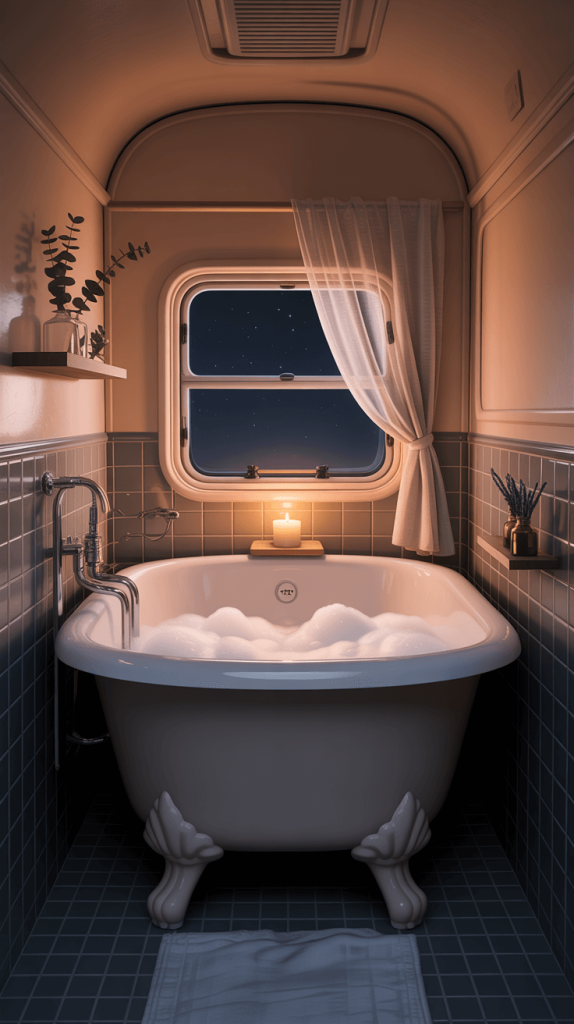
15. Create a Spa-Like Atmosphere with Aromatherapy: The Final Touch
You’ve done all the hard work. You’ve maximized space, added smart storage, and made it look beautiful. Now, let’s engage the final sense: smell. The easiest way to make any bathroom feel fresh, clean, and luxurious is through scent.
You don’t need anything complicated. A simple reed diffuser with a fresh scent like eucalyptus or lavender is safe (no flames or heat) and effective. A few essential oils in a small, wall-mounted diffuser can transform your morning routine into a spa-like experience. Even just a nice scented candle (only to be used when you’re stationary and present, of course) can set the mood. This final touch is what takes your bathroom from merely functional to truly delightful.
Your Fresh, Spacious Oasis Awaits
Phew! That was a lot, but honestly, we’ve only just scratched the surface of what’s possible. Remodeling your camper bathroom isn’t about achieving perfection on the first try. It’s about making smart, incremental changes that dramatically improve your daily life on the road.
You don’t have to do all fifteen ideas at once. Maybe you start with the multi-function showerhead and some LED lights this month. Next season, you tackle the wall-mounted shelves and the corner sink. The goal is to create a space that works for you, not against you. A place that feels fresh, spacious, and uniquely yours.
So, which idea are you most excited to try? What’s the biggest headache in your current camper bathroom setup? I’d love to hear about your projects and see your photos. Remember, every massive upgrade starts with a single, small step. Now go forth and create the camper bathroom of your dreams