10 Amazing DIY Bookshelf Ideas and Creative Home Storage
Remember that time you walked into someone’s home and saw their bookshelf, and you just stood there thinking, “How the heck did they make that?” Yeah, I’ve been there too.
After years of building my own shelves (and making plenty of mistakes along the way), I can tell you that creating stunning bookshelves doesn’t require a degree in carpentry or a trust fund.
You know what’s funny? Most people think DIY furniture means settling for something that looks, well, homemade.
But here’s the thing – with the right ideas and a weekend to spare, you can build bookshelves that’ll have your guests asking for your contractor’s number. Spoiler alert: you’re the contractor 🙂
Let me walk you through 10 killer DIY bookshelf ideas that transformed my home and saved me thousands.
Whether you’re working with a shoebox apartment or a sprawling living room, there’s something here that’ll work for you.
Floating Wall Bookshelf: The Magic Trick Your Walls Need
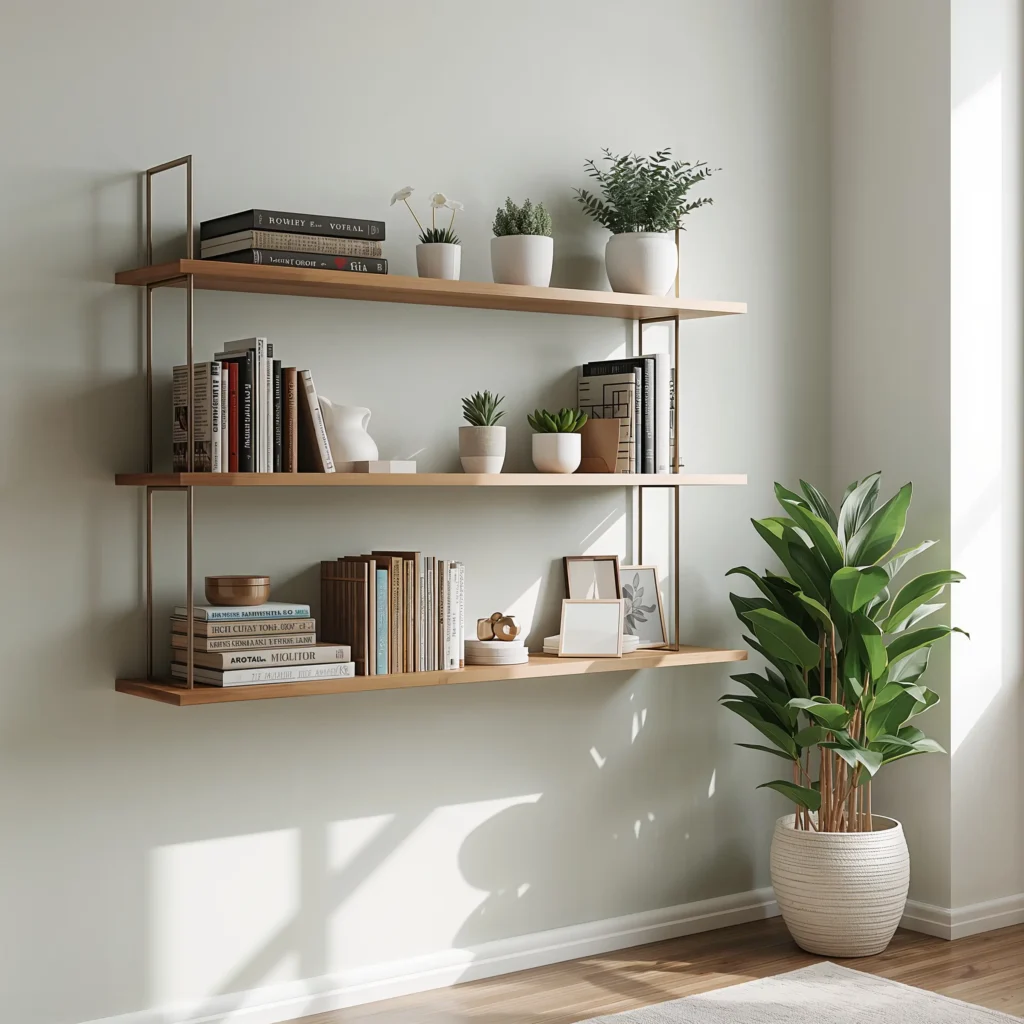
Ever wanted to make your books look like they’re levitating? The floating wall bookshelf creates this exact illusion, and honestly, it never gets old watching people try to figure out how it works.
What Makes It Special
The beauty of floating shelves lies in their invisible bracket system. You mount the hardware directly into your wall studs, and the shelf slides over it, hiding all the support structure. I built my first one three years ago, and people still ask me if the books are glued to the wall.
Here’s what you’ll need:
- Thick wooden boards (at least 2 inches for that substantial look)
- Hidden shelf brackets rated for your expected weight
- A stud finder (trust me, drywall alone won’t cut it)
- Level (crooked floating shelves are a special kind of nightmare)
- Wood stain or paint
The Build Process
Start by finding your wall studs – this step matters more than you think. I learned this the hard way when my first attempt came crashing down at 2 AM. Mark your bracket locations and ensure they’re perfectly level. Mount the brackets according to the manufacturer’s instructions, then slide your prepared shelf boards onto them.
Pro tip: Route a groove on the underside of your shelf to accommodate the bracket. This creates that seamless floating effect everyone loves.
Why I Love This Design
The minimalist aesthetic works with literally any decor style. Plus, you can arrange multiple shelves at different heights to create an artistic wall display. My living room features five floating shelves in a staggered pattern, and it’s become the room’s focal point.
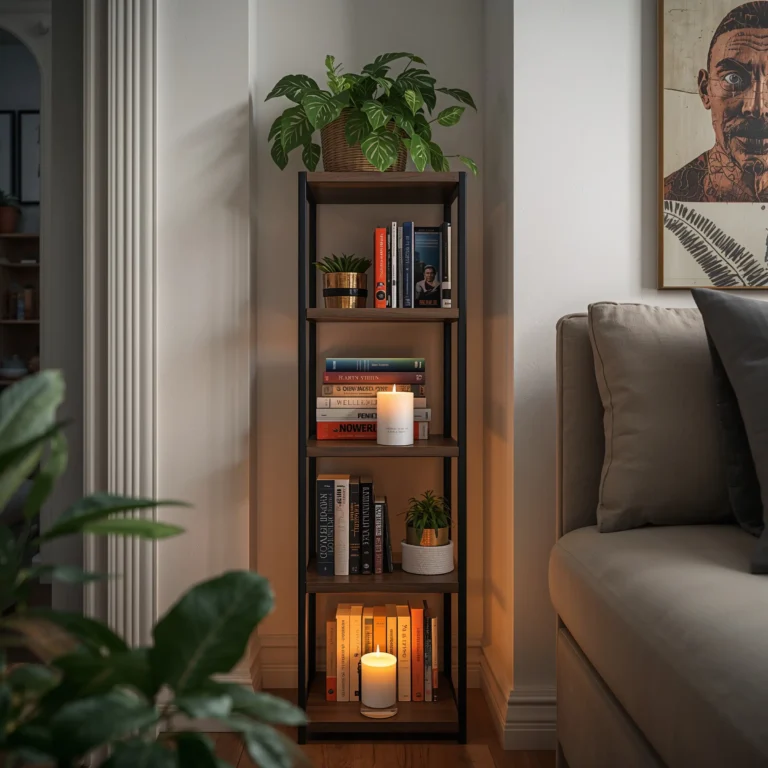
Ladder-Style Bookshelf: Old-School Charm Meets Modern Function
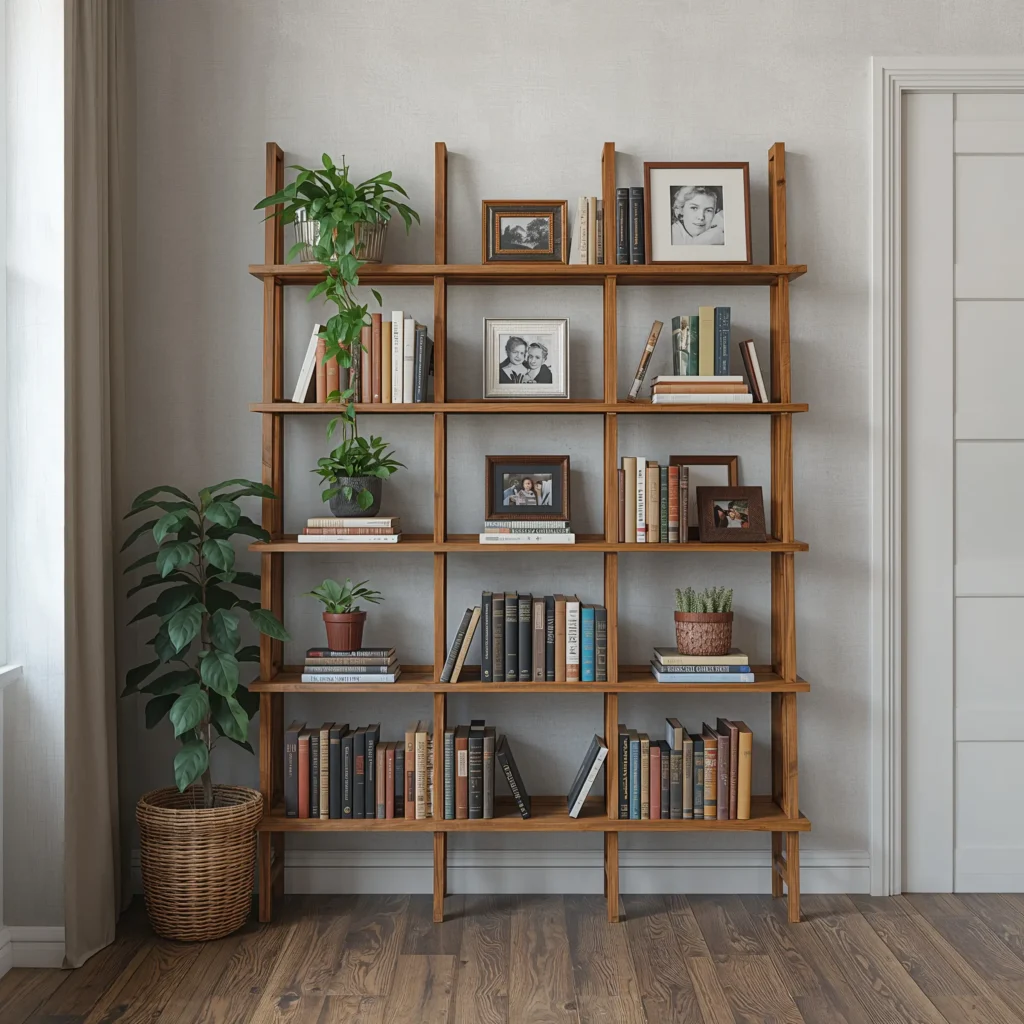
Remember those old library ladders? This design takes that concept and turns it into a standalone bookshelf that leans against your wall. It’s surprisingly stable and ridiculously easy to build.
The Basic Structure
A ladder bookshelf consists of two angled side rails with horizontal shelves attached between them. The whole thing leans against the wall at about a 75-degree angle, creating a naturally stable structure that doesn’t need to be anchored.
Materials you’ll need:
- Two long boards for the sides (I prefer 2x4s or 2x6s)
- Five to six boards for shelves
- Wood screws
- Optional: furniture pads for the bottom
Building Your Ladder Shelf
Cut your side rails to length – mine stand about 6 feet tall. The shelves get progressively narrower as you go up, which creates that classic ladder look. Start with a 12-inch deep bottom shelf and reduce by 2 inches for each level going up.
Attach the shelves using wood screws, making sure everything’s square. Sand the entire piece smooth (splinters and books don’t mix), then apply your finish of choice. I went with a dark walnut stain on mine, and it looks absolutely gorgeous against my white walls.
The Unexpected Benefits
What I didn’t expect? How versatile this design turned out to be. You can easily move it from room to room, and it doubles as a display unit for plants, photos, and decorative items. My bathroom ladder shelf holds towels and toiletries – who says bookshelves are just for books?
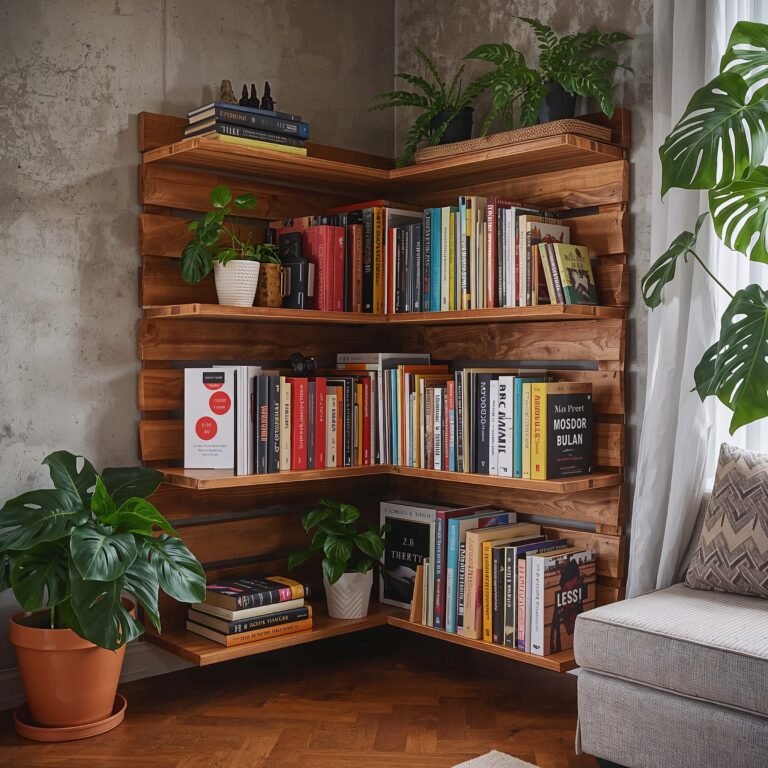
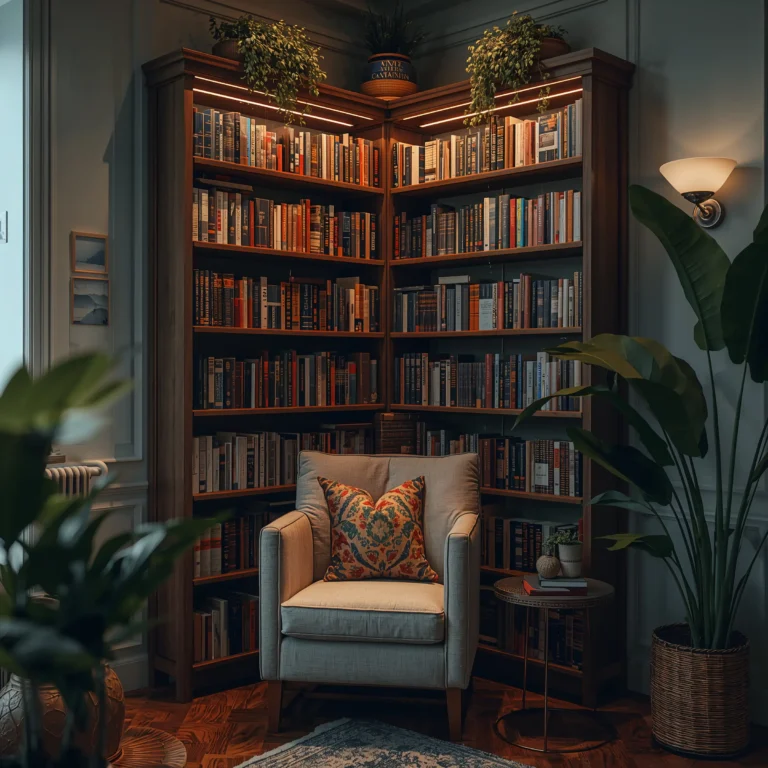
Corner Triangle Bookshelf: Making Dead Space Work Overtime
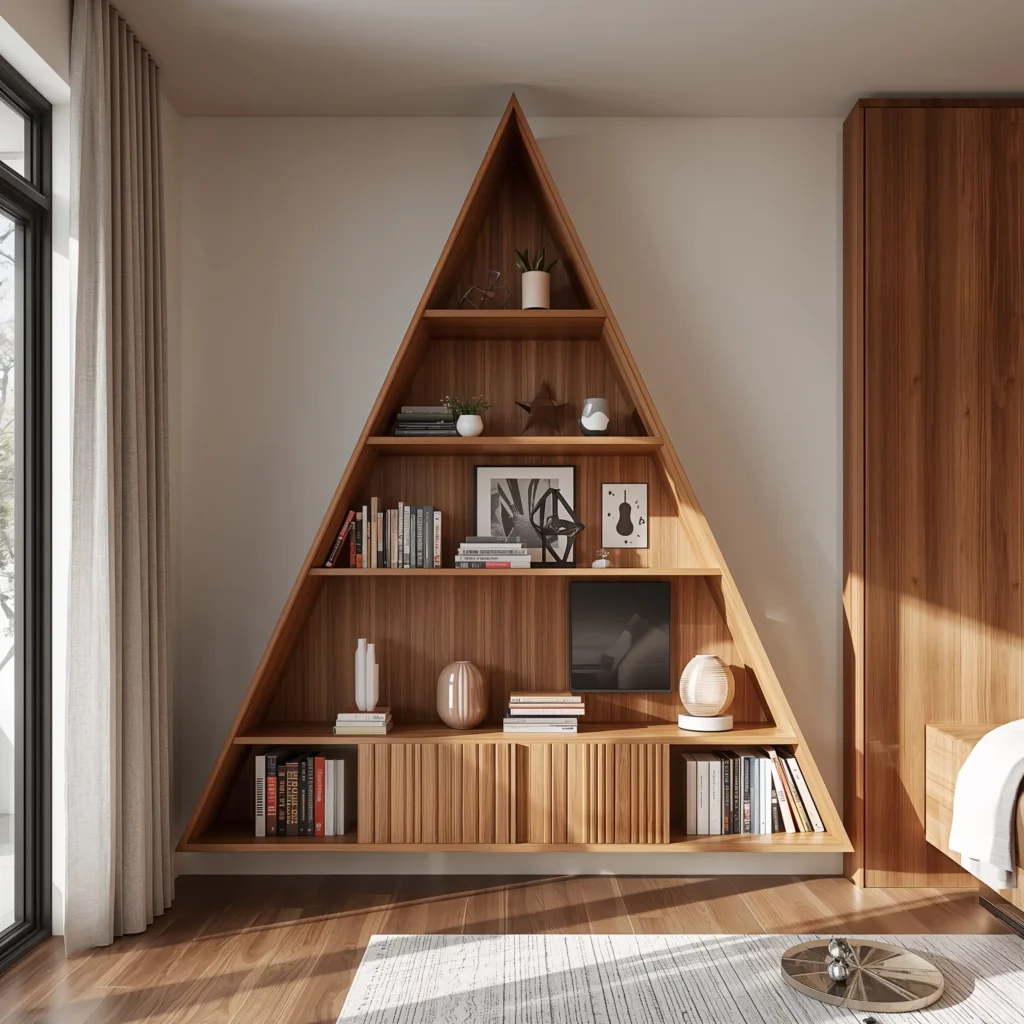
Corners are weird, right? They’re just sitting there, being all angular and useless. The corner triangle bookshelf transforms these awkward spaces into functional storage that actually looks intentional.
Design Considerations
The key to a successful corner shelf lies in understanding your angles. You’re working with a 90-degree corner, so your shelves need to be cut at 45-degree angles on the sides that meet the walls.
Here’s your shopping list:
- Triangular shelf boards (or rectangular ones you’ll cut)
- L-brackets or floating shelf hardware
- Wall anchors appropriate for your wall type
- A miter saw (or a very steady hand with a circular saw)
Installation Tips That Matter
Measure your corner carefully – not all corners are perfectly square. Mine certainly wasn’t, which I discovered after cutting my first shelf. Use a carpenter’s square to check, and adjust your cuts accordingly.
Install your brackets starting from the bottom and working up. Space them about 12-14 inches apart for books, or vary the spacing for a more dynamic look. Always hit at least one stud with each bracket for maximum stability.
Making It Your Own
I added LED strip lights under each shelf, and let me tell you, the ambient lighting completely transforms the corner. The triangular shape naturally creates interesting shadow patterns that make even boring book spines look artistic.
Also Read: 10 Beautiful Bookshelf Decor Ideas You’ll Love Trying
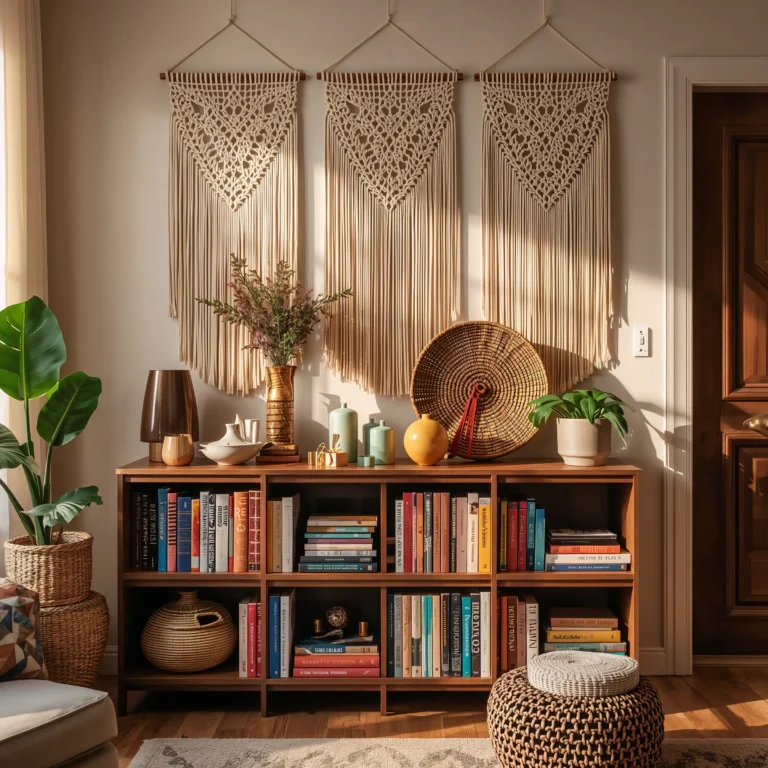
Pallet Wood Bookshelf: Rustic Charm for Zero Dollars (Almost)
Who says you need expensive lumber? Pallet wood bookshelves bring that coveted farmhouse aesthetic without the farmhouse price tag. Plus, you’re basically saving the planet one pallet at a time. You’re welcome, Earth.
Finding and Prepping Your Pallets
First things first – not all pallets are created equal. Look for heat-treated pallets (marked with “HT”) rather than chemically treated ones. Check with local businesses; most are happy to let you haul away their pallets for free.
Disassembling pallets requires:
- A pry bar (your new best friend)
- Hammer
- Reciprocating saw (optional but life-changing)
- Lots of patience
The Build Strategy
After breaking down your pallets, sort the boards by size and condition. Sand them thoroughly – pallet wood can be rough. I mean really rough. Like, “how did this splinter get through my work gloves” rough.
Create your frame using the sturdiest pieces, then attach your shelf boards. The beauty of pallet wood? The imperfections are features, not bugs. Those nail holes, weathered spots, and color variations give your bookshelf character that you can’t buy at IKEA.
Finishing Touches
I learned to embrace the rustic look rather than fight it. A light sanding and clear coat preserve the wood’s natural patina while protecting your books. Some builders go for a whitewashed effect, which looks stunning against darker walls.
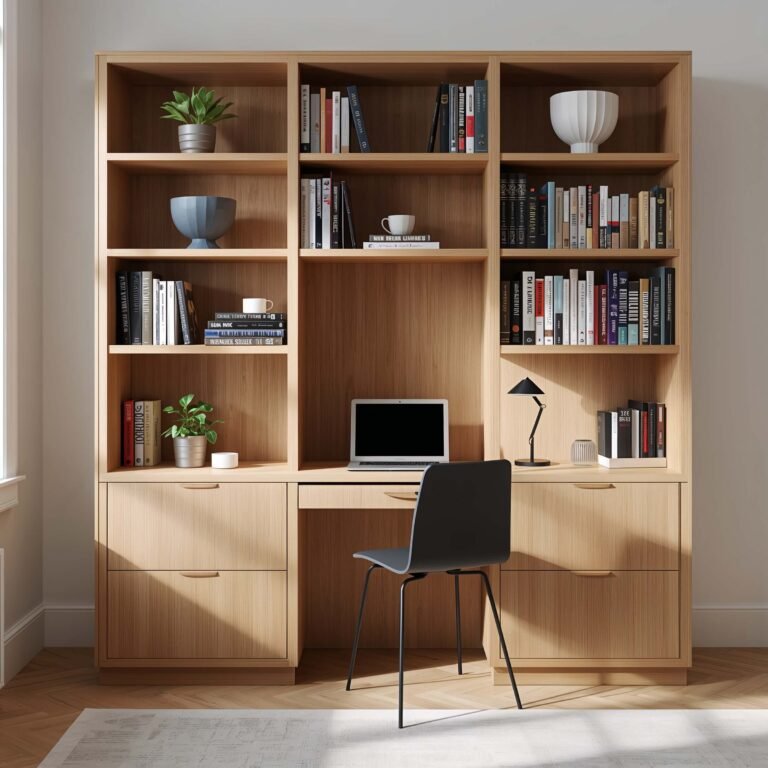
Hidden Compartment Bookshelf: Your Secret Storage Solution

Ever wanted a bookshelf that’s also a secret agent? The hidden compartment design includes concealed spaces perfect for valuables, private documents, or that emergency chocolate stash. Don’t judge – we all need emergency chocolate.
Planning Your Secret Spaces
The trick is making compartments that blend seamlessly with the visible shelving. I created mine using false book spines glued to a hinged door, but you can also build sliding panels or removable shelf sections.
Essential materials:
- Standard bookshelf materials
- Piano hinges or sliding hardware
- Magnetic catches
- Optional: old book covers for camouflage
Construction Secrets (Pun Intended)
Build your main bookshelf structure first, then plan where your hidden compartments will go. Corner sections work great because they’re naturally less visible. Create boxes within the shelf structure that can be accessed via your chosen method.
My favorite technique? Building a thin compartment behind a row of books. The books sit on a shallow shelf with space behind them. Nobody expects it, and it’s surprisingly spacious.
Security Considerations
While these aren’t safes, they offer decent security through obscurity. I keep important documents, spare cash, and yes, premium chocolate in mine. For extra security, add a simple lock mechanism hidden behind another book.
Hanging Rope Bookshelf: Nautical Vibes and Adjustable Heights

Want a bookshelf that looks like it belongs on a ship? The hanging rope design brings maritime charm while being surprisingly practical. Plus, you can adjust shelf heights whenever you want – try doing that with a traditional bookcase!
Materials and Tools
This project requires:
- Thick rope (at least ½ inch diameter)
- Wooden boards for shelves
- Ceiling hooks rated for the weight
- Drill with appropriate bits
- Optional: metal grommets for a polished look
The Hanging Process
Drill holes in the corners of each shelf board, about 1.5 inches from the edges. The holes should be slightly larger than your rope diameter. Thread the rope through, tying knots underneath each shelf to hold them in place.
Here’s where it gets fun – the knots are adjustable. Want more space between shelves? Just slide the knots. This flexibility makes it perfect for displaying items of varying heights.
Installation and Styling
Mount sturdy ceiling hooks into ceiling joists (never just drywall). I spaced mine about 18 inches apart for standard shelf width. The natural sway adds character, but if it bothers you, add small wall anchors to minimize movement.
The rope aesthetic works beautifully in beach houses, kids’ rooms, or anywhere you want a casual, playful vibe. I stained my shelves in driftwood gray, and the combination with natural rope is chef’s kiss.
Also Read: 10 Stunning Bookshelf Design Ideas and Cozy Home Inspiration
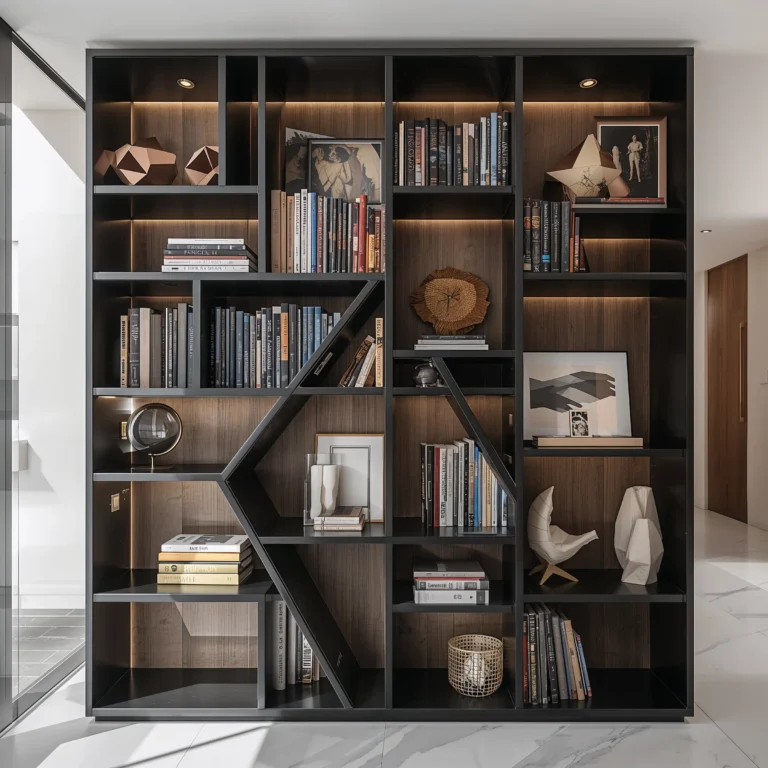
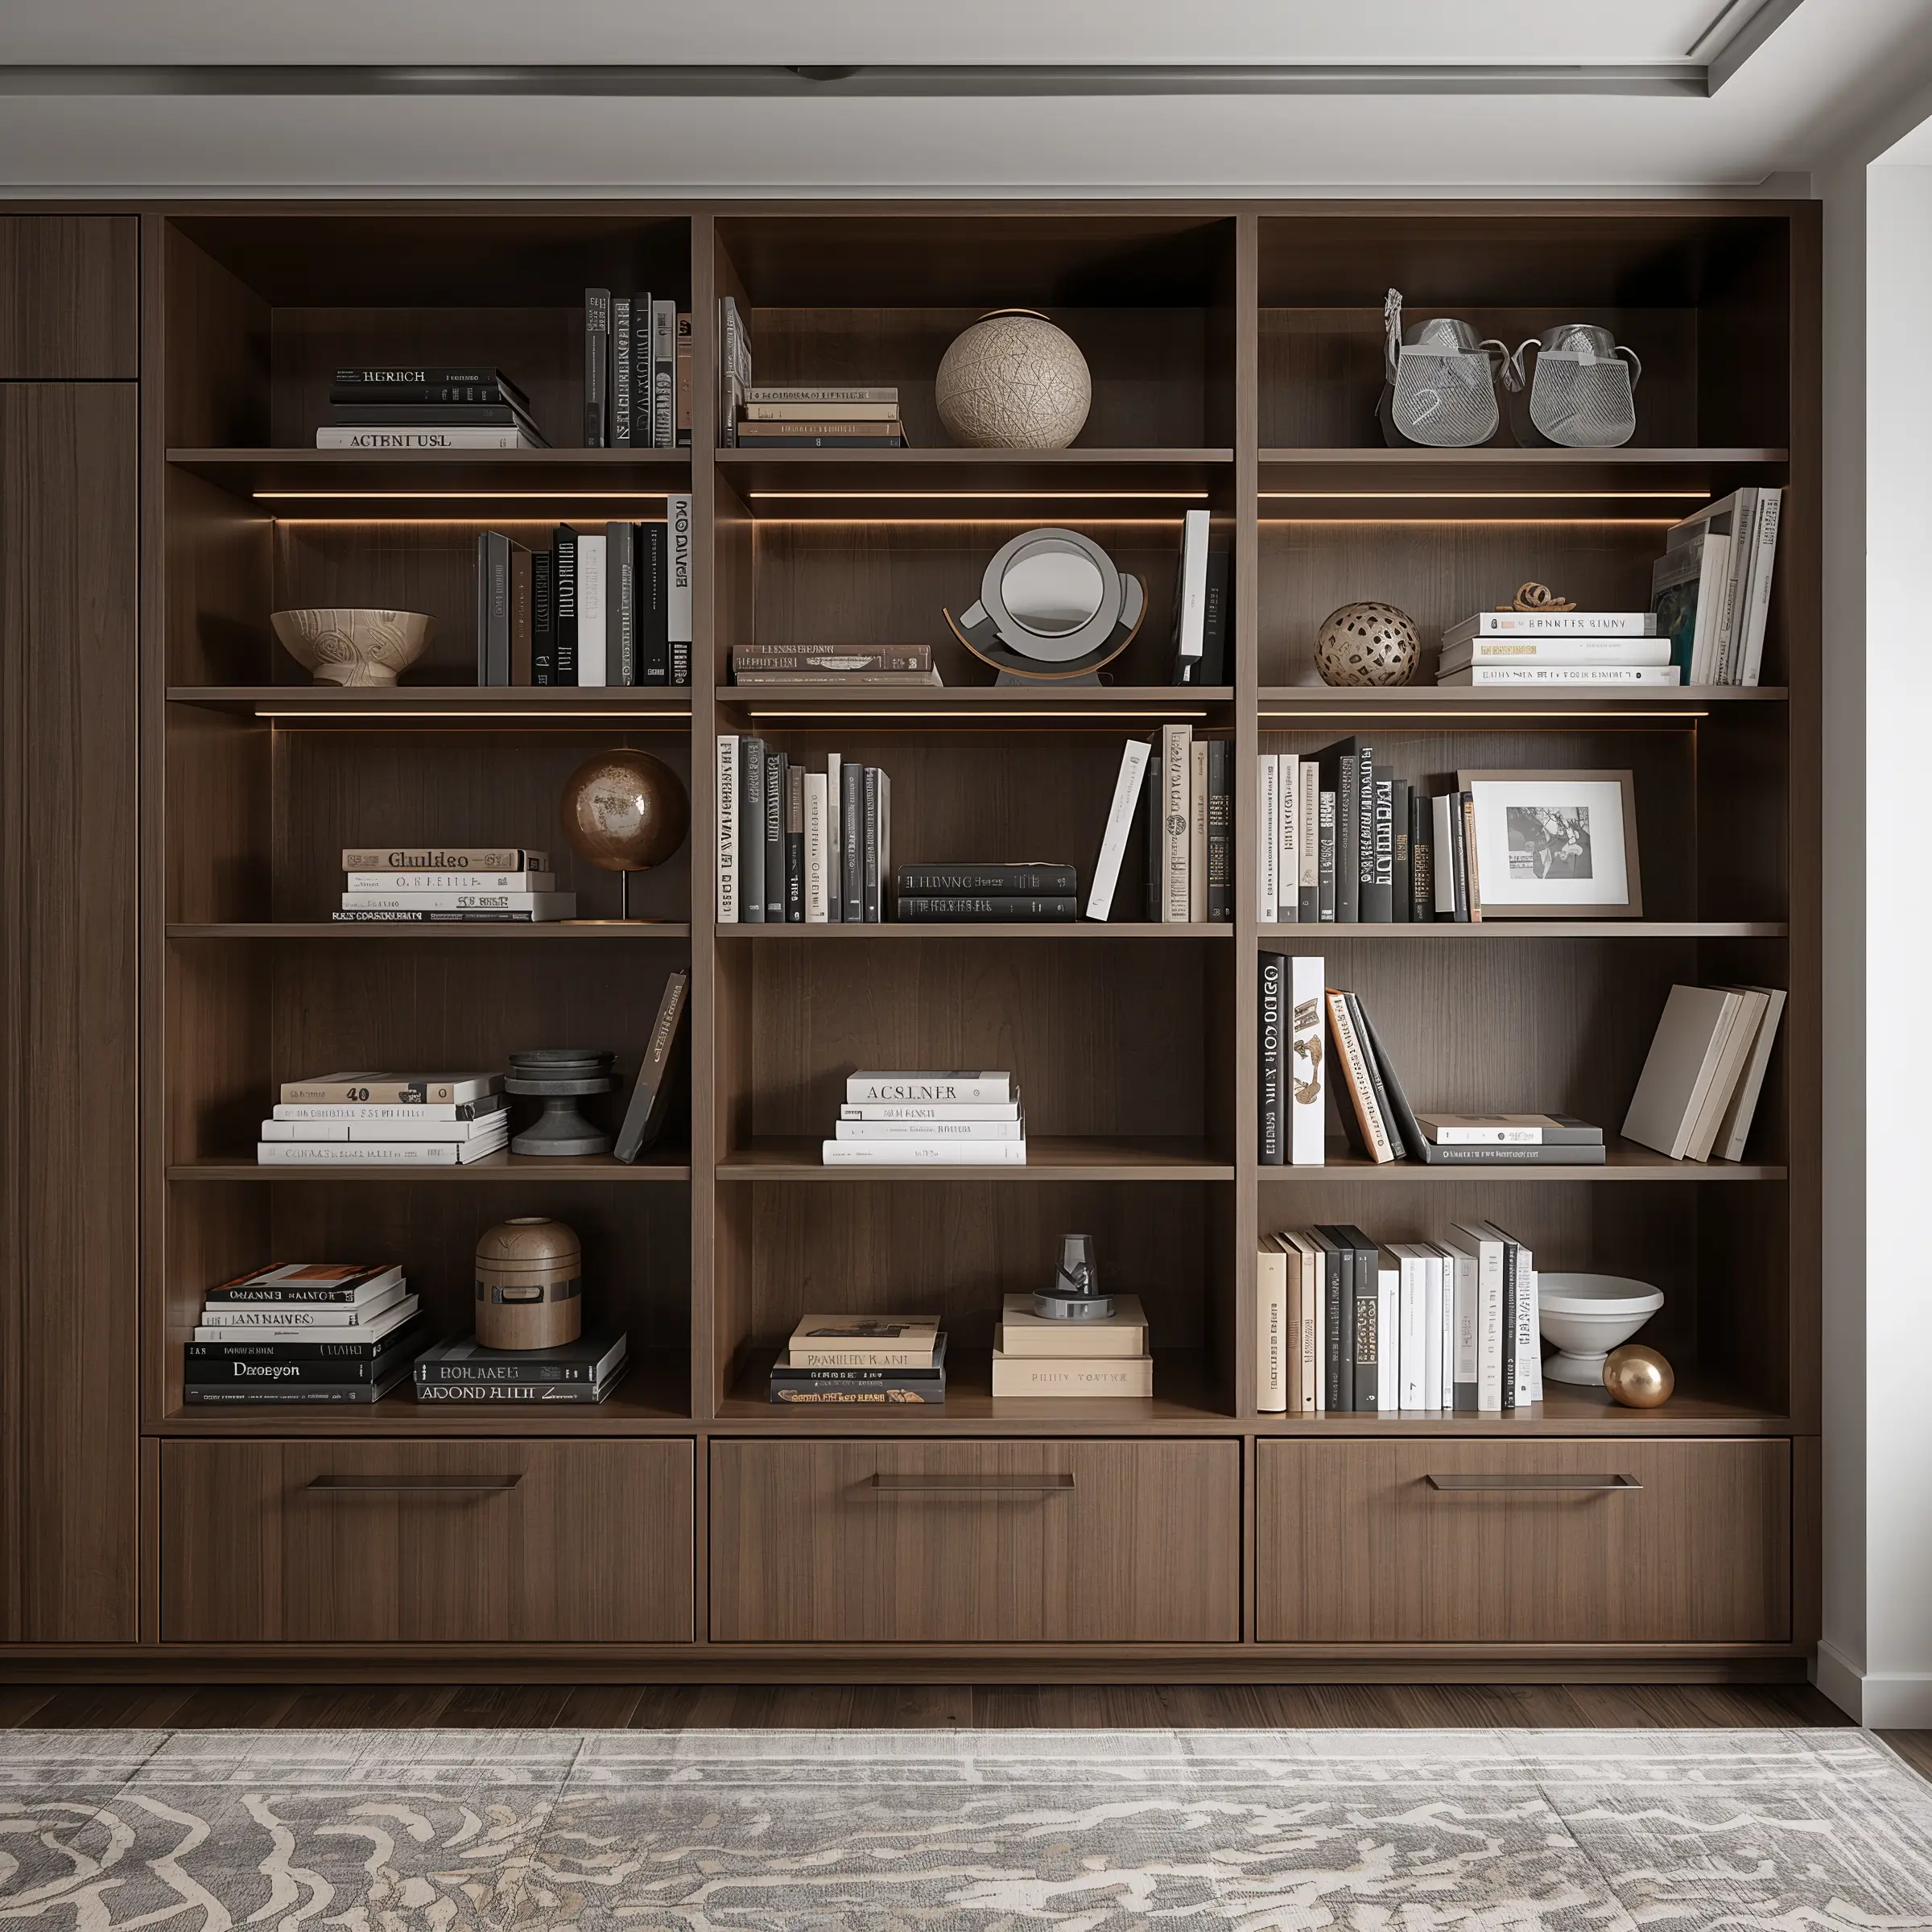
Minimalist Box Bookshelf: Clean Lines, Maximum Impact
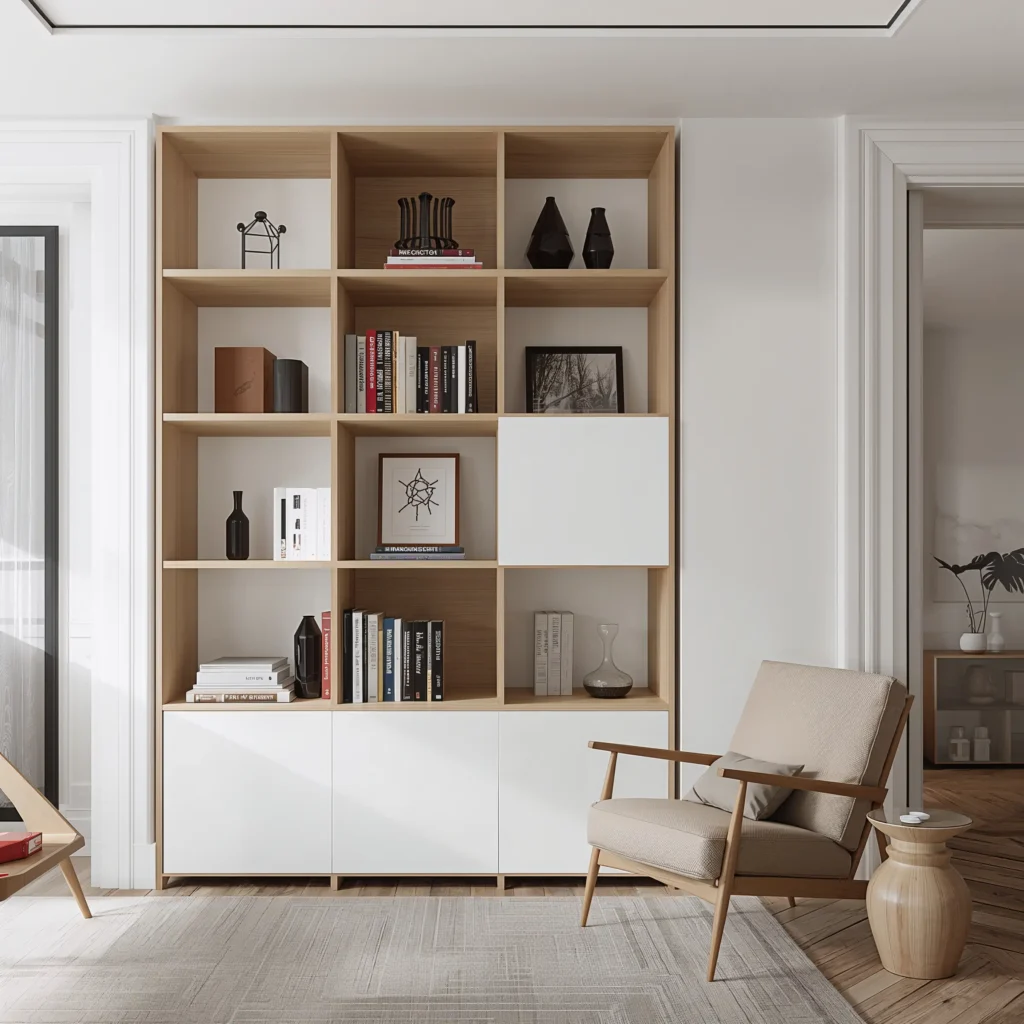
Sometimes less really is more. The minimalist box bookshelf strips away everything unnecessary, leaving you with pure, functional geometry that makes your books the star of the show.
Design Philosophy
Think of this as bookshelf sculpture. You’re creating a series of rectangular boxes that can be arranged in countless configurations. Stack them, stagger them, or mount them randomly on your wall.
Your supply list:
- ¾ inch plywood or MDF
- Wood glue
- Brad nails or screws
- Paint or veneer for finishing
- Wall mounting hardware
Building Your Boxes
Each box consists of four pieces – top, bottom, and two sides. Cut your pieces precisely (this design doesn’t forgive wonky angles), then assemble using wood glue and brad nails. I make mine in three sizes: 12×12, 12×24, and 12×36 inches.
Sand smooth and paint in your choice of color. White or black creates the most dramatic effect, but don’t be afraid to go bold. My office features boxes in graduated shades of blue, and it’s surprisingly calming.
Arrangement Options
The beauty lies in the flexibility. Mount them in a grid for a structured look, or go random for something more artistic. You can even leave some boxes empty as design elements. FYI, cats absolutely love these as impromptu perches – plan accordingly.
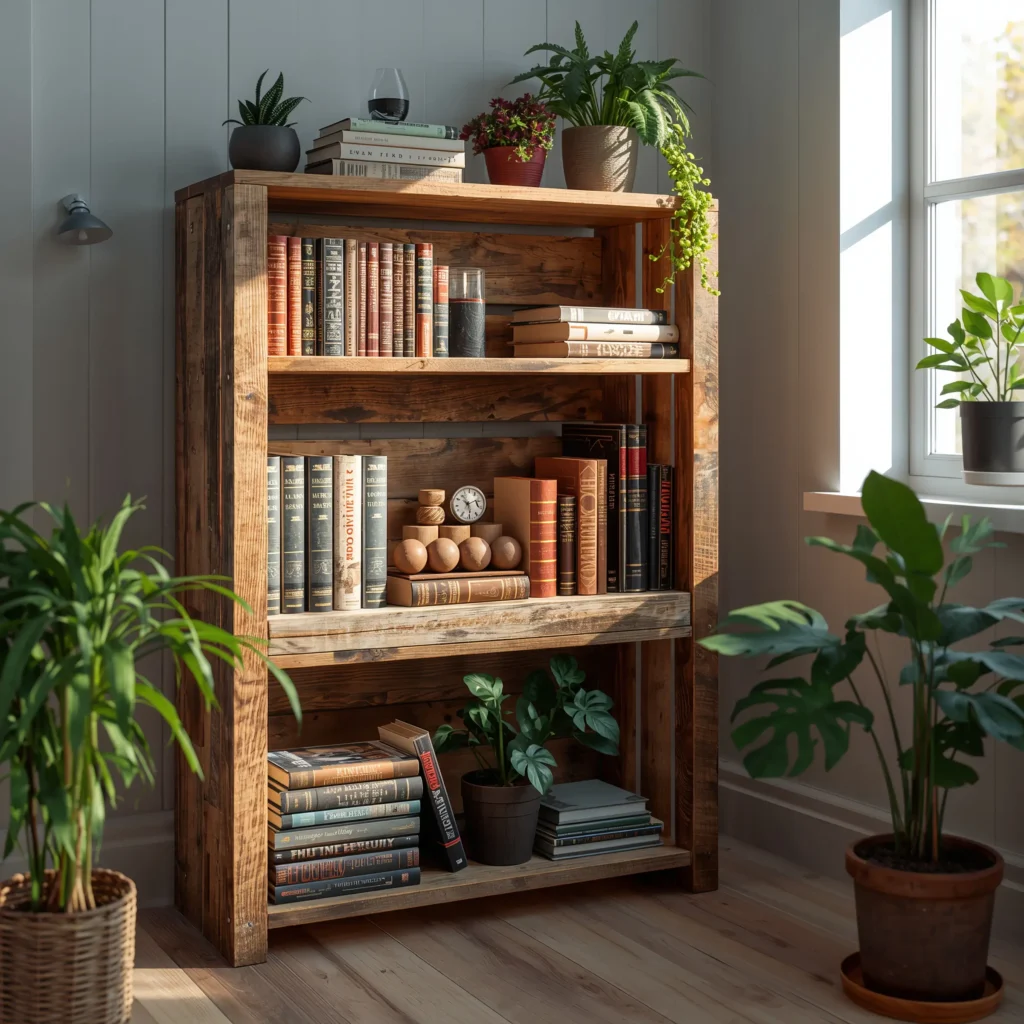
Reclaimed Wood Bookshelf: History Meets Function
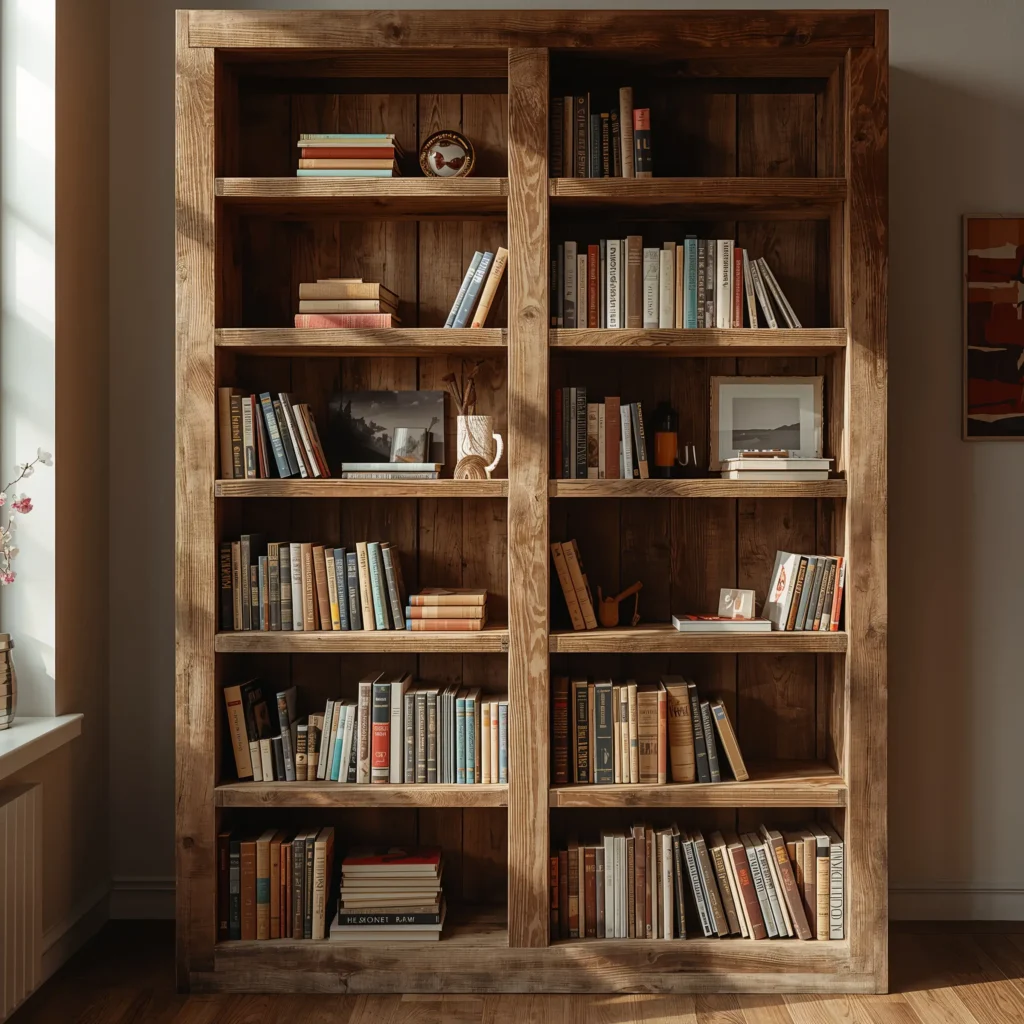
Every piece of reclaimed wood has a story, and when you build a bookshelf from it, you’re basically creating functional art. My reclaimed wood shelf came from an old barn in Vermont, and I swear it makes my books smell like adventure.
Sourcing Your Wood
Finding reclaimed wood requires some detective work:
- Demolition sites (with permission)
- Architectural salvage yards
- Old barns and buildings
- Online marketplaces
- Estate sales
Look for hardwoods like oak, pine, or chestnut. Check for nails, which need removing, and inspect for rot or insect damage. The character is good; structural weakness is not.
Preparation and Design
Clean your wood thoroughly – I use a wire brush to remove dirt while preserving the patina. Some pieces might need planing to achieve uniform thickness, but don’t overdo it. The weathered surface is the whole point.
Design around your wood’s natural characteristics. That weird knot? Make it a focal point. Varying widths? Create an asymmetrical design that celebrates the differences.
Assembly and Finishing
Join pieces using traditional methods when possible – mortise and tenon joints or dovetails honor the wood’s heritage. If that’s beyond your skill level (no shame – it was beyond mine initially), modern fasteners work fine.
For finish, I recommend a natural oil or wax that enhances the wood grain without hiding it. The result? A bookshelf that’s literally one of a kind.
Geometric Hexagon Bookshelf: Honeycomb Storage That Buzzes
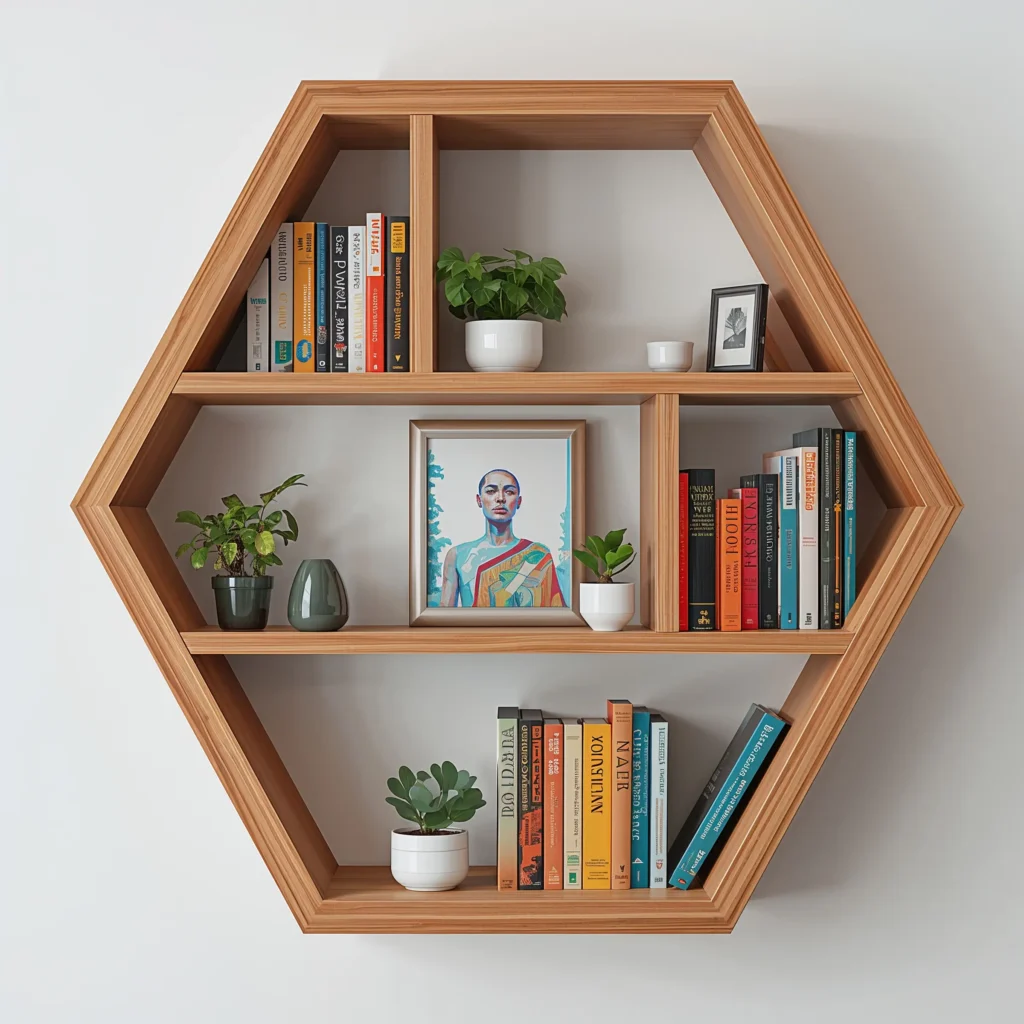
Why settle for boring rectangles when you can have hexagons? This geometric design creates a honeycomb pattern that’s both functional and absolutely Instagram-worthy. Science says hexagons are the most efficient shape in nature – who am I to argue with bees?
The Mathematics of Style
Creating perfect hexagons requires precision. Each internal angle must be 120 degrees, which means setting your miter saw to 30 degrees for the cuts. Trust me, measure twice, cut once has never been more relevant.
Materials needed:
- 1×6 or 1×8 boards
- Wood glue (lots of it)
- Clamps or strap clamps
- Wall mounting hardware
- Optional: backing material
Building Your Hexagons
Cut six equal lengths for each hexagon – I make mine 10 inches per side for a substantial look. Apply glue to the mitered edges and assemble using strap clamps. The first one takes forever; by the fifth, you’ll be a hexagon-making machine.
Don’t skip the dry fit – seriously. Nothing’s worse than discovering your angles are off after the glue sets. Ask me how I know :/
Creating the Honeycomb
Arrange your hexagons on the floor first to plan your pattern. You can go full honeycomb or create a more organic arrangement. Mount them to the wall individually, ensuring each one is level and properly aligned with its neighbors.
The shadows these create throughout the day are mesmerizing. Add some small plants or decorative objects alongside your books for extra visual interest.
Also Read: 10 Cozy Bookshelf Aesthetic Decor Tips for Stylish Spaces
Industrial Pipe Bookshelf: Urban Edge Meets Practical Storage

Nothing says “I have excellent taste and possibly a motorcycle” like an industrial pipe bookshelf. This design combines metal pipes with wood shelves for that coveted urban loft aesthetic, even if you live in suburban Ohio.
Pipe Dreams Become Reality
You’ll need:
- Black iron pipes (not galvanized – wrong look)
- Floor flanges
- Pipe fittings (elbows, tees, unions)
- Wooden boards for shelves
- Screws appropriate for your pipe flanges
- Degreaser (pipes come oily)
IMO, ½ inch or ¾ inch pipes look best. Anything smaller looks flimsy; anything larger gets expensive fast.
Design and Assembly
Start by sketching your design and creating a parts list. Home improvement stores will cut and thread pipes to your specifications. Clean all pipes thoroughly with degreaser – that factory oil will stain everything it touches.
Assemble your pipe frame first, hand-tightening all connections. Once you’re happy with the structure, go back and tighten everything properly. Don’t overtighten – you can crack the fittings.
Mounting and Styling
These shelves can be freestanding or wall-mounted. For wall mounting, use floor flanges attached to studs. The industrial look pairs beautifully with reclaimed wood shelves, but new wood stained dark works great too.
I added vintage Edison bulb fixtures to mine using pipe tees, and the combination of books and warm lighting creates an amazing ambiance. Just remember to hire an electrician for the wiring – DIY has its limits.
Bringing It All Together: Your DIY Journey Starts Now
So there you have it – 10 DIY bookshelf ideas that prove you don’t need deep pockets or professional skills to create stunning storage. Each design I’ve shared comes from personal experience, complete with mistakes, revelations, and more than a few trips back to the hardware store.
What’s stopping you from starting your build this weekend? Pick the design that speaks to you, gather your materials, and remember – the imperfections are what make it yours. Your books deserve better than a boring store-bought shelf, and honestly, so do you.
The best part about DIY bookshelves? They’re conversation starters. Every time someone compliments mine, I get to share the story behind it. And trust me, “I built that” feels way better than “I bought that.”
Now grab your tools, crank up your favorite playlist, and show those books some love. Who knows? You might discover you’re handier than you thought. And if not, well, that’s what wood filler is for. Happy building!