15 Trendy DIY Grunge Room Decor Ideas for Vintage Fans
Remember that phase when your parents thought you were going through something “dark” just because you painted your nails black and started listening to Nirvana? Well, guess what – grunge aesthetic never really left, and now we’re bringing it home, literally.
If you’re ready to transform your space into a moody, artistic haven that screams rebellion without actually disturbing the neighbors, you’ve hit the jackpot.
I’ve spent the last decade perfecting my own grunge sanctuary, making countless mistakes along the way (RIP to that wall I accidentally spray-painted through a doily – looked more grandma than grunge).
Today, I’m sharing 15 killer DIY projects that’ll give your room that perfect edgy vibe without draining your bank account. Trust me, these ideas work whether you’re in a tiny dorm room or finally decorating your own place.
Distressed Wall Art with Spray Paint

Let’s kick things off with something that’ll make your walls look like they’ve seen some stuff – in the coolest way possible. Distressed wall art using spray paint has become my go-to recommendation for anyone wanting instant grunge vibes. You know what’s amazing about this technique? You literally can’t mess it up.
I discovered this method accidentally when I dropped a can of black spray paint in my garage. The splatter pattern on the concrete looked better than anything I’d planned, and that’s when it clicked – chaos creates the best grunge art.
Materials You’ll Need:
- Canvas boards or old picture frames
- Black, gray, and white spray paint
- Sandpaper (medium and fine grit)
- Old newspapers or plastic sheets
- Optional: stencils for text or symbols
Start by laying down your protective covering because this gets messy (learned that the hard way). Spray your base color – I usually go with gray or black – and let it dry partially. Here’s where the magic happens: while it’s still tacky, randomly spray other colors from different angles and distances. Want that authentic distressed look? Sand certain areas after everything dries.
The best part about this technique? Each piece turns out completely unique. I’ve made dozens of these, and no two look alike. Sometimes I’ll add stenciled lyrics from my favorite bands or just random words that speak to me. “REBEL” in dripping white paint? Chef’s kiss.
Black Lace & Chain Curtain DIY
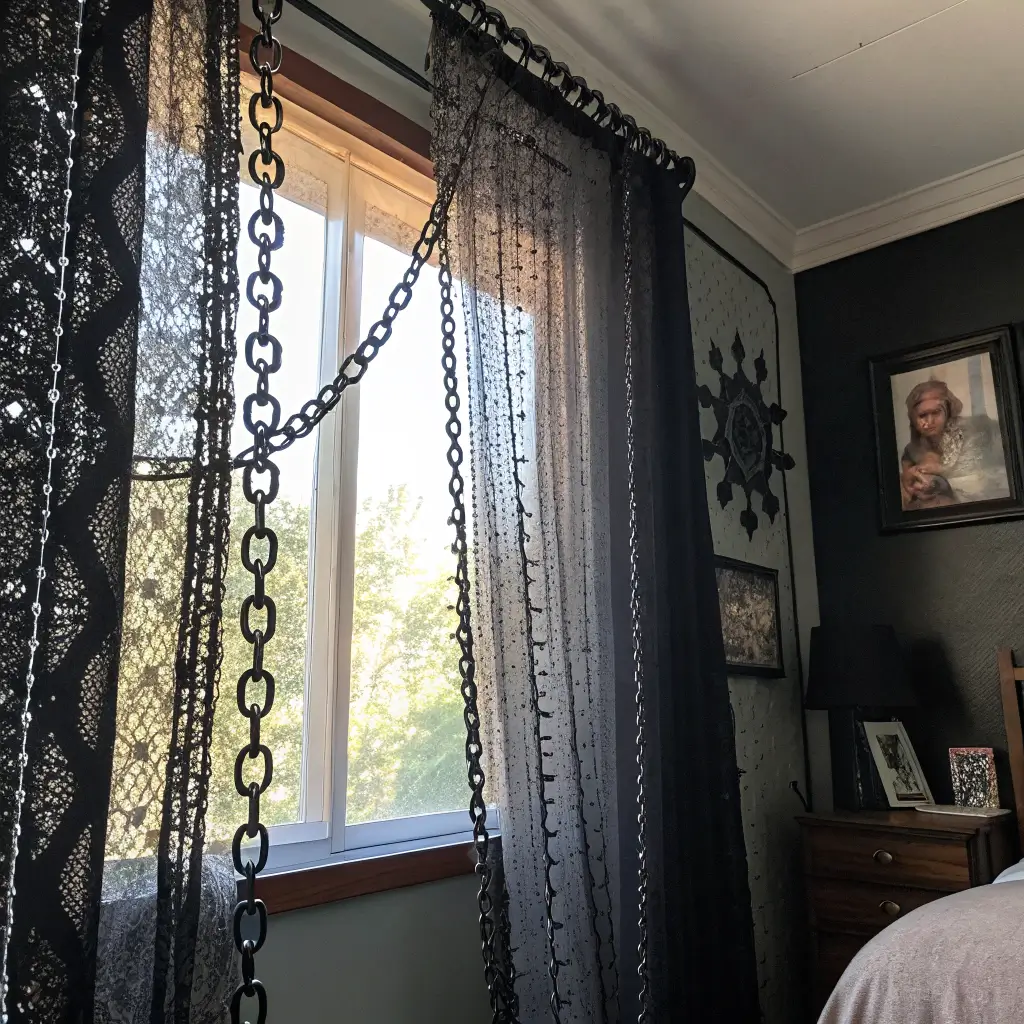
Who says curtains need to be boring fabric panels? Not me, and definitely not anyone embracing the grunge lifestyle. Black lace combined with chains creates this incredible industrial-romantic vibe that I’m absolutely obsessed with.
I stumbled upon this idea at a thrift store when I found vintage black lace tablecloths for three bucks each. Mix that with some hardware store chain, and boom – you’ve got window treatments that would make Wednesday Addams jealous.
Creating Your Chain Curtain Masterpiece:
- Black lace fabric (thrift stores are goldmines for this)
- Lightweight chains in various lengths
- Curtain rod or tension rod
- Black thread and needle
- Safety pins or small clips
Cut your lace into vertical strips of varying widths – perfection isn’t the goal here. Thread chains through the lace at random intervals, letting some hang longer than others. The asymmetrical look adds to the grunge aesthetic. I like to gather everything at the top with safety pins attached to curtain rings, but you could also sew loops if you’re feeling ambitious.
Ever noticed how light filters through lace and chain differently? During the day, you get these haunting shadow patterns on your walls. At night, streetlights create an almost ethereal glow. It’s moody lighting without even trying.
Grunge Mood Lighting with Fairy Lights
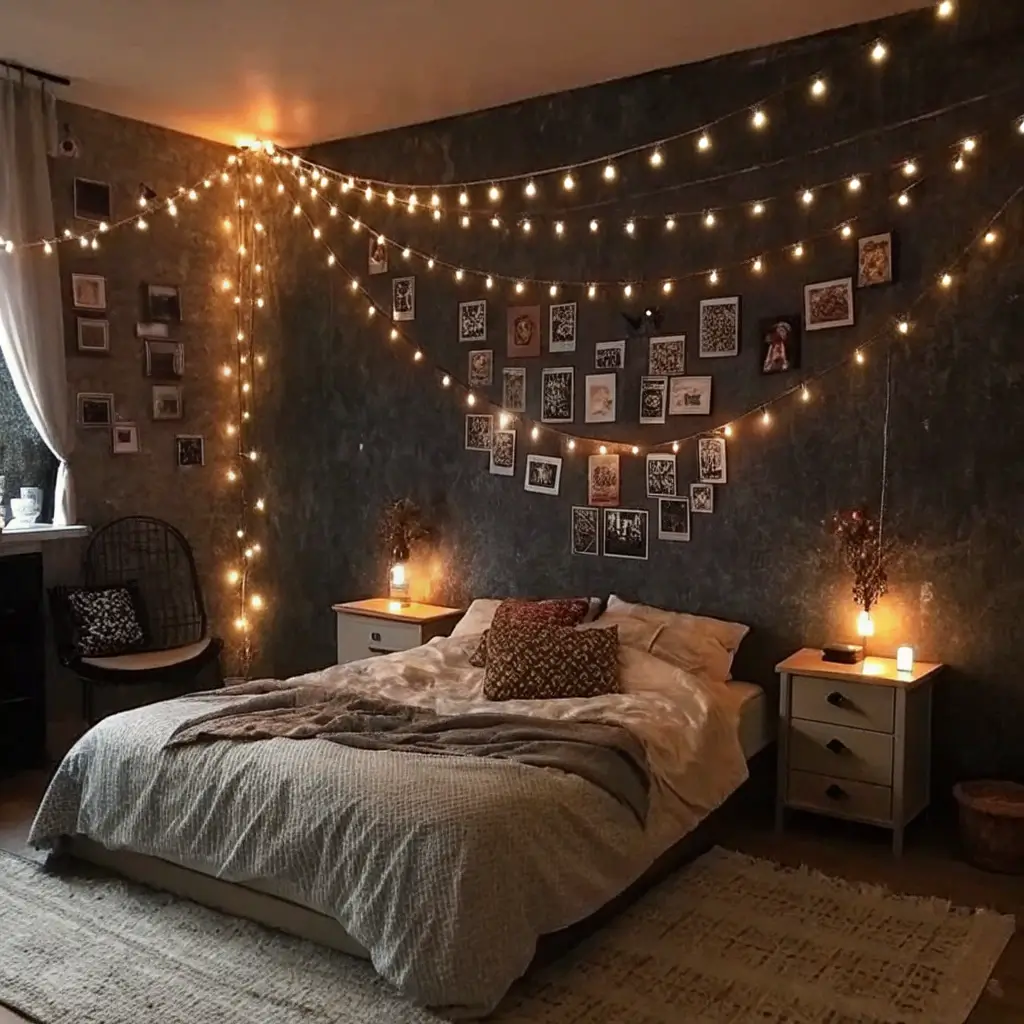
Speaking of lighting, let’s talk about transforming basic fairy lights into grunge room essentials. Forget the Pinterest-perfect neat arrangements – we’re going for organized chaos here.
I’ve tried every fairy light configuration imaginable, and the grunge approach wins every time. Instead of careful draping, I literally throw them up and see what happens. Tangled, clustered, and slightly messy looks intentional when you own it.
Grunge Lighting Techniques:
- Wrap lights around exposed pipes or beams
- Create clusters in corners for shadow play
- Mix warm and cool white lights for depth
- Add black electrical tape randomly to create dark spots
- Layer with sheer black fabric for filtered effects
My favorite trick? I wrap fairy lights around old bottles and jars painted matte black. The light escapes through the top and any imperfections in the paint, creating this industrial firefly effect that’s absolutely mesmerizing.
Also Read: 15 Simple Cardboard DIY Room Decor Ideas Anyone Can Do
Vintage Band Poster Collage
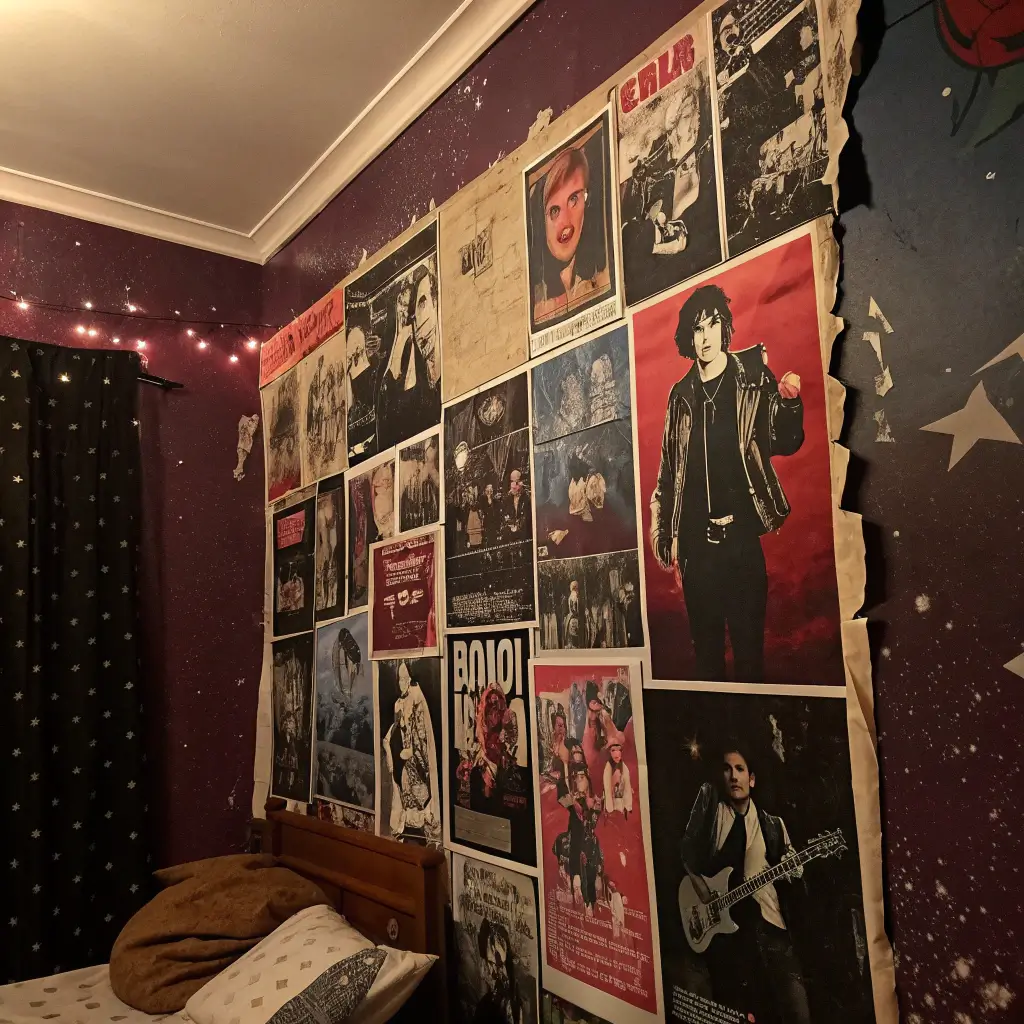
Nothing screams grunge louder than a wall covered in vintage band posters. But we’re not just slapping them up with scotch tape like it’s a middle school locker (though honestly, that works too).
I’ve been collecting band posters since high school, and my collage wall has evolved into this living piece of art. The key? Overlap, layer, and don’t be precious about it. Rip edges, let corners curl, embrace the chaos.
Building Your Poster Wall:
- Mix original posters with printed images
- Include ticket stubs and setlists
- Layer with magazine cutouts
- Add personal photos from concerts
- Use wheat paste for authentic vintage feel
Pro tip: Print some posters in black and white to break up the color chaos. I also like to write lyrics or dates directly on the wall between posters with Sharpie. Yeah, it’s permanent, but isn’t that kind of the point?
DIY Skull & Skeleton Shelves
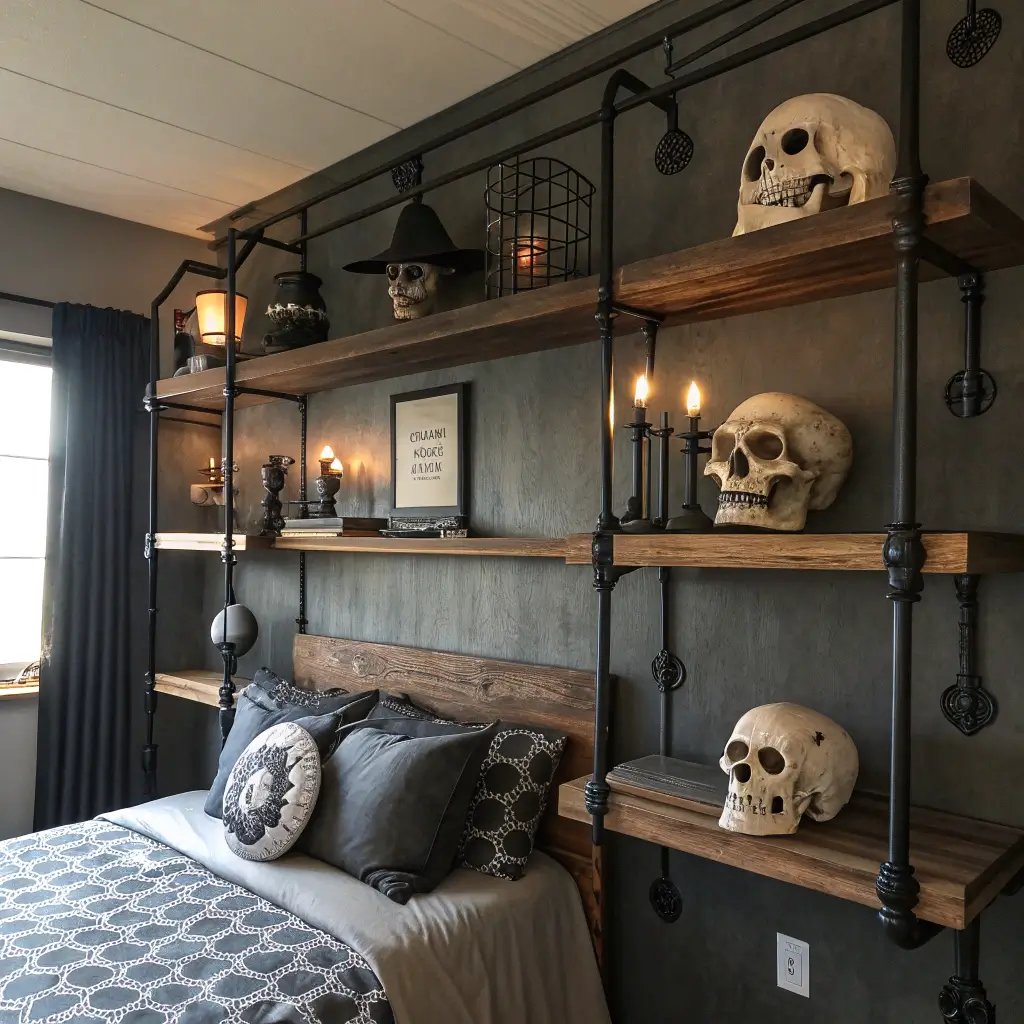
Want shelving that makes a statement? Let’s talk about incorporating skulls and skeletons into functional storage. Before you roll your eyes thinking this is too Hot Topic circa 2003, hear me out – done right, this looks sophisticated in a dark academia meets grunge way.
I found plastic skeletons at a Halloween store (50% off in November, FYI) and turned them into the most talked-about feature in my room. The skeleton holds up a wooden board, creating a shelf that’s both functional and conversation-starting.
Creating Skeleton Shelving:
- Plastic skeletons or skull replicas
- Wooden boards (stained dark or painted black)
- Heavy-duty adhesive or screws
- Wall anchors for weight support
Position your skeleton like it’s holding or supporting the shelf – get creative with the poses. I’ve got one that looks like it’s pushing up from below and another that appears to be climbing. Paint everything matte black for a more sophisticated look, or leave the bones white for contrast.
The weight distribution matters here, so make sure you’re anchoring properly into studs. Nobody wants their grunge aesthetic ruined by a shelf crash at 2 AM (ask me how I know).
Dark Abstract Canvas Painting
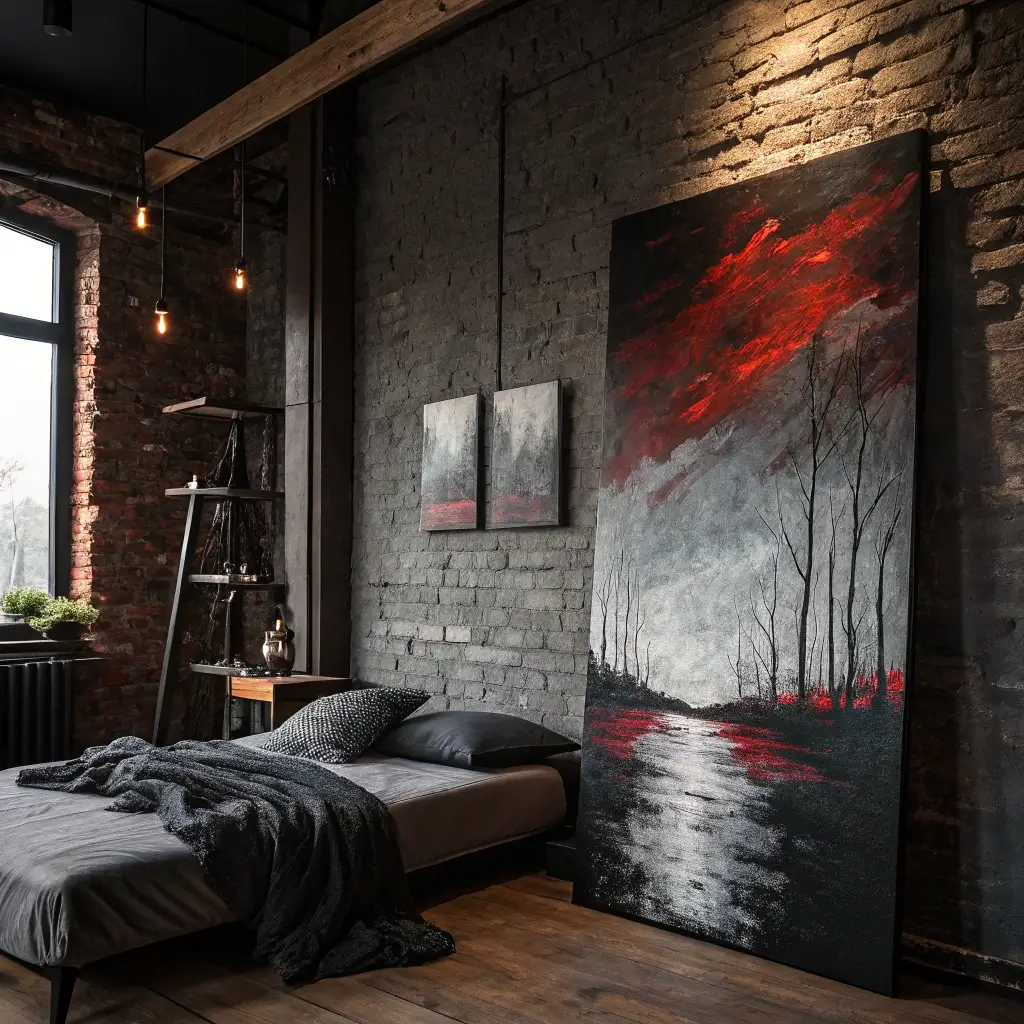
You don’t need to be Basquiat to create powerful abstract art for your grunge room. In fact, the less you plan, the better these turn out. I’ve sold pieces I made during particularly angsty painting sessions, so trust the process.
My technique involves putting on my favorite grunge playlist and just going for it. Black, deep reds, and grays are your best friends here. Sometimes I’ll add metallics for an industrial touch.
Abstract Painting Essentials:
- Canvas or canvas boards
- Acrylic paints in dark colors
- Various brushes and palette knives
- Optional: sand or texture medium
- Newspaper for texture printing
Here’s my secret weapon: add texture with unconventional tools. Old credit cards create amazing scraping effects. Crumpled aluminum foil makes killer prints. I once used a chain to drag paint across canvas – the result hangs above my bed.
Don’t overthink it. The beauty of abstract art lies in its imperfection and emotion. Channel whatever you’re feeling and let it explode onto the canvas.
Also Read: 15 Inspiring DIY Living Room Decor Ideas for Small Spaces
Industrial Pipe Clothing Rack
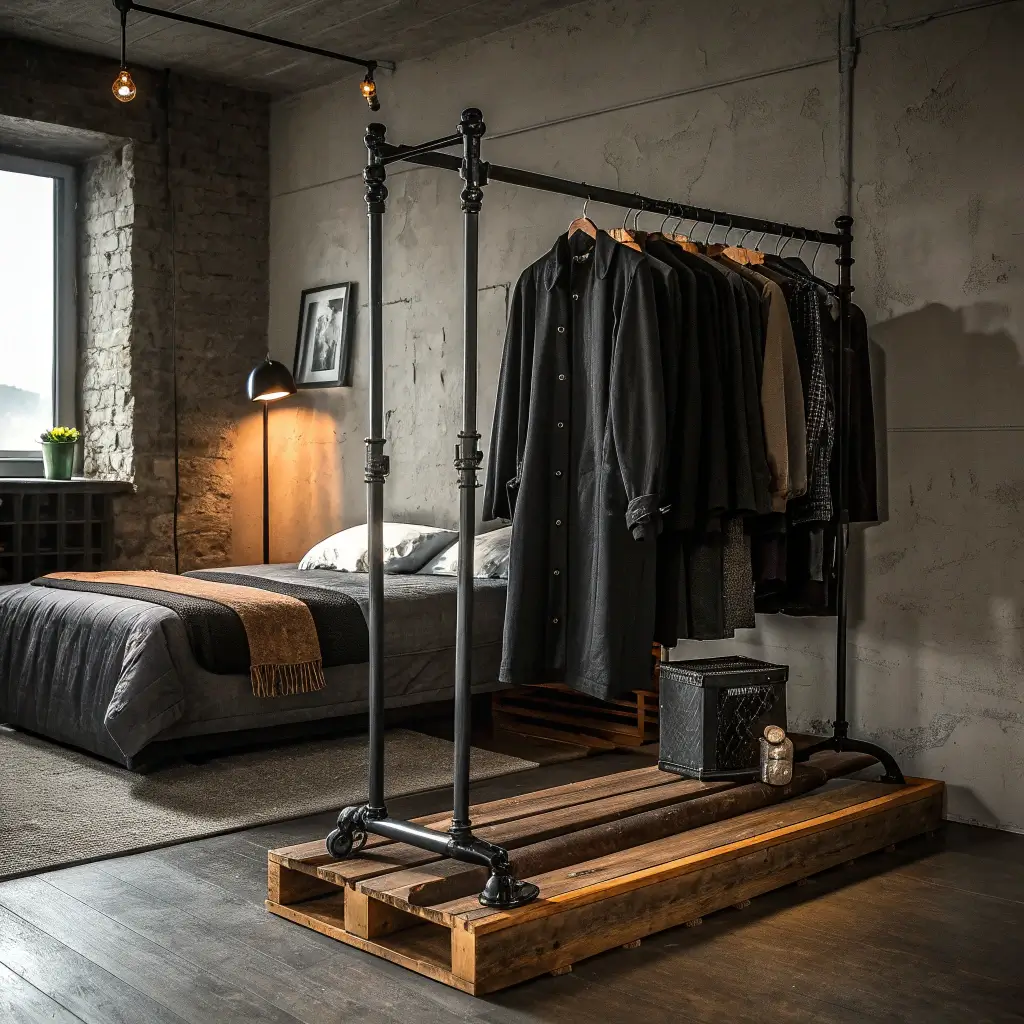
Exposed clothing storage fits the grunge aesthetic perfectly, especially when you build it from industrial pipes. This project transformed how I organize my mostly-black wardrobe while adding serious style points to my room.
I spent about $60 at the hardware store and created something that would cost hundreds from a trendy furniture store. Plus, assembling pipes makes you feel pretty badass – like adult LEGOs but cooler.
Building Your Pipe Rack:
- Black iron pipes (various lengths)
- Pipe fittings (elbows, tees, flanges)
- Wall anchors or floor flanges
- Optional: wheels for mobility
- Wood stain for any wooden elements
The configuration depends on your space, but I recommend a simple A-frame or wall-mounted design. Leave the industrial markings visible – those random numbers and scratches add character. Mine still has the price sticker from Home Depot, and honestly? It works.
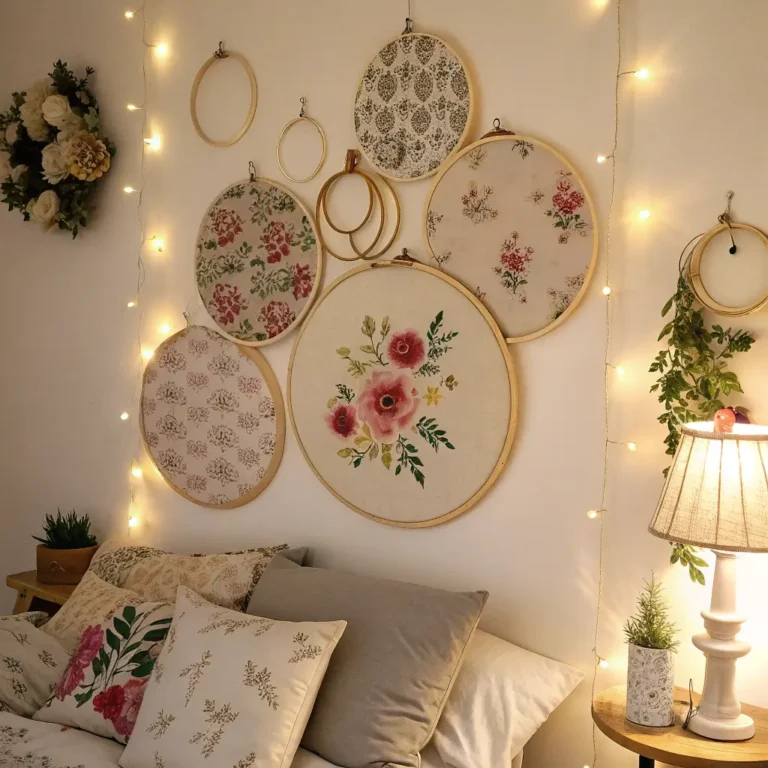
Torn Fabric Wall Hanging
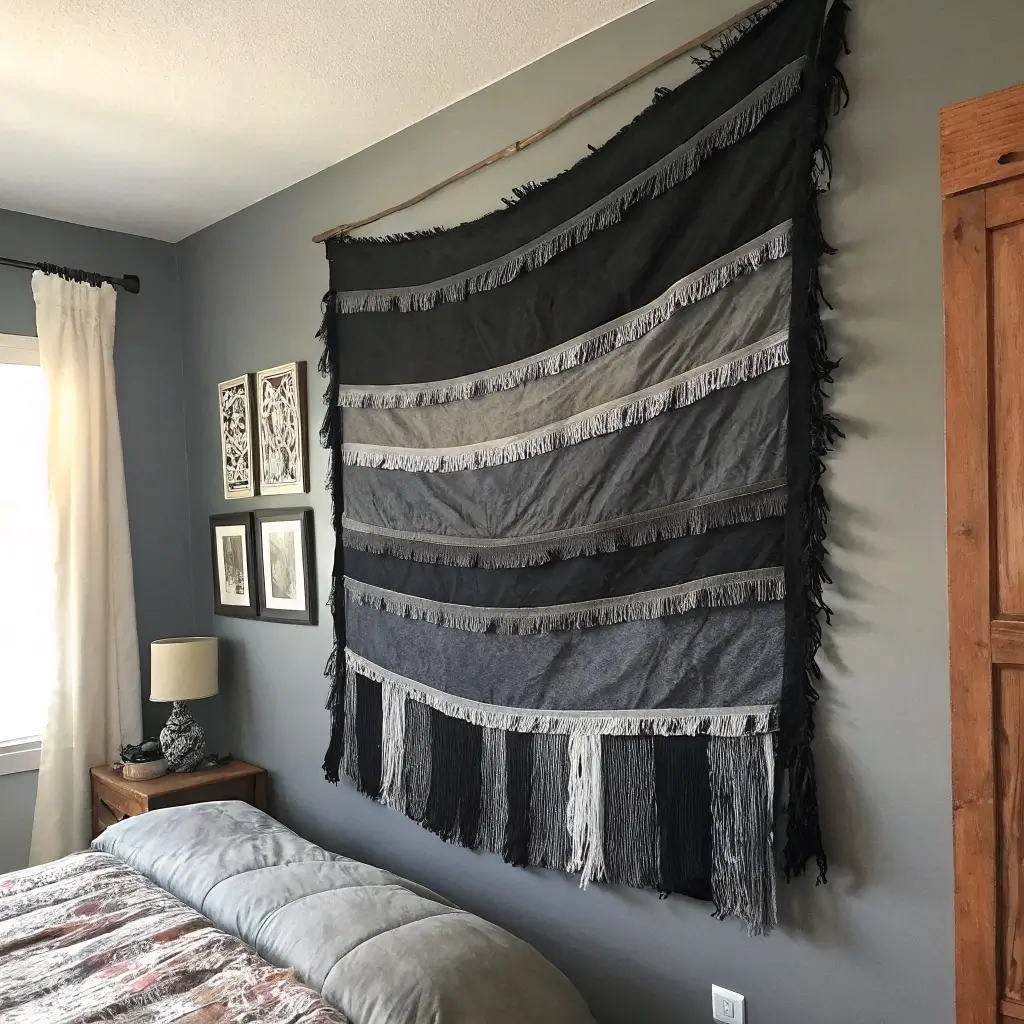
Textile art doesn’t need to be precious. My torn fabric wall hanging started as stress relief (literally ripping old band tees) and evolved into one of my favorite pieces.
The process couldn’t be simpler, yet the result looks like something from an avant-garde gallery. I use old concert shirts, thrifted flannels, and any black fabric that speaks to me.
Creating Torn Fabric Art:
- Various fabric pieces in grunge colors
- Wooden dowel or branch
- Strong thread or thin wire
- Optional: bleach for distressing
Tear your fabric into strips of varying widths and lengths. Don’t cut – tearing creates those beautiful frayed edges. Tie or wire them to your dowel, mixing textures and lengths. I like to bleach-splatter some pieces for that extra distressed look.
Hang it where it’ll move with air currents. The gentle swaying adds life to your space, and the shadows it creates are pure art.
DIY Velvet Throw Pillows with Studs
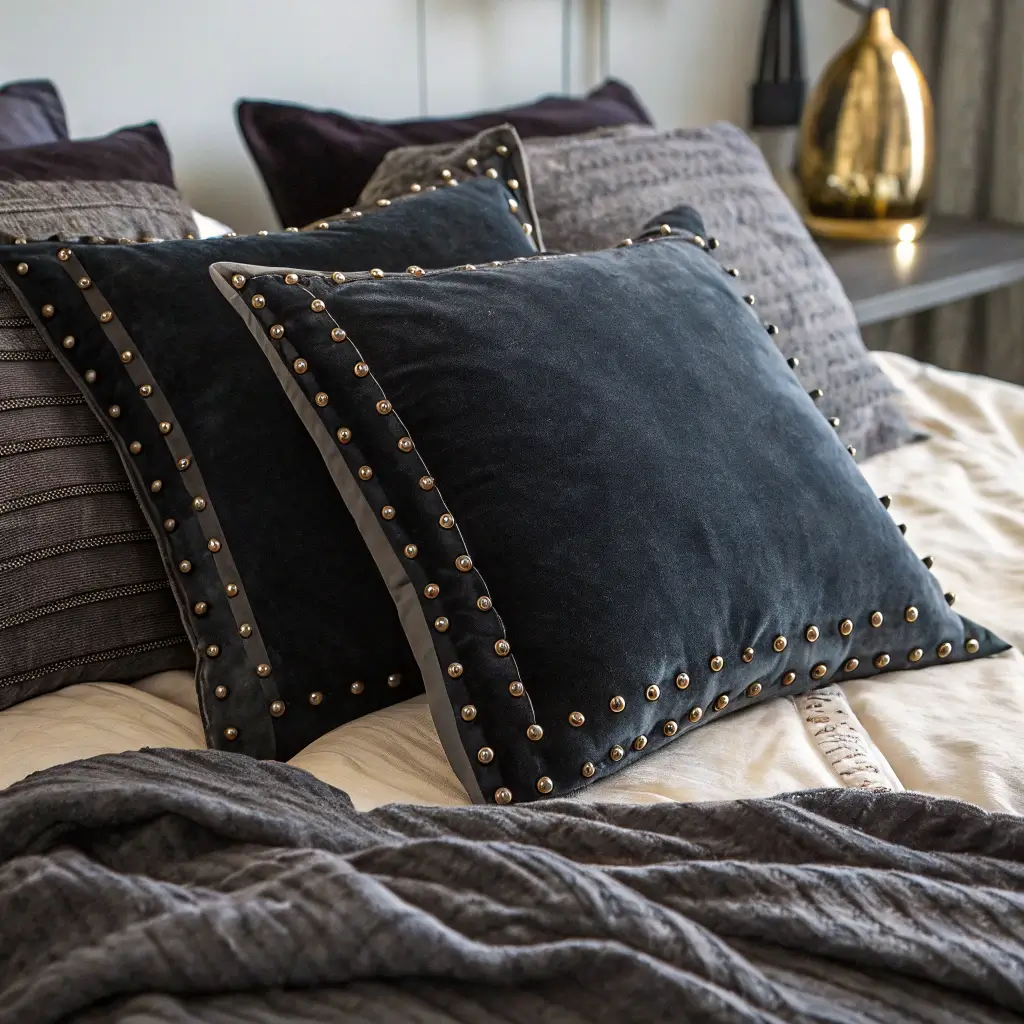
Velvet and studs might sound contradictory, but this soft-meets-hard combination embodies grunge perfectly. These pillows changed my bed from boring to “is this a music video set?”
I found black velvet fabric on clearance and went wild with pyramid studs from a craft store. The result? Luxurious comfort with an edge that makes every nap feel rebellious.
Studded Pillow Process:
- Black or deep burgundy velvet fabric
- Pyramid or cone studs
- Pillow stuffing or inserts
- Strong fabric glue or stud setter
- Basic sewing supplies
Cut your fabric, sew three sides, stuff, and close. Now for the fun part – studding patterns. I prefer random placement over perfect lines, but geometric patterns look sick too. Just remember where the studs are when you’re leaning against them (learned that lesson quickly).
Also Read: 15 Easy Room Decor Bedroom DIY Ideas That Save Money
Recycled Record Wall Clock
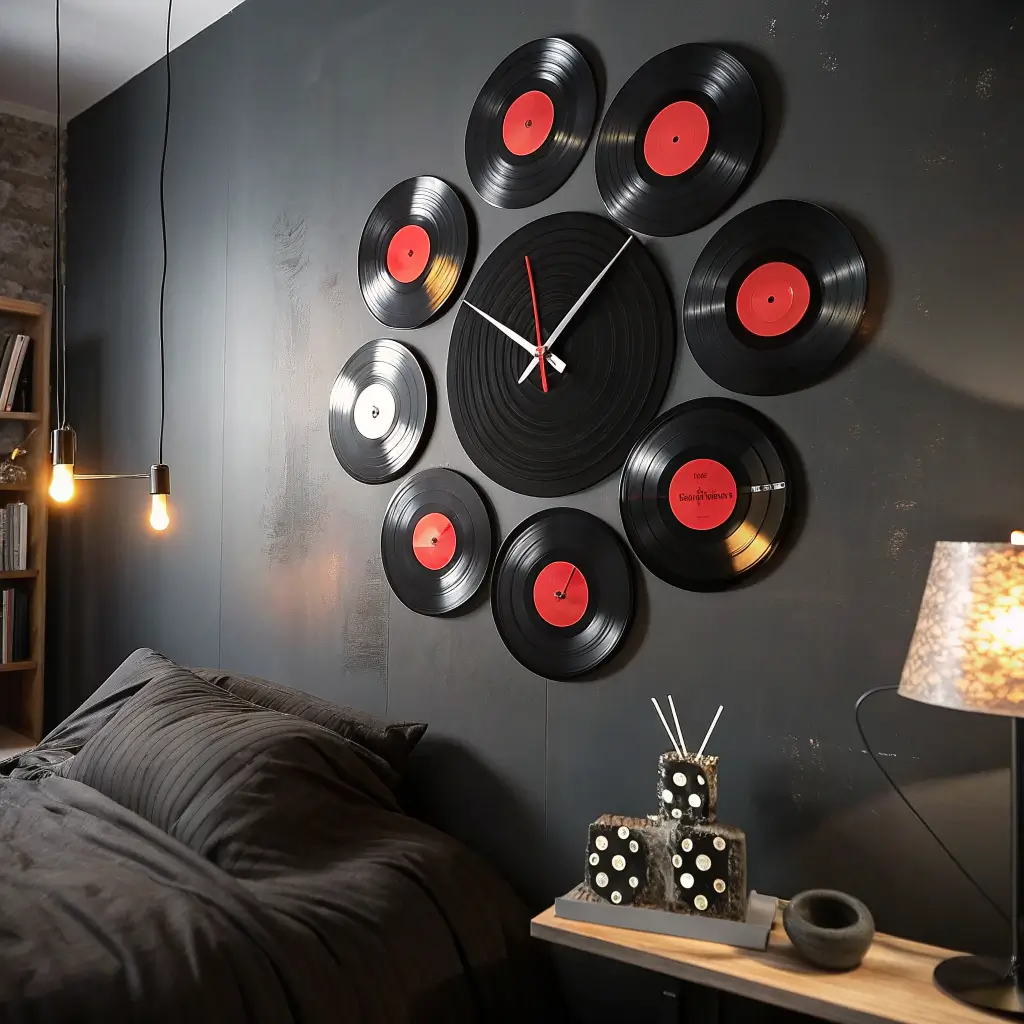
Old vinyl records deserve better than dust-collecting in thrift store bins. Transform them into functional wall art that actually tells time while telling your story.
My first record clock used a scratched Soundgarden album I found for fifty cents. Now I’ve made dozens, each one unique and meaningful. Sometimes I’ll use records from bands I’m currently obsessing over, other times it’s purely aesthetic.
Making Your Record Clock:
- Vinyl records (thrift stores, yard sales)
- Clock mechanism kit
- Drill with appropriate bit
- Numbers or markers (optional)
- Wall mounting hardware
Drill through the center hole carefully – vinyl can crack if you rush. Install the clock mechanism according to kit instructions. For numbers, I’ve used everything from nail polish dots to small skateboard stickers.
Want to get really creative? Layer two records slightly offset, or add decorative elements around the edges. I’ve got one surrounded by guitar picks from shows I’ve attended 🙂
Grunge Mirror with Sticker Decals
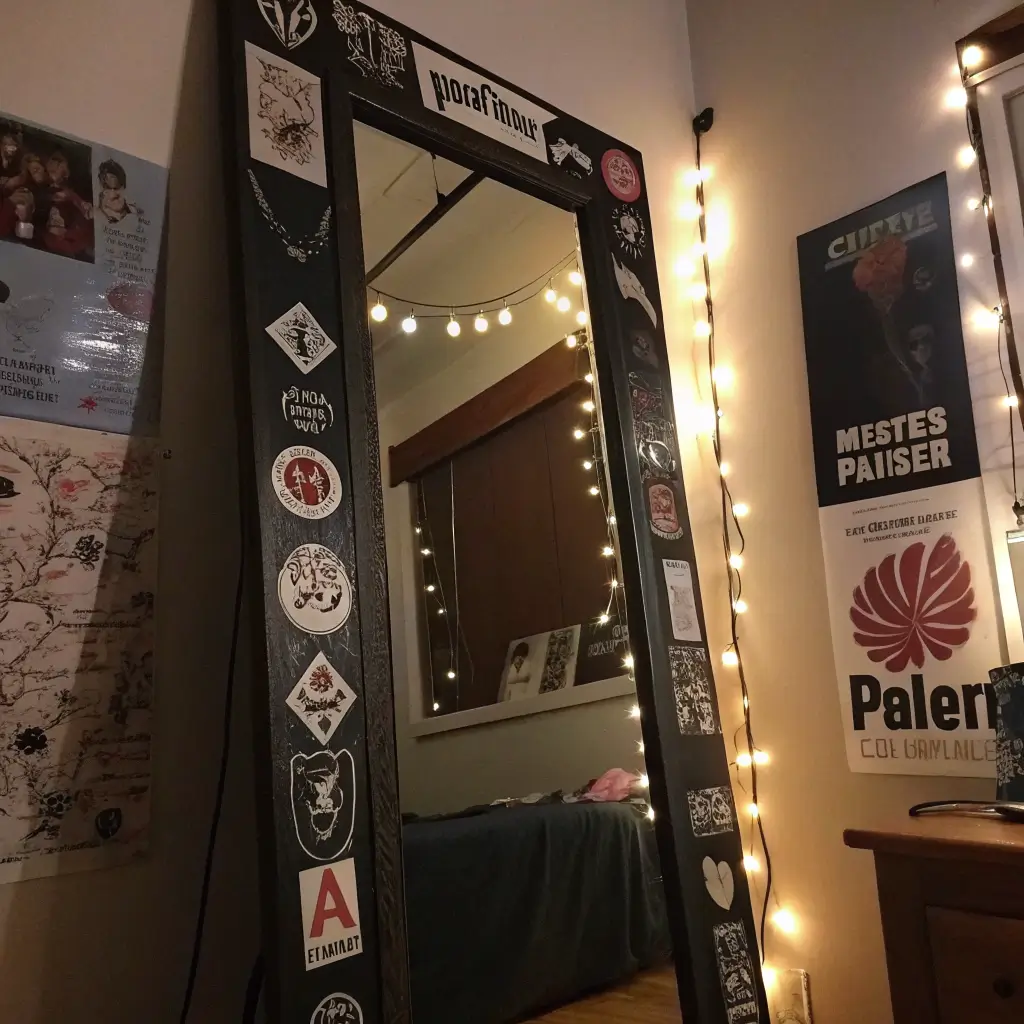
Mirrors don’t have to be boring reflective surfaces. My sticker-bombed mirror started as an accident (spilled coffee on my sticker collection) but became an intentional design choice.
The trick lies in the placement – you want enough mirror showing to remain functional while creating an artistic frame of chaos. Band stickers, random slogans, and weird imagery all work together when you commit to the aesthetic.
Decorating Your Mirror:
- Plain mirror (any size works)
- Collection of stickers
- Clear sealant spray
- Optional: markers for doodling
Start placing stickers around the edges, overlapping and layering without overthinking. Leave some mirror space clear for actual use. I like to add hand-drawn doodles between stickers with permanent markers. Seal everything with clear spray to prevent peeling.
This technique works on mirror frames too. I’ve covered an ornate thrift store frame with stickers, and the contrast between fancy and grungy hits just right.
Handmade Leather Journal Shelf
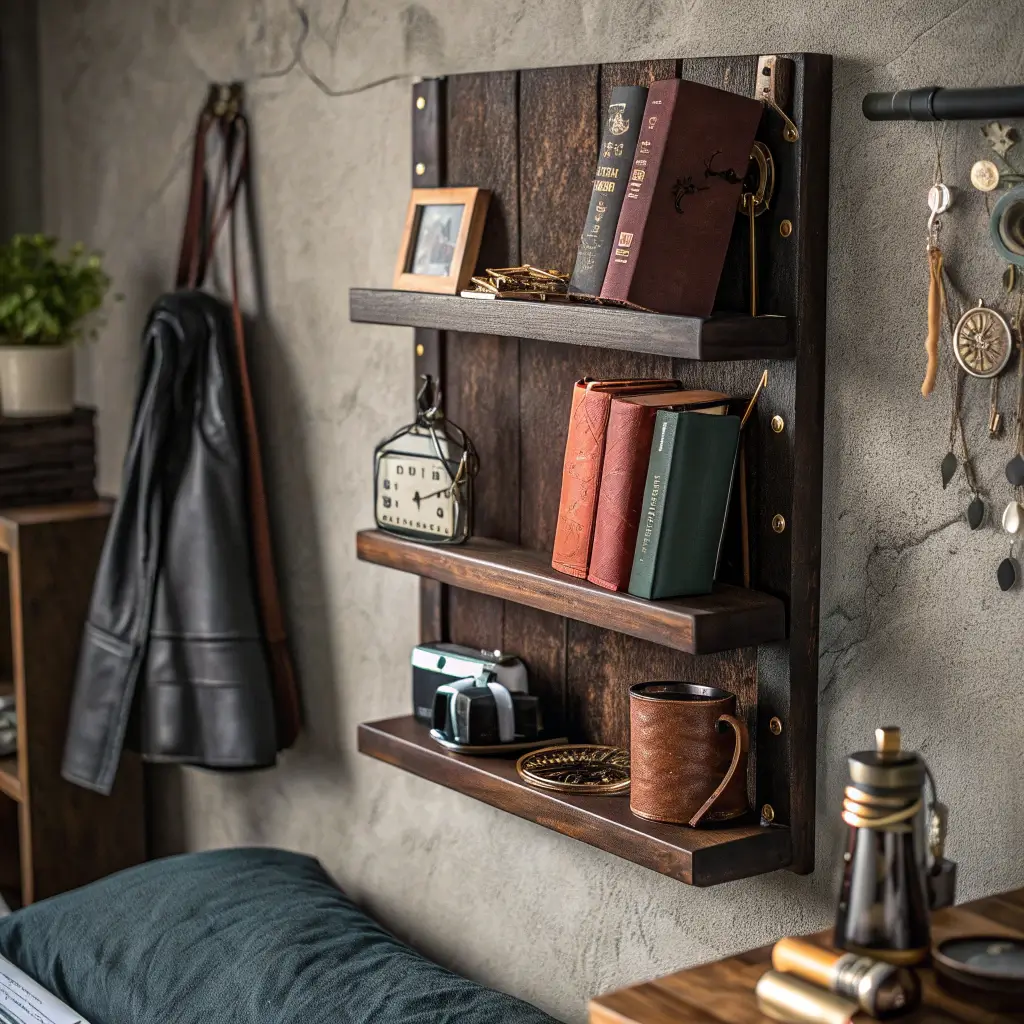
Displaying journals and books adds intellectual grunge vibes, especially when your shelf involves handmade leather elements. This project combines function with that worn, vintage aesthetic we’re after.
I learned basic leatherworking just for this project, and honestly? It’s easier than you’d think. The imperfections make it look more authentic anyway.
Leather Shelf Components:
- Leather strips or old belts
- Wooden board
- Heavy-duty rivets or screws
- Leather punch tool
- Wall anchors
Create leather loops to hold your shelf, securing them to the wall and threading the board through. The leather ages beautifully, developing character over time. Mine holds my collection of filled journals, creating a timeline of thoughts and sketches.
Neon Sign DIY with Wire Letters
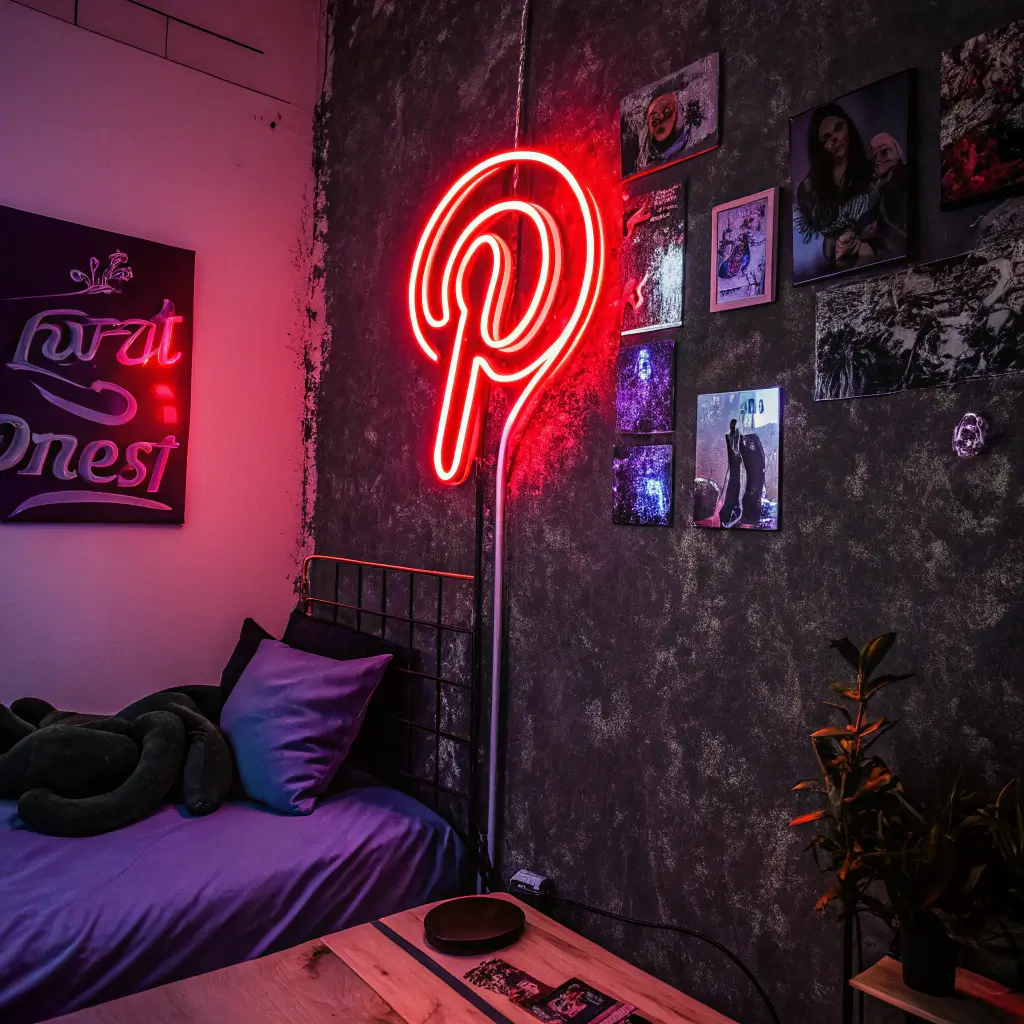
Neon signs scream urban grunge, but real neon costs a fortune. Enter EL wire – the budget-friendly alternative that looks just as cool.
I made my first wire sign spelling out “CHAOS” because, well, it felt appropriate. The process requires patience but zero electrical knowledge. Bend, shape, and mount – that’s literally it.
Wire Sign Creation:
- EL wire in your color choice
- Wire or fishing line for shaping
- Battery pack or plug adapter
- Black backing board
- Hot glue or mounting tape
Sketch your design first, then bend the wire to match. Simple words or symbols work best – I wouldn’t attempt cursive on your first try. Mount against black for maximum impact. The gentle glow adds ambiance without overwhelming the space.
DIY Grunge Macrame Plant Hangers
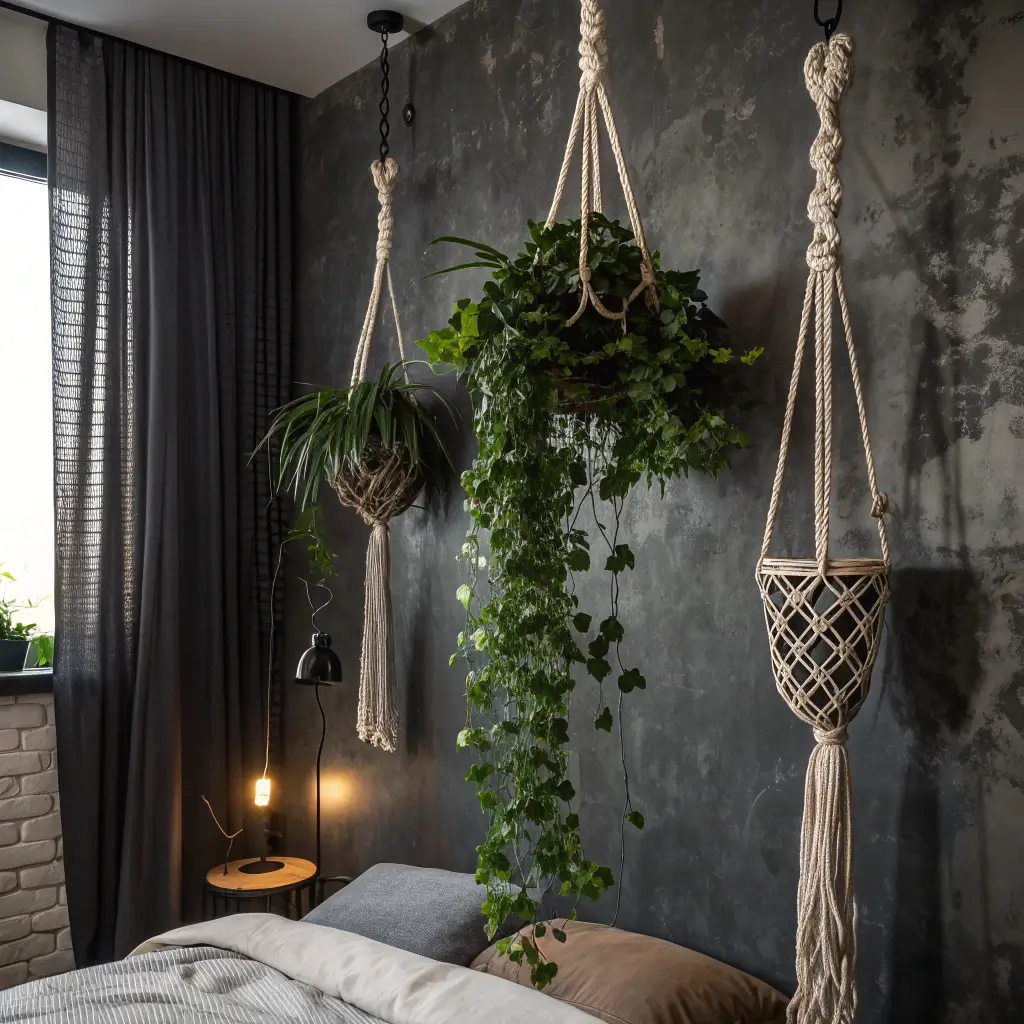
Traditional macrame meets grunge when you use black cord and unconventional containers. These aren’t your grandma’s plant hangers – unless your grandma was seriously cool.
I hang everything from spray-painted mason jars to old combat boots turned planters. The contrast between delicate knots and rough containers perfectly captures grunge duality.
Grunge Macrame Basics:
- Black or dark gray macrame cord
- Various containers for plants
- Metal rings for hanging
- Basic macrame knot knowledge
Keep your knot patterns simple but use lots of cord for that heavy, dramatic look. I add chains, safety pins, or small charms throughout the design. My favorite holds a skull planter with a snake plant – maximum mood for minimum effort.
Black & Red Polaroid Photo Wall
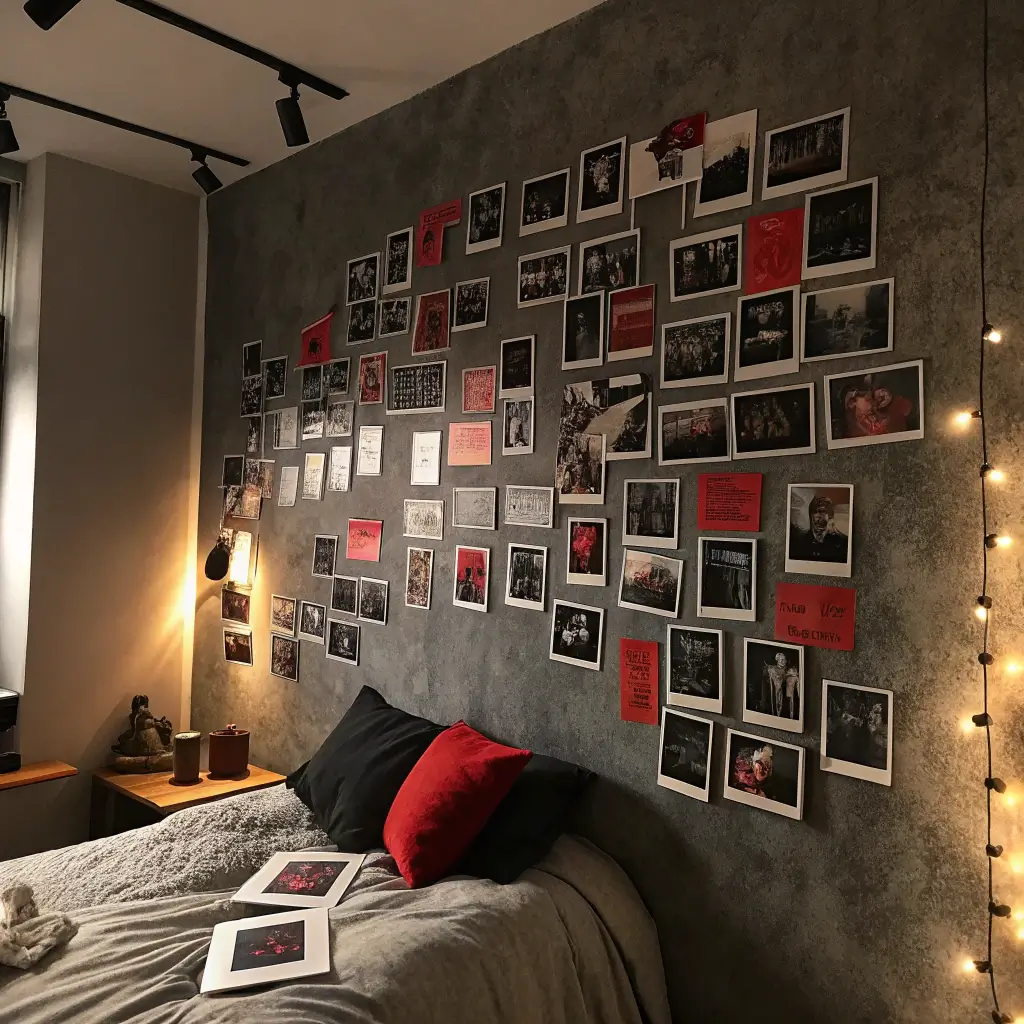
Finally, let’s talk about making memories grunge. A Polaroid wall in black, white, and red creates personal art that evolves with your life.
I edit my photos before printing (yes, you can print Polaroid-style pics without the camera) to emphasize contrast and add red highlights. The result? A growing gallery of moments that match my aesthetic.
Creating Your Photo Wall:
- Polaroid camera or printed photos
- Red and black markers
- Twine and clips or tape
- Optional: red lighting gel
Arrange photos randomly, some overlapping, others isolated. Write on them – dates, lyrics, single words that capture the moment. I use red marker for emphasis and black for everything else. String some up with twine, tape others directly to the wall.
The best part? This wall grows with you, constantly evolving as you add new memories.
Conclusion
There you have it – fifteen ways to grunge-ify your space without selling your soul (or your savings) to achieve that perfect alternative aesthetic. These projects taught me that grunge décor isn’t about perfection; it’s about expression, rebellion against conventional design, and creating a space that feels authentically you.
Start with one project that speaks to you, then build from there. Your room should tell your story, and if that story involves a skeleton holding up your books while fairy lights tangle overhead and Nirvana plays softly in the background, then you’re doing it right. Remember, the best grunge rooms look like they happened organically, like you just couldn’t be bothered to follow rules.
Now excuse me while I go add another layer of stickers to my mirror – IMO, it’s not quite chaotic enough yet.