15 Fun DIY Kids Room Decor Ideas to Brighten Rooms
Let me guess – you’re staring at your kid’s boring bedroom walls thinking, “This place needs some serious pizzazz, but my wallet’s already crying from that last toy shopping spree.” Been there, my friend.
The good news? You don’t need to drop a fortune to transform that bland space into something magical.
I’ve spent the last few years turning my kids’ rooms into creative wonderlands (and occasionally into complete disasters – whoops!).
Through trial, error, and plenty of hot glue mishaps, I’ve discovered some seriously awesome DIY projects that actually work.
And the best part? Your kids can help make most of these, which means they’ll actually want to keep their rooms clean afterward. Okay, that’s a lie, but at least they’ll appreciate the space more 🙂
Ready to roll up your sleeves and create some magic? Let’s tackle these 15 game-changing DIY kids room decor ideas that’ll have your little ones bragging to their friends about their awesome rooms.
Floating Bookshelf Nook
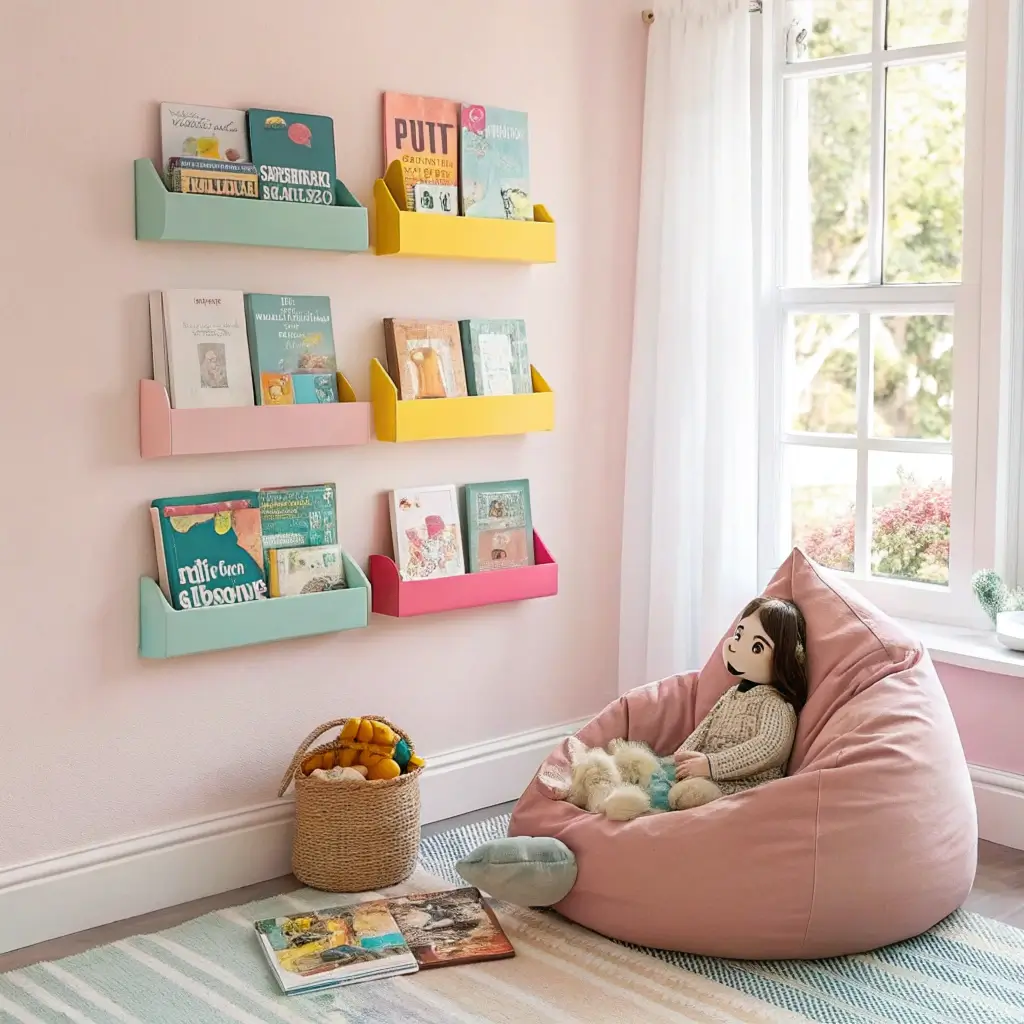
Ever noticed how kids’ books always end up everywhere except the bookshelf? I solved this problem with a floating bookshelf nook that looks like pure magic. Picture this: books appearing to float on the wall, creating a cozy reading corner that makes your kid actually WANT to grab a book.
Here’s what makes this project absolutely brilliant. You mount invisible shelves (they’re just L-shaped brackets hidden by the books) at different heights to create visual interest. I arranged mine in a corner formation, starting low enough for my five-year-old to reach and gradually going higher. The effect? A cascading waterfall of colorful book spines that doubles as wall art.
Materials You’ll Need:
- Invisible floating shelves (about $8-12 each)
- Wall anchors (crucial if you’re not hitting studs)
- Level (unless you enjoy crooked books)
- Pencil for marking
- Drill with appropriate bits
The trick that nobody tells you? Start with hardcover books on the bottom shelf – they hide the bracket better and support the weight above. I learned this after my paperback experiment resulted in a book avalanche at 2 AM. Not fun. Add some LED strip lights underneath each shelf for that fancy bookstore vibe, and suddenly you’ve created the coziest reading spot ever.
DIY Starry Night Ceiling
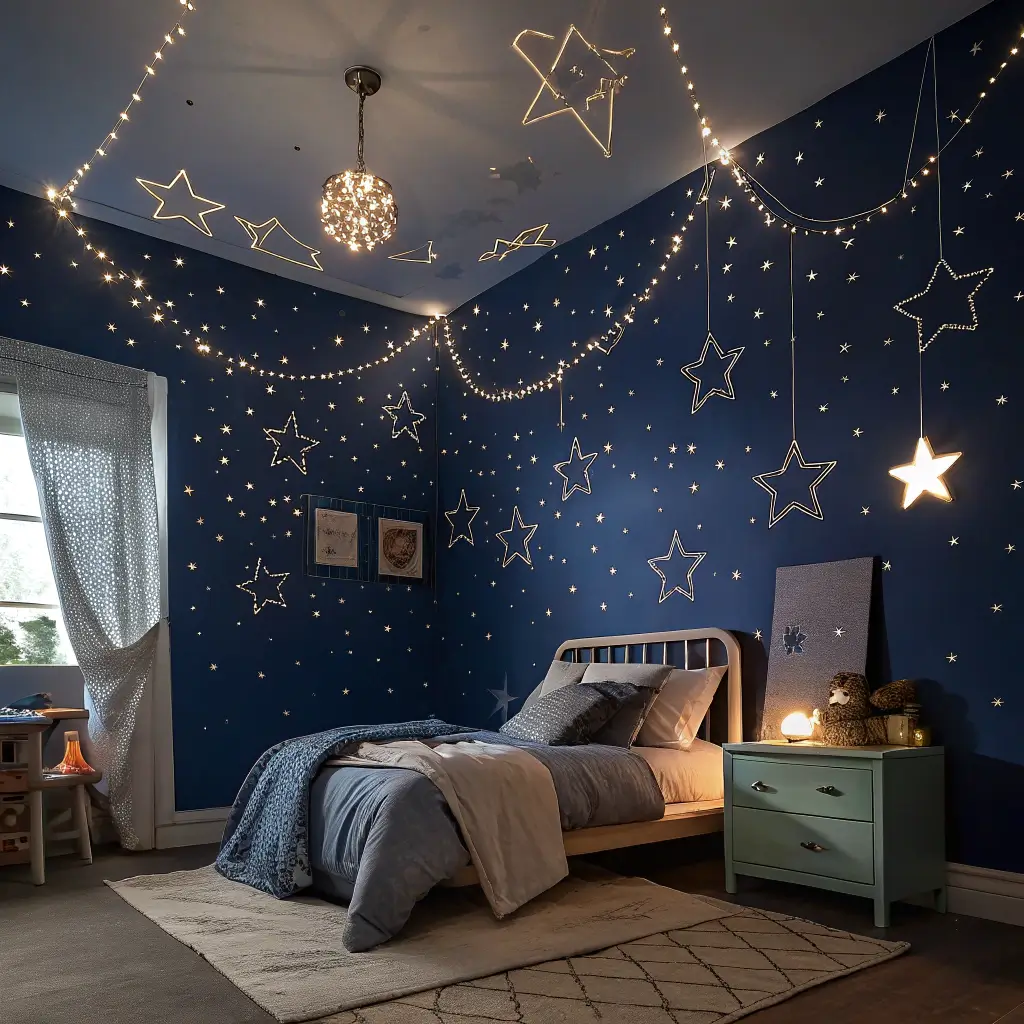
Want to blow your kid’s mind without breaking the bank? Transform their ceiling into a personal planetarium. I’m talking about a glow-in-the-dark constellation that’ll have them excited for bedtime. How’s that for reverse psychology?
This project costs less than twenty bucks but delivers million-dollar results. You can go two routes here: glow-in-the-dark paint or adhesive stars. Personally, I’m team adhesive because painting on a ceiling while lying on your back isn’t as fun as it sounds (trust me on this one).
Creating Your Night Sky:
- Map out actual constellations using a star chart app
- Mark positions lightly with pencil
- Apply larger stars for major constellation points
- Fill in with smaller stars for depth
- Add a few shooting stars for extra magic
Pro tip that changed everything for me: charge those stars with a UV flashlight before bedtime. The glow lasts way longer than regular room light activation. My daughter now insists on “feeding the stars” every night with her special flashlight. It’s become our little bedtime ritual, and honestly? It’s pretty darn cute.
Colorful Wall Hanging Garland
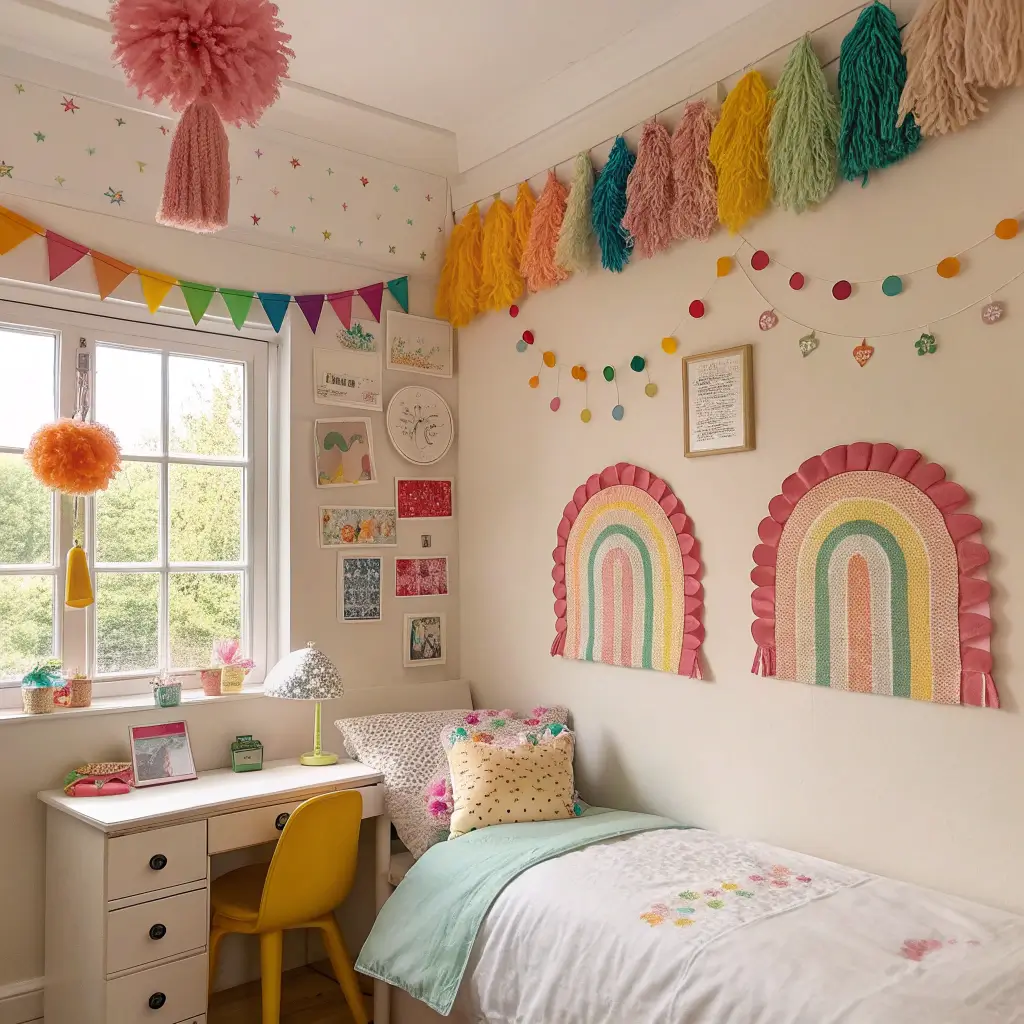
Remember those paper chains you made in elementary school? Well, we’re upgrading that concept big time. Wall garlands add instant personality without committing to permanent changes – perfect for renters or indecisive decorators like myself.
I’ve made these from everything: felt triangles, paper tassels, wooden beads, even old t-shirts cut into strips. The beauty lies in the endless customization options. Match your kid’s current obsession – dinosaurs, unicorns, or whatever random thing they’re into this week.
Quick Garland Ideas:
- Felt ball garlands (softer and safer for younger kids)
- Paper geometric shapes (origami skills optional)
- Fabric bunting from old clothes
- Photo garlands with clips
- Pompom strings (warning: addictive to make)
Here’s what nobody mentions: placement matters more than perfection. Drape them diagonally across corners, frame windows, or create a headboard effect above the bed. My son’s room has three different garlands, and somehow they all work together. Organized chaos at its finest.
Also Read: 15 Trendy DIY Grunge Room Decor Ideas for Vintage Fans
Personalized Name Wall Art
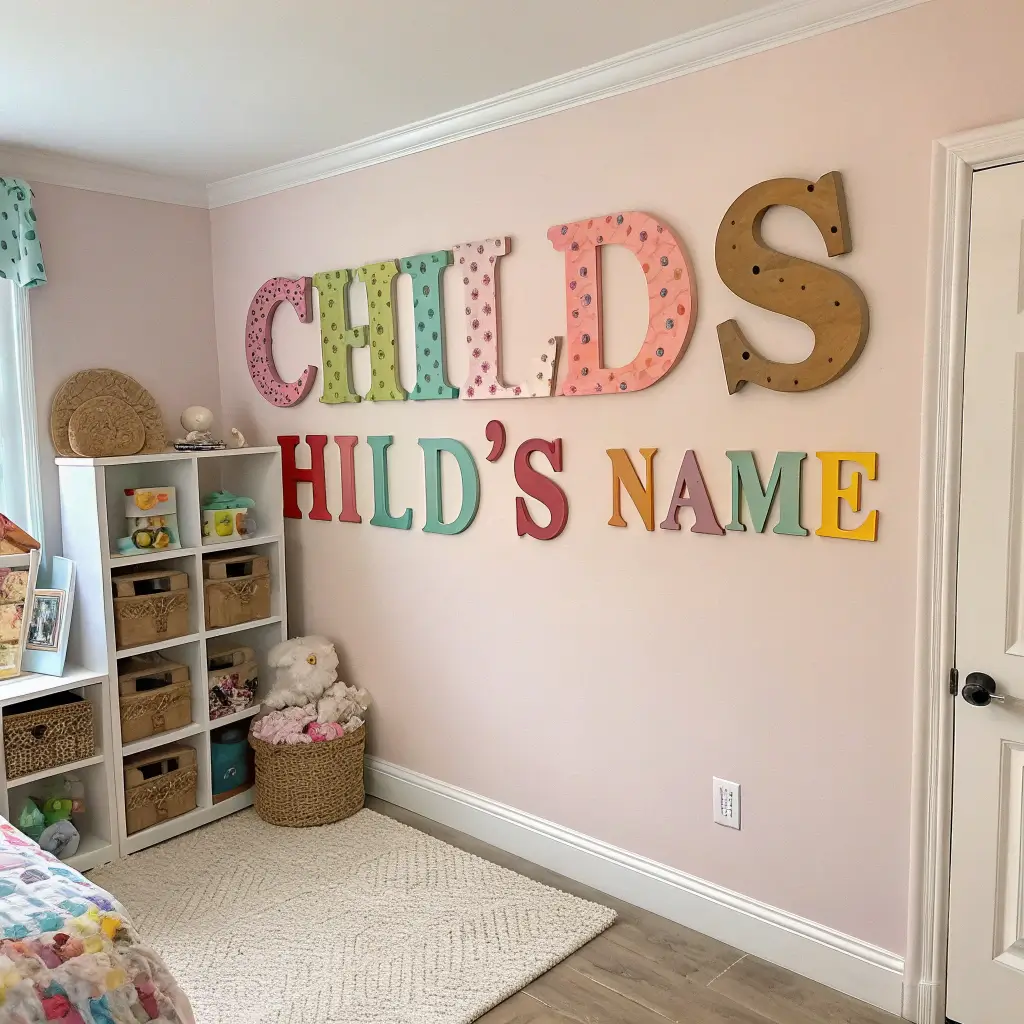
Your kid’s name in giant letters on the wall? Yeah, they’ll love that ego boost. But here’s where we get creative – forget those expensive pre-made options. We’re making these bad boys ourselves, and they’ll look twice as good.
I’ve tried cardboard letters (cheap but flimsy), wooden letters (sturdy but pricey), and finally landed on foam board letters – the perfect middle ground. Cut them yourself with a craft knife or buy pre-cut ones from the craft store. The magic happens in the decorating phase.
Decoration Techniques That Rock:
- Decoupage with comic book pages (my son’s superhero phase)
- Wrapped in colorful yarn or string
- Covered in sequins (warning: you’ll find these everywhere forever)
- Painted with chalkboard paint for changeable designs
- Decorated with washi tape patterns
Mount them with removable adhesive strips so you can rearrange when inspiration strikes. Or when your kid decides they hate the current arrangement. Which will happen. Probably next Tuesday.
DIY Teepee Reading Corner
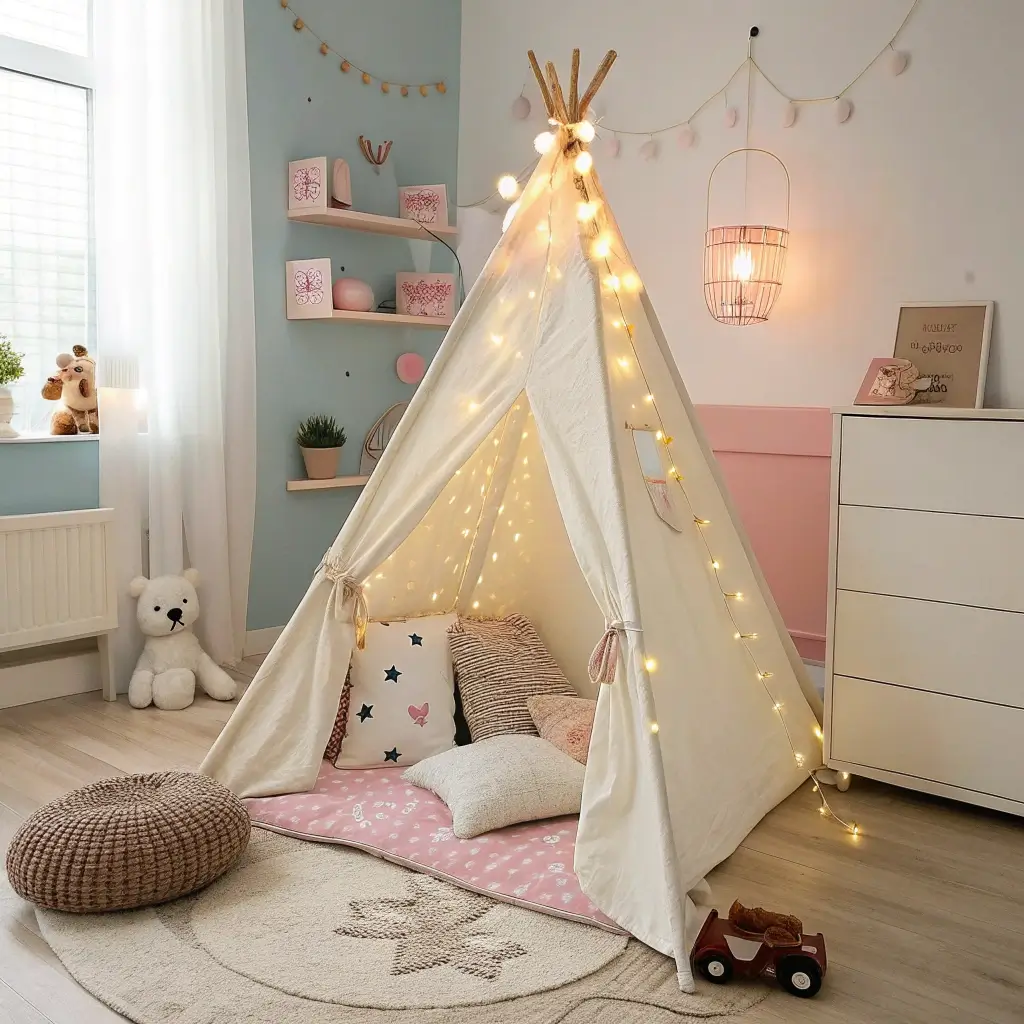
Who says you need to spend $200 on a fancy reading tent? Not this parent. I built a killer teepee for under thirty bucks, and my kids practically live in it now. Best part? It folds flat when you need floor space for dance parties or epic Lego builds.
The frame requires just five wooden dowels and some rope. No complicated joints or power tools needed – hallelujah! Throw a sheet or some fabric over it, and boom, instant hideaway. But here’s where you make it special.
Teepee Upgrades:
- String battery-powered fairy lights inside
- Add a soft rug or cushions for comfort
- Hang a small fabric pocket for book storage
- Create a “door” with ribbon ties
- Paint the dowels for extra color
FYI, cats also love teepees. Found this out when our tabby claimed squatter’s rights and refused to leave for three days. Now we have scheduled teepee time slots. Yes, I negotiate with a cat. Judge me later.
Recycled Crate Toy Storage
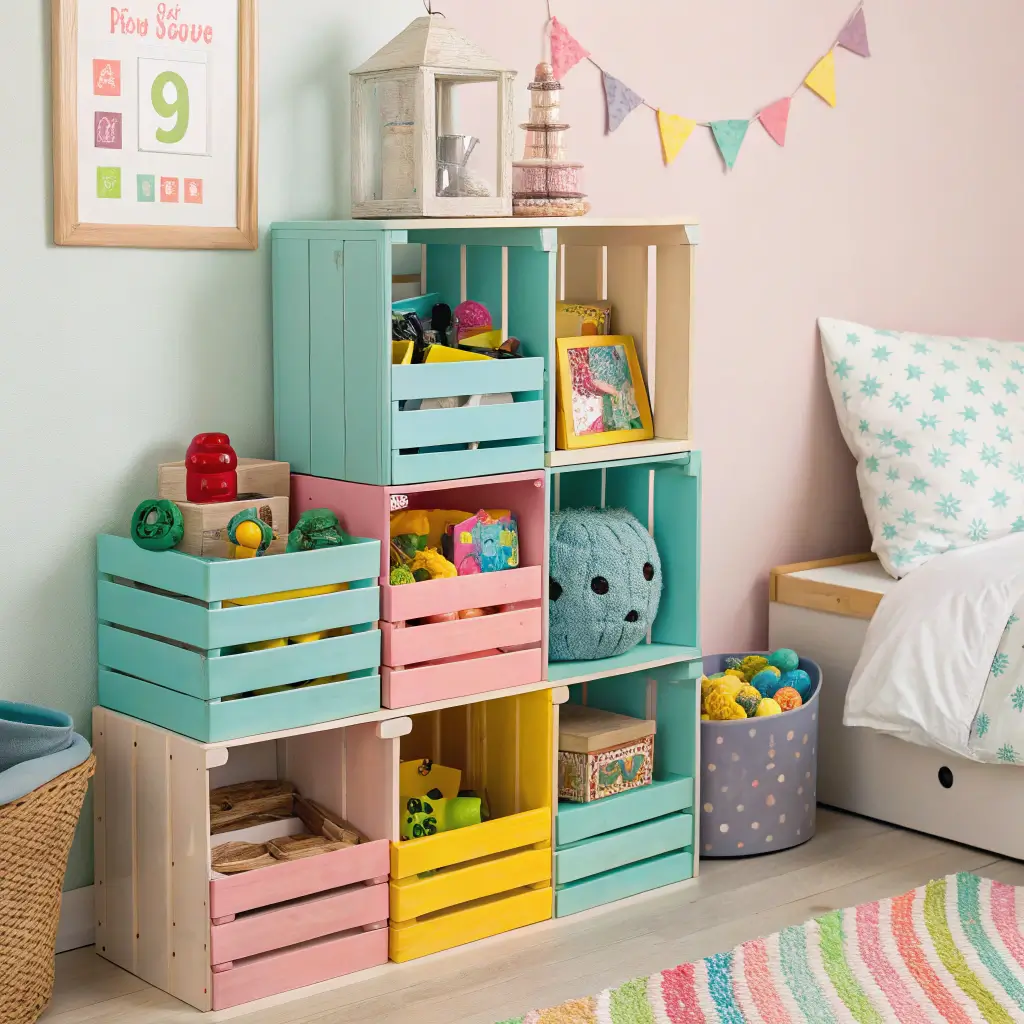
Those wooden crates from the craft store? Total game changers for toy organization. But here’s my budget hack: check behind grocery stores for free fruit crates. Sand them down, slap on some paint, and you’ve got stylish storage that actually works.
Stack them, mount them on walls, or put them on wheels – the possibilities are endless. I painted each crate a different color and assigned toy categories. Blue for Legos, red for cars, green for… whatever those squishy things are called.
Crate Storage Hacks:
- Add casters for mobile storage
- Install on walls at kid height
- Use as under-bed storage
- Create a bookshelf tower
- Double as seating with cushion tops
The unexpected bonus? Kids actually use these. Something about having designated spots makes cleanup feel like a game instead of a chore. Who knew? Well, probably child psychologists, but I’m taking credit for this discovery in my house.
Also Read: 15 Simple Cardboard DIY Room Decor Ideas Anyone Can Do
Glow-in-the-Dark Wall Decals
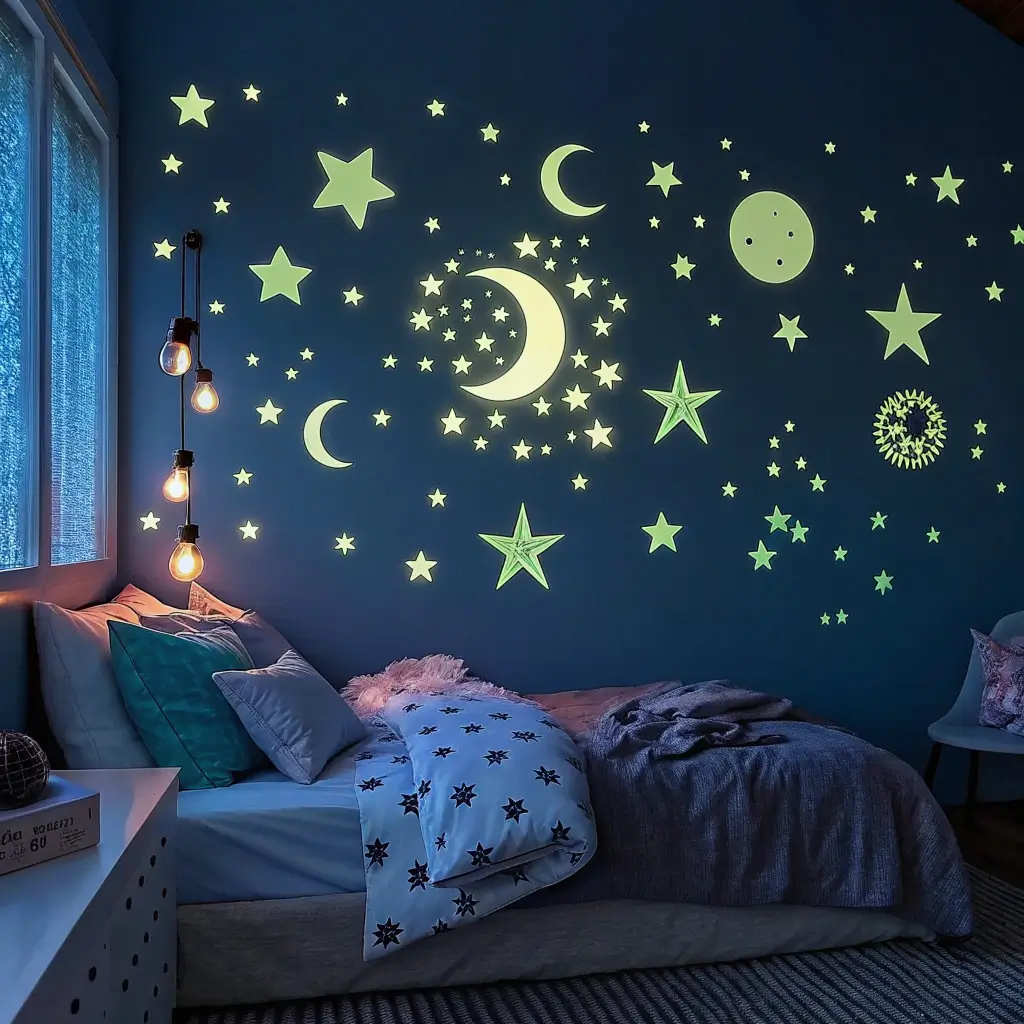
Wall decals have come a long way from those generic butterfly stickers. Today’s glow-in-the-dark options transform rooms into magical spaces that come alive at night. Plus, they peel off clean when your kid inevitably outgrows them next month.
I create entire scenes with these things. Currently rocking an underwater theme in my daughter’s room – fish, seahorses, and seaweed that glow green at night. Looks like an aquarium without the maintenance or dead goldfish trauma.
Placement Strategy:
- Create pathways to the bathroom (genius for nighttime)
- Frame the bed area for cozy vibes
- Scatter randomly for starfield effect
- Build scenes around furniture
- Add to ceiling for surprise element
Want to really mess with their minds? Put a few decals inside the closet. The squeals of delight when they discover glowing dinosaurs among their clothes? Priceless.
Chalkboard Painted Wall
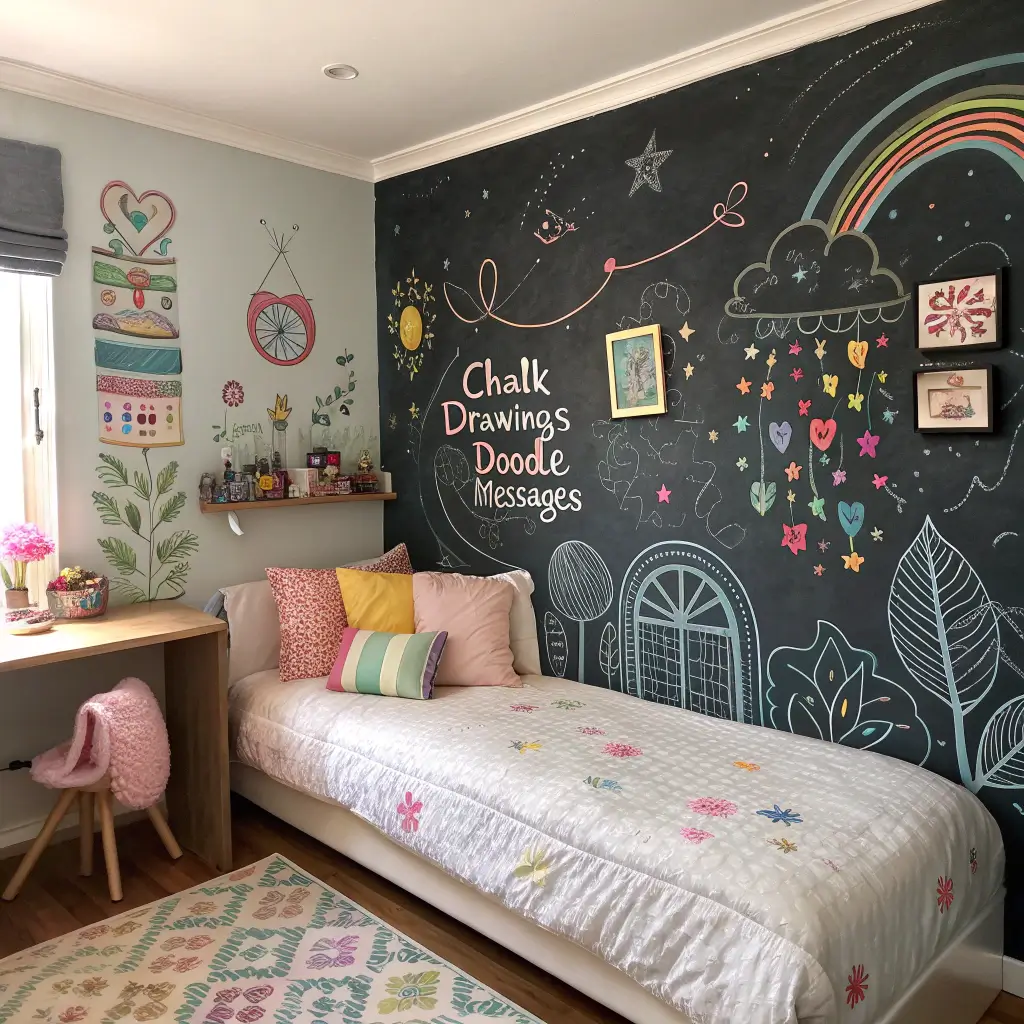
Giving your kid permission to draw on the walls sounds insane, right? But with chalkboard paint, you become the cool parent who encourages creativity. One wall, one can of paint, infinite possibilities.
I painted a four-foot section in my son’s room, and it’s become command central for everything. Homework reminders, silly drawings, ongoing tic-tac-toe tournaments – this wall sees more action than our TV. Pro move: frame it with molding to make it look intentional rather than “we ran out of regular paint.”
Chalkboard Wall Tips:
- Prime properly (skip this and regret forever)
- Apply multiple thin coats
- Season the board before first use
- Keep chalk holders mounted nearby
- Add magnetic primer underneath for double functionality
Fairy Light Canopy Bed
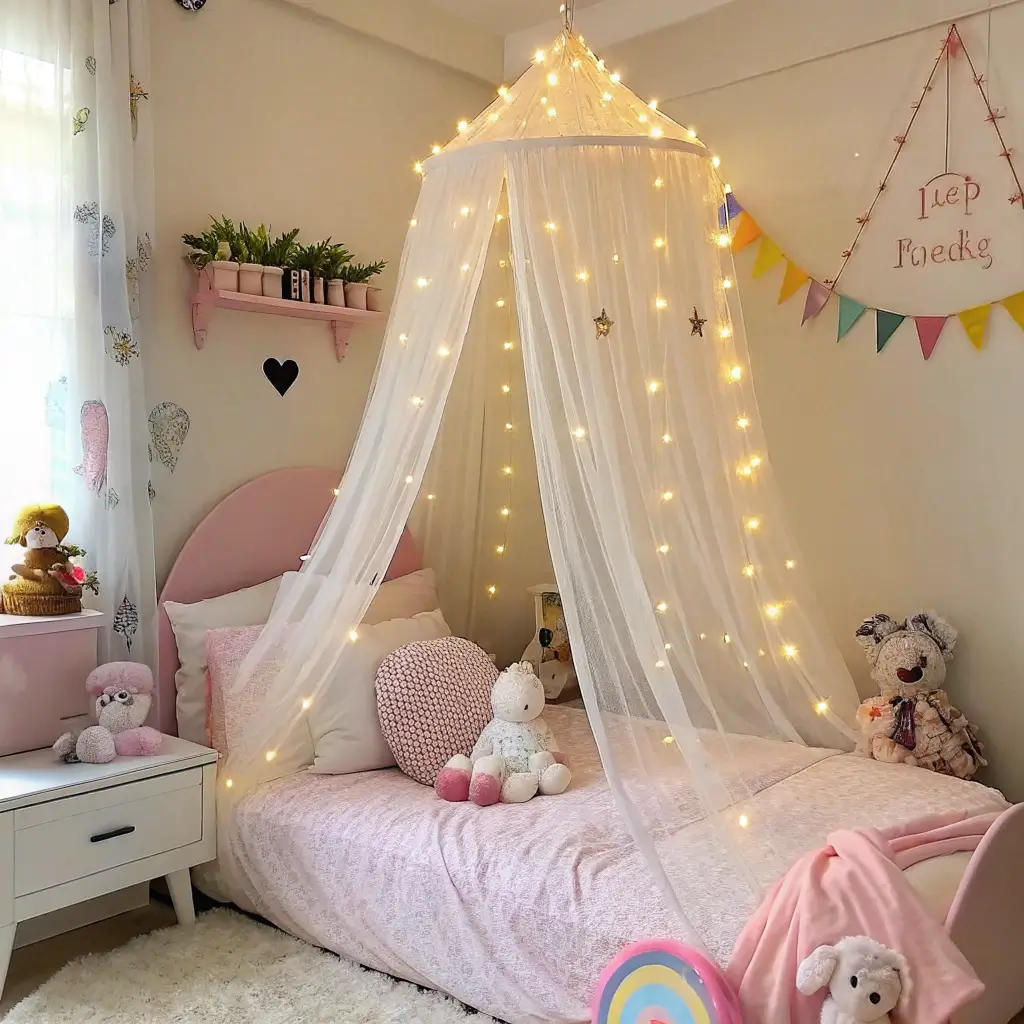
Transform any bed into a magical sleeping space with strategic fairy light placement. Forget those expensive bed canopies – we’re going DIY with ceiling hooks and sheer curtains. The fairy lights weave through the fabric, creating this dreamy glow that makes bedtime actually appealing.
I installed four ceiling hooks in a rectangle pattern above my daughter’s bed. Draped sheer curtains from each corner, then wove warm white LED strings through the fabric. Total cost? Under forty bucks. Looking like a Pinterest mom? Priceless.
Installation Secrets:
- Use battery-operated lights to avoid cord hazards
- Timer functions save battery life
- Secure curtains with pretty clips
- Leave one side open for easy access
- Add paper lanterns for extra dimension
Also Read: 15 Inspiring DIY Living Room Decor Ideas for Small Spaces
DIY Animal Wall Shelves
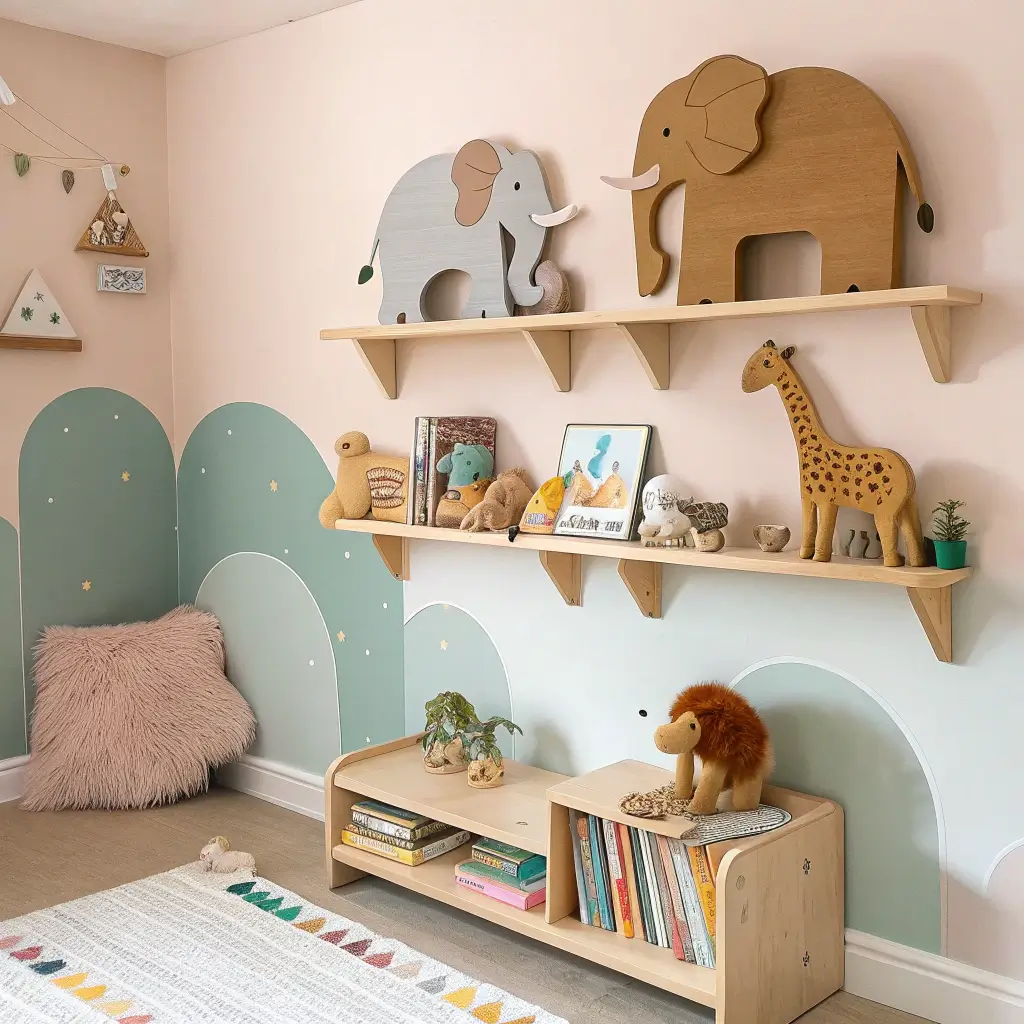
Those geometric animal head wall mounts everyone’s obsessed with? You can make them yourself with some basic wood pieces and creativity. No taxidermy required, and PETA won’t come knocking.
I created a whole zoo on my kid’s wall using triangular shelves arranged to look like animal faces. Paint them, add ears cut from felt or cardboard, and suddenly you’ve got functional art that holds treasures. My favorite? The fox made from an orange triangle with pointed felt ears.
Animal Shelf Ideas:
- Bear: Round shelf with semi-circle ears
- Cat: Triangle with pointed ears
- Elephant: Grey rectangle with trunk extension
- Rabbit: Oval with long ears
- Owl: Circle with triangle ears
Upcycled Drawer Desk Organizer
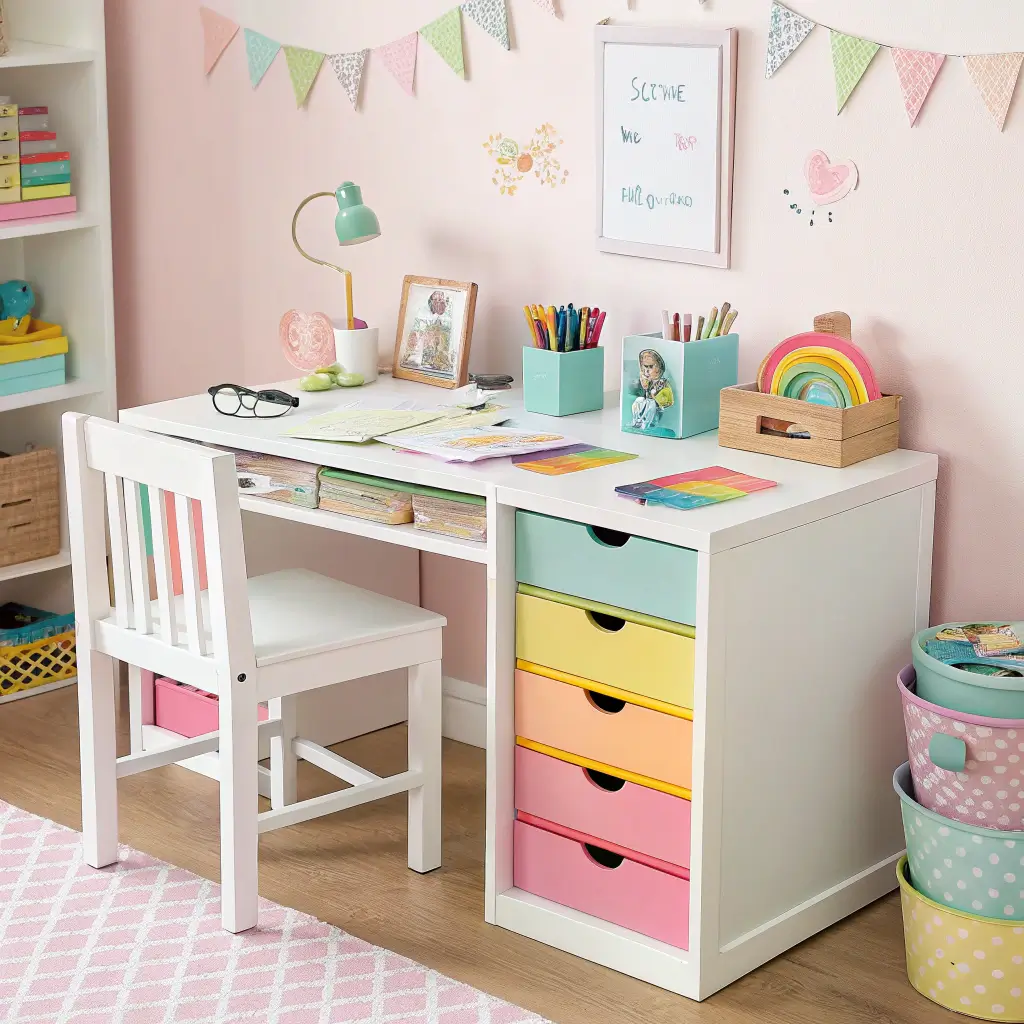
Got old drawers from that dresser you replaced? Don’t toss them! Mount those babies on the wall for instant vertical storage. Paint them fun colors, add some dividers, and watch desk chaos disappear.
I stacked three drawers vertically beside my son’s desk. Top drawer holds art supplies, middle has homework stuff, bottom stores his rock collection (don’t ask). Each drawer pulls out slightly for easy access, but stays mounted to the wall. It’s like a filing cabinet had a baby with modern art.
Drawer Transformation:
- Sand and paint in bold colors
- Add fabric or paper liner inside
- Install LED strips for illumination
- Use small containers for organization
- Label sections with chalkboard paint
Rainbow Ribbon Mobile
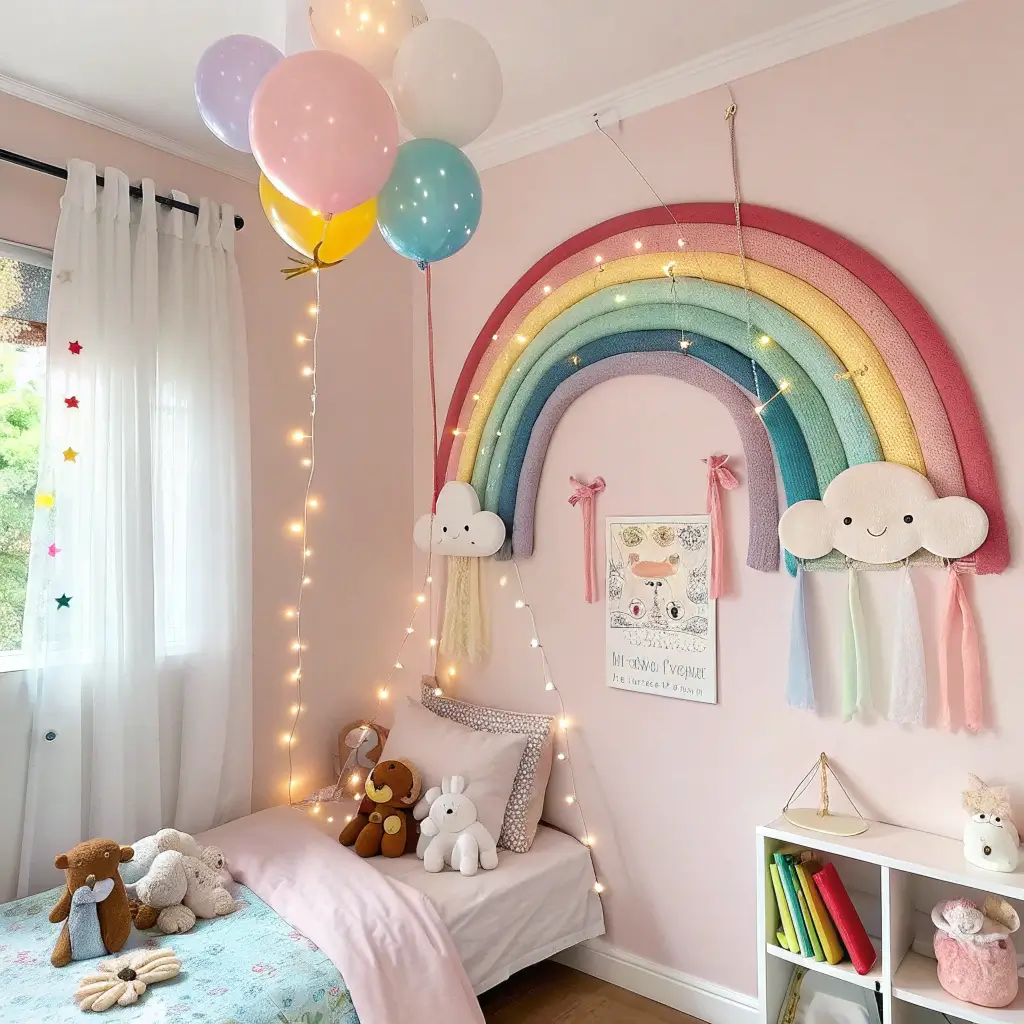
Mobiles aren’t just for babies anymore. Create a stunning rainbow cascade using ribbons, embroidery hoops, and a bit of patience. Hang it near a window and watch the colors dance in the sunlight.
I made one using every color ribbon I could find at the craft store during their clearance sale. Different lengths, textures, and widths create this amazing waterfall effect. My kids call it the “rainbow waterfall,” and honestly? They’re not wrong.
Mobile Making Magic:
- Use varying ribbon lengths for dimension
- Mix satin, grosgrain, and sheer ribbons
- Add beads or bells for sound
- Paint the hoop to match room decor
- Secure with hot glue then wrap with decorative tape
DIY Growth Chart Wall
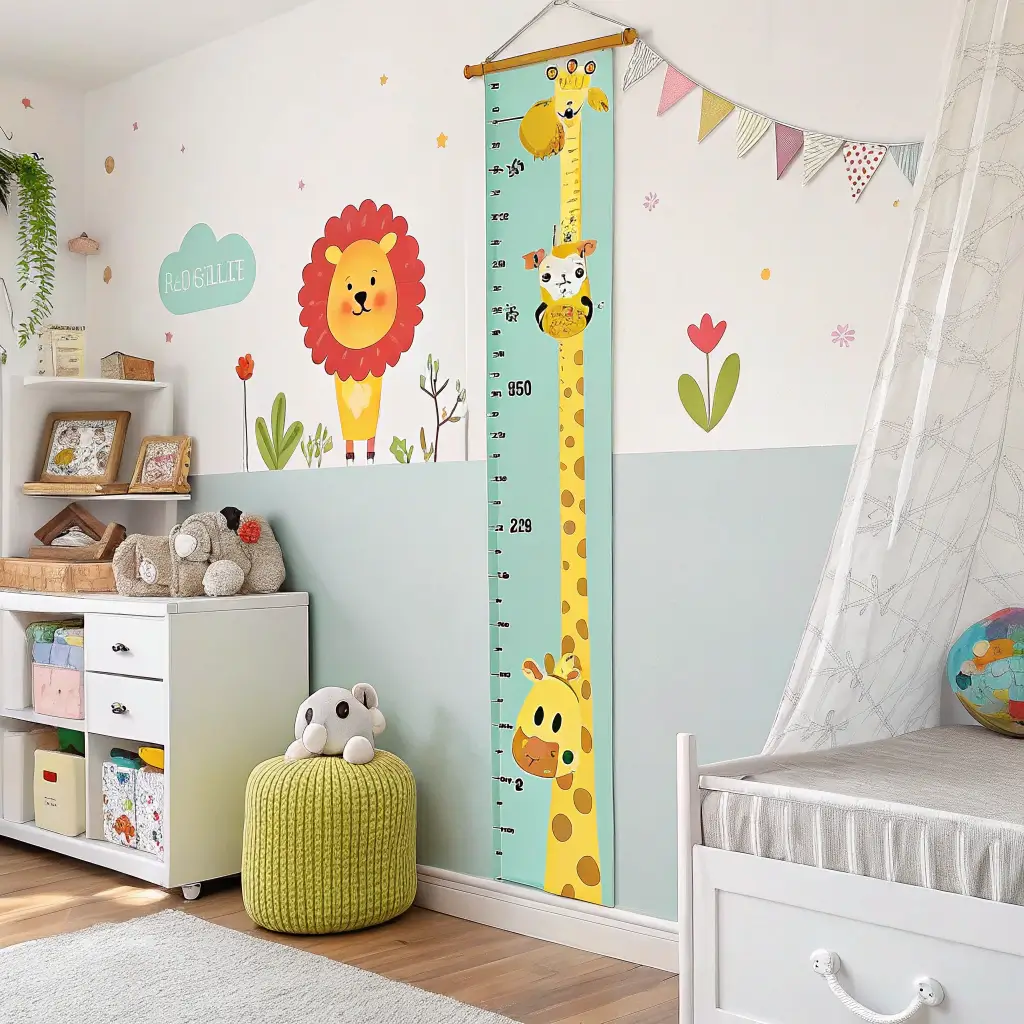
Skip those store-bought growth charts that never stick properly. Create a permanent growth tracker that becomes part of your home’s story. I painted a six-foot ruler directly on the wall, and now it’s covered with dated height marks and funny notes.
The trick? Use a long piece of wood trim as your guide for straight lines. Add numbers with stencils or vinyl lettering. We mark heights on birthdays and random Tuesdays when someone insists they’ve grown overnight.
Growth Chart Details:
- Start at two feet (unless you have giants)
- Mark in different colors per kid
- Add milestone notes
- Include visiting cousins’ measurements
- Take photos next to it annually
Handmade Pom-Pom Rugs
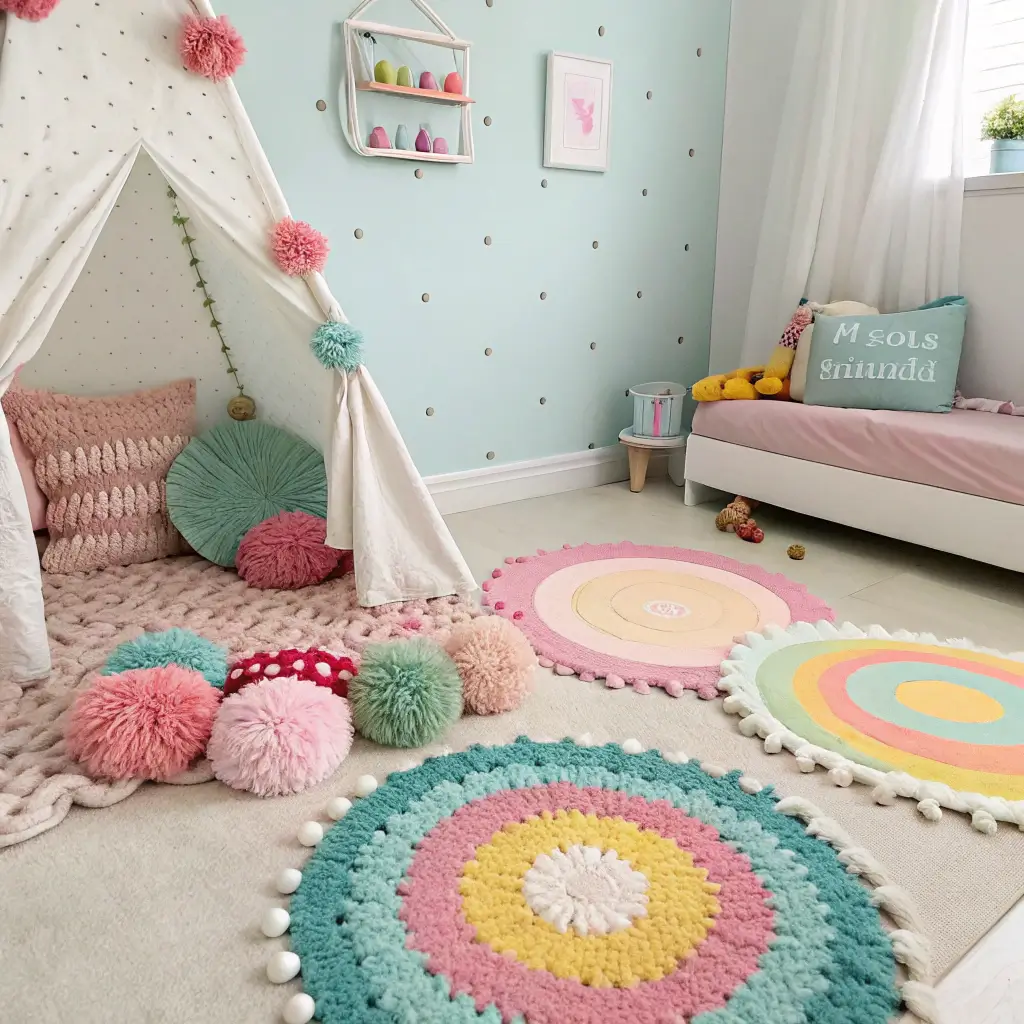
Store-bought rugs cost how much?! Make your own fluffy pom-pom rug that’s softer than clouds and totally customizable. Warning: making pom-poms becomes weirdly addictive. You’ve been warned.
I spent three Netflix seasons making pom-poms (multitasking at its finest) and created this amazing rug that my kids fight over. Use a non-slip rug pad as your base, then tie those fluffy balls on tight. Mix colors for rainbow effect or stick to a theme.
Pom-Pom Rug Process:
- Make pom-poms in various sizes
- Use acrylic yarn for durability
- Tie to rug pad with strong knots
- Pack them tight for full coverage
- Trim uneven bits for uniform look
IMO, this project takes forever but delivers maximum impact. Plus, stepping on it feels like walking on marshmallows. Worth every minute of pom-pom making madness.
Custom Puzzle Wall Art

Here’s a genius way to display completed puzzles instead of breaking them apart. Mod Podge those pieces together, frame them, and create custom artwork that actually means something to your kid.
We’ve turned favorite puzzles into a gallery wall. Each one represents a different age or interest phase. That 100-piece dinosaur puzzle from age four? Now preserved forever, much to my son’s delight. The best part? Instant conversation starters when friends visit.
Puzzle Preservation Steps:
- Complete puzzle on wax paper
- Apply Mod Podge carefully to front
- Let dry completely (patience required)
- Flip and seal the back
- Frame or mount directly to wall
Wrapping Up This Decorating Adventure
There you have it – fifteen ways to transform your kid’s room from boring to brilliant without selling a kidney. These projects prove that creativity beats budget every single time. Sure, some might turn out slightly wonky (looking at you, first attempt at the teepee), but that’s what gives them character, right?
The real magic happens when your kids help create their space. They’ll treasure that crooked shelf they helped paint way more than any store-bought perfection. Plus, you get quality time together that doesn’t involve screens – bonus parenting points right there!
Start with one project this weekend. Pick the easiest or the one your kid’s most excited about. Before you know it, you’ll have transformed that plain room into a personalized wonderland that reflects your child’s personality. And hey, when they become teenagers and want to redecorate everything in black, at least you’ll have photos of these glory days.
Now grab that hot glue gun and get creating! Your kid’s dream room awaits, and trust me, you’ve totally got this.


