15 Brilliant DIY Laundry Room Ideas for Small Stylish Spaces
Let’s be real for a second – nobody’s writing love songs about their laundry room. Mine used to be this sad little corner where I’d dump clothes and run away as fast as possible.
But here’s the thing: I discovered that with a few clever DIY tricks, you can transform that boring utility space into somewhere you don’t mind spending time.
And trust me, when you’re stuck doing three loads on a Sunday, you’ll thank yourself for making it look good!
I’ve tested out tons of ideas over the years (some Pinterest fails included), and I’m sharing the 15 best DIY projects that actually work.
These aren’t those fancy $10,000 renovations you see on HGTV – we’re talking real, doable projects that won’t have you crying into your credit card statement.
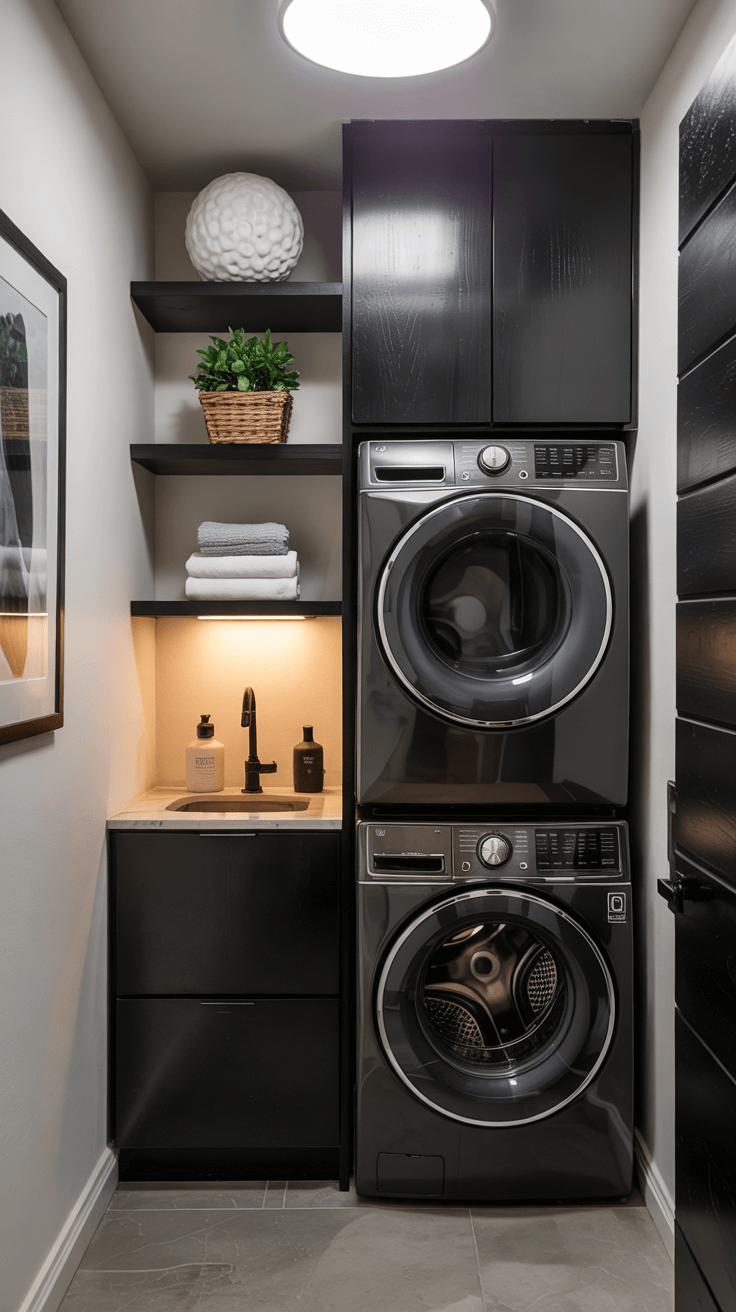
Floating Shelves Above Washer and Dryer
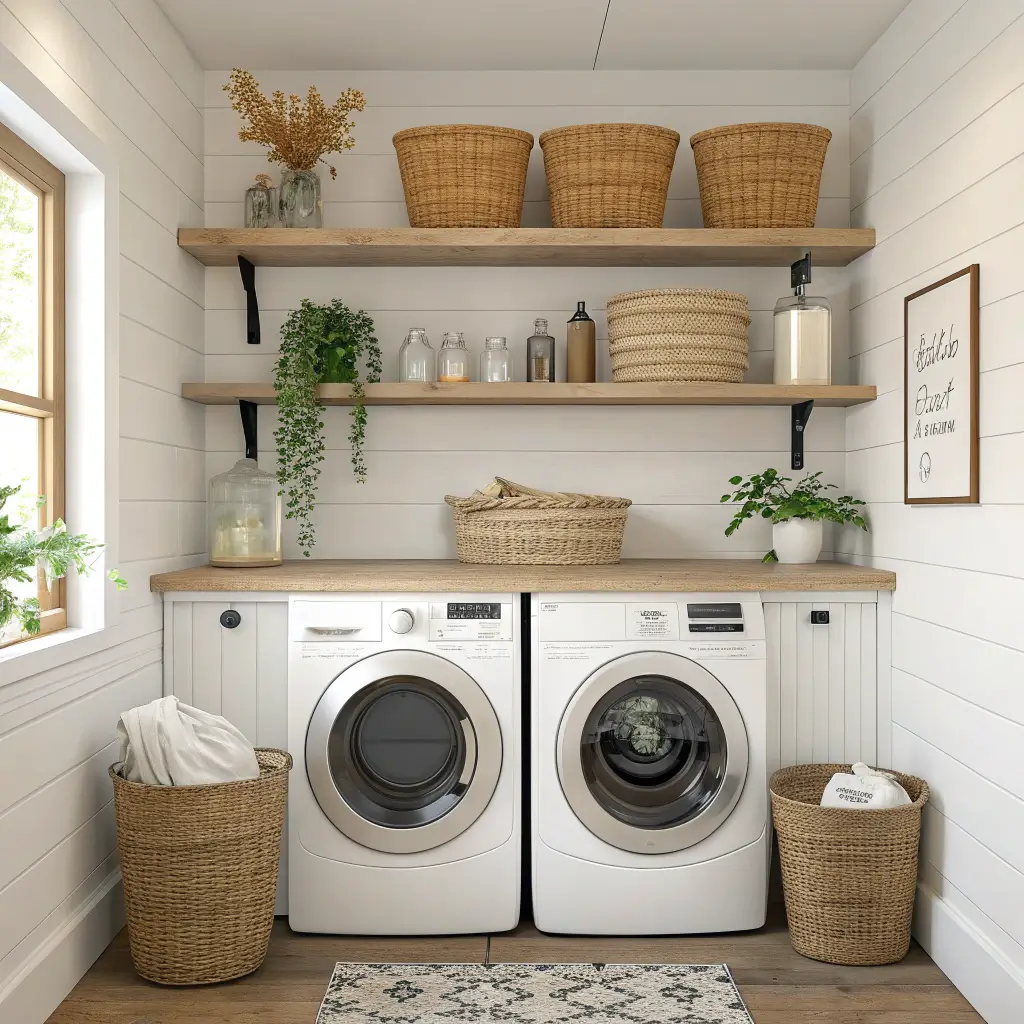
You know that awkward empty space above your machines? Yeah, the one that’s just collecting dust and maybe a few orphaned socks? Floating shelves completely change the game here.
I installed mine last summer, and honestly, I’m still kicking myself for not doing it sooner. The beauty of floating shelves lies in their simplicity – no bulky brackets, no complicated mounting systems, just clean lines and instant storage. I grabbed some basic wood boards from Home Depot, stained them to match my cabinets, and boom – suddenly I had space for detergent, fabric softener, and all those random cleaning supplies that used to live under my sink.
The trick with floating shelves? Make sure you hit the studs. I learned this the hard way when my first attempt resulted in a midnight crash that scared my cat into next week. Use a stud finder (they’re like $20 on Amazon), mark your spots, and drill pilot holes first. Trust me on this one.
What You’ll Need:
- Wood boards (I used 2x10s cut to size)
- Floating shelf brackets
- Level
- Stud finder
- Drill and screws
- Wood stain or paint
The best part about this project? You can customize the height based on what you need to store. I made my bottom shelf just high enough to clear the washer lid when it’s open – learned that one through trial and error!
Peel-and-Stick Backsplash Tiles
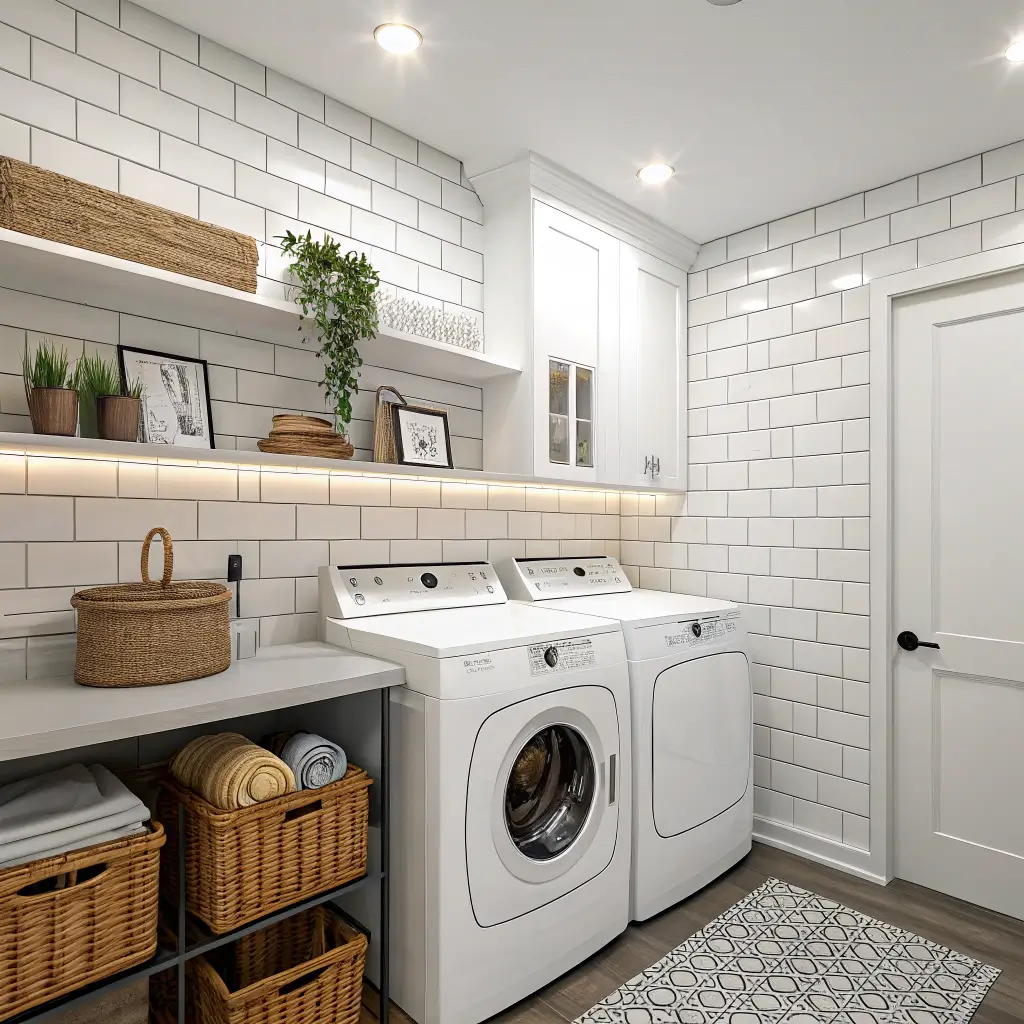
Remember when backsplashes required grout, special tools, and basically a degree in tiling? Well, peel-and-stick tiles laugh in the face of all that complexity.
I was skeptical at first – how good could sticky tiles really look? But after installing subway-style tiles behind my utility sink, I’m a total convert. The transformation took maybe two hours on a lazy Saturday afternoon, and now my laundry room looks like it belongs in a home magazine. Well, if you ignore the pile of dirty towels, anyway.
The key to making these look professional? Take your time with the layout. Start from the center and work your way out. This prevents you from ending up with tiny slivers of tile at the edges that scream “DIY disaster.” Also, use a credit card or smoothing tool to really press them down – air bubbles are not your friend here.
FYI, not all peel-and-stick tiles are created equal. I tried the super cheap ones first, and they started peeling within a month. Spend the extra $10-15 per pack for the thicker, higher-quality options. Your future self will thank you when they’re still stuck strong a year later.
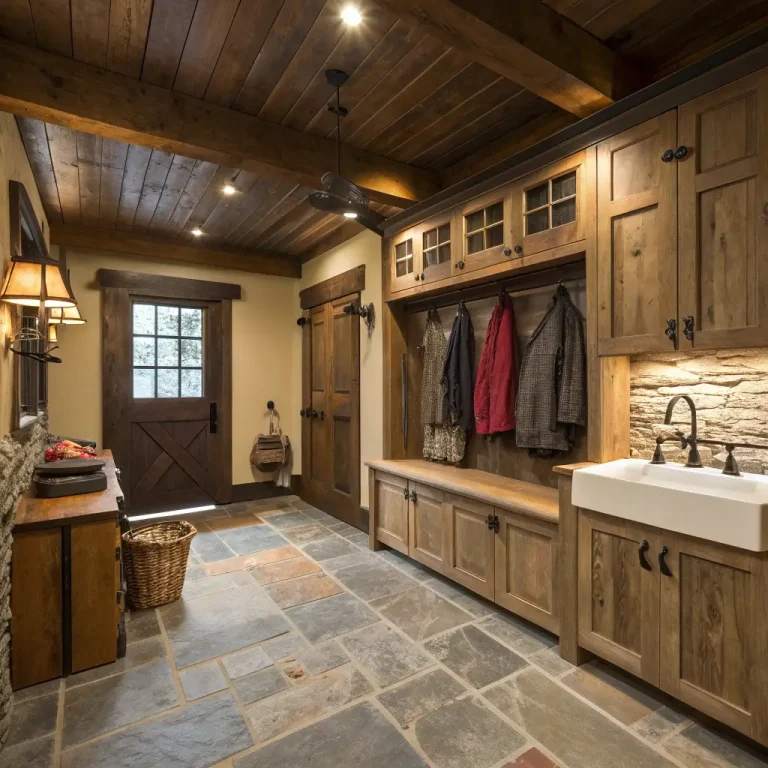
DIY Sliding Barn Door for Laundry Room
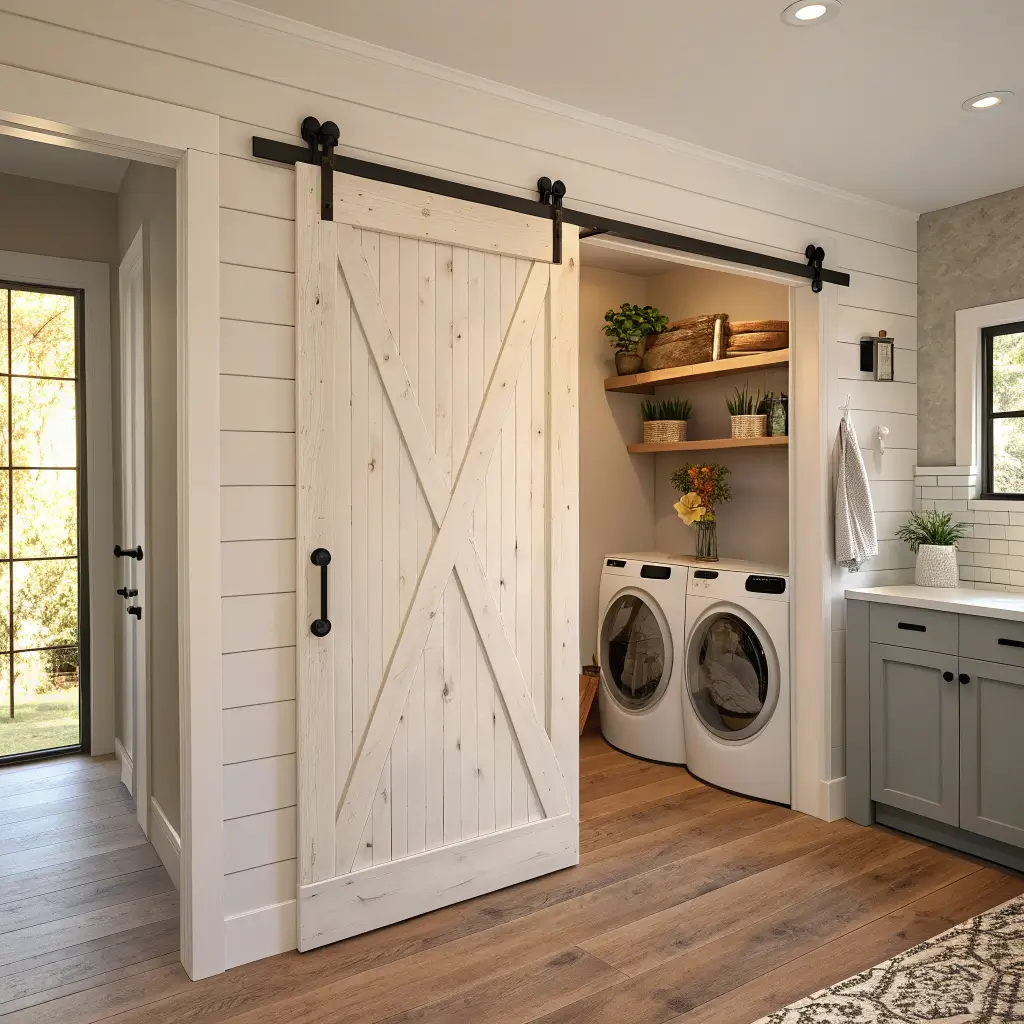
Ever wanted to feel like you live in a Pinterest board? A sliding barn door instantly adds that farmhouse charm everyone’s obsessed with, plus it saves space compared to a traditional swinging door.
I built mine from scratch using basic lumber and hardware from Amazon. Was it intimidating? Absolutely. Did I mess up the measurements the first time? You bet. But the end result makes me smile every time I slide that door open. There’s something oddly satisfying about the smooth glide of a well-hung barn door (and yes, I realize how that sounds).
Building Your Own Barn Door:
- Measure your doorway THREE times (seriously)
- Add 4 inches to the width for proper coverage
- Use 1×6 boards for the frame, 1x4s for the diagonal brace
- Don’t cheap out on the hardware – good rollers make all the difference
- Install a door guide at the bottom to prevent swinging
The trickiest part? Making sure your header board (what the track mounts to) can support the weight. My door weighs about 50 pounds, so I attached the header to multiple studs. No one wants a barn door falling on their head while they’re sorting whites from colors!
Also Read: 15 Stylish Laundry Room Flooring Ideas for Modern Homes
Hanging Drying Rack on Wall

Why do we always forget about vertical space? A wall-mounted drying rack changed my delicate-washing game completely.
I found a accordion-style rack on Amazon for like $30, mounted it on the wall next to my washer, and suddenly I had a place for all those “lay flat to dry” items that used to take over my bathroom. When you’re not using it, it folds flat against the wall – genius, right?
The installation took maybe 20 minutes. Just find the studs (sensing a theme here?), mark your holes, and screw it in. I positioned mine at shoulder height so I don’t have to do weird stretches while hanging wet clothes. Because let’s face it, laundry is already enough of a workout.
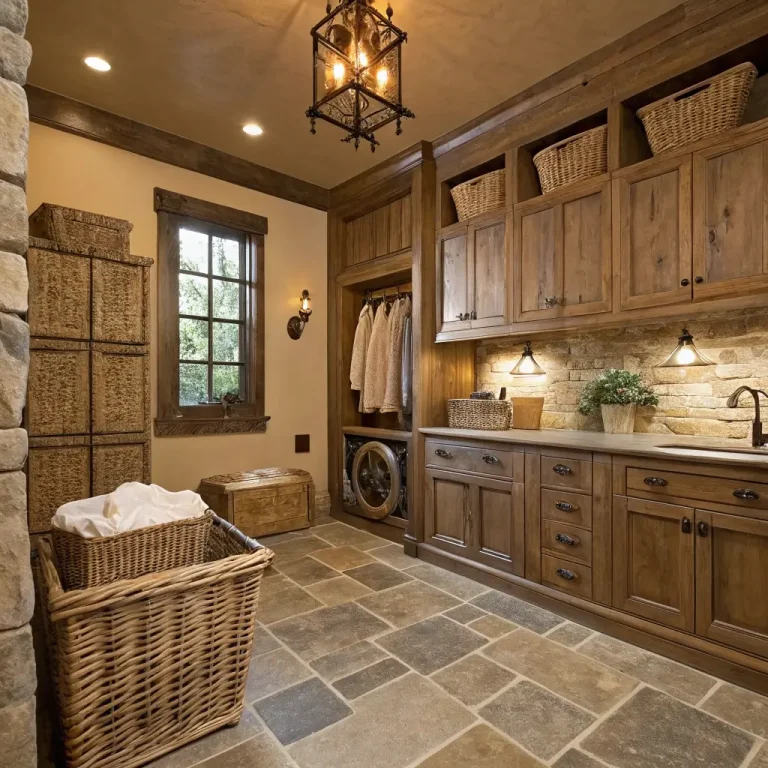
Repurposed Cabinets for Storage
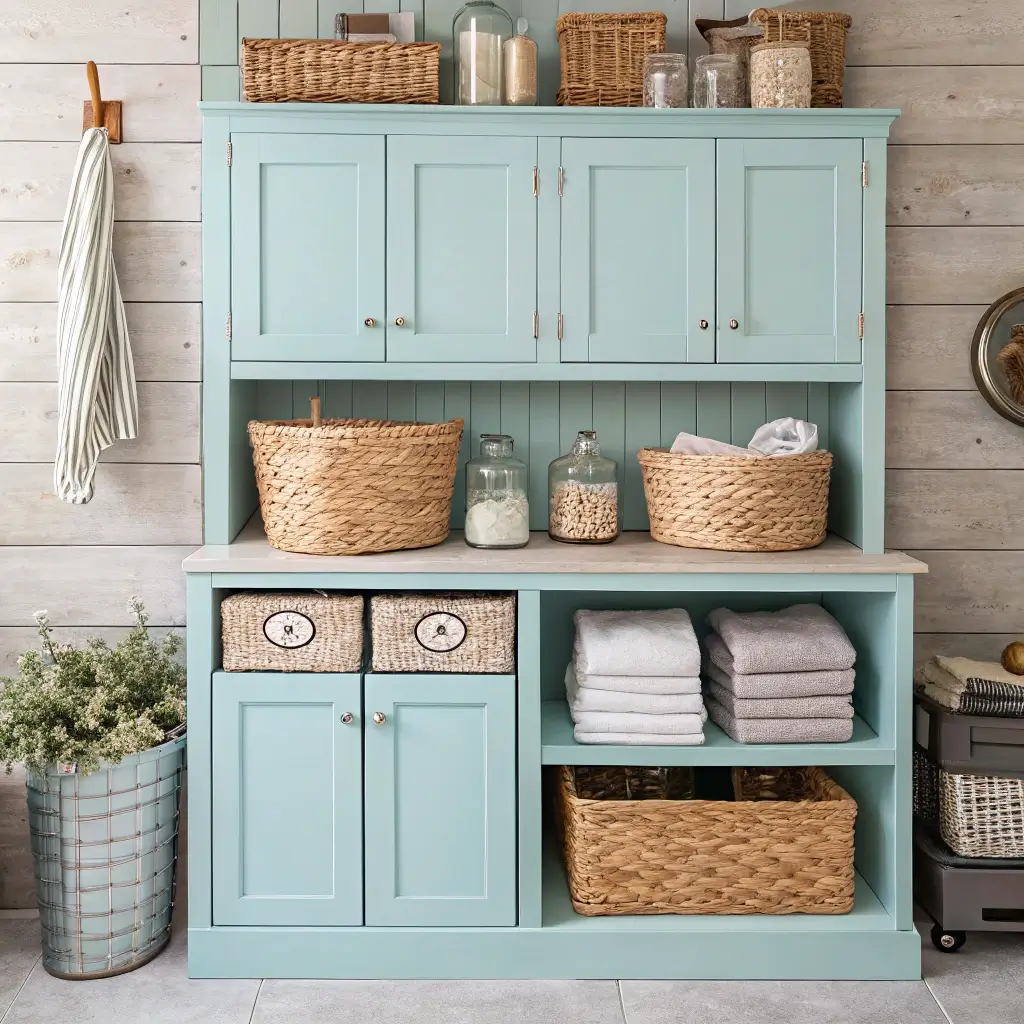
Got old kitchen cabinets gathering dust in your garage? Those babies can become premium laundry storage with minimal effort.
When my neighbor renovated their kitchen, I snagged their old upper cabinets before they hit the curb. A fresh coat of paint, new hardware from Target, and suddenly I had custom storage that would’ve cost hundreds at IKEA. The cabinets hide all my cleaning supplies, extra towels, and that embarrassing stockpile of detergent I bought on sale.
Cabinet Makeover Tips:
- Clean them thoroughly first (deglosser is your friend)
- Use primer before painting – trust me on this
- Replace old hardware for an instant update
- Add shelf liner for a finished look
- Install them at a comfortable height
IMO, repurposed cabinets give you that custom-built look without the custom-built price tag. Plus, you’re keeping stuff out of landfills – Mother Earth approves! 🙂
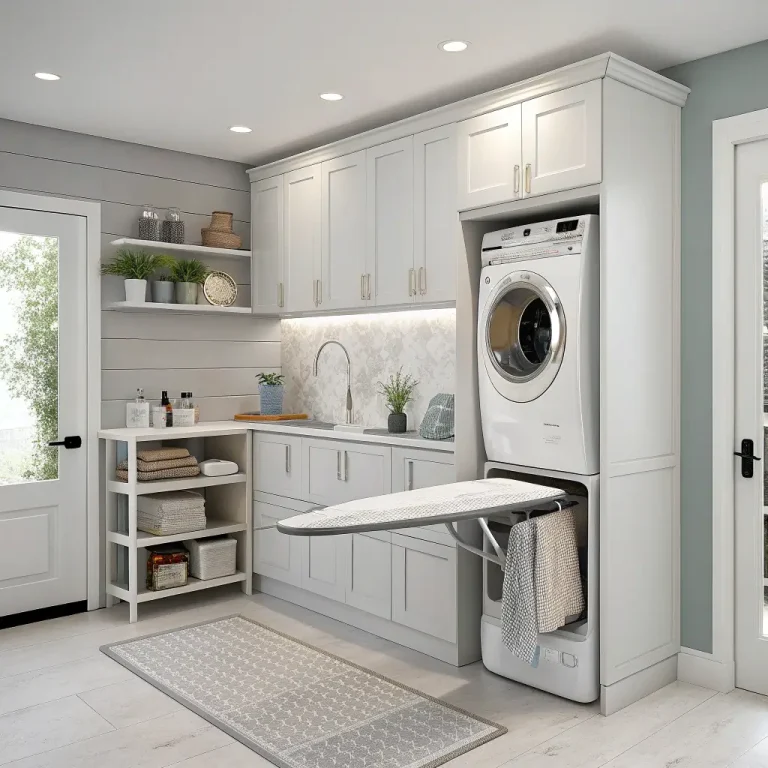
Fold-Down Ironing Board Station
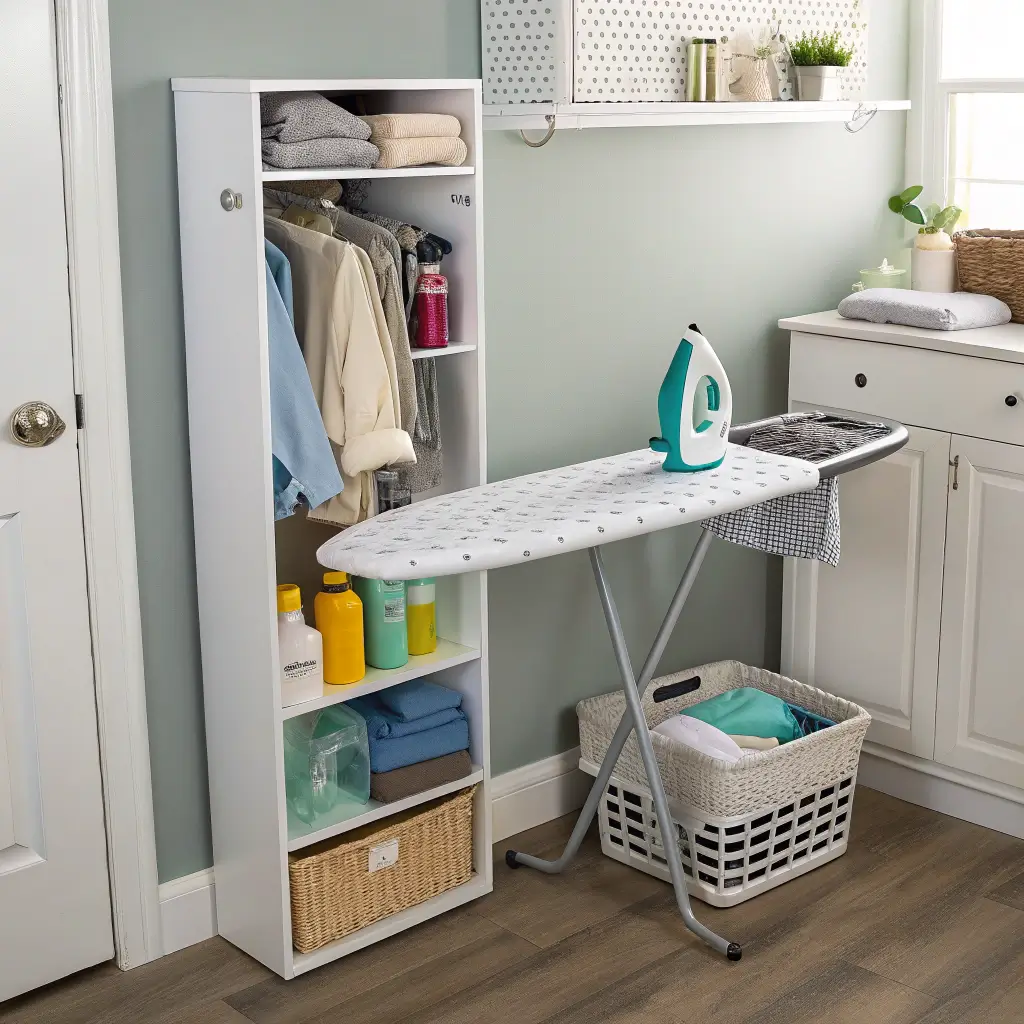
Who has space for a full-size ironing board? Not me, and probably not you either. A fold-down ironing board mounted to the wall solves this problem brilliantly.
I installed mine inside a shallow cabinet frame, so when it’s folded up, it looks like a cute little decorative door. When I need to iron (which, let’s be honest, is only when I have job interviews), it folds down in seconds. The whole setup cost me about $60 and an afternoon of measuring and drilling.
The secret sauce? Position it at the right height. Too high and you’ll hurt your back. Too low and you’ll be hunched over like Quasimodo. I put mine at standard kitchen counter height, and it’s perfect.
Also Read: 15 Brilliant Pantry Laundry Room Combo Ideas for Small Spaces
Wallpaper Accent Wall
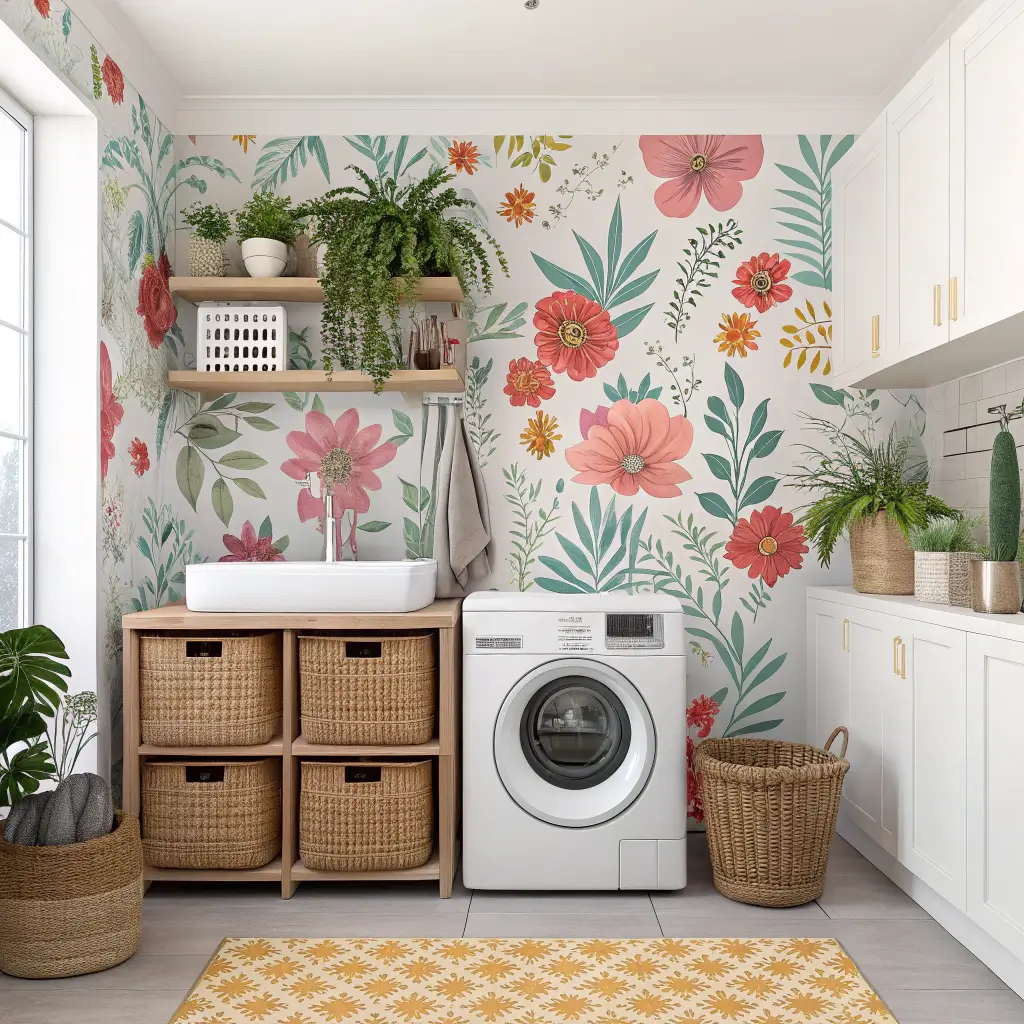
Wallpaper’s having a moment, and I’m here for it. One accent wall with removable wallpaper transforms your laundry room from “meh” to “magnificent”.
I went with a bold floral print because why not? If you’re going to stare at a wall while folding fitted sheets (worst job ever, am I right?), it might as well be pretty. The application process requires patience – lots of smoothing, cutting around outlets, and maybe a glass of wine to keep you sane.
Wallpaper Installation Reality Check:
- Measure your wall twice, order once
- Get 10-15% extra for mistakes
- Start with a plumb line – walls are never as straight as you think
- Work with a friend if possible (bribery with pizza works)
- Keep a smoothing tool handy at all times
The best part about removable wallpaper? When you get sick of it in two years, you can peel it off and start fresh. No commitment issues here!
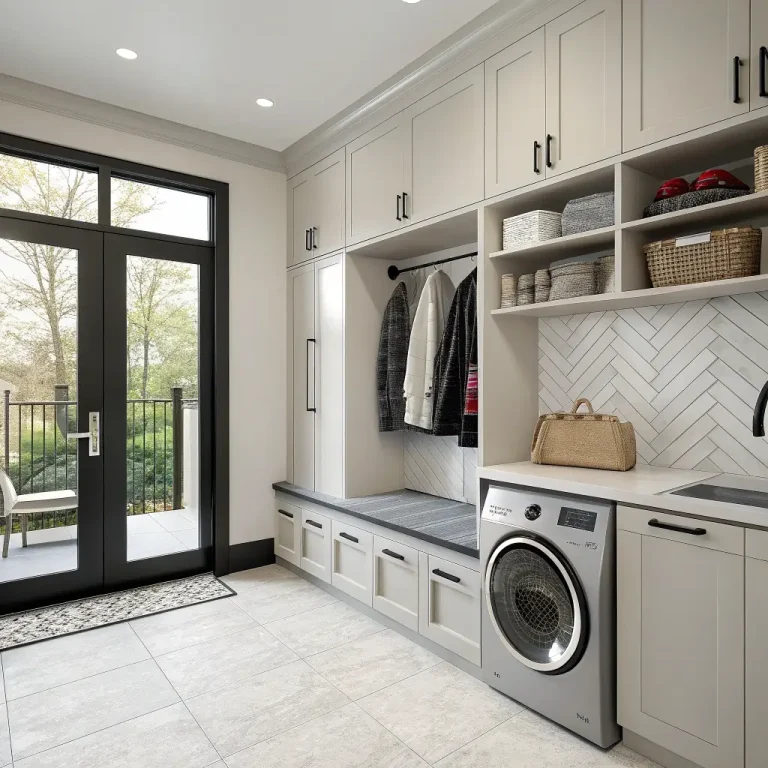
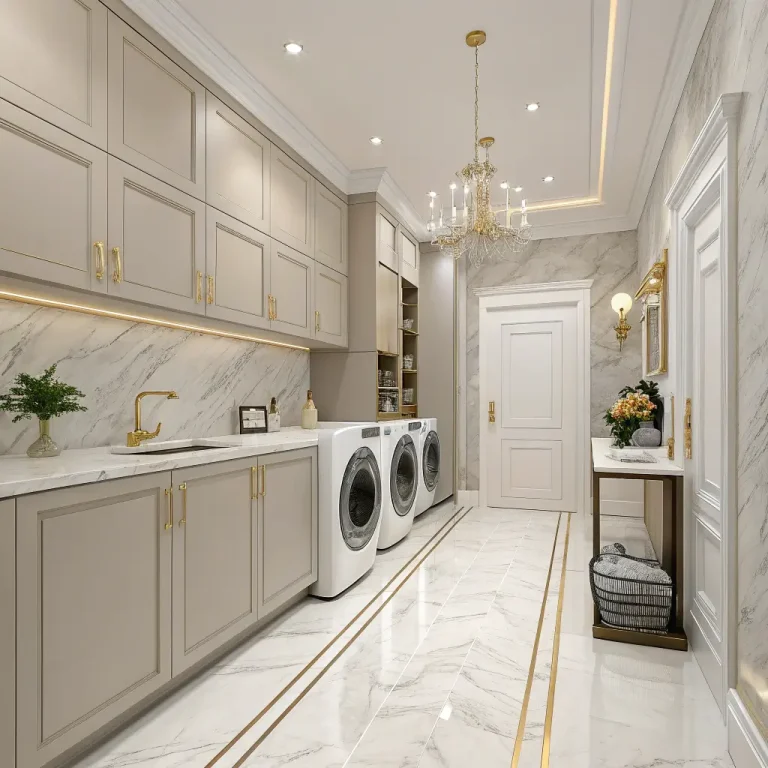
Built-In Countertop Over Machines
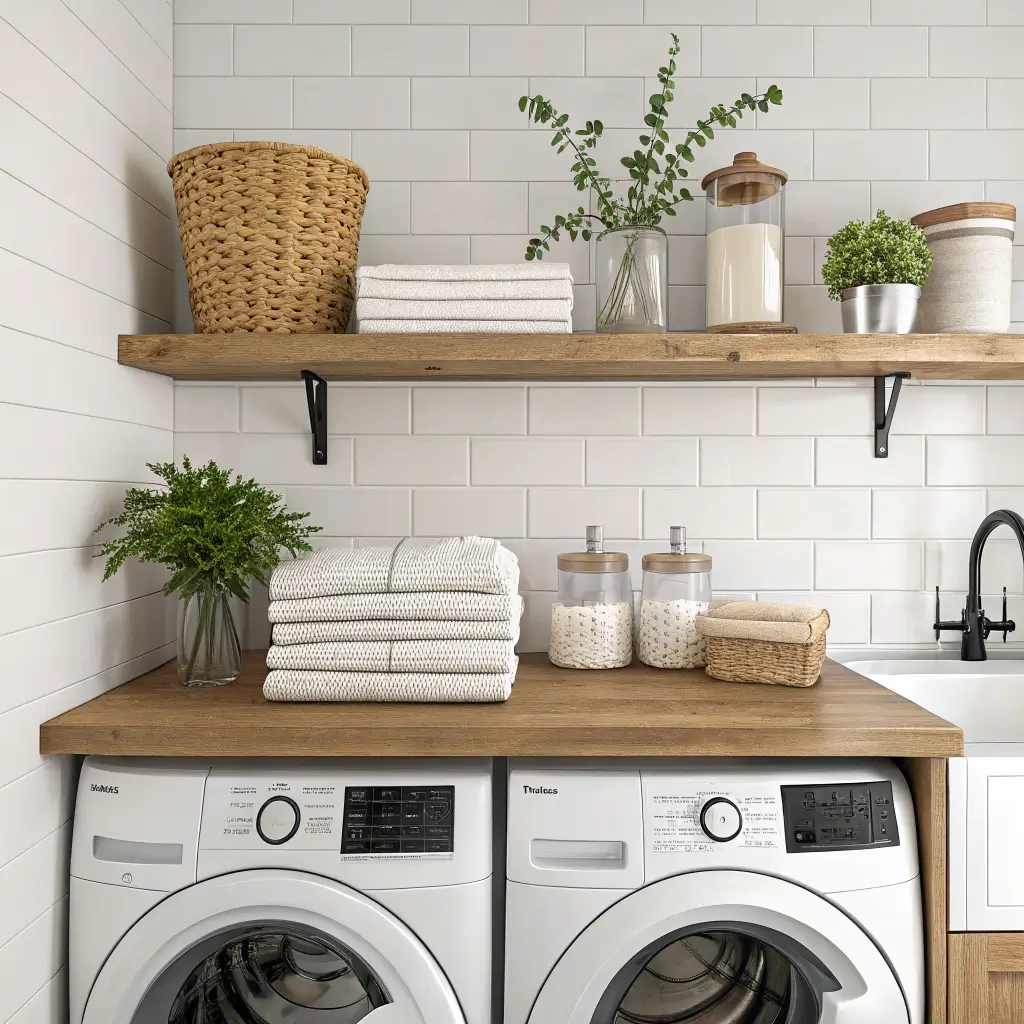
This might be my favorite upgrade of all time. A countertop over front-loading machines creates instant folding space and makes everything look built-in and fancy.
I used a butcher block countertop from IKEA (under $200!) cut to fit perfectly over both machines with a couple inches of overhang. The installation involves building a simple frame to support the back edge while the front rests on the machines. Now I have a huge surface for folding, sorting, and pretending I have my life together.
Make sure to seal the wood properly – laundry rooms get humid, and you don’t want your beautiful countertop warping. I used three coats of polyurethane, and it still looks great after two years of abuse.
DIY Pegboard Organizer
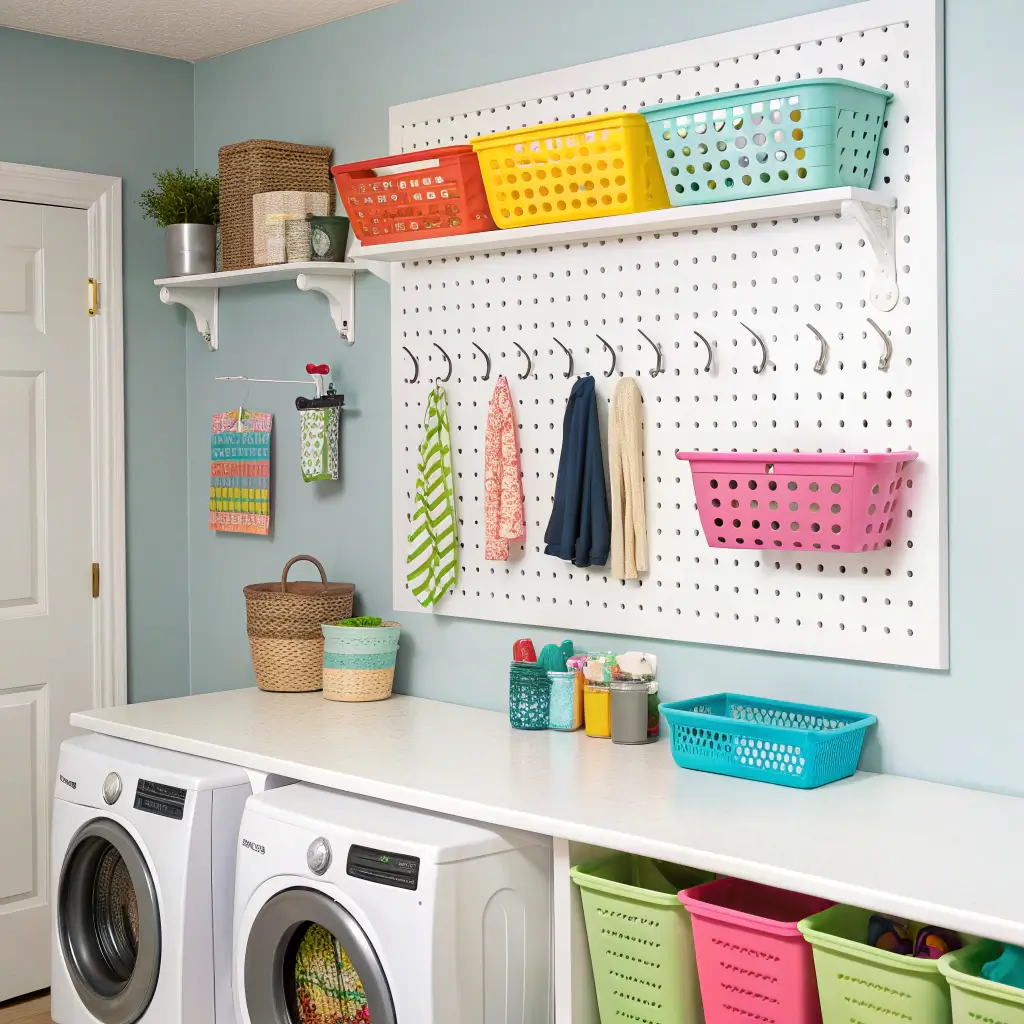
Pegboard isn’t just for garages anymore! A painted pegboard system keeps all your laundry essentials visible and accessible.
I spray-painted mine navy blue to match my decor (because even pegboard deserves to look good), then added hooks, baskets, and shelves wherever I needed them. The beauty of pegboard lies in its flexibility – hate where you put something? Just move it!
Pegboard Pro Tips:
- Mount it with spacers behind for hook clearance
- Paint it BEFORE mounting (learned this the hard way)
- Invest in quality hooks – cheap ones bend
- Add small baskets for loose items
- Label everything if you’re Type A like me
My pegboard holds my iron, lint rollers, stain sticks, and that mysterious collection of buttons that come with new clothes. You know, the ones you swear you’ll keep track of but never do?
Also Read: 15 Brilliant Laundry Room Storage Ideas for a Neat & Stylish Space
Rustic Wooden Crates for Baskets
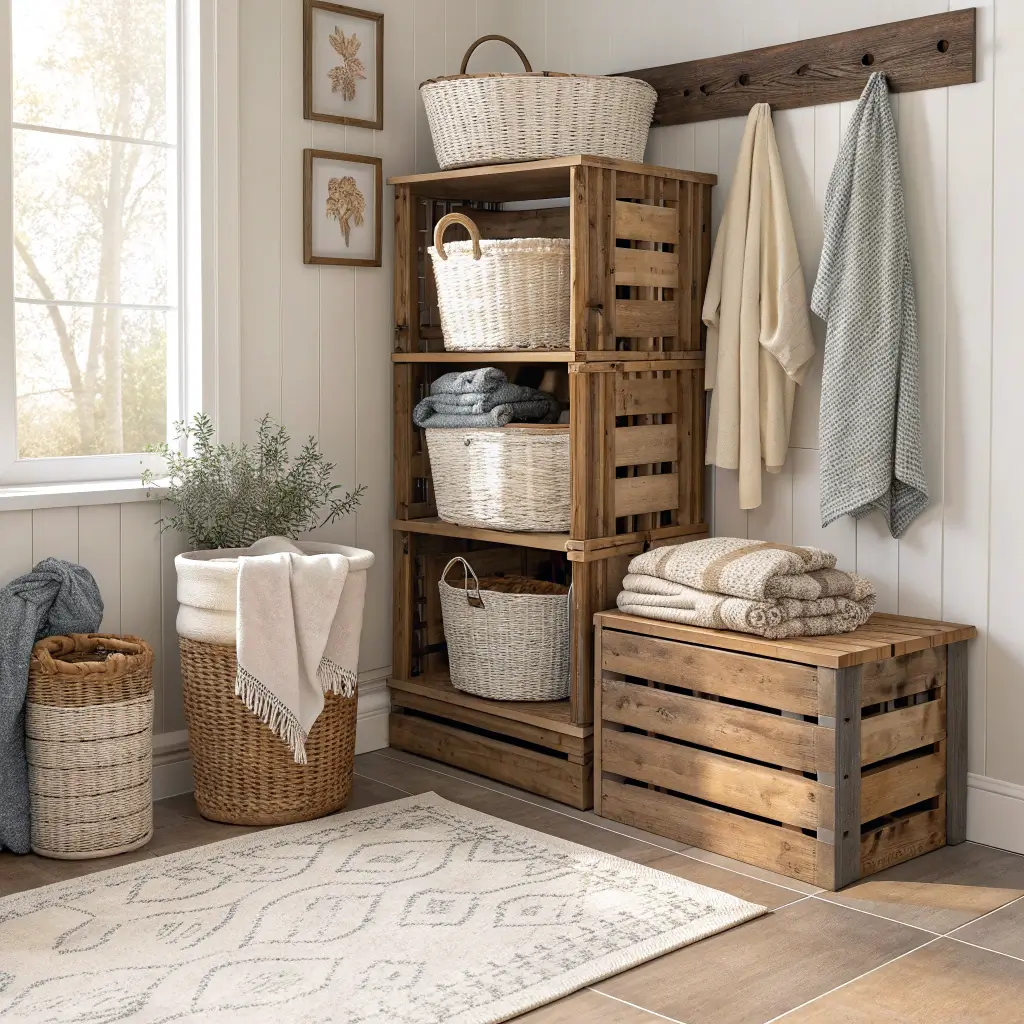
Sometimes the simplest ideas work best. Wooden crates mounted on the wall create perfect cubbies for laundry baskets.
I found old wine crates at a flea market (new ones from craft stores work too), sanded them down, and stained them dark walnut. Mounted sideways on the wall, they became individual sorting stations – one for lights, one for darks, one for delicates. No more Mt. Laundry taking over my floor!
The installation requires finding studs (surprise!) and using sturdy brackets. Each crate holds a standard laundry basket perfectly, and when the baskets are out being used, the crates still look decorative. Win-win!
Painted Concrete or Vinyl Flooring Upgrade
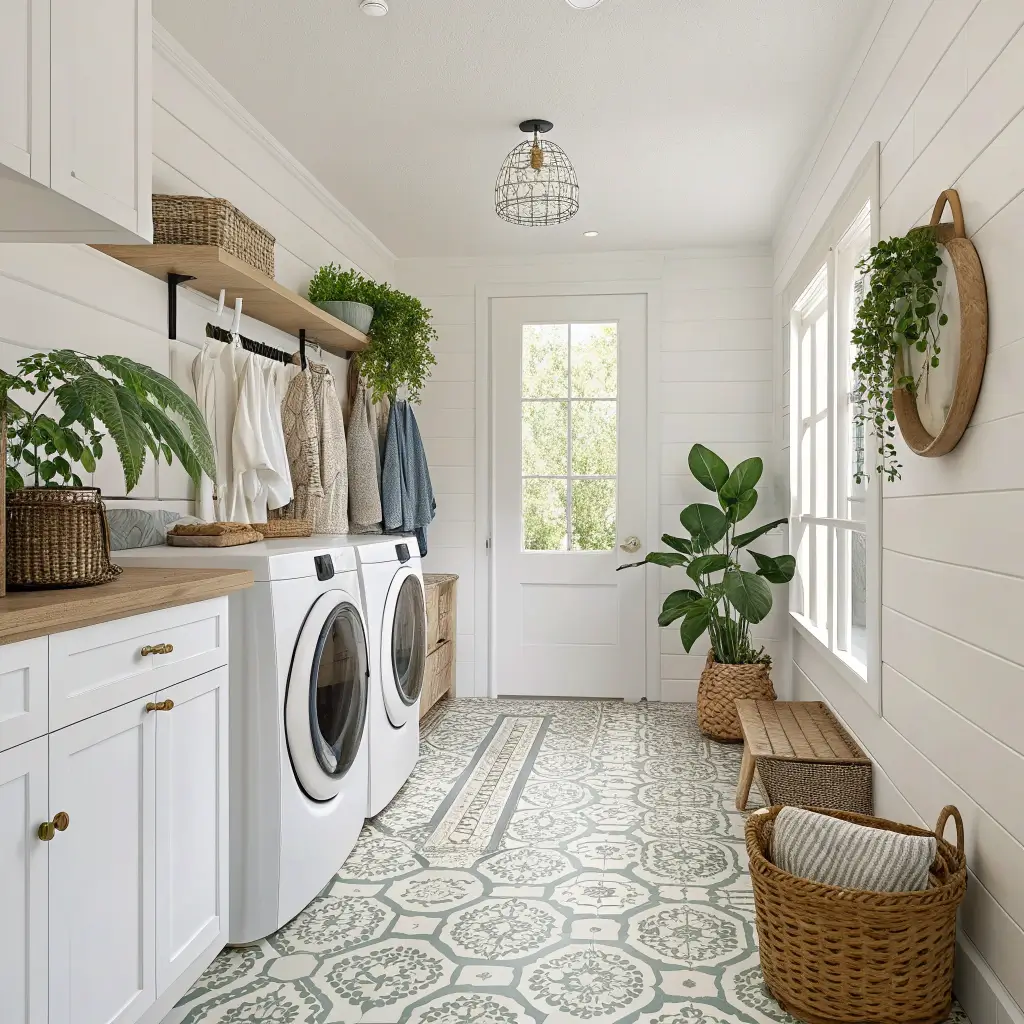
Let’s talk about that sad, boring floor. Painting concrete or installing peel-and-stick vinyl tiles can completely transform the space without breaking the bank.
My laundry room had this tragic beige vinyl that looked perpetually dirty. I ripped it out (so satisfying) and painted the concrete underneath with epoxy floor paint. The whole project cost under $100 and took a weekend. Now I have this gorgeous, glossy floor that actually makes me happy.
Floor Painting Must-Knows:
- Prep is everything – clean and etch the concrete first
- Use painter’s tape for clean edges
- Apply thin, even coats
- Let it cure properly (patience, young grasshopper)
- Add a clear topcoat for durability
If painting seems too permanent, those luxury vinyl tiles that click together are amazing too. They look like real wood or stone but laugh at water damage.
Mason Jar Laundry Supply Holders
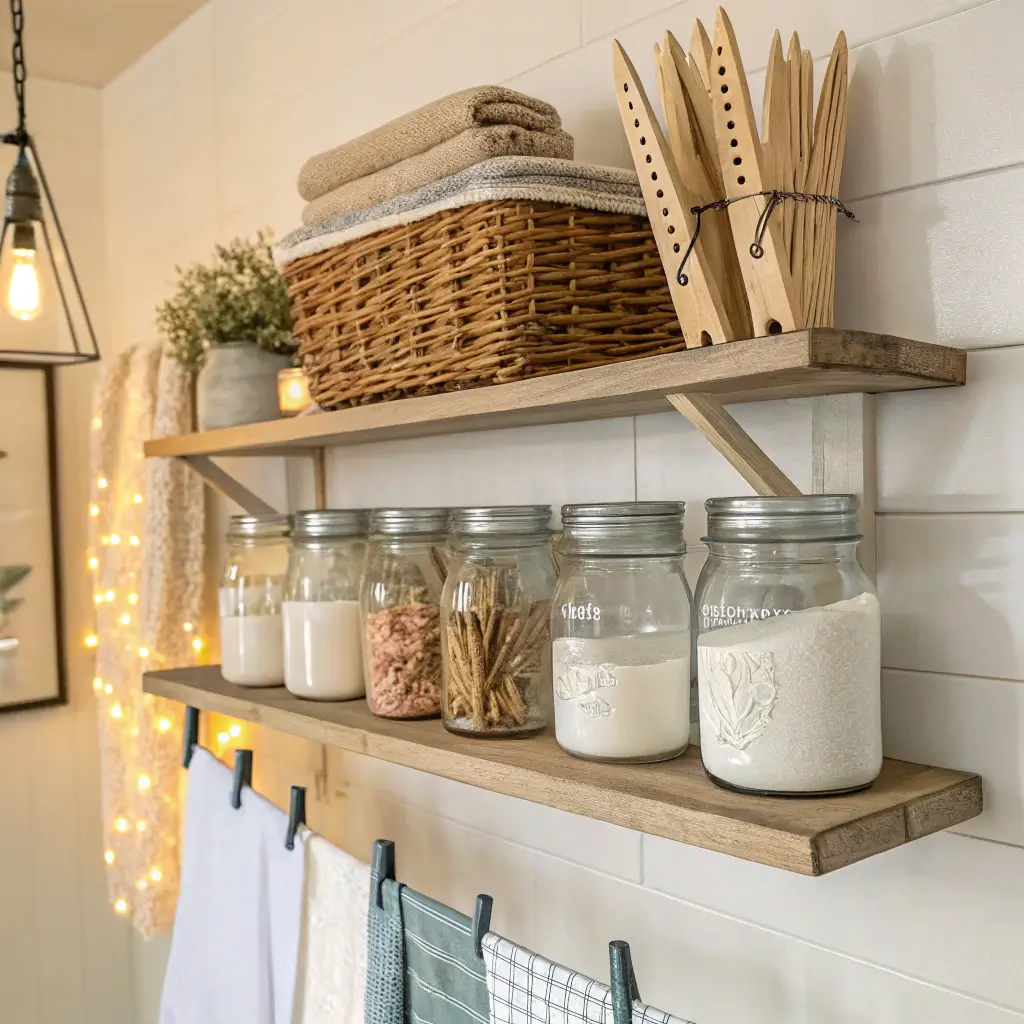
Pinterest might’ve overdone mason jars, but they’re actually perfect for organizing laundry supplies.
I mounted a wooden board to my wall, attached hose clamps to it, and slipped mason jars through them. Now my clothespins, safety pins, and those laundry scent beads have a home that’s both functional and cute. The clear glass means I can see when I’m running low on supplies – no more surprise empty detergent situations!
The whole setup cost maybe $20 and makes me feel like I have my act together every time I do laundry. Even when I definitely don’t.
DIY Curtain to Hide Washer/Dryer
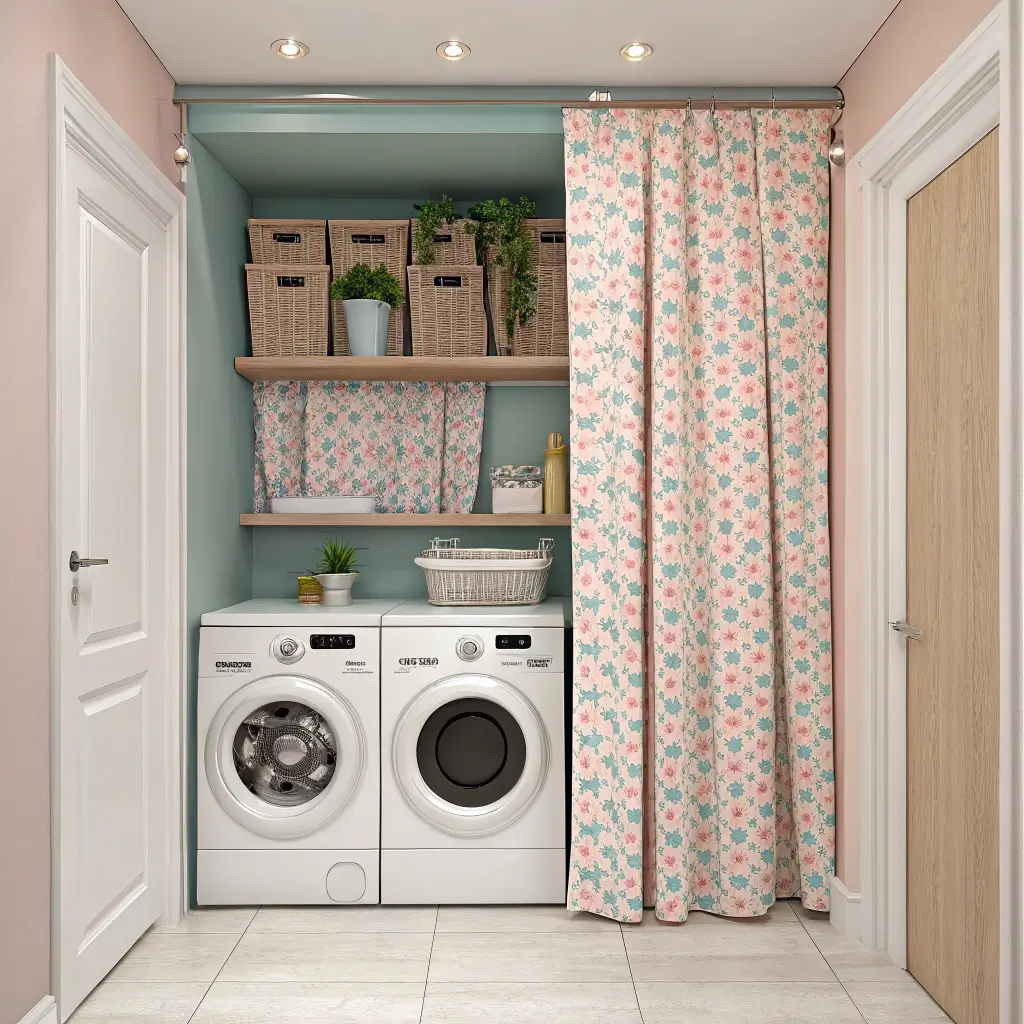
Not everyone wants their appliances on display 24/7. A simple curtain on a tension rod can hide your machines when they’re not in use.
I made mine from drop cloth fabric (so cheap!) with iron-on hem tape because sewing machines and I don’t get along. The neutral fabric looks intentional and sophisticated, not like I’m trying to hide ugly appliances. Which I totally am, but nobody needs to know that.
Curtain Installation Tips:
- Measure for a tension rod that fits snugly
- Choose washable fabric (irony intended)
- Make panels wider than the opening for full coverage
- Add curtain weights to the hem for better draping
When guests come over, I close the curtains and suddenly my laundry room looks like a mysterious, organized closet. Magic!
Over-the-Door Storage Rack
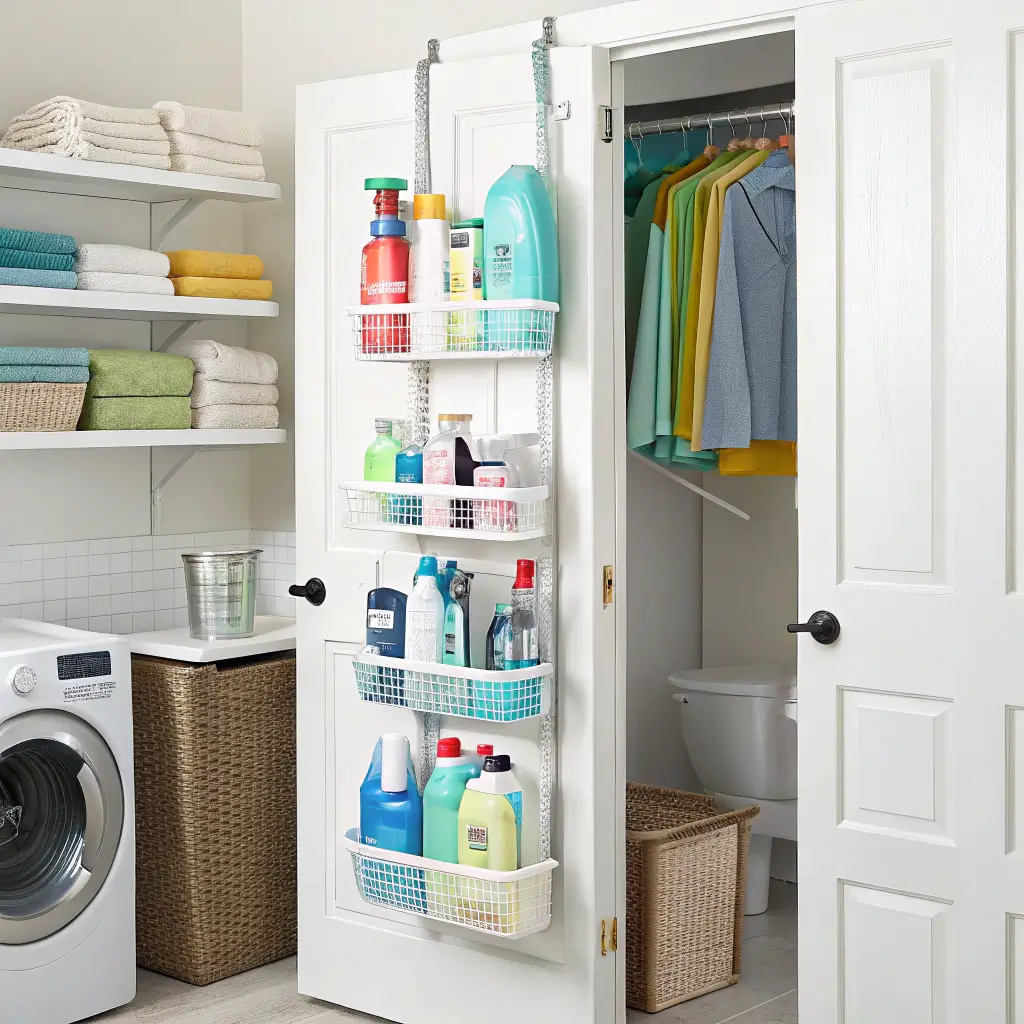
That door you never think about? It’s prime real estate for storage.
I installed an over-the-door organizer with multiple shelves and haven’t looked back. It holds my stain removers, dryer sheets, lint roller refills, and that collection of orphaned socks waiting for their partners to return from wherever socks go to die.
Installation takes literally two minutes – just hang it over the door. No drilling, no measuring, no stress. Sometimes the easiest solutions really are the best. :/
Chalkboard Wall for Notes and Schedules
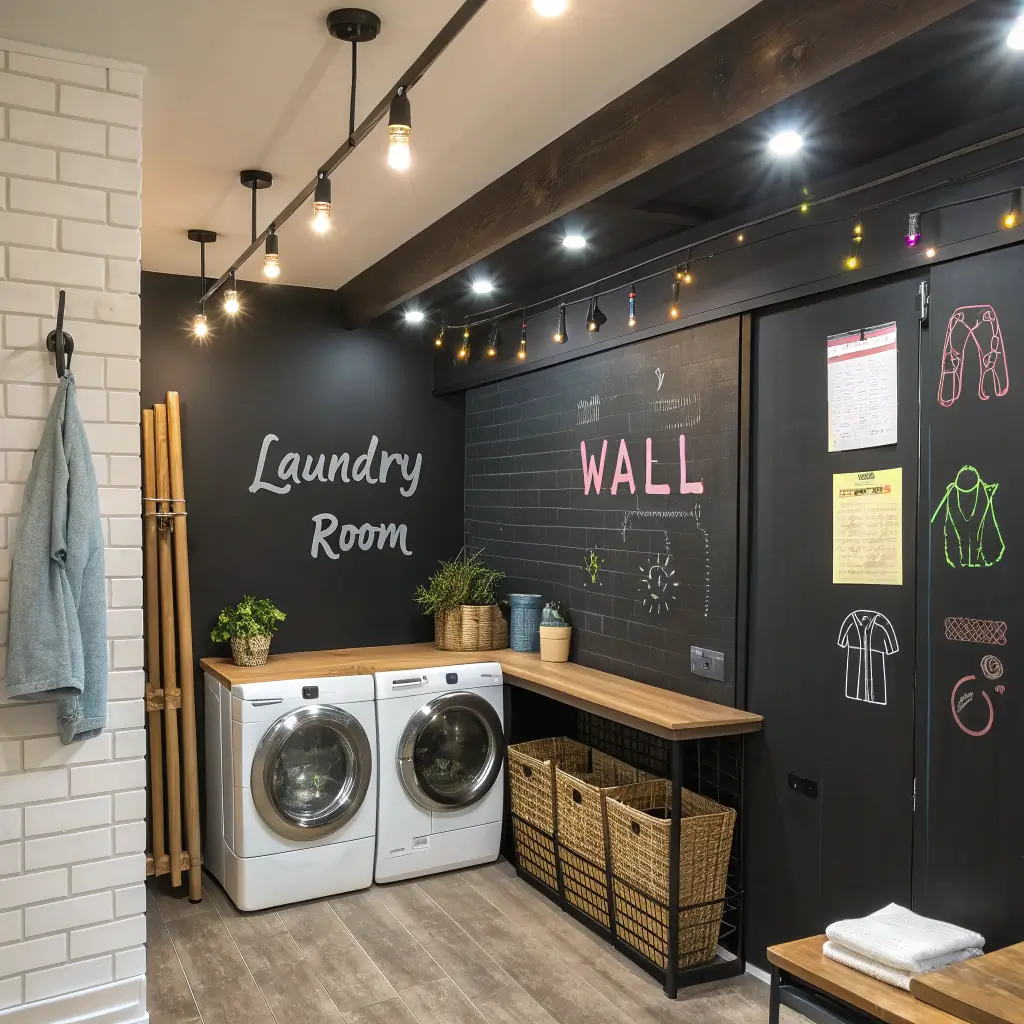
Last but definitely not least, a chalkboard wall adds function and fun to your laundry room.
I painted one wall with chalkboard paint (three coats for good coverage), and now I have a giant canvas for laundry reminders, stain treatment notes, and the occasional passive-aggressive message to my family about not leaving tissues in pockets. The kids love drawing on it while I fold, which keeps them entertained and out of trouble.
Chalkboard Wall Success Secrets:
- Prime the wall first for better adhesion
- Apply thin, even coats
- Let it cure for 3 days before using
- Season it by rubbing chalk all over, then erasing
- Keep chalk and erasers in a cute container nearby
The chalkboard wall has become command central for our household laundry situation. I write down what’s in the washer, what needs special treatment, and occasionally inspirational quotes like “You can do this!” when facing mountain-sized laundry piles.
Making It All Work Together
Here’s the thing about DIY laundry room upgrades – you don’t have to do them all at once.
I started with floating shelves and gradually added projects over time as budget and motivation allowed.
The key is choosing improvements that solve YOUR specific pain points.
Hate folding on your dryer top? Prioritize that countertop. Constantly losing small items? Pegboard or mason jars are your answer.
Can’t stand looking at your machines? Curtains will be your new best friend.
The total investment for all these projects? Way less than a single kitchen appliance, and the impact on my daily life has been huge.
I actually don’t mind doing laundry now (okay, maybe “don’t mind” is strong, but I definitely hate it less).
Remember, the goal isn’t perfection – it’s creating a space that works better for you. So grab your drill, channel your inner DIY warrior, and show that laundry room who’s boss.
Your future self, standing in a organized, functional, and dare I say beautiful laundry space, will thank you!