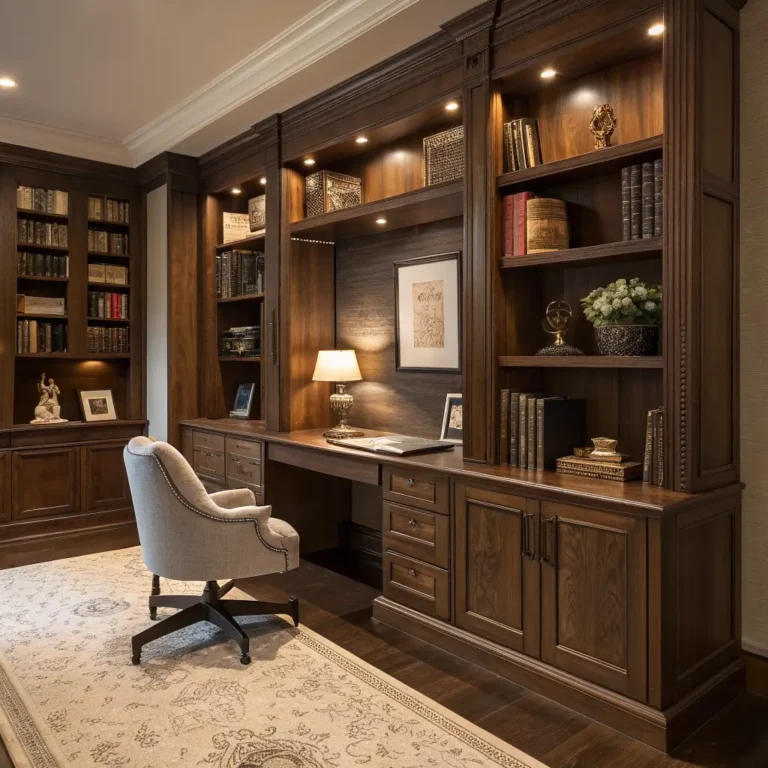
15 Genius DIY Pantry Shelves Ideas for Easy Organization
Let me guess – you just opened your pantry door and a box of pasta literally jumped out at you? Yeah, been there. My pantry used to look like a grocery store after Black Friday until I finally got my act together and built some proper shelving.
Here’s the thing: organizing your pantry doesn’t have to cost a fortune or require a degree in carpentry. I’ve tested (and failed at) enough DIY projects to know what actually works. These 15 pantry shelving ideas transformed my chaotic food closet into something Martha Stewart would approve of – well, almost.
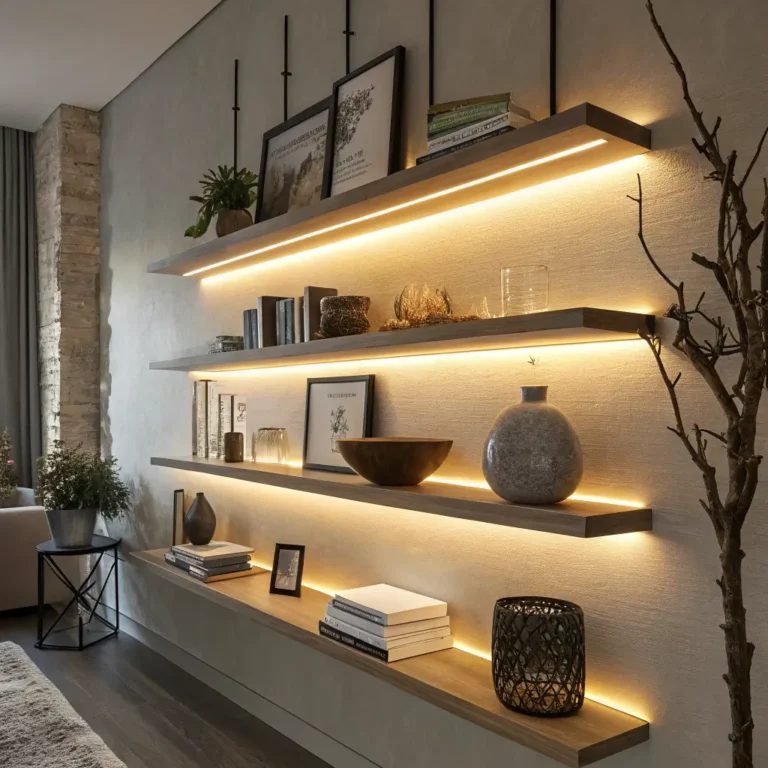
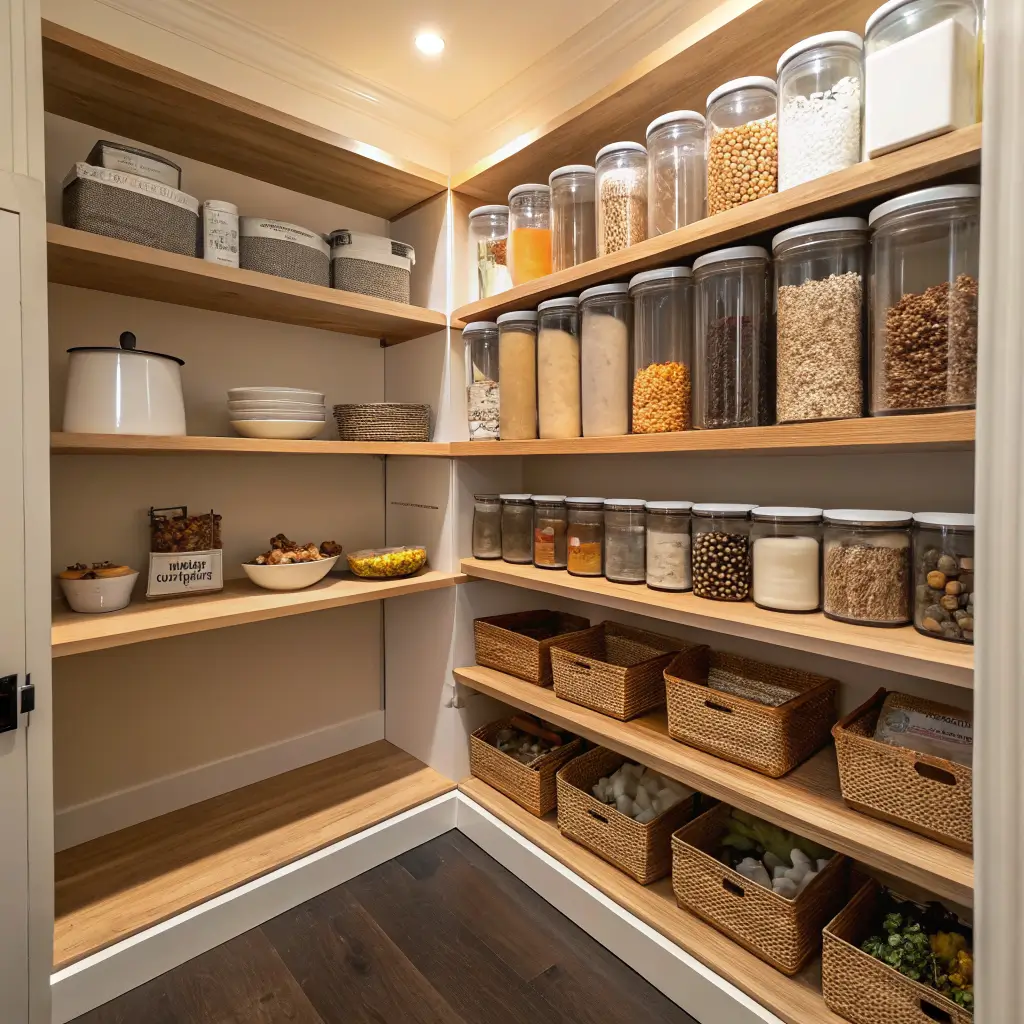
Floating Wooden Pantry Shelves

Nothing screams “I have my life together” quite like floating wooden shelves in your pantry. I installed these bad boys last summer, and honestly, they changed the game entirely. The best part? You don’t need to be a woodworking genius to pull this off.
What Makes Them Special
The beauty of floating shelves lies in their invisible bracket system. Your shelves appear to magically stick to the wall, creating that clean, minimalist look everyone’s obsessed with these days. I went with 1.5-inch thick pine boards because they’re sturdy enough to hold my collection of cast iron cookware (yes, I keep it in the pantry – fight me).
Here’s what you’ll need:
- Solid wood boards (pine, oak, or whatever fits your budget)
- Heavy-duty floating shelf brackets
- Wood stain or paint
- Wall anchors (trust me, don’t skip these)
- Level (unless you enjoy crooked shelves)
Installation Tips That Actually Work
Mark your studs first – seriously, this isn’t optional. I learned this the hard way when my first attempt came crashing down at 2 AM. Nothing like waking up to the sound of your entire spice collection hitting the floor 🙂
Space your shelves 12-15 inches apart for maximum versatility. This height accommodates everything from cereal boxes to those awkwardly tall olive oil bottles. Sand your boards smooth before staining – splinters and food storage don’t mix well.
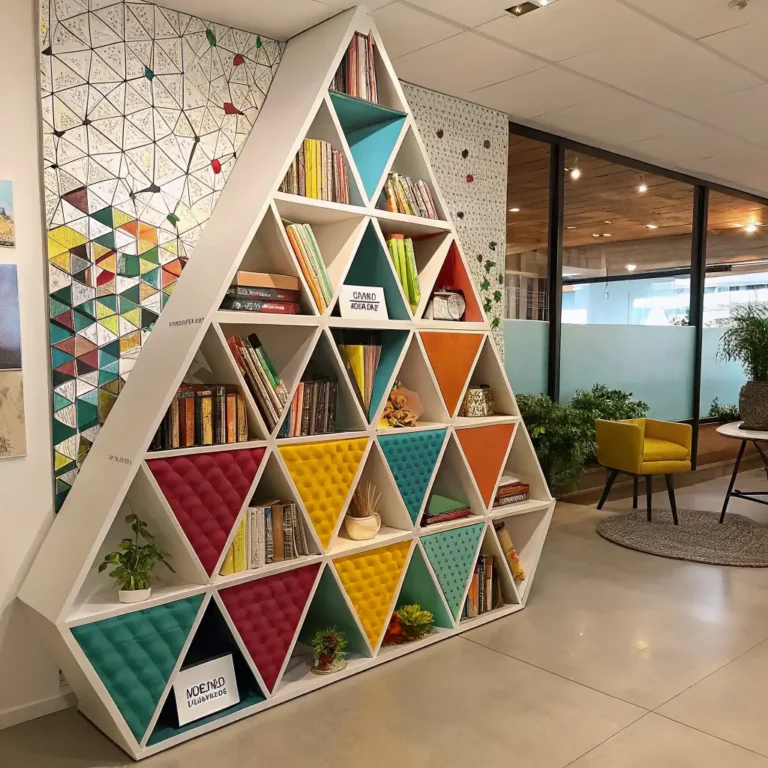
Corner DIY Pantry Shelving
Corner spaces in pantries are like that friend who has potential but never quite lives up to it. Until now. Corner shelving transforms dead space into prime real estate for your canned goods collection.
The Triangle Shelf Approach
I built triangular shelves that fit snugly into my pantry corner, and suddenly I had room for all those random jars I kept shoving behind other stuff. Cut your wood at 45-degree angles to create perfect triangles. Each shelf gets progressively smaller as you go up – it creates this cool tiered effect that actually looks intentional.
The Lazy Susan Integration
Want to level up your corner game? Install a lazy Susan on each corner shelf. Now you can actually reach that jar of capers you bought three years ago and forgot about. My personal favorite combo uses:
- ¾-inch plywood for the shelves
- Ball bearing lazy Susan hardware (the cheap ones squeak)
- Edge banding to make plywood look less… plywood-y
Dollar Store Pantry Shelf Hack
Who says organization has to break the bank? This hack costs less than your weekly coffee budget and works better than shelves that cost ten times more.
The Wire Shelf Transformation
Grab those wire cooling racks from the dollar store – you know, the ones meant for cookies. Flip them upside down, zip-tie them to your existing shelves, and boom – instant shelf doublers. I’ve got six of these in my pantry, and they’ve literally doubled my storage space.
Here’s the genius part: use small Command hooks on the underside to hang measuring cups and spoons. Your vertical space just became functional, and you spent maybe $10 total.
Plastic Bin Paradise
Dollar store plastic bins are the unsung heroes of pantry organization. Label them (obvs), and suddenly your snack situation goes from chaos to controlled. Pro tip: buy clear bins so you can see when you’re running low on something. Nothing worse than reaching for granola bars during a Netflix binge only to find an empty box.
Industrial Pipe Pantry Shelves
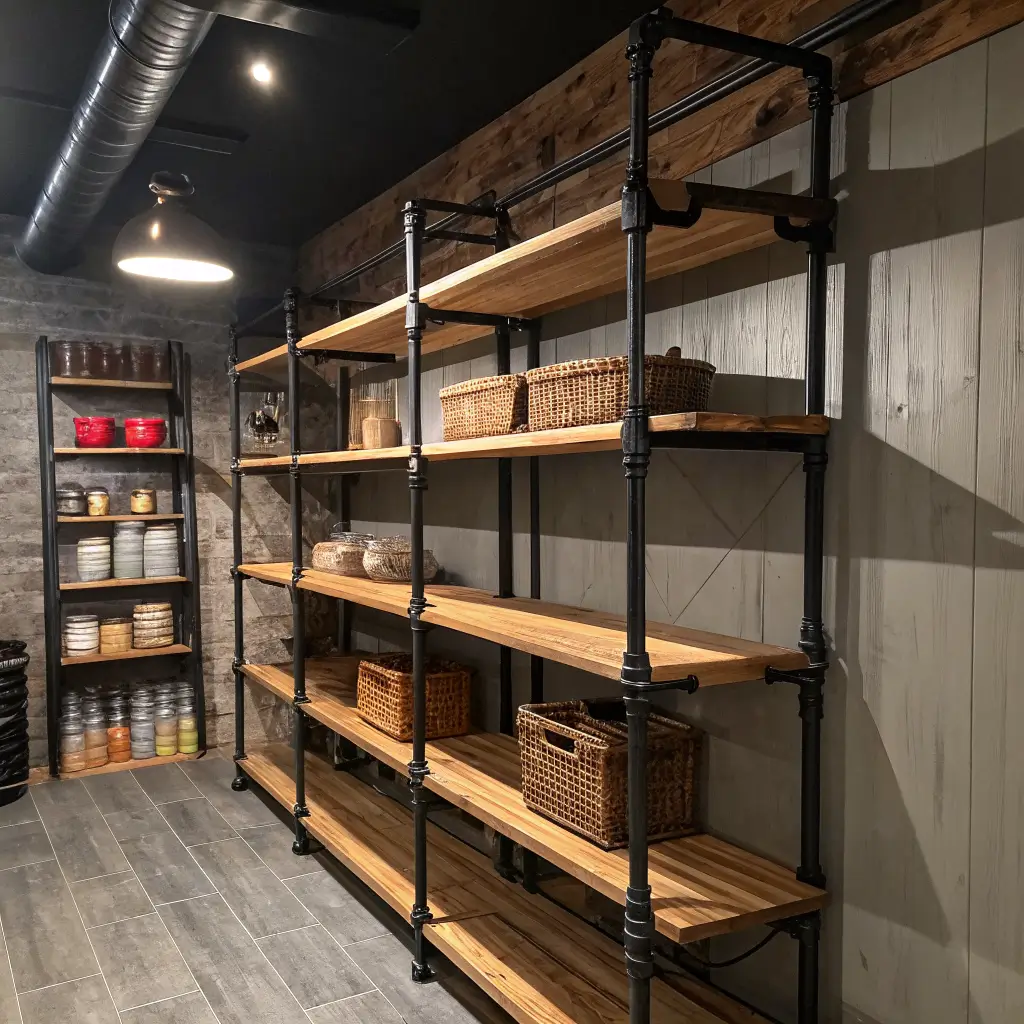
Want shelves that could survive the apocalypse? Industrial pipe shelving is your answer. These babies are virtually indestructible and give your pantry that trendy warehouse vibe.
Why Pipes Beat Traditional Brackets
I switched to pipe shelving after my old brackets started sagging under the weight of my bulk buying habits. Pipes don’t sag, period. They hold everything from my 25-pound flour containers to my collection of cast iron Dutch ovens.
Materials you’ll need:
- Black iron pipes (½ or ¾ inch diameter)
- Floor flanges (4 per shelf)
- Pipe fittings (elbows, tees, unions)
- Wood boards (2-inch thick for that industrial look)
- Screws that mean business (3-inch minimum)
Assembly Without the Headache
Thread your pipes together first – don’t attach anything to the wall yet. I made that mistake and spent three hours trying to align everything perfectly while holding 20 pounds of metal. Build the entire frame on the floor, then mount it as one unit.
The secret? Use unions instead of couplings where you need to connect long pipe runs. Unions let you twist sections together without having to spin the entire assembly. Game changer, trust me.
Narrow Space Pull-Out Shelves
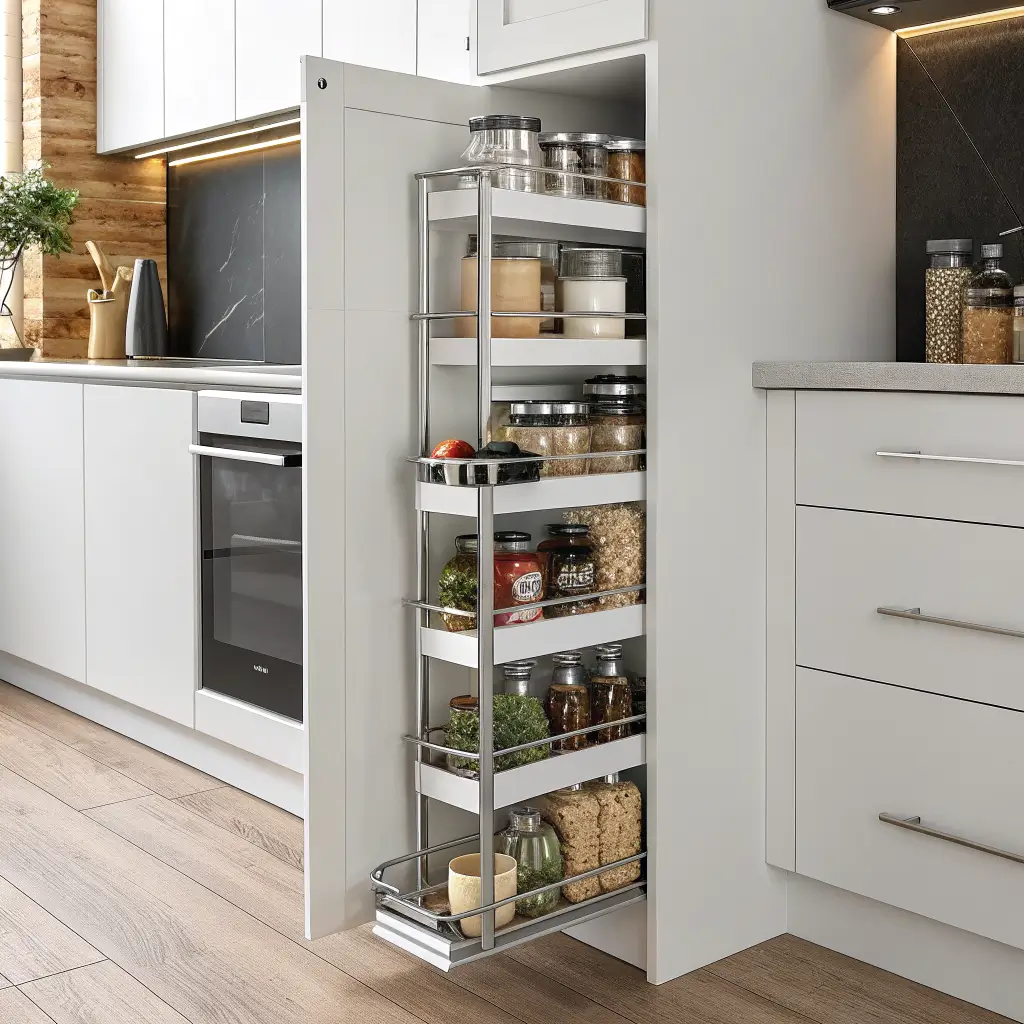
Got a skinny space between your fridge and wall? That’s not wasted space – that’s prime pull-out shelf territory. I built one of these for that awkward 6-inch gap in my kitchen, and now it holds all my oils and vinegars.
The Slide-Out Solution
Heavy-duty drawer slides are your best friend here. Don’t cheap out – get the soft-close, full-extension ones. They cost more upfront but won’t make you want to throw things when they stick halfway.
Build a simple frame from 1x4s, attach plywood shelves with lips on the edges (so stuff doesn’t slide off), and mount those beautiful slides. The whole project takes maybe two hours if you don’t count the trip to the hardware store because you forgot wood glue.
Maximizing Tiny Spaces
Think vertically in narrow spaces. I installed five shelves in a 6-inch wide gap, each one perfectly sized for different items:
- Top shelf: Extracts and food coloring (tiny bottles)
- Second shelf: Cooking sprays
- Middle shelf: Olive oils and vinegars
- Fourth shelf: Soy sauce and condiments
- Bottom shelf: Backup supplies
Rustic Farmhouse Pantry Shelves
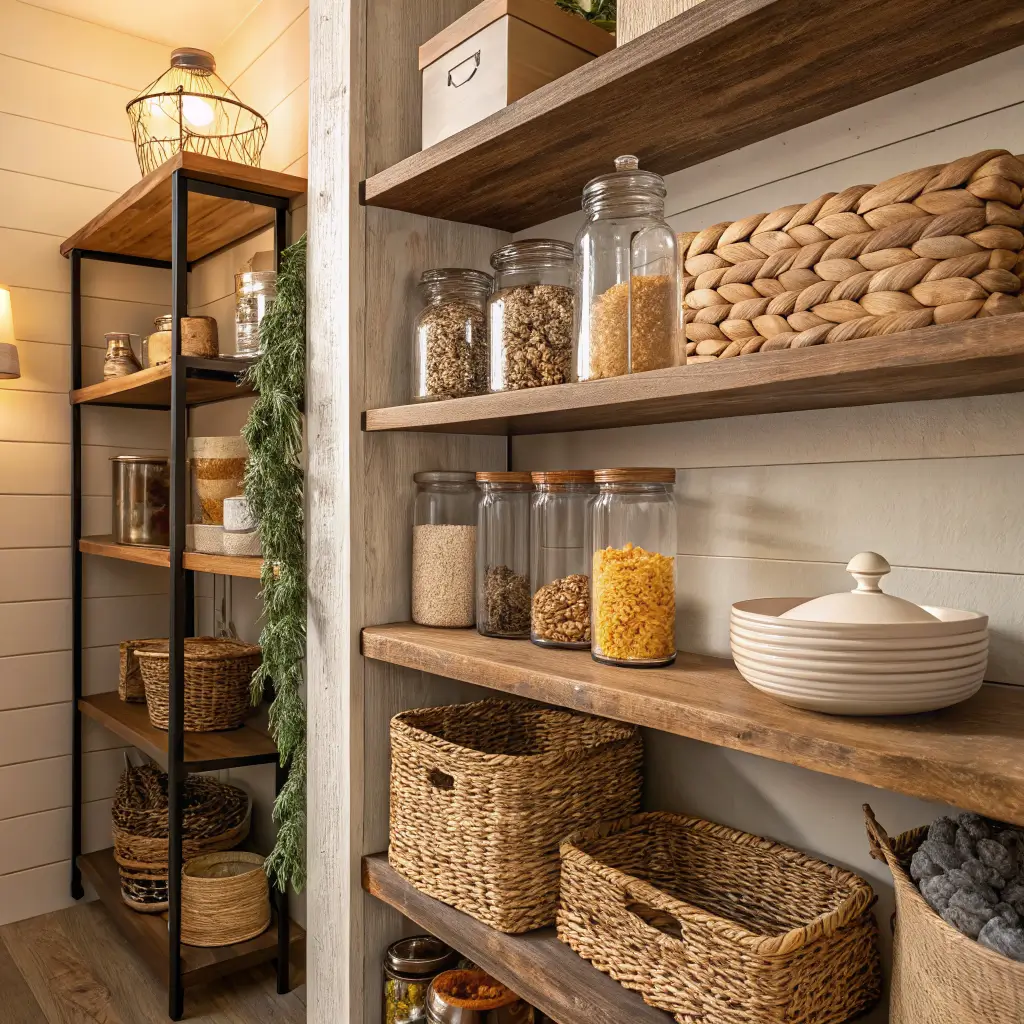
Channel your inner Joanna Gaines with rustic farmhouse shelving that looks like it came from a century-old barn. Spoiler alert: mine came from Home Depot, but nobody needs to know that.
The Reclaimed Wood Look (Without the Reclaimed Price)
Here’s my secret: beat up new wood to make it look old. Seriously. I take a chain to fresh lumber, creating dents and dings that would normally take decades to develop. A hammer, some screws dragged across the surface, and strategic sanding create instant character.
Stain with a mix of:
- Dark walnut stain (one coat)
- White wash (applied and immediately wiped)
- Clear matte polyurethane (two coats for protection)
Bracket Selection Makes the Difference
Farmhouse shelves need chunky, decorative brackets. Skip the skinny modern ones – you want brackets that look like they could hold up a barn roof. I found mine at an antique store, but FYI, Amazon has convincing replicas for a fraction of the price.
Also Read: 15 Clever Shelves Above Toilet Ideas for Tiny Spaces
Adjustable Track Pantry Shelves
Why commit to shelf heights when you can change your mind every week? Adjustable track systems give you flexibility that fixed shelves could never match.
The Professional System on a DIY Budget
Those fancy closet systems cost a fortune, but you can create the same thing with metal standards and brackets from any hardware store. Mount vertical tracks on your walls, pop in brackets wherever you want, and add shelves. Done.
I love that I can reconfigure my entire pantry when I go through my bulk-buying phases. Need room for those giant Costco cereal boxes? Move a shelf. Back to normal-sized groceries? Adjust again. It’s like Tetris, but for food storage.
Installation Without the Frustration
Mount your tracks perfectly plumb – this isn’t negotiable. Use a 4-foot level and take your time. Once the tracks are up crooked, every shelf will be crooked, and you’ll slowly go insane looking at them.
Space tracks 16 or 24 inches apart to hit studs. If you can’t hit studs, use toggle bolts rated for at least 75 pounds per anchor. Your future self will thank you when those shelves don’t come crashing down.
Crate Style Pantry Shelves
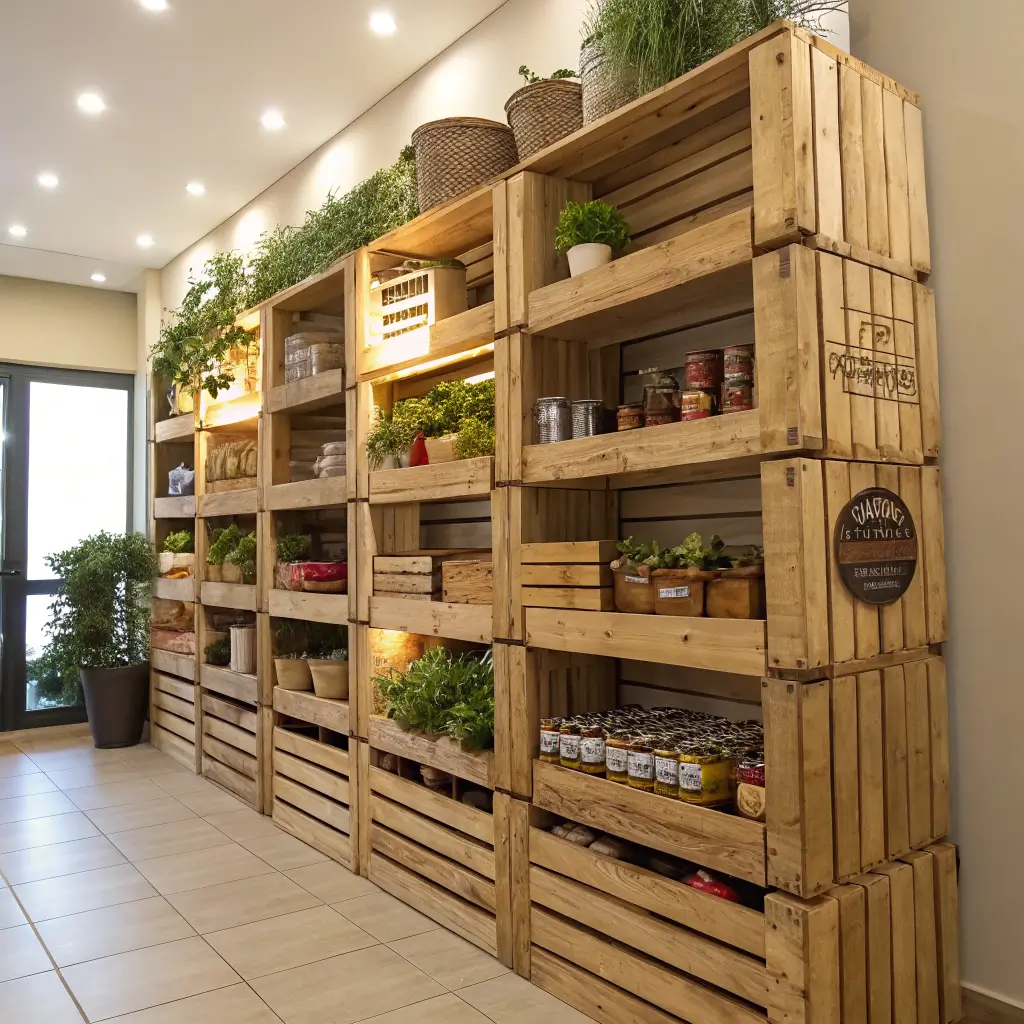
Remember those wooden crates at craft stores that cost $30 each? Yeah, you can make them for about $5. DIY crate shelves add instant organization and that Pinterest-worthy look everyone’s after.
Building Crates That Actually Last
Use 1×3 lumber for the frames and ¼-inch plywood for the bottoms. I know thin plywood seems sketchy, but it’s plenty strong for pantry items. Plus, it keeps the crates light enough to move around when you inevitably reorganize everything.
My crate dimensions:
- Large crates: 14″ x 18″ x 12″ (perfect for bulk items)
- Medium crates: 12″ x 14″ x 10″ (ideal for cans and jars)
- Small crates: 10″ x 10″ x 8″ (great for packets and small items)
The Stacking Strategy
Here’s where people mess up – they don’t plan for stacking. Build your crates with reinforced corners using wood glue and corner brackets. Add small wooden feet on the bottom of each crate so they nestle into the crate below without sliding around.
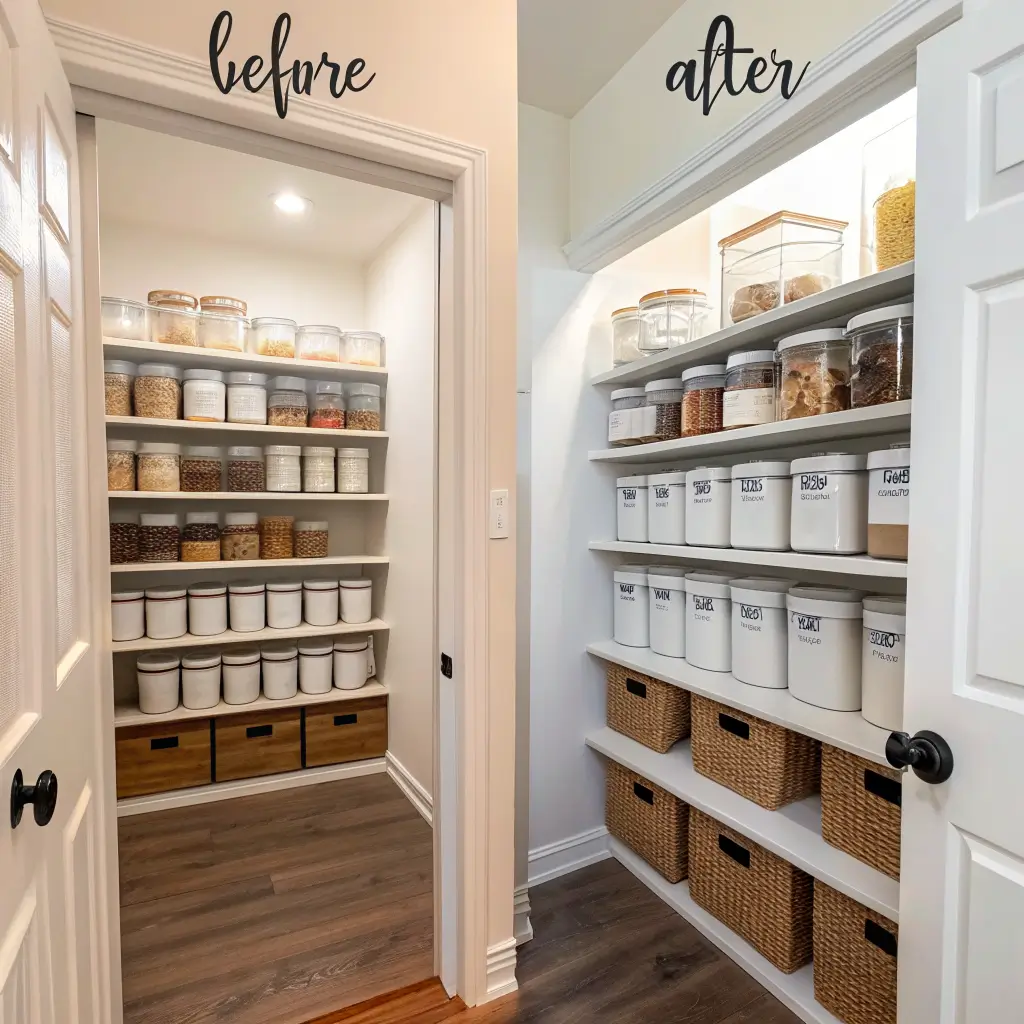
Minimalist White Pantry Shelves
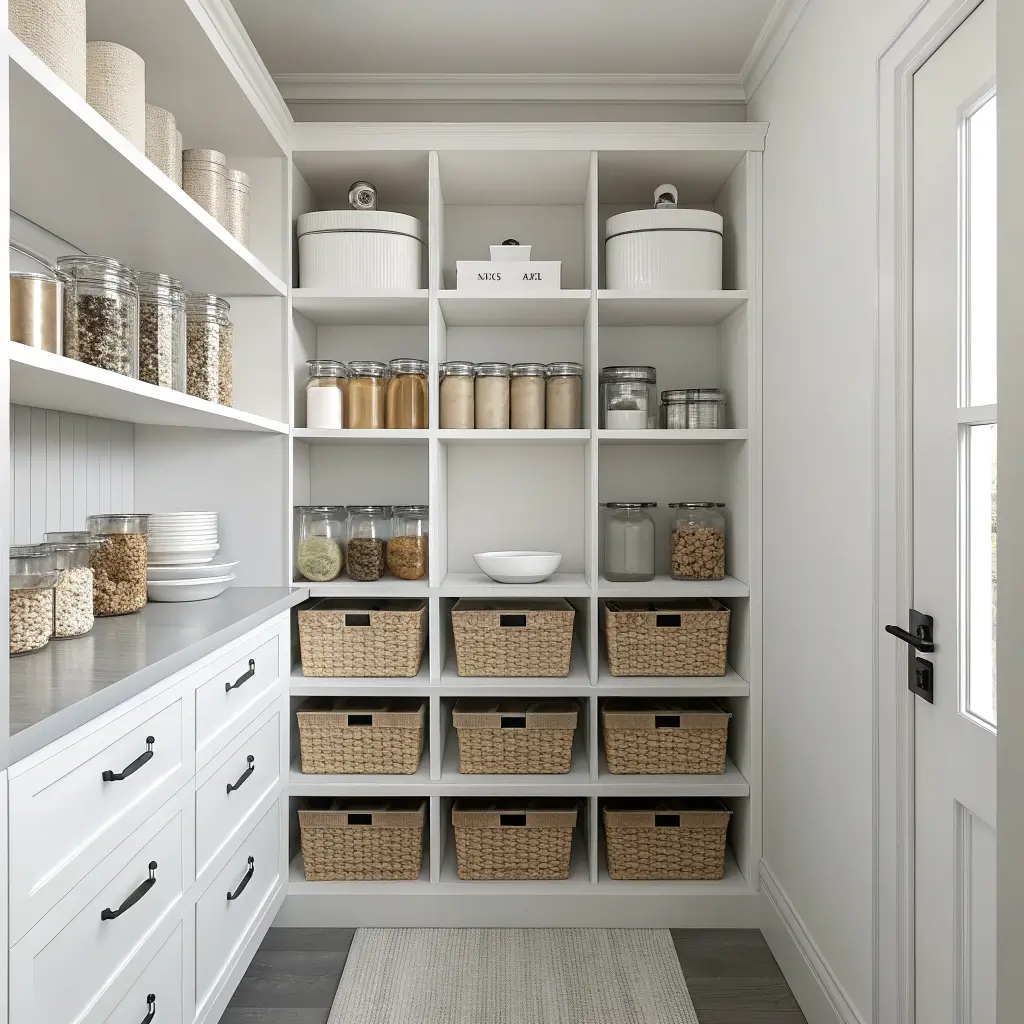
Sometimes less really is more. Clean, white shelving makes your pantry look bigger, brighter, and way more expensive than it actually is.
The IKEA Hack Everyone Should Know
Take basic IKEA LACK shelves and reinforce them with L-brackets underneath. The shelves alone will sag with heavy items, but add hidden brackets and they’ll hold whatever you throw at them. Paint the brackets white to match – nobody will know they’re there.
I mounted five of these in my pantry for under $50 total. They look like custom built-ins, especially after I added white quarter-round molding where the shelves meet the wall.
Keeping White Shelves Actually White
Let’s be real – white shelves in a pantry are asking for stains. Use semi-gloss or gloss paint that you can actually wipe clean. I learned this after trying matte paint and watching it absorb every fingerprint and food splatter.
Apply two coats of primer first (seriously, don’t skip this), then three thin coats of white paint. Finish with a clear protective coating if you’re really paranoid about stains like I am.
Built-In Wall Pantry Shelves
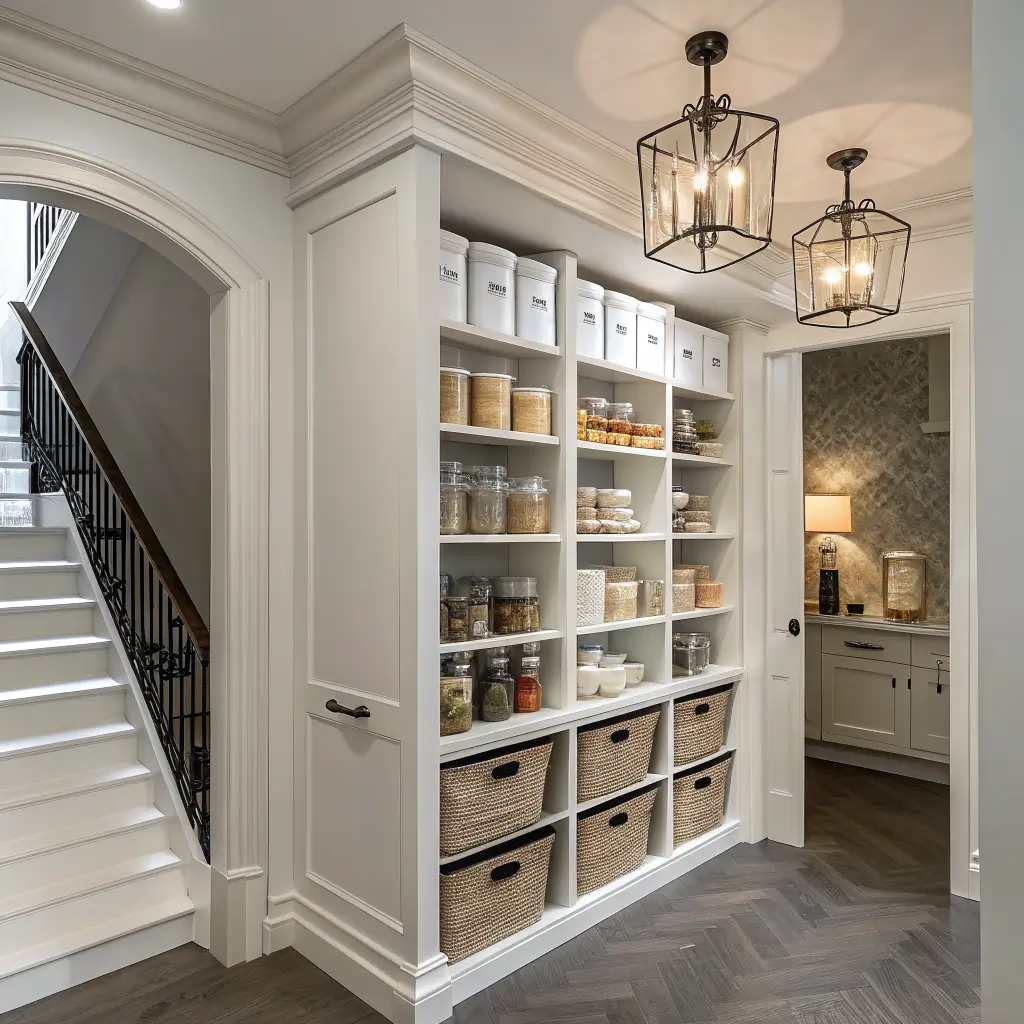
Want to feel like you live in a custom home? Built-in shelves between wall studs create that expensive, permanent look without the expensive, permanent price tag.
Finding and Using Stud Spaces
That space between your wall studs? That’s free real estate. Cut out the drywall between studs, build a simple box frame, add shelves, and trim it out. Suddenly you’ve got 4 inches of bonus storage depth that didn’t exist before.
My built-in specs:
- Depth: 3.5 inches (standard stud depth)
- Width: 14.5 inches (standard stud spacing)
- Height: Floor to ceiling (go big or go home)
The Finishing Touches That Matter
Frame your built-ins with decorative molding that matches your existing trim. This sells the illusion that these shelves were always part of your house. Caulk every seam – and I mean every seam. Nothing ruins the built-in look faster than visible gaps.
Ladder Style Pantry Shelving
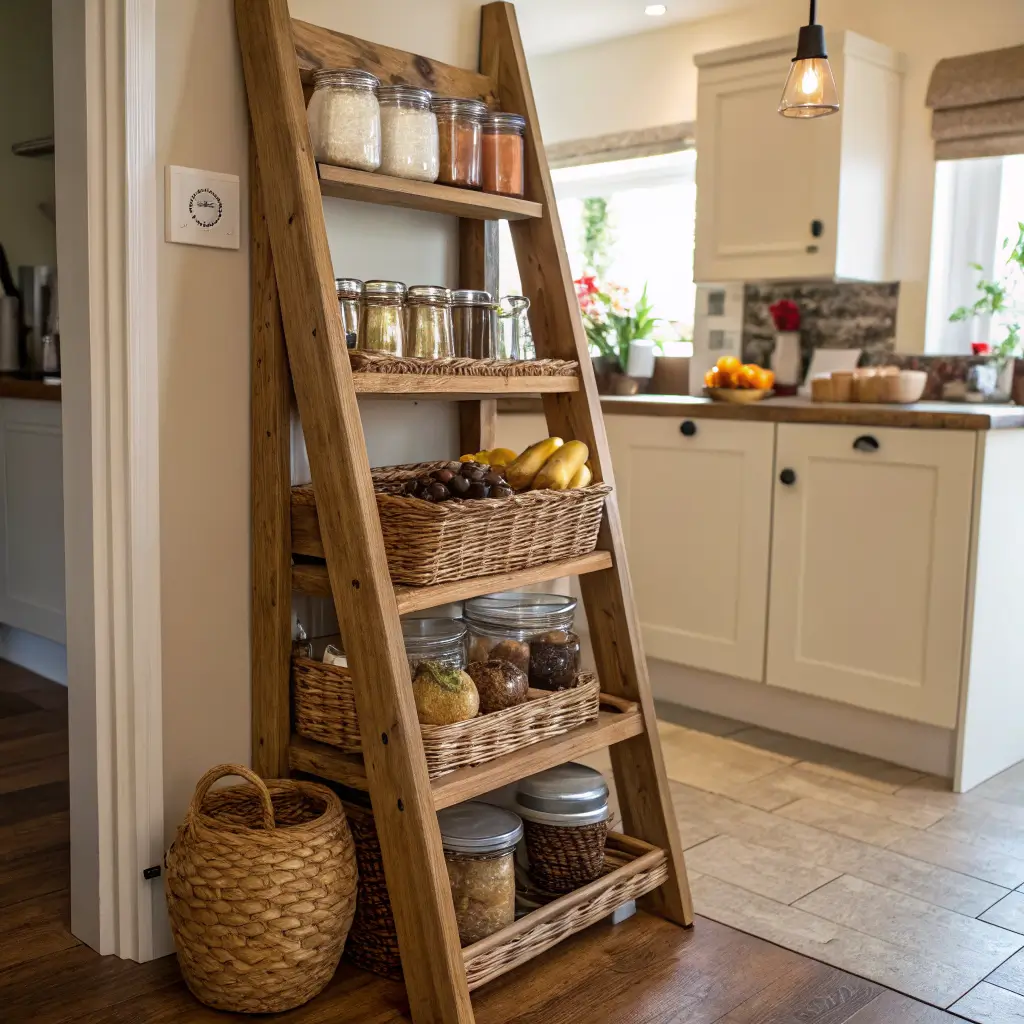
Leaning ladder shelves are having a moment, and honestly, I’m here for it. They’re ridiculously easy to build and add instant character to any pantry.
The No-Mounting Advantage
Can’t drill into your walls? Landlord being difficult? Ladder shelves lean against the wall without any mounting required. I built mine in my rental apartment, and when I moved, they came with me. Try doing that with floating shelves.
Build two ladder sides with 2×3 lumber, connect them with shelves made from 1×12 boards, and you’re basically done. The angle should be about 15 degrees from vertical – enough to be stable but not so much that stuff slides off.
Safety Without Sacrificing Style
Secure the top to the wall with a small bracket if you’ve got kids or earthquakes in your area. Paint it to match your ladder, and nobody will notice it’s there. Add lips to your shelf edges using thin wood strips or even decorative molding – this keeps jars from taking a tumble.
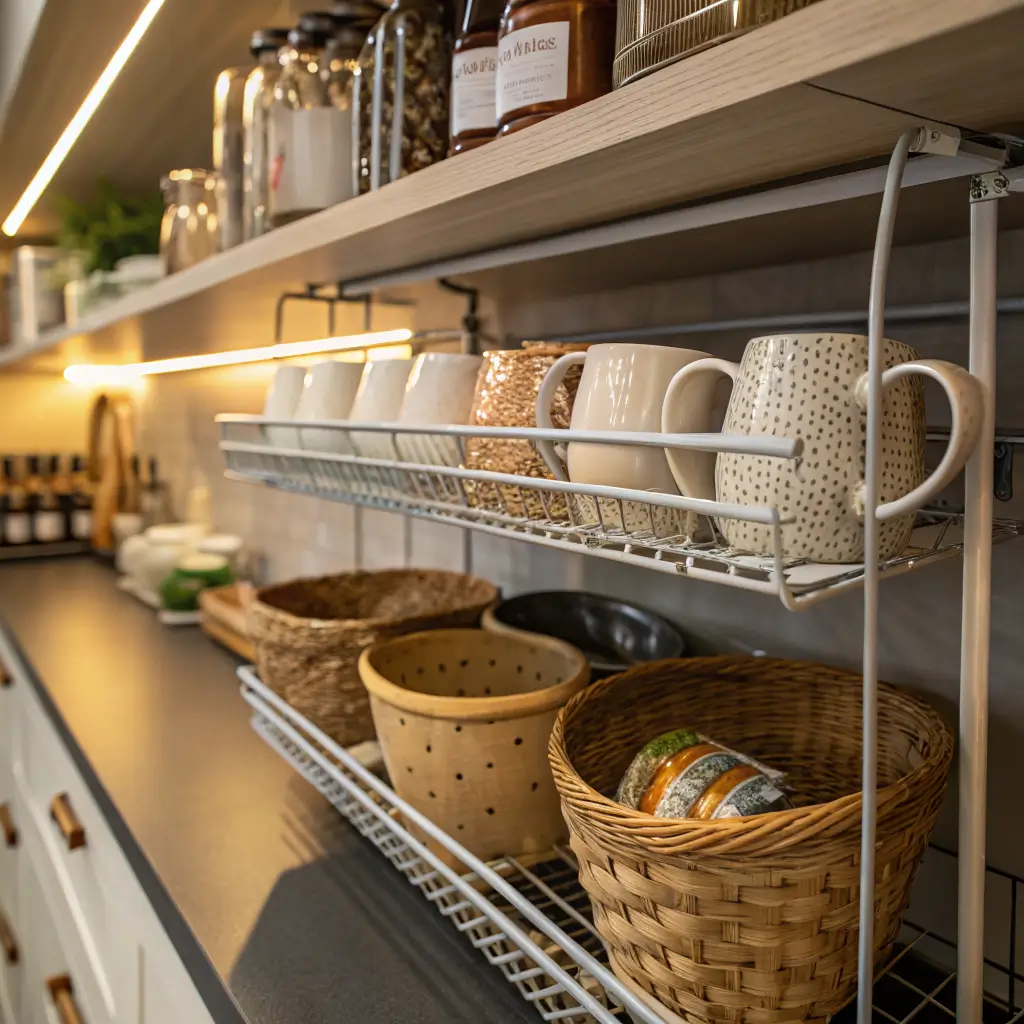
Wire Basket Shelf System
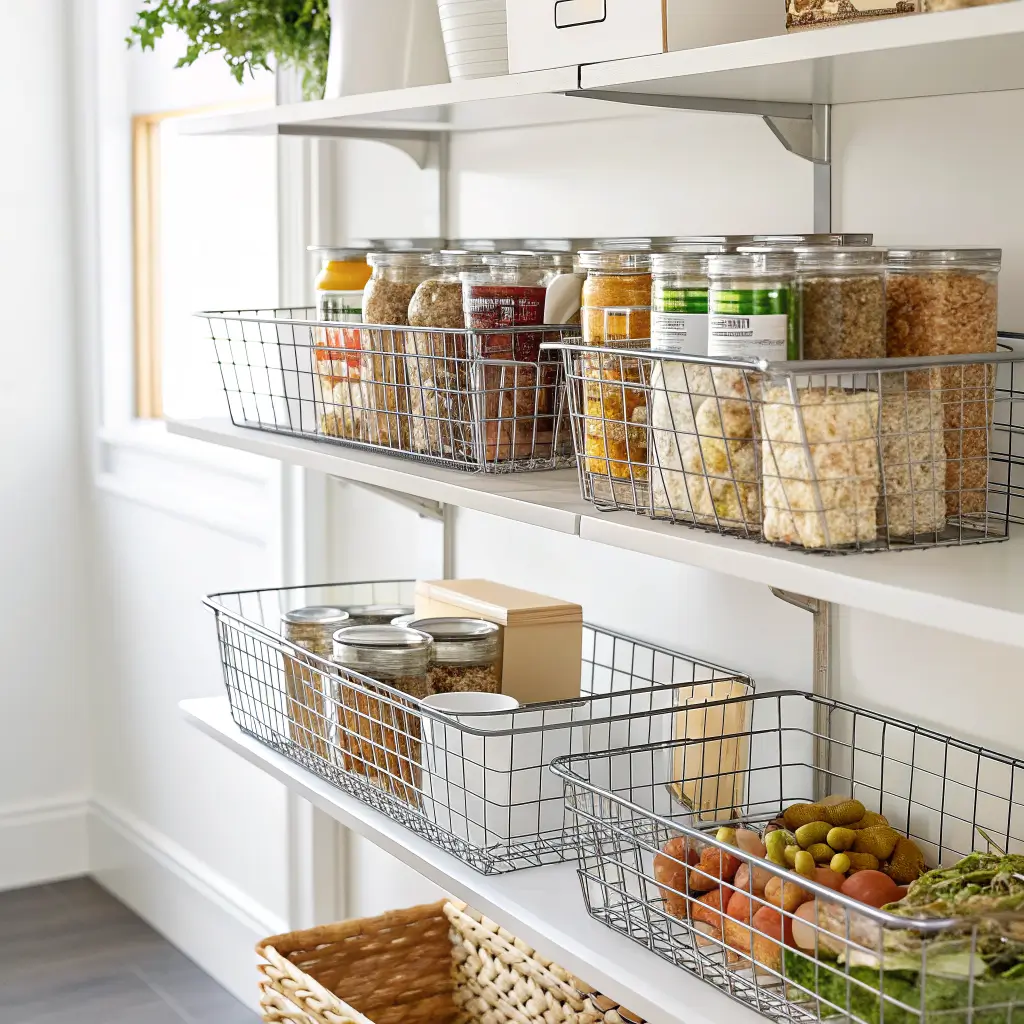
Wire baskets are the organizational MVP nobody talks about enough. They’re cheap, versatile, and surprisingly sturdy when installed correctly.
Creating the Grid System
Mount a grid of heavy-duty wire shelving tracks on your pantry walls. These accept various basket sizes, so you can mix and match based on what you’re storing. Large baskets for potatoes and onions, small ones for seasoning packets – you get the idea.
My setup uses:
- Vertical tracks every 16 inches
- Wire baskets in three sizes
- Label holders on each basket (game changer)
- Liner material for baskets holding small items
The Ventilation Advantage
Wire baskets provide natural airflow that solid shelves don’t. Your potatoes and onions last way longer when they can breathe. Plus, you can see everything at a glance – no more buying duplicates because you forgot what you had.
Also Read: 15 Cute Nursery Shelves Ideas to Organize Perfectly
Under-Shelf Hanging Storage
That space under your shelves? Pure wasted potential. Under-shelf organizers double your storage without adding a single new shelf.
The Hook and Basket Combo
Install sliding basket drawers that clip onto existing shelves. I’ve got these holding everything from chip bags to coffee filters. Add some hooks for measuring cups, oven mitts, or that pizza cutter you can never find when you need it.
My favorite finds:
- Expandable under-shelf baskets (adjust to fit any shelf)
- Magnetic strips for holding spice tins
- Mini drawers for seasoning packets
- Cup hooks in various sizes
Maximizing Every Inch
Measure the clearance under each shelf before buying organizers. You need at least 2 inches of clearance for most hanging baskets. IMO, it’s better to have fewer, more accessible organizers than cramming in so many that you can’t actually use them.
Floor-to-Ceiling Pantry Shelves

Go vertical or go home. Floor-to-ceiling shelving maximizes every square inch of pantry space and makes your ceilings look higher – win-win.
The Stability Secret
Tall shelving units need serious anchoring. Secure them to the wall at multiple points – top, middle, and wherever you hit a stud. I use furniture straps at the top as backup security because I live in earthquake country and I’m not trying to get taken out by a can of tomatoes.
Build your frame from 2x4s for serious stability. Yes, they’re overkier than 2x2s, but they won’t wobble when you’re reaching for something on the top shelf. Trust me, wobbly tall shelves are terrifying.
Reaching the Top Shelves
Store lightweight, rarely-used items up high. Think holiday baking supplies, extra paper products, or that fondue pot you swear you’ll use someday. Keep a sturdy step stool in or near your pantry – climbing shelves like a jungle gym isn’t a good look for anyone over 30.
Hidden Door Pantry Shelving

Plot twist: what if your pantry door could store stuff too? Door-mounted shelving is like finding hidden storage space you didn’t know existed.
Over-the-Door Systems That Work
Skip those flimsy wire racks that bend when you look at them wrong. Build a solid wood shelf system that mounts directly to your door. Use 1x4s for the frame and 1x3s for shelf slats. The whole thing adds maybe 4 inches to your door depth but triples your spice storage.
My door setup holds:
- 40+ spice jars on narrow shelves
- Cooking oils on deeper bottom shelves
- Seasoning packets in small bins
- Kitchen tools on hooks at the bottom
Door Weight Considerations
Check your door hinges before adding weight. Standard hinges can handle about 20-30 pounds of additional weight. Upgrade to heavy-duty hinges if you’re going all out with door storage – they’re like $10 at any hardware store and prevent that annoying door sag.
Add soft-close mechanisms if your door storage makes it want to slam. Your family will thank you when they’re not woken up by pantry door thunderclaps at midnight. :/
Making It All Work Together
The real magic happens when you combine several of these ideas. I use floating shelves on one wall, wire baskets on another, and door storage for spices. Each system serves a different purpose, and together they turned my disaster pantry into something I actually want to show off.
Remember, the best pantry shelving system is one you’ll actually maintain. Start with one or two ideas that excite you most. You can always add more organization later – Rome wasn’t built in a day, and neither was my perfectly organized pantry (it took like, three weekends).
Your pantry should work for YOUR lifestyle. Love buying in bulk? Focus on sturdy, deep shelves. Cooking enthusiast with dozens of spices? Door shelving is your best friend. The beauty of DIY is customizing everything exactly how you want it.
Now quit reading and start building. Your pasta boxes are probably planning their next escape attempt as we speak. Time to show them who’s boss with some proper shelving that’ll keep everything in its place. Who knew some wood and brackets could bring such satisfaction?