10 Smart Garage Shoe Storage Ideas to Organize Effortlessly
Remember that moment when you tripped over a pile of muddy sneakers while carrying groceries into the house? Yeah, me too.
My garage used to look like a shoe store exploded, with footwear scattered everywhere from lawn-mowing boots to my kids’ endless collection of cleats.
After one too many stubbed toes and frustrated mornings searching for matching pairs, I decided enough was enough.
Here’s the thing: your garage doesn’t have to be a shoe graveyard. I’ve tested pretty much every storage solution out there (some worked brilliantly, others… not so much), and I’m about to share the absolute best ideas that actually work in real life.
Not just Pinterest-perfect setups that fall apart after a week, but practical solutions that’ll survive your family’s daily chaos.
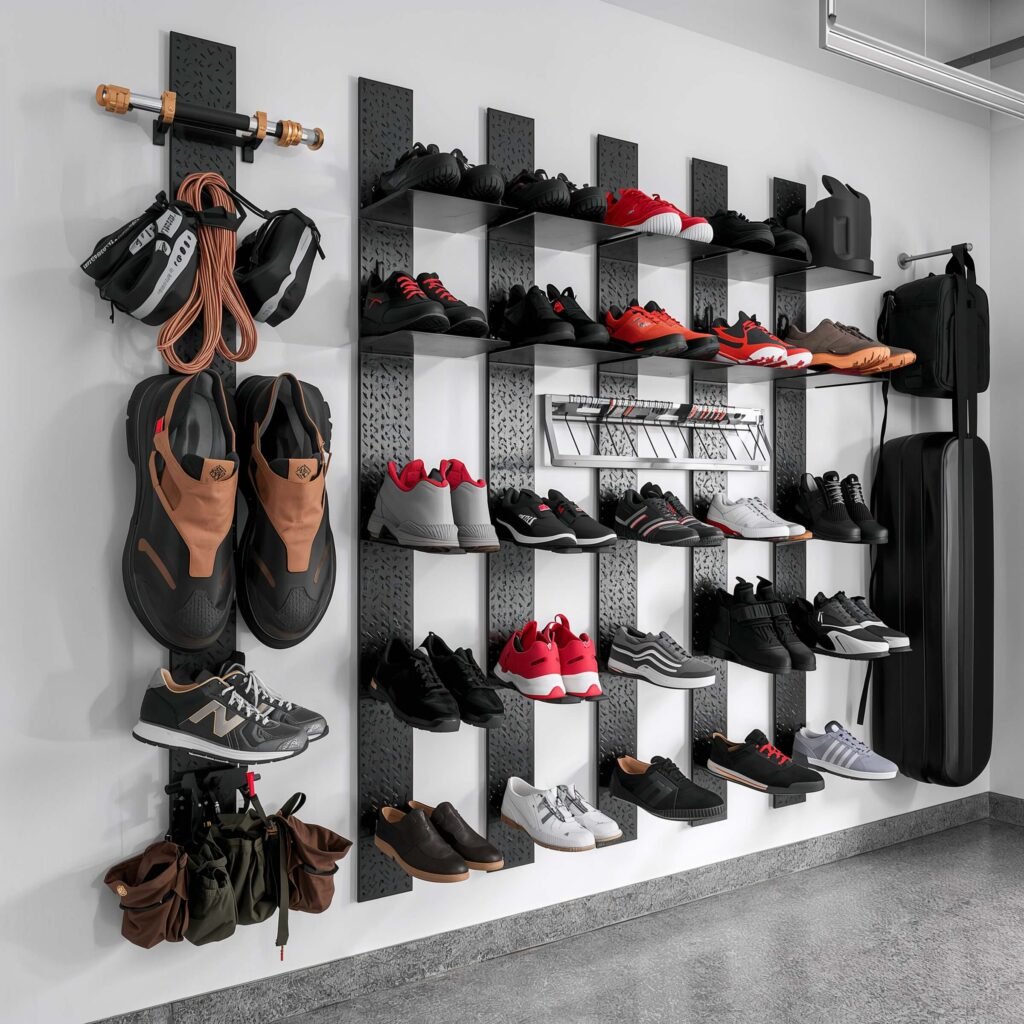
Overhead Shoe Rack with Hooks

Let’s start with my personal favorite – the game-changer that freed up so much floor space I actually found my garage floor again. An overhead shoe rack with hooks takes advantage of that dead space above your head that you’re probably not using anyway.
I installed mine about 7 feet up, right near the garage entrance. The beauty of this setup? You can hang frequently used shoes on the hooks below while storing seasonal footwear on the rack above. My work boots live on the hooks, while winter boots camp out on top during summer months.
Why This Works So Well
The combination of racks and hooks gives you incredible flexibility. Got tall boots? Hang them from the hooks. Running shoes? They fit perfectly on the shelf above. Plus, keeping shoes elevated means they actually dry out properly – no more musty smell that makes you wonder if something died in your garage.
When shopping for an overhead system, look for these features:
- Heavy-duty brackets that can handle at least 50 pounds
- Rust-resistant coating (garages get humid, trust me)
- Adjustable hook spacing for different shoe sizes
- Wire or slotted shelving that allows air circulation
One word of caution though: measure your garage door clearance first. I learned this the hard way when my first rack blocked the door from opening fully. Not my finest DIY moment 🙂
Wall-Mounted Slanted Shoe Shelves
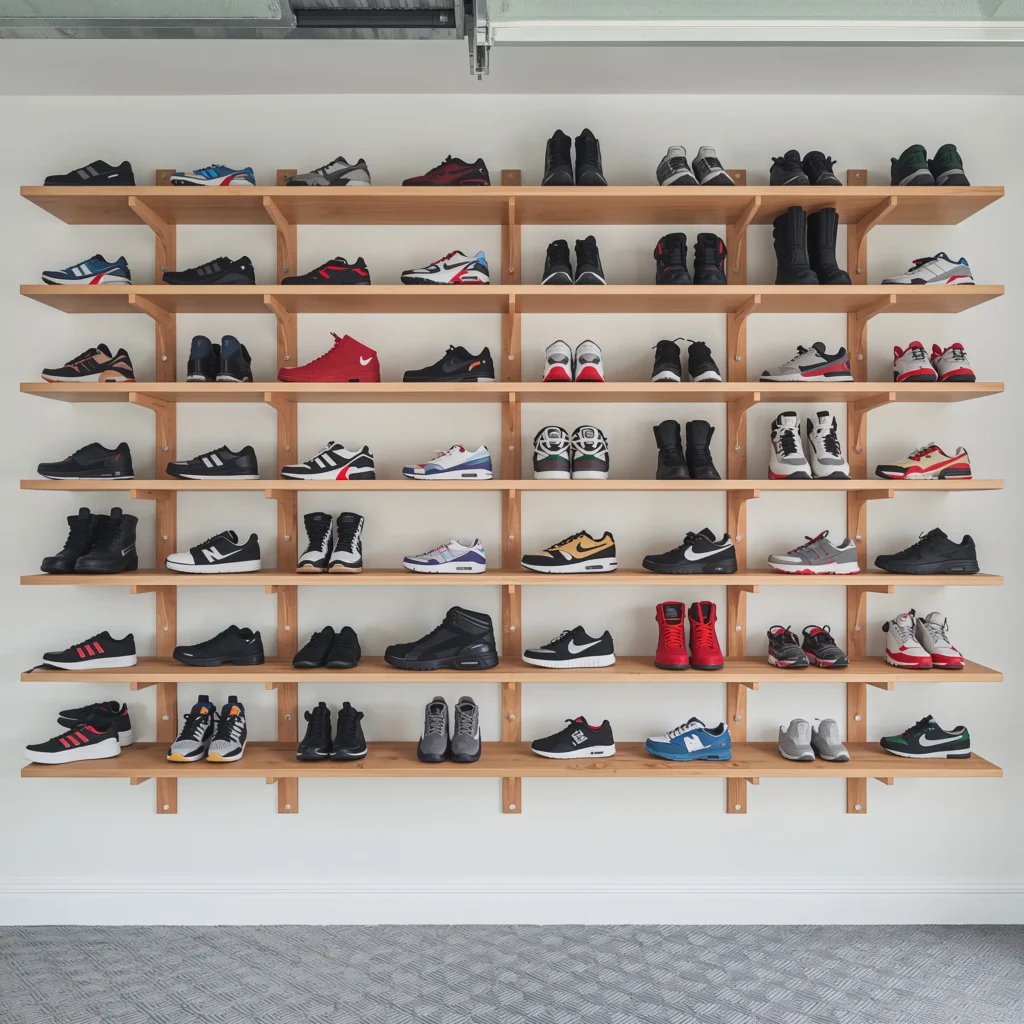
Ever notice how shoe stores display their products? There’s a reason they angle those shelves – it makes everything visible and accessible at a glance. Wall-mounted slanted shelves bring that same smart design to your garage.
I built mine using basic lumber and brackets from the hardware store (total cost: about $40). The 15-degree angle keeps shoes from sliding off while making it super easy to grab what you need. No more digging through piles or knocking over towers of shoes just to find your gardening clogs.
Installation Tips That Actually Matter
Mount these shelves at varying heights to accommodate different family members. My kids’ shelves sit lower, while adult shoes go higher. Makes sense, right? Here’s what I learned after redoing mine twice:
- Space shelves 12-14 inches apart vertically
- Use a level (seriously, crooked shelves will drive you crazy)
- Install them near a door for easy grab-and-go access
- Consider adding a lip or rail to prevent shoes from sliding off
The slanted design also helps with those inevitable dirty shoes. Mud and debris naturally fall backward instead of onto the shoes below. It’s like the shelves are self-cleaning… well, almost.
Rolling Shoe Cart for Garage
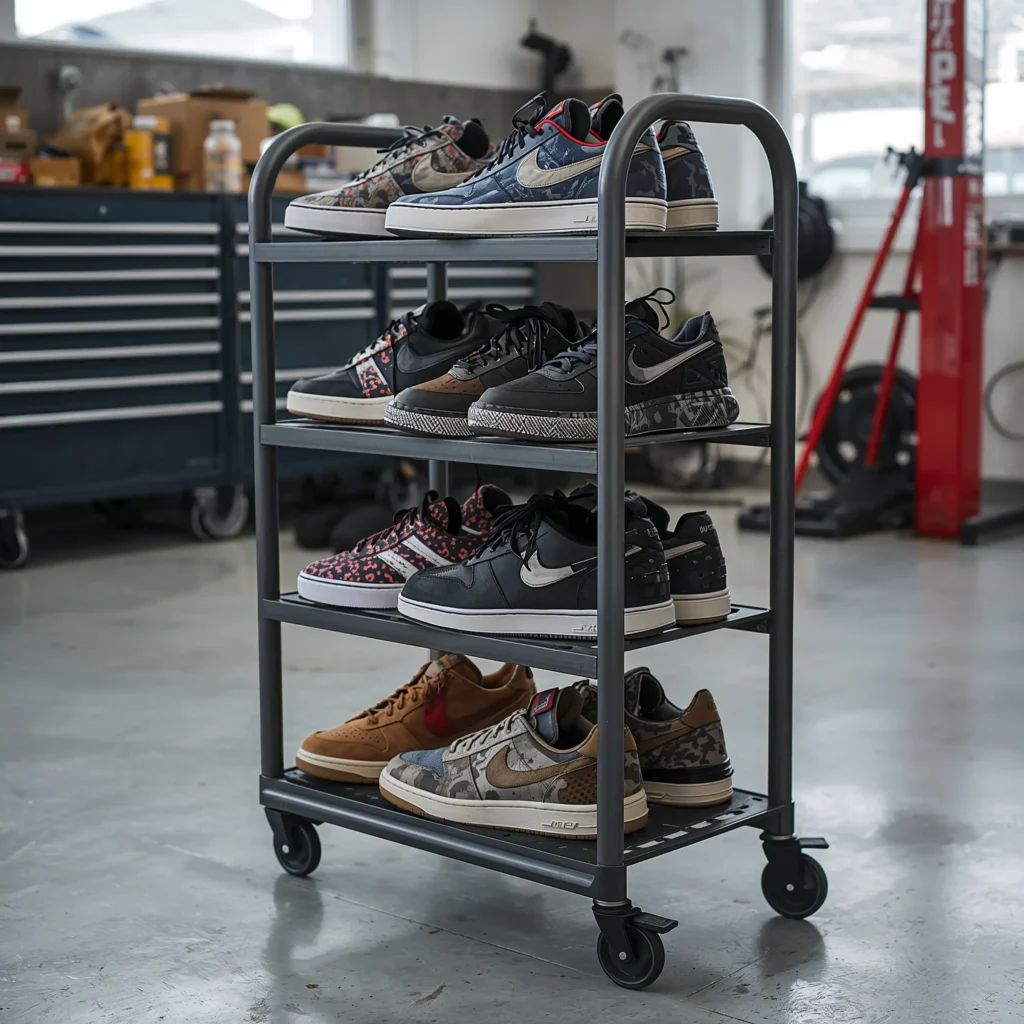
Flexibility – that’s what a rolling shoe cart brings to the table. Or should I say, to wherever you need it? This solution works brilliantly if you’re not ready to commit to permanent installation or if your garage serves multiple purposes.
My neighbor swears by her three-tier rolling cart that she wheels out of the way when parking the car. During summer, she rolls it near the back door for easy pool shoe access. Winter? It moves closer to the main entrance for snow boot storage.
Features That Make or Break a Rolling Cart
Not all carts are created equal, FYI. After watching several cheap ones collapse under the weight of work boots, here’s what actually matters:
- Industrial-strength wheels with locks (at least two wheels should lock)
- Metal construction over plastic (it’ll last years longer)
- Open wire shelving for ventilation
- Minimum 200-pound capacity
- Handle or rail for easy pushing
The best part about a rolling cart? You can take it outside for cleaning. Just wheel it out, hose it down, and let it dry in the sun. Try doing that with built-in shelving!
Also Read: 12 Amazing Shoe Storage Closet Ideas for Small Spaces
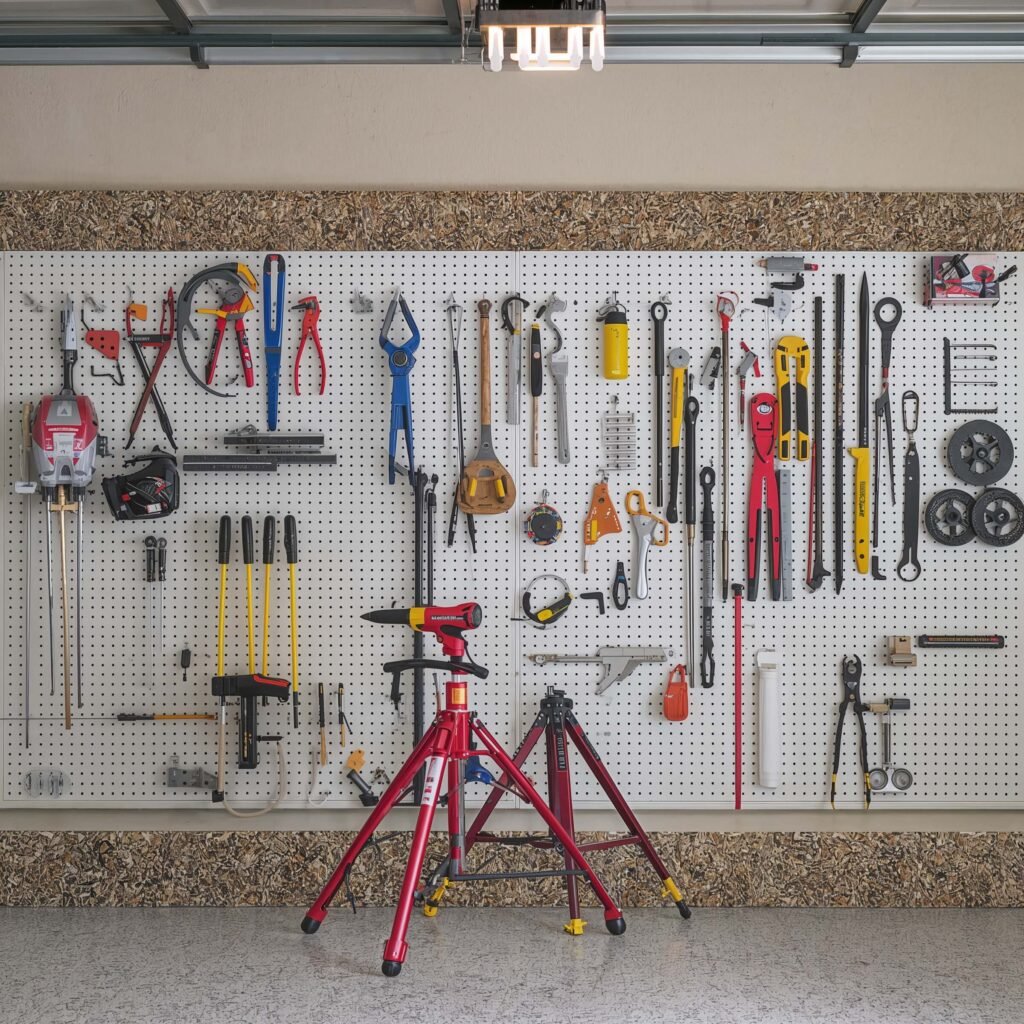
Pegboard Shoe Organizer
Who says pegboard is just for tools? A pegboard shoe organizer might be the most customizable solution on this list. You can rearrange hooks and shelves as your storage needs change – and trust me, they will change.
I turned an entire wall of my garage into a pegboard system. Shoes hang from heavy-duty hooks, while small shelves hold everything from shoe polish to spare laces. The kids’ sports shoes go on color-coded hooks (blue for soccer, red for baseball), which ended the morning scramble of “Where are my cleats?”
Making Pegboard Work for Shoes
Here’s the thing most people get wrong: they use hooks that are too small. Shoes need substantial support, not those tiny hooks meant for screwdrivers. Look for:
- J-hooks at least 4 inches long
- Weight rating of 10+ pounds per hook
- Rubberized coating to prevent scratching
- Various hook sizes for different shoe types
Want to level up your pegboard game? Add small baskets for accessories like insoles or shoe deodorizers. Paint the pegboard a fun color to make it less industrial-looking. Mine’s bright blue, and honestly, it makes organizing feel less like a chore.
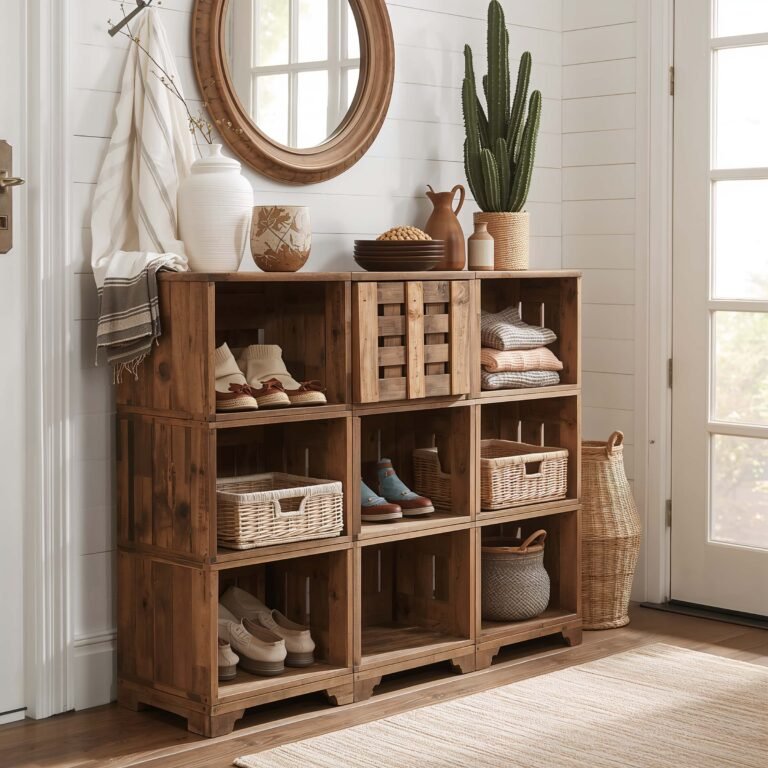
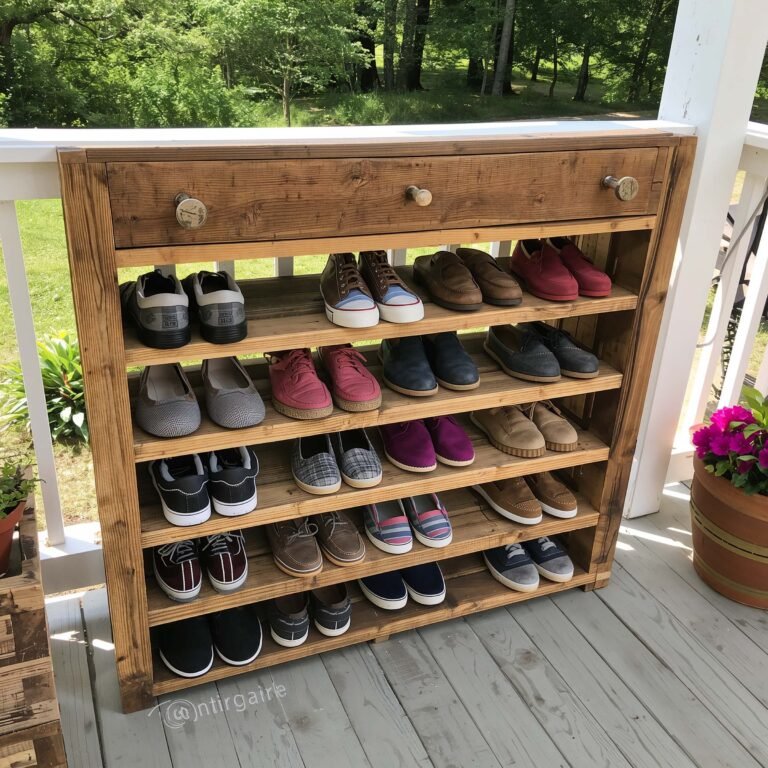
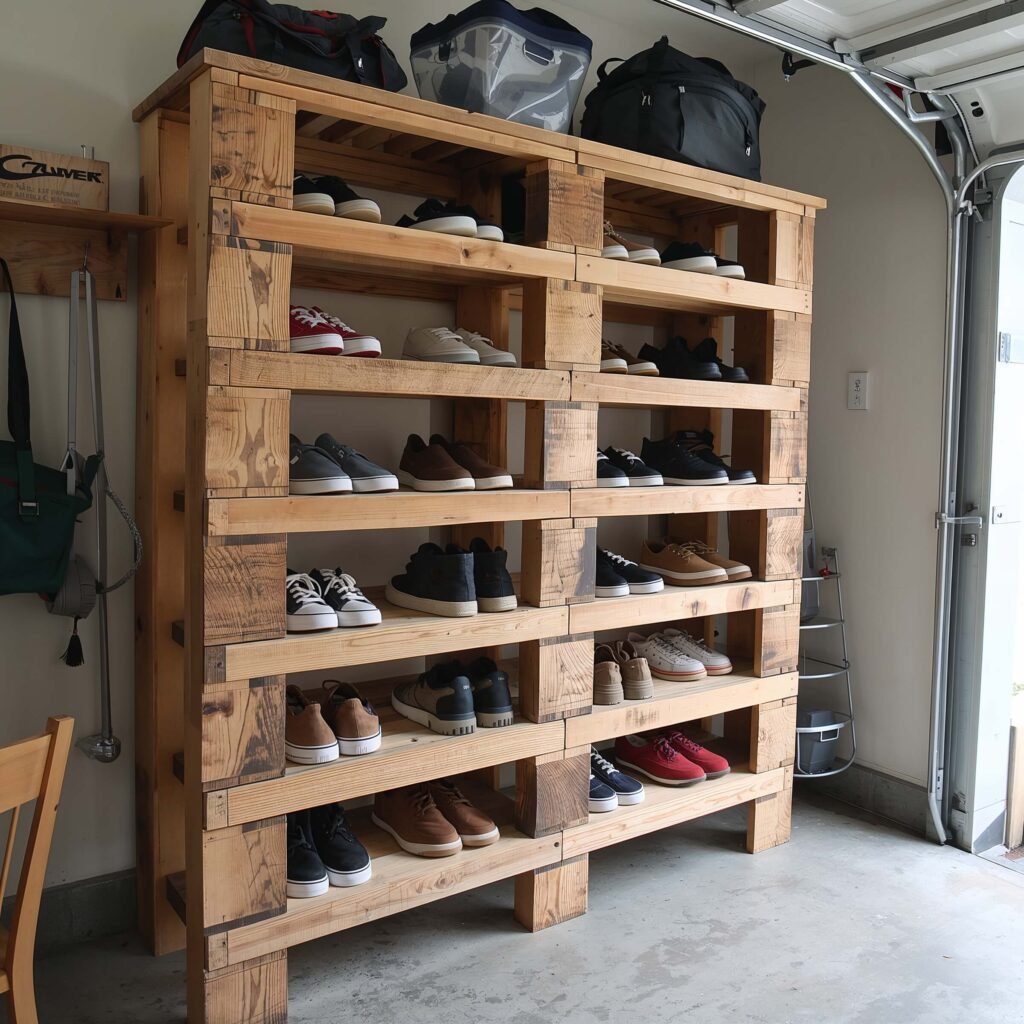
DIY Pallet Shoe Rack
Okay, let’s talk about the DIY pallet shoe rack – the Pinterest darling that actually lives up to the hype (mostly). Free pallets plus a little elbow grease equals a rustic shoe storage solution that costs next to nothing.
I built mine from two pallets I scored from a local warehouse. After sanding them down (splinters are nobody’s friend) and adding a coat of sealant, I had a two-tier shoe rack that holds about 15 pairs. Not bad for a Saturday afternoon project and $20 in supplies.
The Real Deal on Pallet Projects
Before you rush out to grab pallets, let me save you some headaches:
- Check for chemical treatment stamps (avoid MB marked pallets – they’re chemically treated)
- Sand thoroughly, and I mean thoroughly
- Apply wood sealant to prevent moisture damage
- Reinforce with extra screws where needed
- Consider adding dividers to keep shoes organized
The rustic look isn’t for everyone, but if you like that industrial vibe, pallets deliver. Plus, there’s something satisfying about turning trash into functional storage. Just don’t expect it to look as polished as those perfectly staged photos online – real life is messier, and that’s okay.
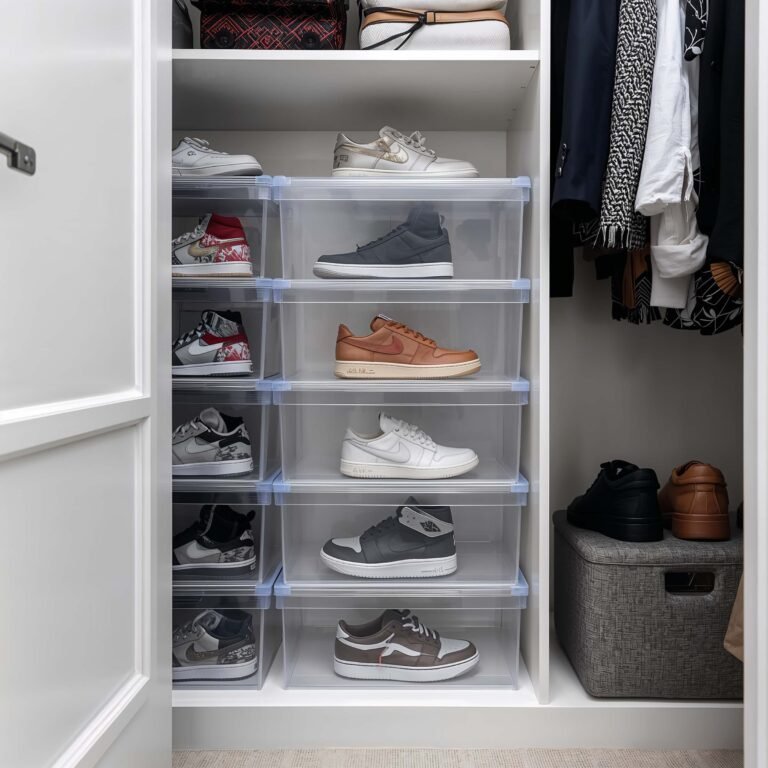
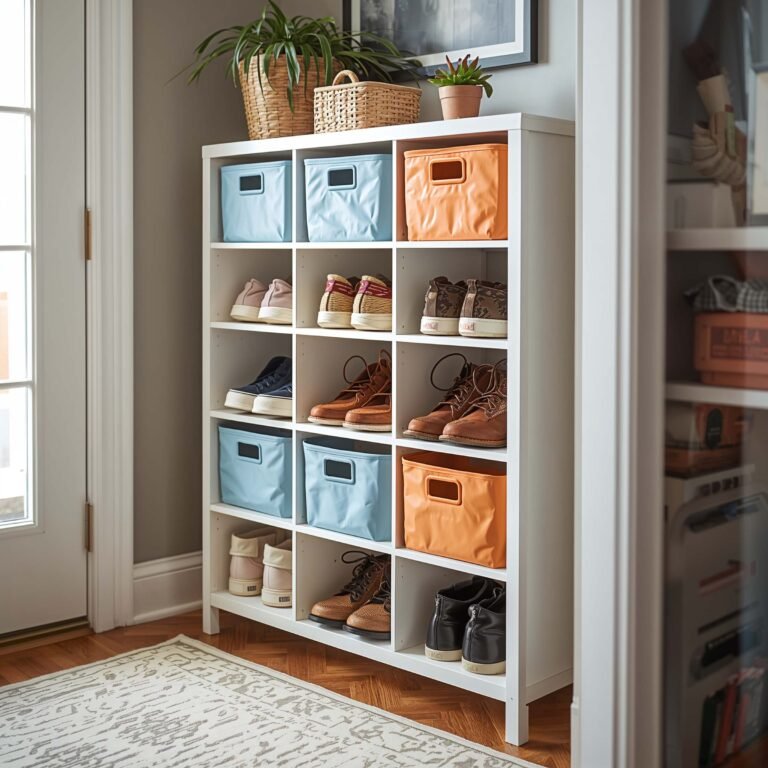
Stackable Clear Shoe Bins
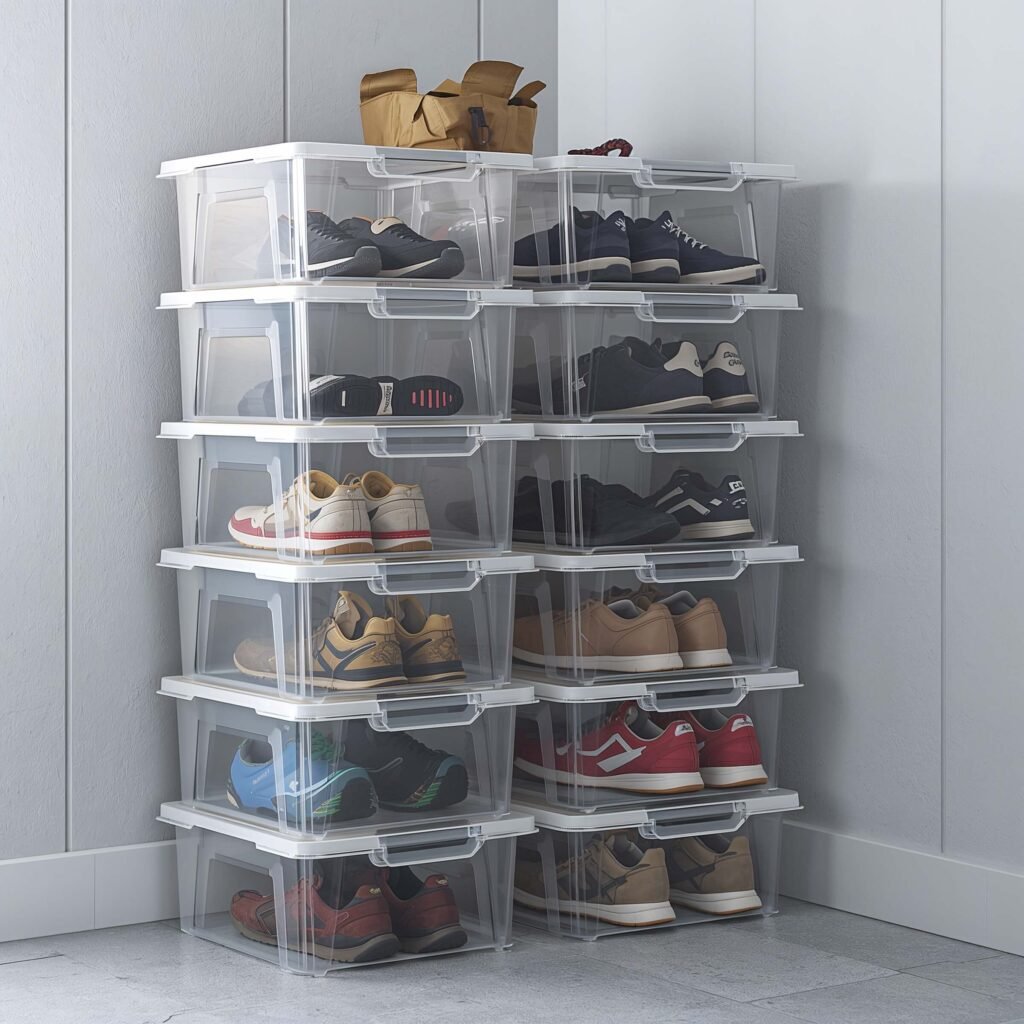
Clear stackable bins solve the age-old problem of “out of sight, out of mind.” You can see exactly what’s inside without opening every container, and the stackable design maximizes vertical space like a boss.
I use these for storing seasonal shoes and those special occasion pairs that only come out a few times a year. My wife’s fancy heels live in individual bins on the top shelf, while kids’ outgrown shoes (saved for younger siblings) stack neatly in the corner.
Smart Bin Selection Strategies
Not just any plastic bin will do. After trying several brands, here’s what works:
- Drop-front doors for easy access without unstacking
- Ventilation holes to prevent moisture buildup
- Interlocking lids that create stable stacks
- Clear sides (obviously) for visibility
- Size variety to accommodate different shoe types
Pro tip: Take photos of shoes and tape them to bins if the plastic gets cloudy over time. Also, throw a dryer sheet in each bin to keep shoes fresh. Learned that trick from a professional organizer, and IMO, it’s genius.
Also Read: 10 Genius Entryway Shoe Storage Ideas That Maximize Space
Hanging Shoe Cubbies on Garage Door
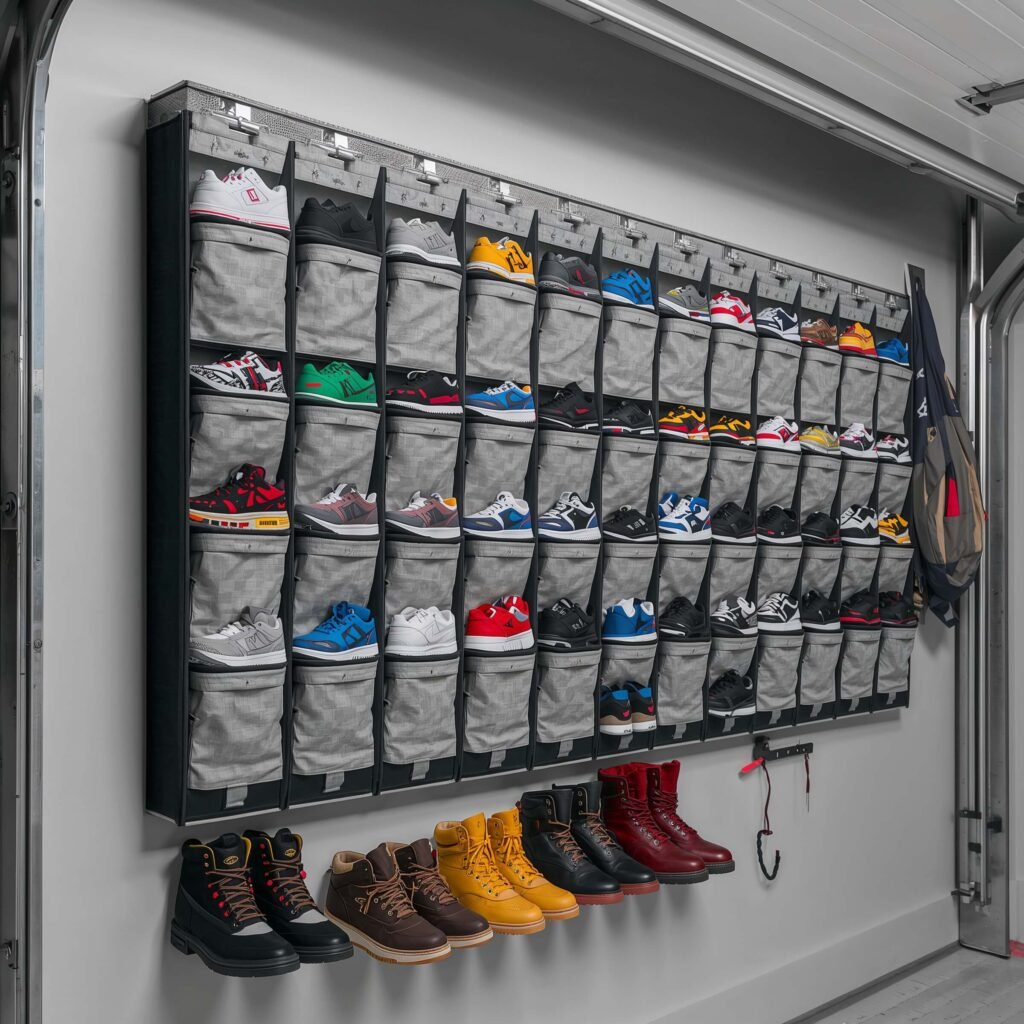
Your garage door – that massive vertical surface you probably never thought about using for storage. Hanging shoe cubbies on the back of your garage door transforms wasted space into prime shoe real estate.
I installed a heavy-duty over-the-door organizer with 24 pockets on mine. Each family member gets their own row, and we can fit two kids’ shoes or one adult shoe per pocket. The soft fabric pockets are perfect for lighter shoes like flip-flops and canvas sneakers.
Installation Without Destruction
The trick is choosing the right organizer for your door type:
- Metal doors: Use magnetic hooks or industrial adhesive strips
- Wood doors: Screw-in hooks work best
- Insulated doors: Be careful not to damage the seal
Make sure your organizer can handle the weight. I made the mistake of overloading a cheap one, and it ripped right off the door. The good ones have reinforced stitching and metal grommets at stress points.
Consider door clearance too. The organizer shouldn’t interfere with the door mechanism or create a gap that lets in pests. Measure twice, hang once – that’s my motto now.
Shoe Storage Bench with Seating

A shoe storage bench pulls double duty, and honestly, it’s the MVP of garage organization. You get a place to sit while putting on shoes PLUS hidden storage underneath. Why didn’t someone think of this sooner?
Mine sits right by the door leading into the house. The bench has cubbies underneath for everyday shoes, while the hinged top opens to reveal storage for less-frequently worn pairs. On busy mornings, having a spot to sit while wrestling with laces is a game-changer.
Building vs. Buying Considerations
You can buy ready-made benches or build your own. Having done both, here’s my take:
Buy if you want:
- Professional finish
- Warranty protection
- Quick installation
- Specific features like cushioned tops
Build if you want:
- Custom dimensions
- Specific wood type or finish
- Extra-sturdy construction
- To save money (materials cost about half of retail)
Either way, look for these features:
- Weight capacity of 300+ pounds
- Water-resistant finish for garage conditions
- Adequate ventilation in storage areas
- Non-slip feet to prevent sliding
Magnetic Shoe Strip for Metal Surfaces
Here’s a storage solution most people never consider: magnetic strips for lightweight shoes. If you have metal shelving, a metal garage door, or even a refrigerator in your garage (don’t judge, lots of us have garage fridges), you can use magnetic hooks to hang shoes.
I use powerful neodymium magnetic hooks on my metal shelving unit. Each hook holds up to 25 pounds – more than enough for a pair of sneakers. The kids’ rain boots hang from these during summer, freeing up floor space for bikes and sports equipment.
Making Magnets Work for Shoe Storage
This isn’t for every type of shoe, obviously. Work boots? Probably too heavy. But it’s perfect for:
- Kids’ shoes
- Flip-flops and sandals
- Canvas sneakers
- Light rain boots
- Slip-on shoes
Safety tip: Make sure magnets are strong enough that kids can’t easily pull them off. Weak magnets that fall create a hazard, and swallowed magnets are seriously dangerous. Invest in quality magnetic hooks with at least 20-pound ratings.
The best part? Zero installation. Just stick them on and start hanging. When you move or want to reorganize, they come right off without leaving marks or holes.
Also Read: 10 Brilliant IKEA Shoe Storage Ideas for Small Spaces
PVC Pipe Shoe Holders
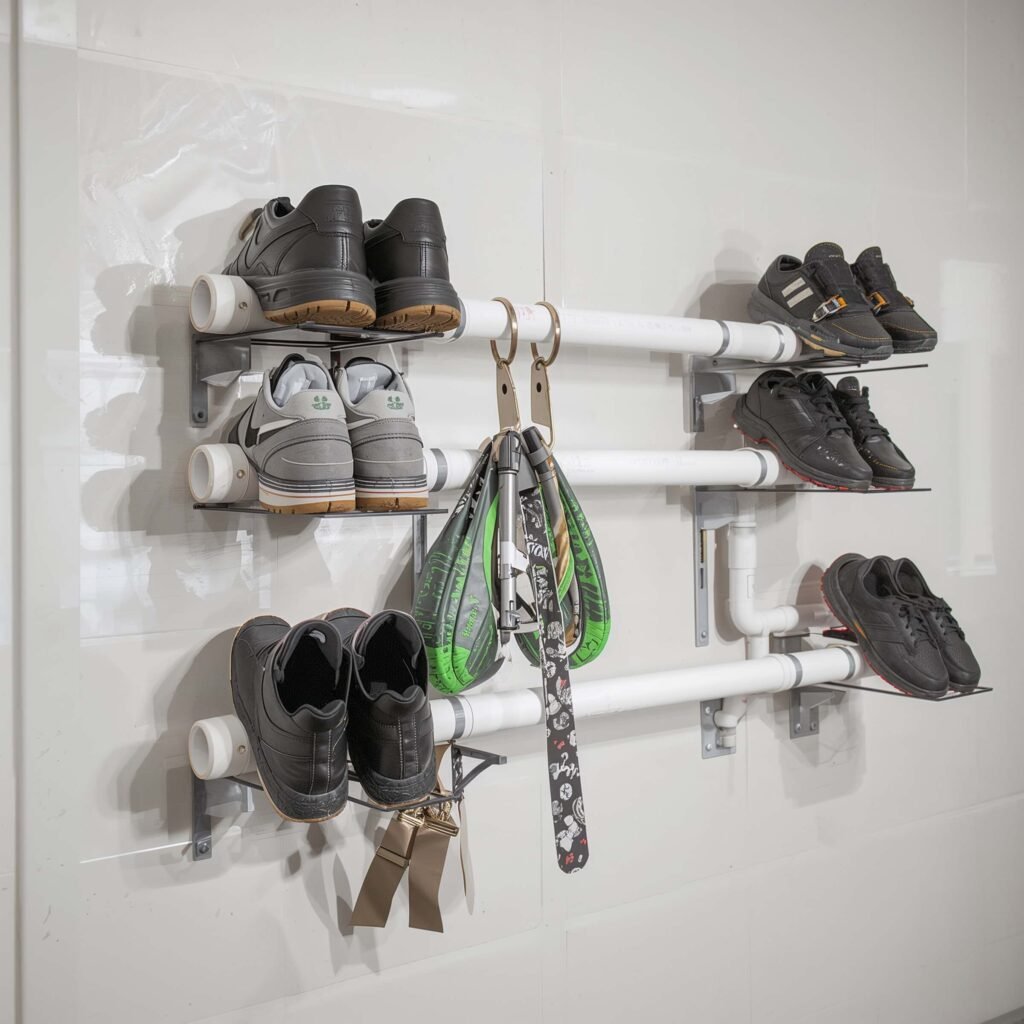
Last but definitely not least, let’s talk PVC pipe shoe holders – the surprisingly stylish solution that started as a plumbing aisle accident. I discovered this idea when I spotted large-diameter PVC pipes and thought, “Hey, those look about shoe-sized.”
Cut PVC pipes into 12-14 inch sections, stack them honeycomb-style, and you’ve got individual compartments for each shoe. I used 6-inch diameter pipes for adult shoes and 4-inch for kids’ shoes. A little PVC cement holds everything together, and the white plastic actually looks pretty sleek.
PVC Project Pointers
This project requires some tools and patience, but the results are worth it:
Materials needed:
- PVC pipes (6-inch diameter for adults, 4-inch for kids)
- PVC pipe cutter or saw
- Sandpaper for smoothing edges
- PVC cement
- Paint (optional, for customization)
Assembly tips:
- Sand all cut edges smooth (rough PVC will snag fabric)
- Test fit before gluing – PVC cement bonds instantly
- Start with a small section to get the hang of it
- Consider spray painting for a custom look
The cylindrical design keeps shoes from getting squished, and each shoe has its own space. No more playing shoe Jenga when you need the pair at the bottom of the pile.
Making Your Choice: What Actually Works
So which solution should you choose? Honestly, the best garage shoe storage combines several of these ideas. I use overhead racks for seasonal storage, a bench by the door for daily shoes, and clear bins for special occasions. Your setup depends on your space, budget, and how many shoes you’re wrangling.
Remember, the goal isn’t Instagram perfection – it’s creating a system you’ll actually use. Start with one solution and build from there. Your future self will thank you every time you walk through an organized garage instead of a shoe obstacle course.
The transformation doesn’t happen overnight, but trust me, once you get your shoe storage sorted, you’ll wonder why you waited so long. And hey, you might even find that missing left shoe that disappeared six months ago. (Mine was behind the lawn mower, in case you’re wondering.)
Now excuse me while I go admire my organized garage. Again. 🙂