15 Kitchen Remodel On A Budget Ideas for a Stunning Transformation
Alright, let’s have a real talk. You’re staring at your kitchen. Maybe the cabinets are a lovely shade of 1995 honey oak. Perhaps the countertops have seen one too many hot pans.
You’re dreaming of a magazine-worthy space, but then you check your bank account and that dream suddenly feels… delusional. Sound familiar?
I’ve been there. My first kitchen looked like it was decorated by a color-blind landlord with a passion for beige.
A full gut job wasn’t even a remote possibility. But you know what? I got to work, got a little creative, and transformed it into a space I genuinely loved without taking out a second mortgage.
A stunning kitchen transformation doesn’t require a stunning budget. It requires a plan, some elbow grease, and a few brilliant, budget-friendly tricks.
So, grab a coffee (you’ll need the caffeine for motivation), and let’s dive into 15 ideas that will make your kitchen the heart of your home again, without breaking the bank.
15 Kitchen Remodel On A Budget Ideas
1. Refresh Cabinets with a Coat of Paint

Let’s start with the big one. The single most impactful change you can make in a kitchen is addressing those cabinets. They are the largest visual surface area in the room. Replacing them is astronomically expensive. Painting them? That’s just genius.
I took my dark, depressing wooden cabinets and gave them a crisp, clean white makeover. The entire room felt brighter, bigger, and about a decade newer. It’s not a difficult job, but it is a detailed one. Cutting corners here is a recipe for a peel-y, chip-y disaster.
Here’s the non-negotiable process:
- Clean & Degrease: Seriously, scrub them with a degreaser like TSP substitute. Years of cooking grease will prevent paint from adhering. Don’t skip this!
- Sand & Prime: You don’t need to strip them down to bare wood, but you must rough up the surface so the primer has something to grip. Then, use a high-quality bonding primer. This is your best friend. It covers stains and creates a perfect base for your paint.
- Paint with the Right Stuff: Do not use generic wall paint. You need a hard, durable paint meant for cabinets. I’m a huge fan of enamel or acrylic cabinet paints. They self-level beautifully and dry to a hard, wipeable finish. Apply with a high-density foam roller for a smooth, brush-stroke-free look.
Bold takeaway: A high-quality primer and cabinet-specific paint are worth every single penny. This isn’t the place for bargain-bin materials. Spend $50 more on good paint and save yourself the heartache of a redo in a year.
2. Upgrade Lighting Fixtures
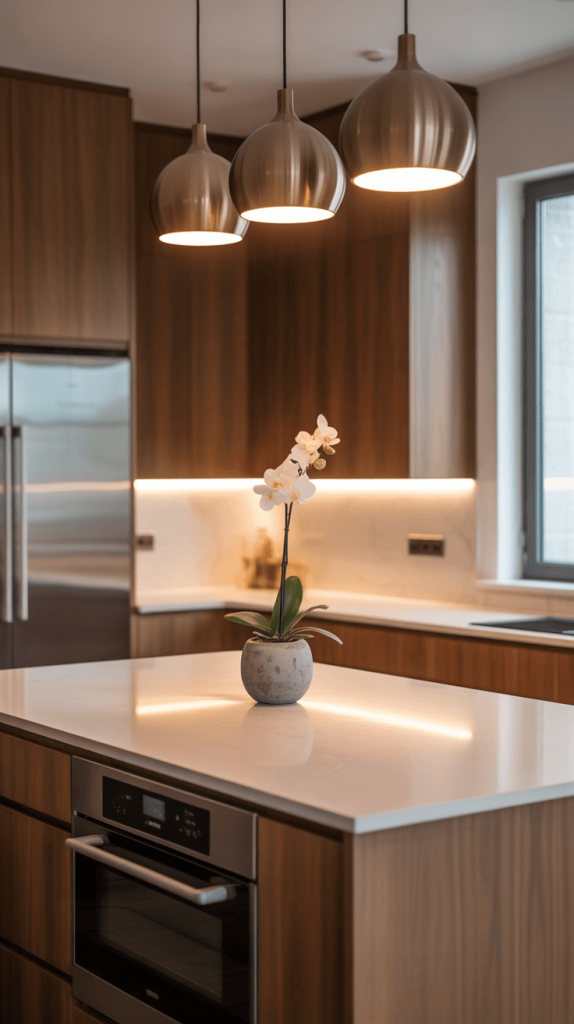
Lighting is the jewelry of a room. You can have a beautifully painted space, but if it’s lit by a dusty, dated fluorescent box or a builder-basic brass fixture, the whole vibe is ruined. Swapping out light fixtures is a relatively easy DIY project that packs a massive punch.
Think about the layers of light:
- Overhead: Replace that old ceiling fixture with a modern pendant or a stylish flush-mount light. If you have an island, a pair of pendants can instantly create a focal point.
- Task Lighting: Under-cabinet lighting is a game-changer. It eliminates shadows on your countertops, makes cooking safer, and adds a gorgeous ambient glow. You can find fantastic, easy-to-install LED tape light kits that are peel-and-stick and plug into an outlet. No electrician needed!
- Ambient Lighting: A simple plug-in wall sconce or a cute lamp on the counter can add so much warmth and character.
Ever wondered why restaurants have such good lighting? It’s intentional! It sets the mood. Your kitchen deserves the same treatment. FYI, always flip the breaker before you touch any wires. I don’t want to read about you in the news, okay? 🙂
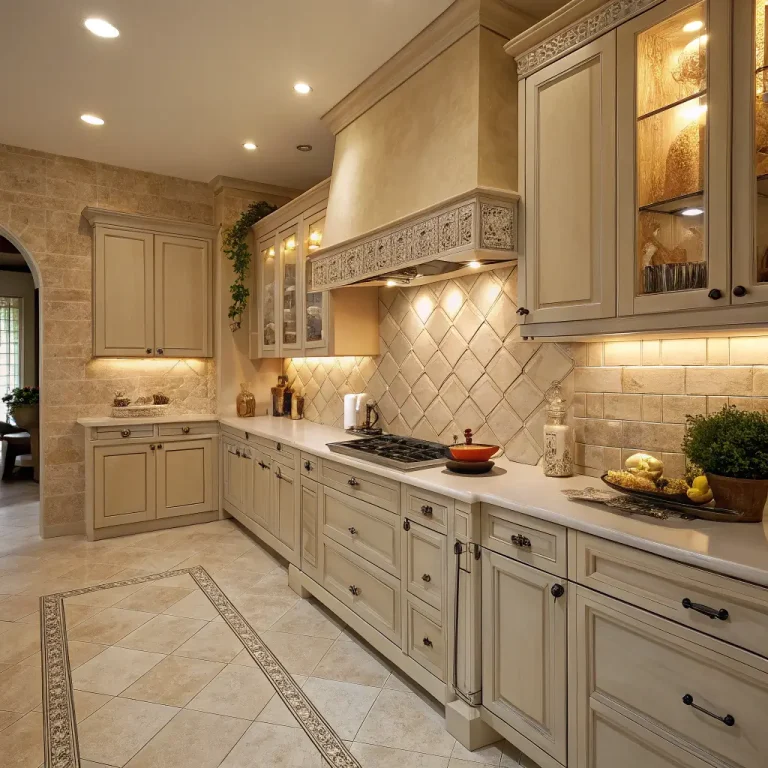
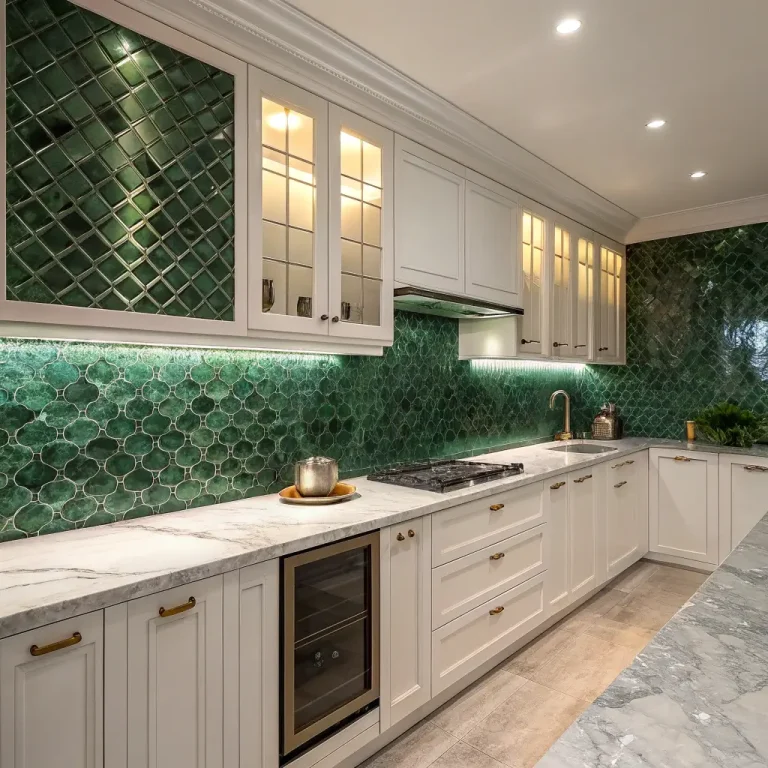
3. Install Peel-and-Stick Backsplash Tiles
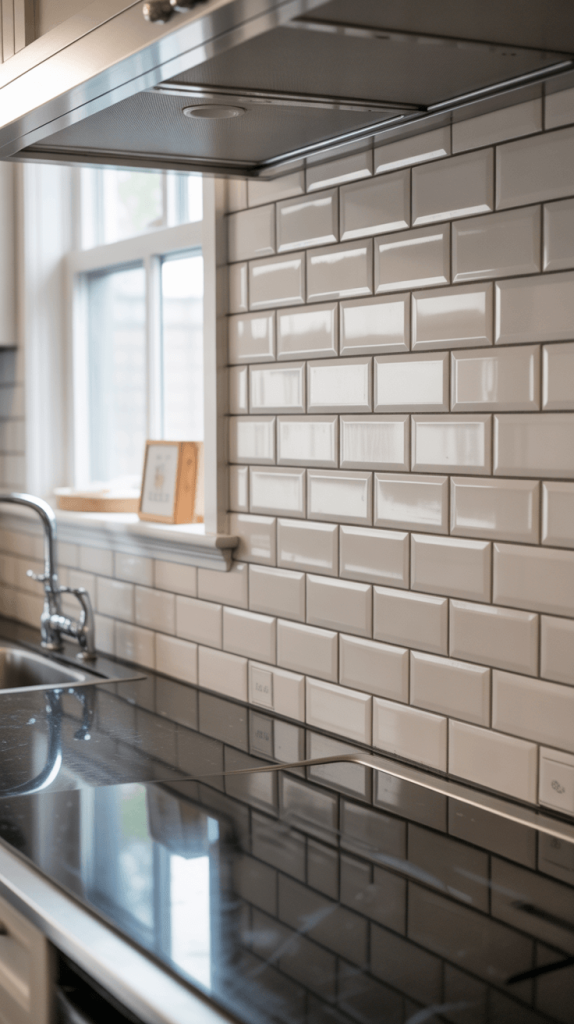
The thought of mixing mortar, applying grout, and renting a wet saw is enough to make any budget-conscious DIYer run for the hills. Enter the hero of our story: peel-and-stick backsplash tiles.
This is quite literally one of the easiest and most satisfying upgrades you can do. Modern options are incredible—you can find realistic-looking subway tile, beautiful Moroccan patterns, cool metals, and even convincing faux stone. They’re made of a flexible vinyl or acrylic and have a self-adhesive backing.
The process is simple:
- Clean your wall immaculately.
- Measure and mark a level starting line.
- Peel off the backing and stick them on!
- Many types even have pre-applied “grout” lines.
I used a classic white subway tile pattern in my rental kitchen, and it looked 100% legit. When I moved out, they peeled right off without damaging the wall. It’s a brilliant, low-commitment way to add texture, color, and a finished look behind your counters.
Also Read: 15 Budget-Friendly Kitchen Remodel Ideas
4. Refinish or Paint Countertops

New granite or quartz can easily cost thousands. If your countertops are structurally sound but just ugly or dated, you have some fantastic budget options.
- Countertop Paint Kits: These have come a long way. They’re epoxy-based systems that create a durable, seamless, and surprisingly hard-wearing surface. You can get kits that mimic granite, marble, or even concrete. It requires meticulous prep and a well-ventilated area, but the results can be astounding for a couple hundred dollars.
- Concrete Overlay: For a more industrial, modern look, a micro-topping concrete overlay is a cool option. A professional can do it, but brave DIYers can tackle it themselves.
- Contact Paper: Don’t knock it ‘til you’ve tried it! High-quality marble or granite-patterned contact paper is a viral sensation for a reason. It’s cheap, removable, and from a distance (or in an Instagram photo), it can look incredibly real. It’s not as durable as paint, but for a rental or a truly tight budget, it’s a wild and fun option.
IMO, a paint kit is the best balance of durability and cost for a homeowner. Just be sure to follow the instructions to the letter. This is not a “wing it” kind of project.
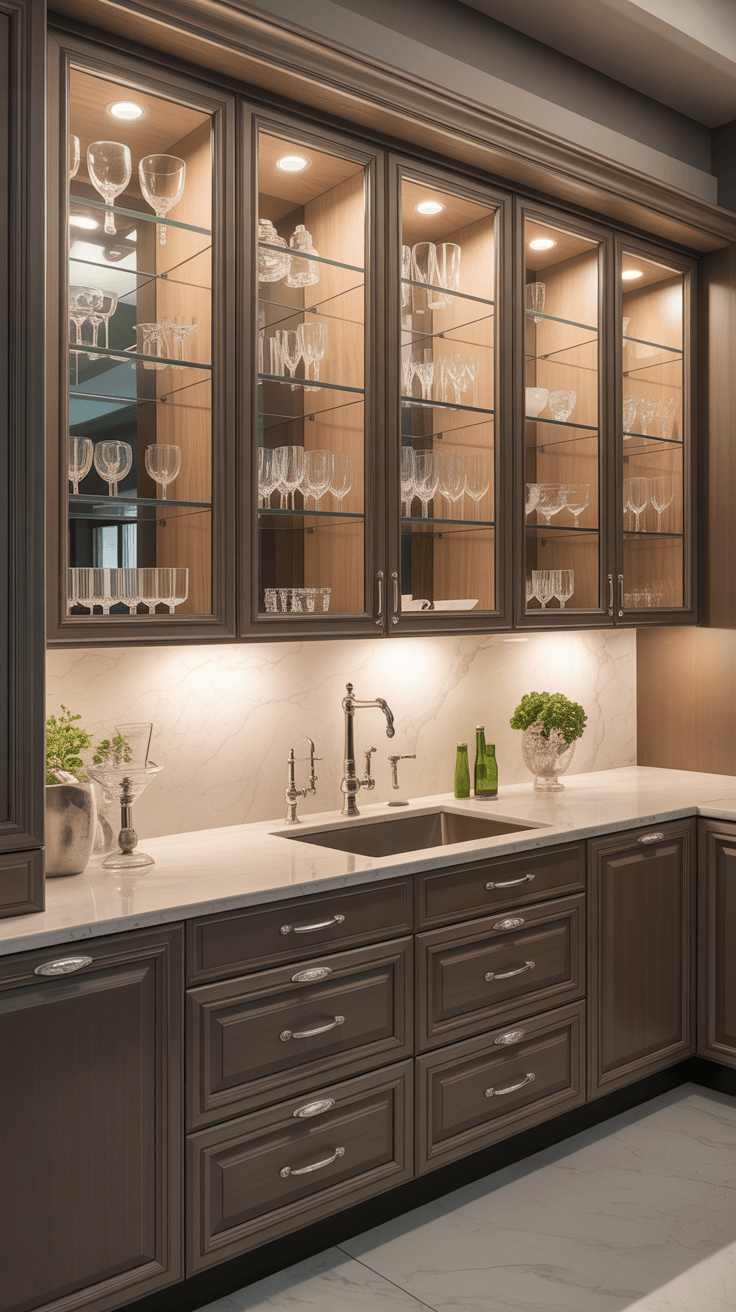
5. Open Shelving for Storage and Style

Tear out a few upper cabinets and replace them with open shelves. This does a few things: it makes the space feel instantly larger and airier, it forces you to declutter (because your stuff is on display), and it allows you to add personality.
You can use beautiful wooden crates, sanded and stained planks on simple brackets, or even repurpose an old wooden ladder. Style them with your nice dinnerware, a few cookbooks, a plant or two, and some decorative objects.
Bold takeaway: Open shelving is less about storage and more about style. It’s a way to break up the monotony of cabinets and inject your character into the kitchen. Plus, it’s way cheaper than installing a new cabinet.
6. Refresh Old Appliances with Stickers or Paint

That avocado green or harvest gold fridge from the 70s might be a vintage collector’s dream, but for most of us, it’s an eyesore. If replacing appliances isn’t in the cards, you can give them a modern update.
- Appliance Paint: They make specific heat-resistant epoxy paints for appliances. You can completely change the color of your fridge, dishwasher, or oven. It requires serious prep (sanding, cleaning, taping), but a sleek black or white appliance can modernize the whole room.
- Vinyl Wrap: This is the more forgiving cousin of paint. You can buy large sheets of vinyl wrap (like a giant sticker) in stainless steel, matte black, or even fun colors. If you mess up, you can peel it off and try again. It’s also less permanent, which is great for rentals.
Is it a perfect solution? Maybe not. But it can bridge the gap for a few years until you’re ready to invest in that matching stainless steel set.
Also Read: 15 Creative Small Kitchen Remodel Ideas to Maximize Space & Style
7. Add a Kitchen Island on a Budget

You crave that extra counter space and storage an island provides, but the built-in ones cost more than your first car. Time to get creative!
Look for:
- A Repurposed Furniture Piece: An old wooden table, a small dresser, or even a sturdy desk can be transformed into a charming kitchen island. Just add a couple of coats of durable paint or sealant to the top to handle kitchen wear and tear.
- A Prefab Rolling Island: Stores like IKEA, Home Depot, and Wayfair offer fantastic rolling islands with butcher block tops and storage underneath. They are functional, movable, and cost a fraction of a custom build.
- The DIY Build: If you’re handy, you can build a simple box frame out of 2x4s and plywood, add casters, and top it with a pre-cut butcher block slab from a hardware store.
An island doesn’t have to be permanent to be perfect. A movable one gives you flexibility and a huge style boost.
8. Use Open-Box or Discounted Materials
The clearance section of a big-box store is a goldmine. Look for:
- Open-box flooring: Someone bought too much and returned it.
- Scratched or dented appliances: Often, the damage is on the side that will be against a wall or under a counter.
- Remnant countertops: Fabricators sell leftover pieces from larger jobs. These are perfect for a small island or a bathroom, but you might get lucky and find a piece big enough for your kitchen.
- Habitat for Humanity ReStore: This place is a DIYer’s paradise. You can find everything from cabinets and sinks to doors and hardware for a fraction of the retail price. It takes patience and frequent visits, but the deals are unbelievable.
You have to be willing to hunt and be flexible, but the savings can be enormous.
9. Add a Statement Rug

A rug in the kitchen? Absolutely! A well-placed runner in front of the sink or a larger rug under the table defines the space, adds color and pattern, and is merciful on your feet and back during long cooking sessions.
The key is to choose the right kind of rug. You need something low-pile and easy to clean, like indoor-outdoor polypropylene, flat-weave cotton, or a washable rag rug. Avoid high-pile shags that will trap every crumb and spill.
This is the easiest, lowest-commitment way to experiment with a bold pattern or color you might be too scared to paint on the walls.
Also Read: 15 Genius Galley Kitchen Remodel Ideas for a Stylish, Space-Saving Upgrade
10. Incorporate Vintage or Upcycled Furniture

Cookie-cutter kitchens lack soul. The fastest way to add some is with a unique piece of vintage or upcycled furniture.
That old dresser? It can become pantry storage. A quirky little table? It’s your new coffee station. A bar cart? It’s perfect for storing spices and oils. Scour flea markets, Facebook Marketplace, and garage sales for pieces with good bones. A fresh coat of paint and some new hardware can turn a $20 find into the star of your kitchen.
Bold takeaway: One unique piece of furniture tells a story that a room full of new, mass-produced items never can. It’s the ultimate budget-friendly style hack.
11. Use Budget-Friendly Laminate Flooring
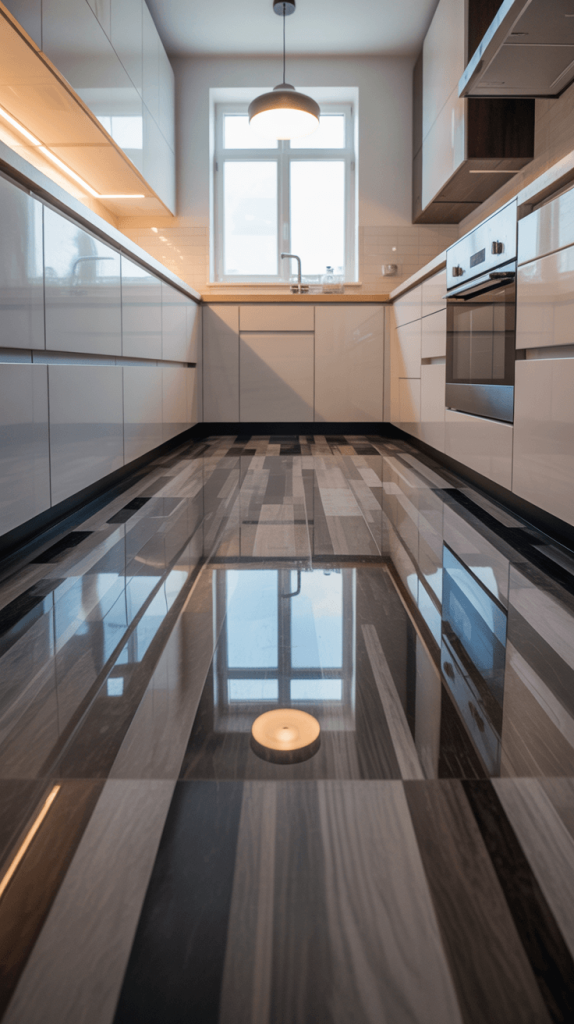
If your floors are truly beyond hope, replacing them doesn’t have to mean expensive hardwood or tile. Modern laminate and luxury vinyl plank (LVP) flooring are absolute game-changers.
They are:
- Durable: Scratch and water-resistant.
- Easy to Install: Many are click-lock floating floors, meaning you can install them right over your existing floor (as long as it’s level).
- Affordable: Often costing just a few dollars per square foot.
- Realistic: The prints and textures now convincingly mimic wood, stone, and ceramic tile.
I installed a waterproof LVP in my own kitchen that looks like weathered gray barn wood. It’s survived spills, dropped knives, and a very messy dog. It still looks brand new. It’s a DIY-friendly project that completely transforms the foundation of the room.
12. Paint the Walls with Bold Colors
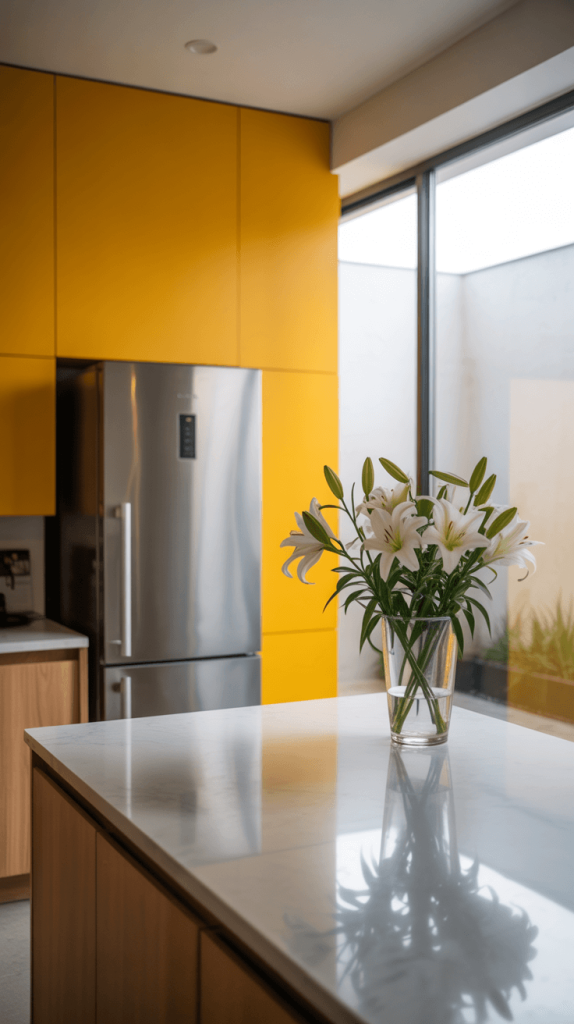
While painting cabinets is a commitment, painting walls is the easiest and cheapest way to change a room’s atmosphere. And I’m not talking about “safe” beige.
Why not try a deep navy blue, a warm sage green, or a dramatic charcoal? If you have open shelving, a bold wall color makes everything on those shelves pop. If you have a breakfast nook, paint just that area to define the space.
Color is the cheapest tool you have. Use it! Even a gallon of the highest-quality paint will set you back less than $50. If you hate it? It’s just paint. You can change it next weekend. Live a little!
13. Update Your Sink and Faucet
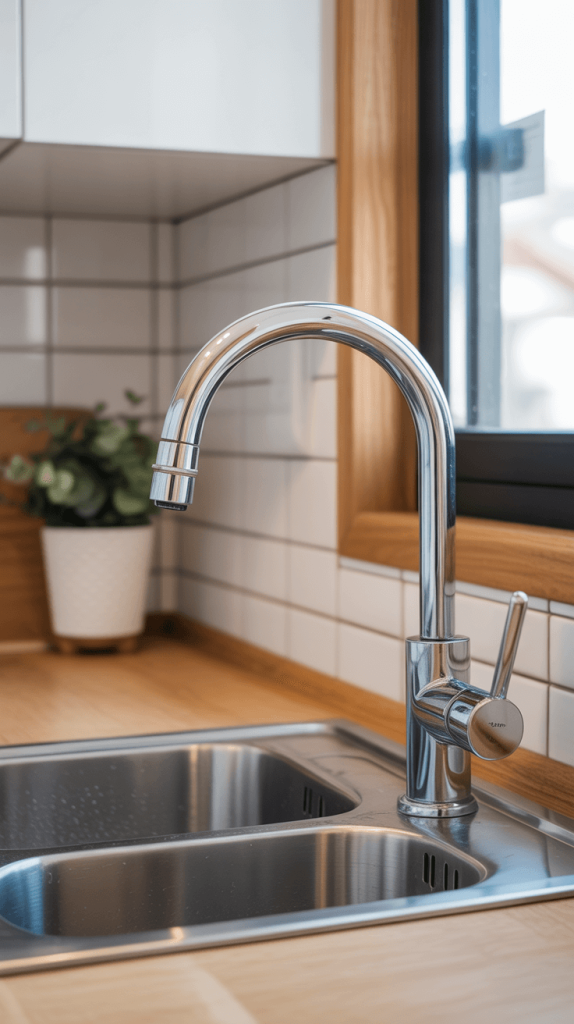
A new sink and faucet combo feels like a luxury upgrade, but it’s far more affordable than most people think. A sleek, single-bowl stainless steel sink and a high-arc pull-down faucet can modernize your kitchen’s functionality and look instantly.
This is a moderately advanced DIY project, as it involves turning off the water and dealing with plumbing connections. But for a handy person, it’s a very achievable weekend project. The difference it makes in your daily routine—from washing big pots to cleaning the sink itself—is profound.
14. Use Stylish and Affordable Wall Art
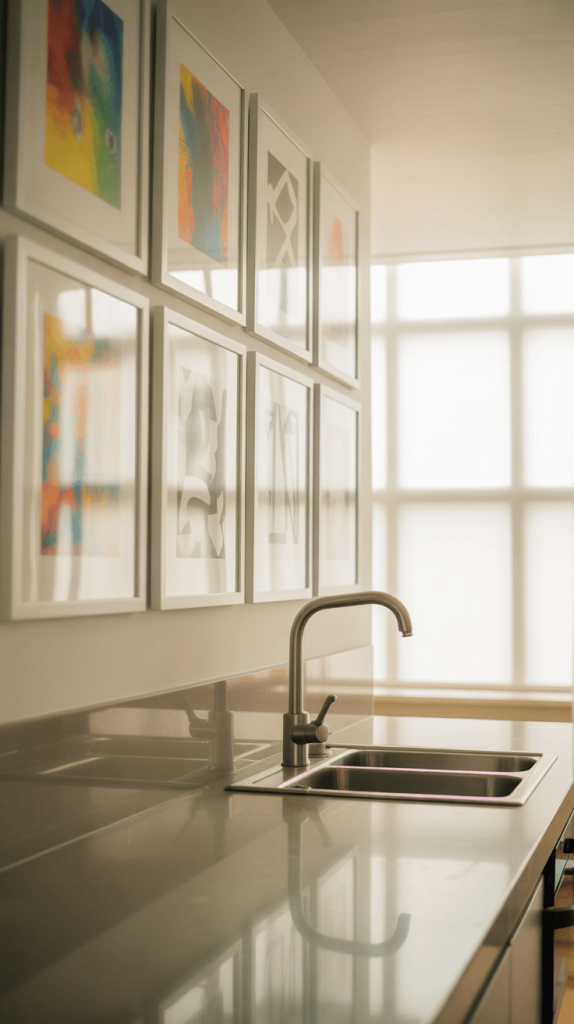
Walls are real estate. Don’t waste them! Art isn’t just for the living room.
- Frame a beautiful, vintage-looking recipe card from your grandmother.
- Hang a set of antique plates in a grouping.
- Find cool, food-related prints on Etsy.
- Hang a simple, rustic wooden shelf and lean a few pieces of art against the wall.
This adds a layer of personality that makes the kitchen feel lived-in and loved, not just a utilitarian space. It’s the final touch that says, “A human lives here who has interests beyond washing dishes.”
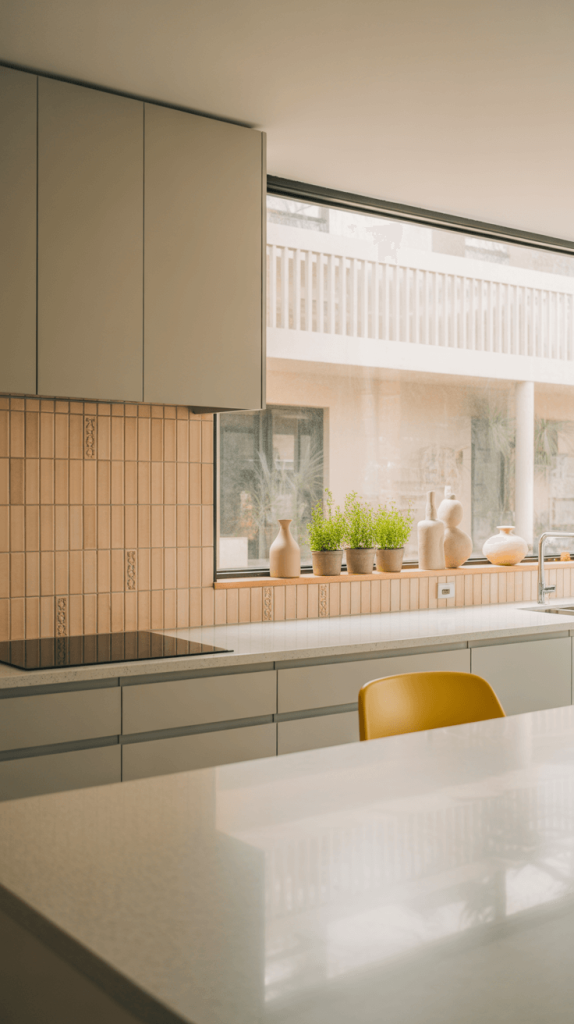
15. Go Minimalistic with Your Decor

Sometimes, the best design move is subtraction, not addition. Clutter is the enemy of a peaceful, stylish kitchen.
Take an afternoon and ruthlessly declutter your counters. Put away the giant knife block, the twenty-piece appliance collection, and the random mail. Keep out only the things you use daily and that are beautiful to look at: a nice ceramic canister for utensils, a beautiful wooden cutting board, a single vase with fresh herbs.
A clear counter makes the entire room feel larger, cleaner, and more intentional. And guess what? It costs absolutely nothing.
Conclusion
See? I told you it was possible. A kitchen remodel on a budget isn’t about magic; it’s about making smart, high-impact choices and being willing to put in a little work.
You don’t have to do all 15 of these things. Pick the three or four that address your biggest pain points and will give you the biggest visual return for your effort and money.
The goal isn’t perfection. It’s progress. It’s creating a space that makes you happy to walk into it every morning to make your coffee.
It’s about proving to yourself that you don’t need a bottomless bank account to have a beautiful home—you just need vision, a good playlist for your painting days, and maybe a friend to help you hold up that peel-and-stick tile. Now, go on. Get started. Your stunning kitchen is waiting to be uncovered.