14 Stunning Ideas for Your Mobile Home Bathroom Remodel
Alright, let’s talk about something we’ve all spent a little too much time thinking about: the mobile home bathroom. If yours is anything like my first one, it’s a charming relic from a bygone era, complete with a floral wallpaper pattern that haunts your dreams, a sink the size of a large teacup, and a mysterious, ever-present dampness in the corner. Sound familiar?
I get it. Remodeling any bathroom can feel like a huge task, but doing it in a mobile home comes with its own special set of rules, challenges, and—dare I say—opportunities. The good news? You don’t need a mansion’s budget or a contractor’s license to turn that cramped, dated space into your absolute favorite room in the house.
I’ve been there, I’ve done it (and maybe made a mistake or two along the way), and I’m here to walk you through it.
So, grab a coffee, get comfortable, and let’s dive into 14 stunning ideas that will transform your mobile home bathroom from “meh” to magnificent.
This is a no-judgment zone, just friendly, practical advice from one enthusiast to another.
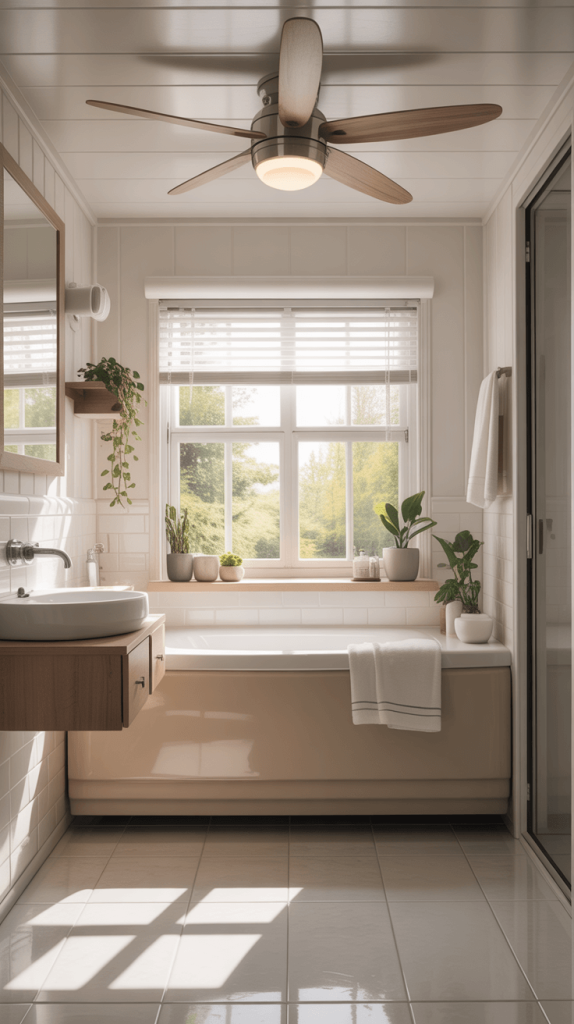
Enhancing Ventilation for a Healthier Space

Let’s start with the most glamorous topic of all: ventilation. I know, I know, it’s not as exciting as picking out a new vanity. But hear me out. Poor ventilation is the arch-nemesis of any bathroom, especially in a mobile home where space is tight and moisture loves to overstay its welcome. Ever painted a wall only to watch a lovely shade of mold bloom through it six months later? Yeah, me too. Not a great look.
A good exhaust fan is your first line of defense. You’re not just moving steam around; you’re kicking it out of the house entirely. This prevents mold, mildew, and that general feeling of showering in a damp cave.
What to look for in a fan:
- CFM Rating: This is how much air it moves. A simple rule of thumb is 1 CFM per square foot of bathroom space. So, for a 50-square-foot bathroom, aim for a 50 CFM fan. If your shower is particularly steamy, maybe go a little higher.
- Noise Level: Measured in sones. Lower sones = quieter operation. You don’t want your peaceful shower ruined by what sounds like a jet engine preparing for takeoff. Aim for 1.0 sones or less if you can.
- Installation: This is the tricky part in a mobile home, where roof or wall access might be limited. While a hardwired fan is best, there are fantastic ventilation units designed for mobile homes that can be installed with less invasive surgery. If you’re not 100% confident with electrical work, please, for the love of all that is holy, hire a pro. It’s worth every penny.
Think of it as an investment in the health of your home—and your lungs. A dry bathroom is a happy bathroom.
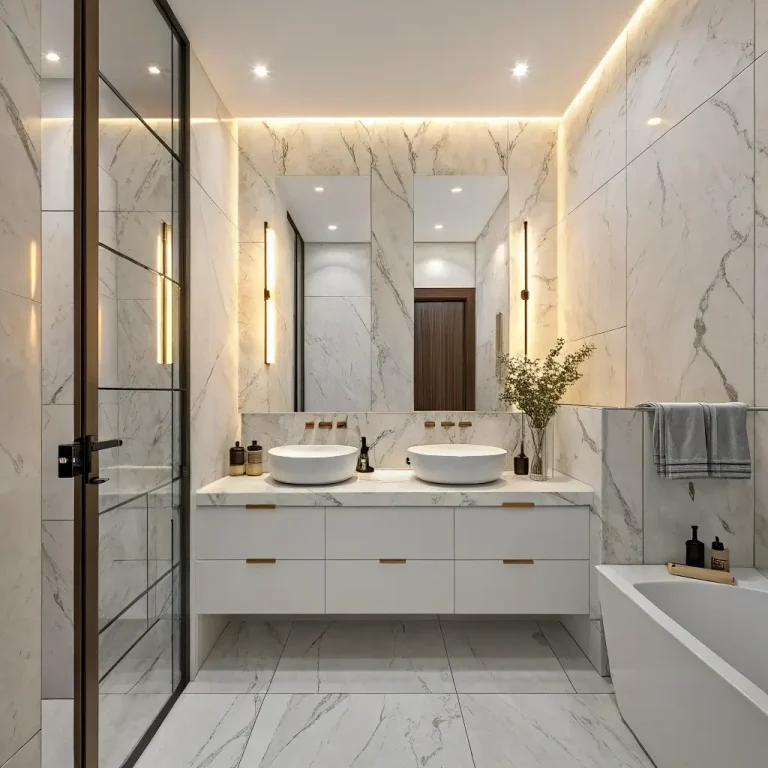
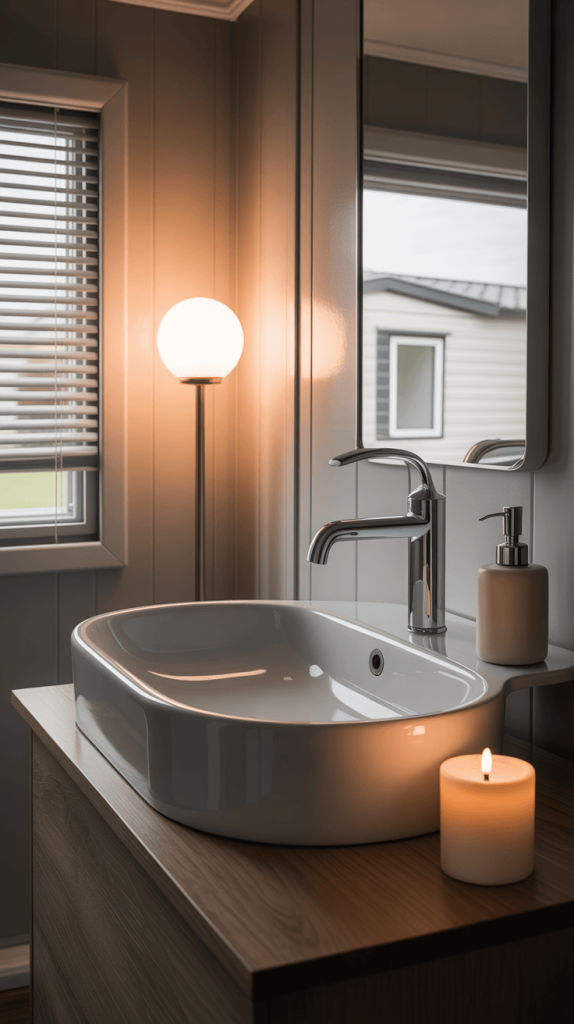
Creating a Spa-Like Atmosphere with Lighting
Let’s banish the dreaded “overhead cave light” forever, shall we? That single, harsh fixture in the center of the ceiling does nothing for you, me, or anyone trying to apply mascara without poking an eye out. Lighting is the cheapest form of magic in a remodel. It can make a small space feel larger, a cold space feel warm, and a boring space feel like a personal sanctuary.
The key is layering. You want a mix of light sources to create depth and ambiance.
- Ambient Lighting: This is your general, overall light. Instead of one central boob light, consider flush-mount LED ceiling fixtures that provide bright, even light. Look for ones with a dimmer switch. This is a non-negotiable game-changer. Being able to dial down the brightness for a relaxing bath is everything.
- Task Lighting: This is the MVP for your daily routines. The absolute best place for this is around your mirror. Forget the single light above it that casts shadows on your face. Install sconces on either side of the mirror or a well-lit LED mirror itself. This provides even, shadow-free light for grooming.
- Accent Lighting: This is the fun part. Want to feel like you’re at a fancy hotel? Add some LED strip lights under your vanity toe kick, inside a niche, or even behind the mirror for a soft, inviting glow.
Switching your bulbs to a warm white (around 2700-3000 Kelvin) instantly makes everything feel more cozy and less like a surgical theater. It’s a $10 upgrade that does $100 worth of work.
Updating Plumbing for Improved Functionality
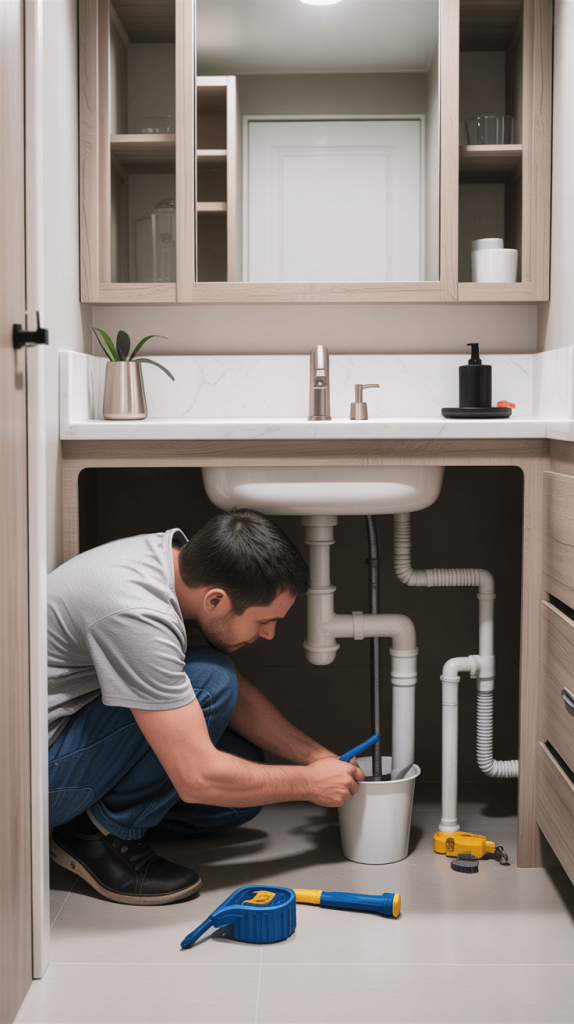
I can sense your eyes glazing over, but stick with me! This might be the most important item on the list. Many mobile homes still have their original plumbing, which can be a recipe for low water pressure, leaks, and general frustration. That pathetic trickle from your showerhead isn’t just annoying; it’s a sign.
Updating doesn’t always mean ripping out every pipe in the walls (though if you’re doing a full gut job, you absolutely should consider replacing old polybutylene or CPVC pipes with more reliable PEX). Often, you can make huge gains with simpler fixes.
- The Showerhead: This is the easiest win. Swap out that sad, old showerhead for a water-efficient, high-pressure model. They are designed to feel amazing even while using less water. It’s a 10-minute job with a wrench that will improve your morning routine 100%.
- The Faucets: Leaky, wobbly faucets scream “dated.” Modern, single-handle faucets for your sink and shower are not only more stylish but are also easier to use and often more reliable.
- The Toilet: Older toilets are water hogs. A new low-flow or dual-flush toilet can save thousands of gallons of water a year. Plus, they just flush better. It’s a win-win.
A quick FYI: always know where your main water shut-off valve is before you start any plumbing project. Trust me on this one. A small, casual leak can turn into a very big, very wet problem very quickly.
Also Read: 15 Brilliant Camper Bathroom Remodel Ideas for a Fresh, Spacious Look
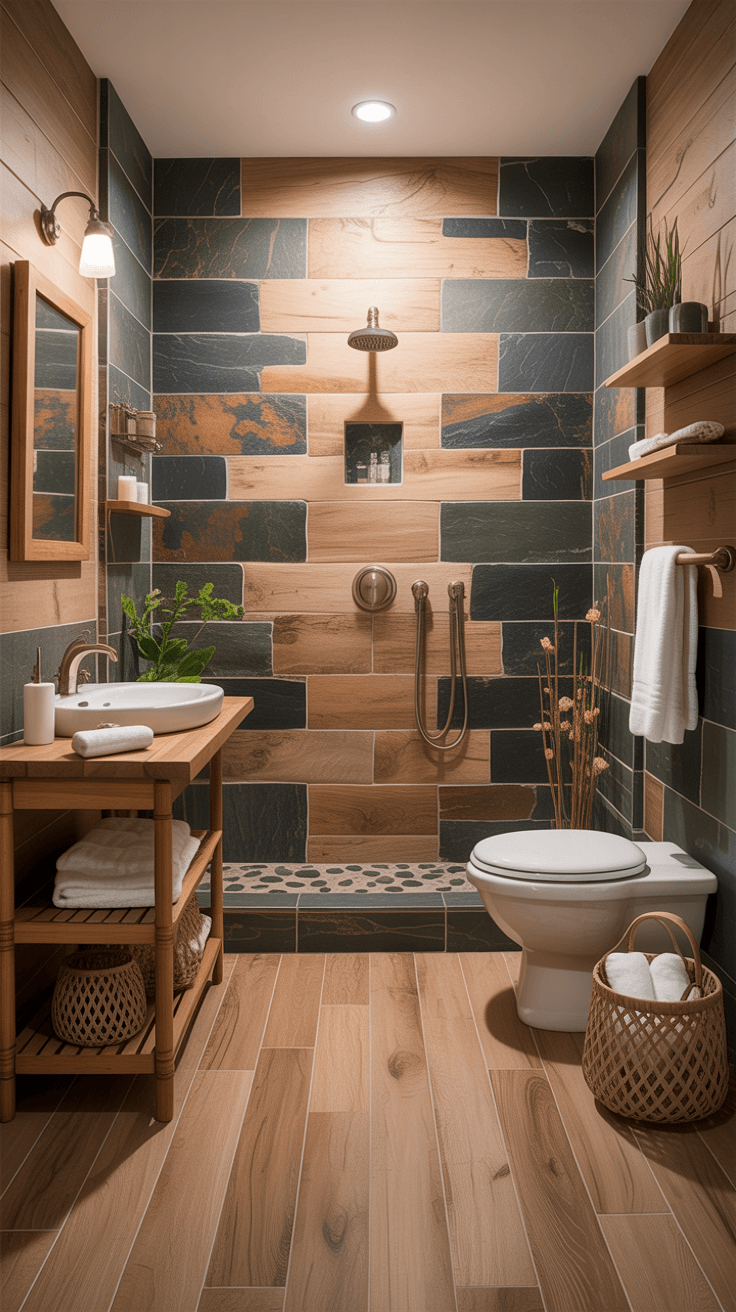
Selecting Durable Flooring Options for Longevity

Bathroom floors take a beating. Water, hair product spills, dropped hairdryers—it’s a warzone. In a mobile home, you also have to consider flexibility and weight. You need something that can handle a little structural movement without cracking.
- Luxury Vinyl Plank (LVP) or Tile (LVT): This is, IMO, the undisputed champion for mobile home bathroom floors. It’s 100% waterproof, incredibly durable, soft underfoot, and easy to install. The best part? It comes in a million amazing designs that convincingly mimic wood, stone, and ceramic tile. You get the high-end look without the high-end cost, weight, or installation headache.
- Sheet Vinyl: The classic choice for a reason. It’s affordable, water-resistant, and seamless, which means there are no grout lines for water to seep through. Modern sheet vinyl has come a long way in the style department, too.
- Porcelain or Ceramic Tile: A beautiful and permanent option. However, you must ensure your subfloor is perfectly rigid and level to prevent cracking grout or tiles. The added weight can also be a consideration. If you’re set on tile, smaller tiles are better as they can handle slight flexing better than large format tiles.
I personally went with LVP that looks like weathered barn wood, and not a single guest has ever guessed it was vinyl. It’s tough, warm, and wipes clean in seconds. What’s not to love?
Maximizing Space with Smart Storage Solutions
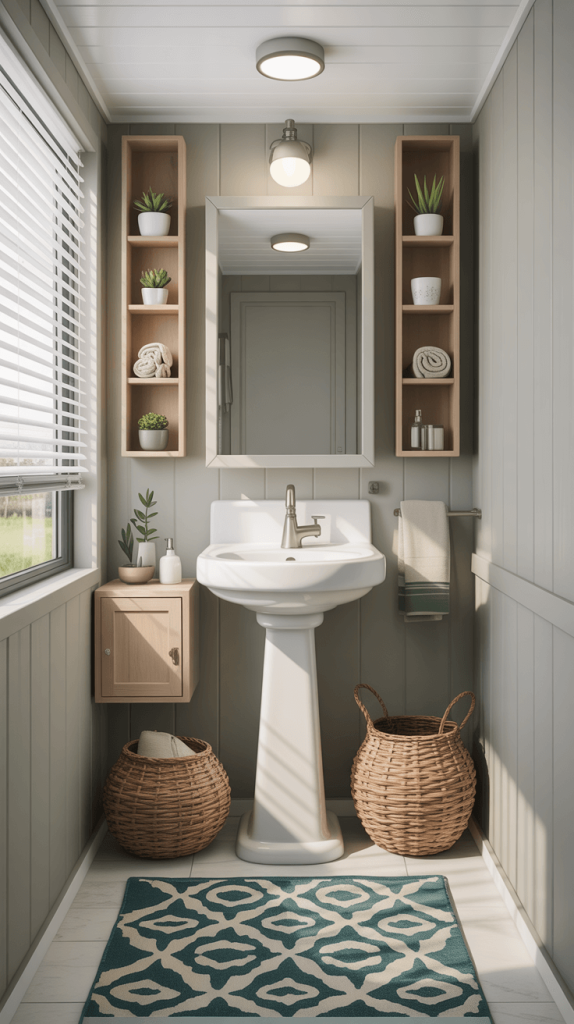
Mobile home bathrooms are not known for their sprawling square footage. But a lack of space doesn’t mean a lack of storage; it just means you have to get clever. The goal is to use every single inch vertically and in unexpected places.
- Over-the-Toilet Storage: This often-wasted space is prime real estate. A tall, narrow cabinet or a set of open shelves here can hold towels, toiletries, and extra toilet paper.
- Floating Vanities: By mounting your vanity to the wall, you create visible floor space underneath. This tricks the eye into thinking the room is larger. The open area is also perfect for storing a cute basket filled with towels or cleaning supplies.
- Recessed Medicine Cabinet: If your wall allows for it, a recessed medicine cabinet is a genius move. It provides deep storage without jutting out into the room, saving you precious elbow space.
- Niches and Shelves: If you’re re-tiling your shower, build a recessed niche into the wall. It’s a built-in shelf for shampoo and soap that doesn’t intrude into your shower space. No more fighting with a clumsy shower caddy!
- The Doors Are Your Friends: Add over-the-door hooks for robes and towels. Install a slim organizer on the inside of your vanity door for cleaning supplies or styling tools.
It’s all about working smarter, not harder. A place for everything makes even the smallest bathroom feel organized and serene.
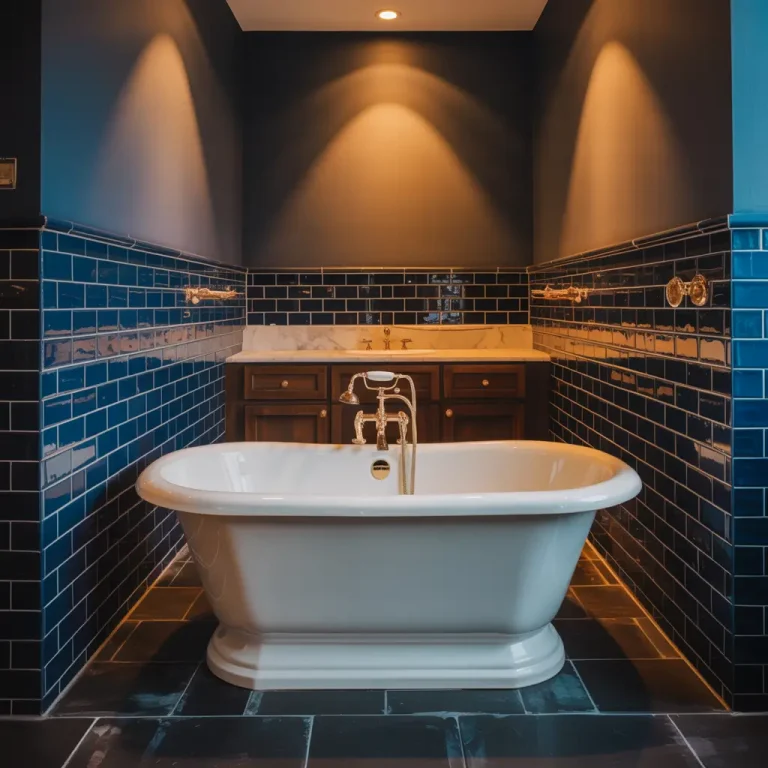
Incorporating Color Schemes for a Fresh Look
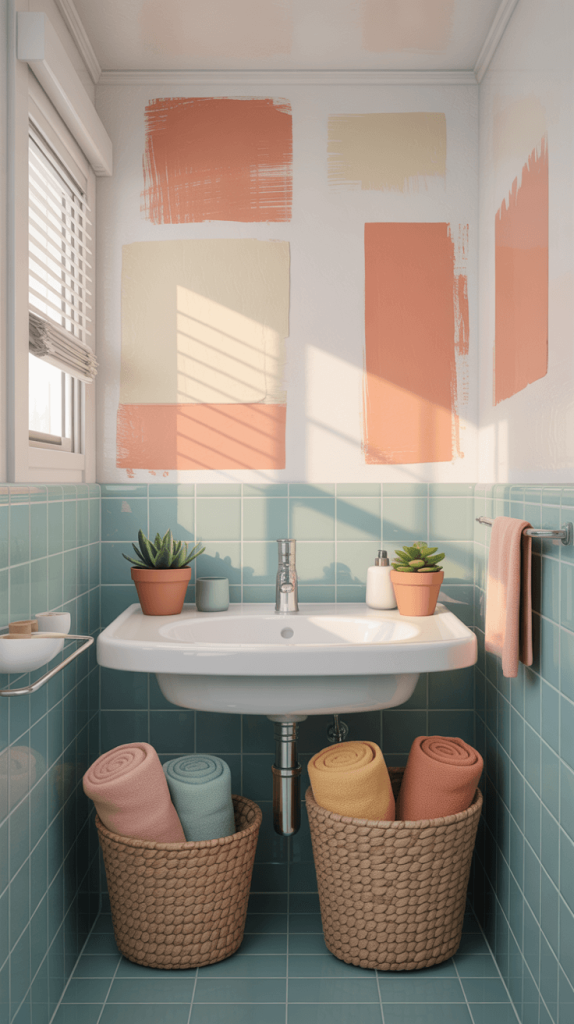
Color is the fastest way to change the entire vibe of your bathroom. Those beige and peach tones from the 80s had a good run, but it’s time for them to retire. The right palette can make your space feel larger, brighter, and perfectly you.
- Light and Bright: You can’t go wrong with classic white. It’s clean, timeless, and reflects light, making the room feel instantly bigger. Pair it with black hardware for a sharp, modern contrast, or with wood tones for a softer, organic feel.
- Moody and Dramatic: Who says a small bathroom can’t handle dark colors? A deep navy, forest green, or even a charcoal grey on the walls can create an incredibly cozy, intimate, and sophisticated spa-like feel. Just balance it with plenty of light and light-colored fixtures.
- Spa-Inspired: Think calming, serene colors. Soft, muted shades of seafoam green, pale blue, light grey, or even a very subtle lavender can instantly lower your blood pressure. These colors mimic the natural world—stone, sand, water, and sky.
- Pops of Color: If you’re a bit color-shy, keep your walls and fixtures neutral and bring in color through your accessories. A bold rug, vibrant towels, and fun artwork are all easy and inexpensive to change up when you get bored.
The biggest tip? Get samples! Paint a large swatch on your wall and look at it at different times of day. The light in your bathroom will change how a color looks completely.
Also Read: 15 Inspiring Full Bathroom Remodel Ideas for a Stunning Transformation
Choosing the Right Fixtures for Your Mobile Home Bathroom
Fixtures are the jewelry of your bathroom. They might be small details, but they pull the whole look together. And thankfully, you don’t have to break the bank to get a high-end look.
- Finish is Everything: The first rule is to choose one finish and stick with it. Your faucet, showerhead, towel bars, and toilet paper holder should all match. A mix of chrome, brushed nickel, and oil-rubbed bronze will just look messy. Popular, timeless choices include:
- Brushed Nickel: Warm, durable, and hides water spots well.
- Matte Black: Modern, dramatic, and makes a huge style statement.
- Chrome: Classic, affordable, and easy to find.
- Style Consistency: Make sure the style of your fixtures matches the overall vibe you’re going for. Are you modern? Look for clean, geometric lines. Going for a farmhouse look? Maybe a cross-handle faucet is more your speed.
- Quality Matters: The super-cheap builder-grade fixtures from the big box store might be tempting, but they often feel flimsy and can fail quickly. Spending a little more on a quality brand from a plumbing supply store (even online) means a smoother operation and a finish that will last for years without corroding.
This is an area where a small upgrade has a massive visual impact. It’s the difference between “remodeled” and “well-designed.”
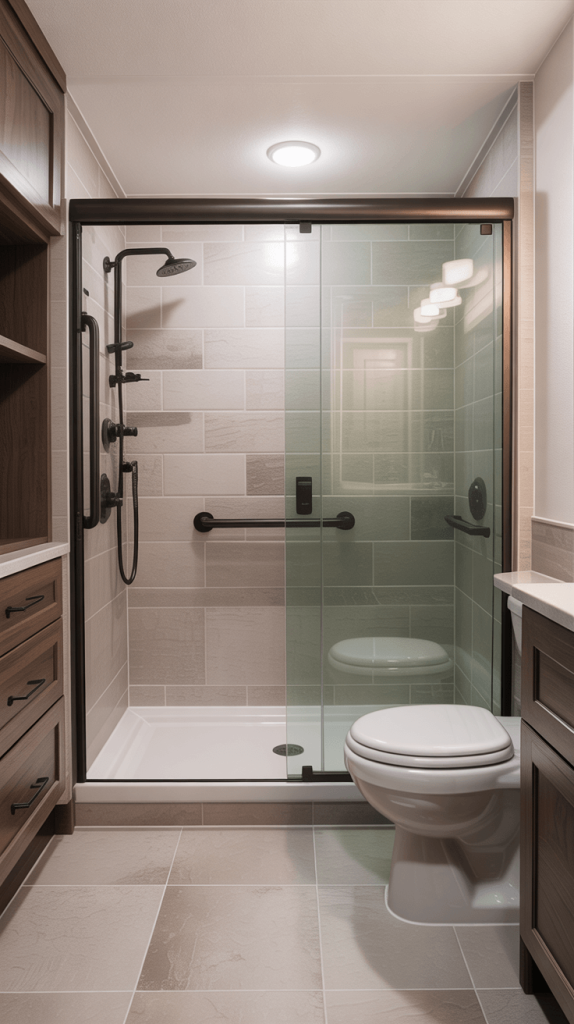
Choosing the Right Shower or Tub Configuration
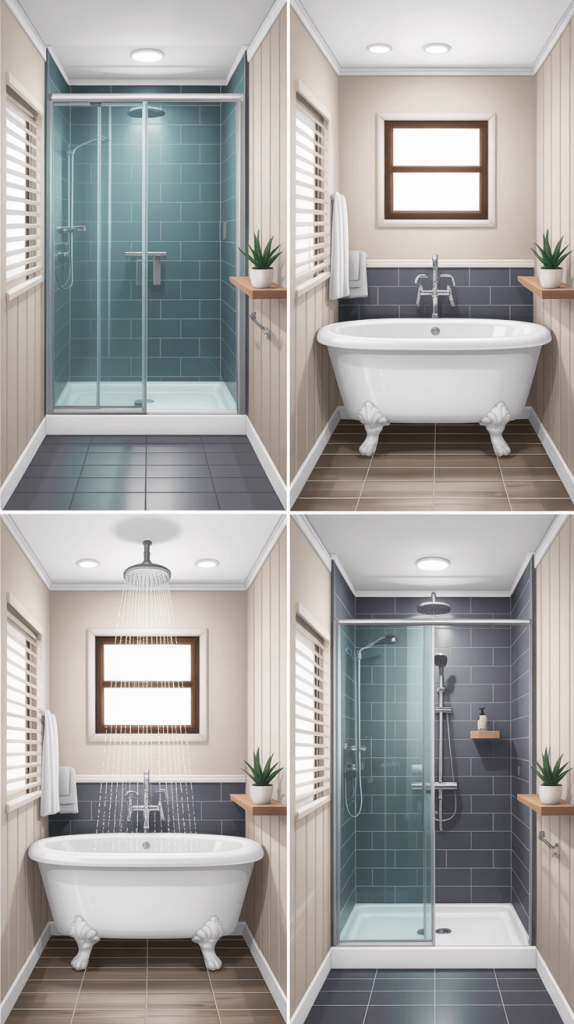
This is a big one. The tub/shower combo is the centerpiece of most bathrooms. In a mobile home, you’re often working with a very specific-sized alcove, so you need to choose a unit that’s designed to fit.
- Acrylic Tub/Shower Units: This is the most common and practical choice. Modern one-piece or three-piece units are lightweight, durable, and non-porous (so no grout to clean!). They come in a huge array of sizes and styles, from basic white to units with built-in tile patterns and shelves. They are a fantastic, cost-effective solution.
- Standing Showers: If you never take baths, consider ditching the tub altogether and installing a standing shower. This can actually make the bathroom feel more spacious. You can use a pre-fab shower base (pan) and then surround it with acrylic walls or even tile for a custom look. Just be mindful of resale value—some home buyers, especially those with kids, really want a bathtub.
- The Tub/Shower Swap: If you’re keeping the tub but want a new one, measure your existing alcove precisely. Mobile home tubs often have unique dimensions. You’ll likely need to find a replacement unit specifically labeled for mobile homes to ensure a perfect fit.
Remember, the goal is to maximize function and enjoyment within the space you have. What do you use every day?
Ensuring Compliance with Mobile Home Regulations
Okay, let’s have the “responsible adult” talk for a minute. I know regulations aren’t fun, but ignoring them can lead to serious problems, from failed inspections to voided insurance claims. Mobile homes are built to a different code (HUD Code) than site-built homes (IRC).
The most important thing to know is that anything permanently attached to the structure needs to be rated for use in a mobile home. Why? Because our homes are designed to be lightweight and can flex slightly during transport or even just with settling.
- ** plumbing Fixtures:** Look for fixtures that are ANSII certified for mobile home use. This is especially critical for toilets. A standard toilet can be too heavy and not have the correct rough-in distance (the space between the wall and the drainpipe), which is often 10-12 inches in a mobile home instead of the standard 12 inches.
- Venting: We already talked about ventilation, but the specific venting requirements for dryers and bathrooms in mobile homes are strict to prevent fire hazards.
- Electrical: Any new electrical work should be done with the specific gauge of wire and type of outlet required by mobile home standards. GFCI outlets are mandatory near water sources.
When in doubt, check your data plate (usually inside a cabinet or on a bedroom closet door) for the specific standards your home was built to, and don’t be afraid to call a professional who has experience working on mobile homes. It’s better to be safe than sorry.
Also Read: 15 Brilliant RV Bathroom Remodel Ideas for Style & Functionality
Incorporating Eco-Friendly Features

Going green isn’t just good for the planet; it’s great for your wallet, too. Making a few eco-conscious choices in your remodel can save you money on utilities for years to come.
- Low-Flow Everything: We mentioned this with plumbing, but it’s worth repeating. A low-flow showerhead and faucet aerators can cut your water usage in half without you even noticing a difference in performance.
- LED Lighting: Switching every bulb in your bathroom to LED is a no-brainer. They use a fraction of the energy of incandescent bulbs, last for years, and don’t emit heat, which is a bonus in a small space.
- Sustainable Materials: When choosing materials, look for options with recycled content or those that are sustainably sourced. Bamboo vanities or accessories, for example, are a rapidly renewable resource. Recycled glass tile is another beautiful option.
- VOC-Free Paint: Standard paint releases volatile organic compounds (VOCs) into your air for months after you paint. That “new paint smell” is actually pretty toxic. Choosing a low- or zero-VOC paint keeps the air in your small bathroom much healthier for you and your family.
It feels good to make choices that are kind to the environment, and it’s a simple way to add a modern, thoughtful touch to your project.
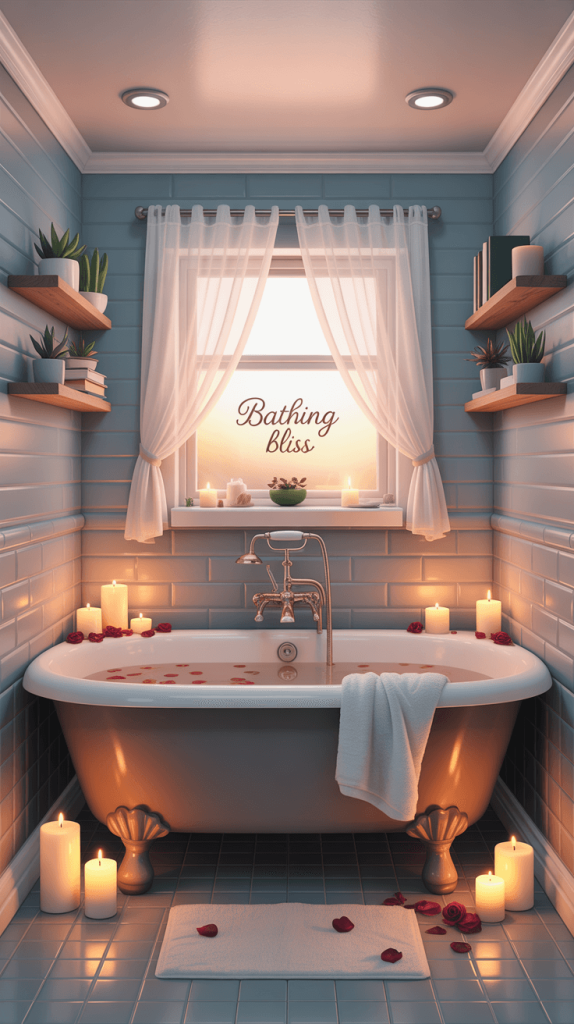
Adding Personal Touches with Decor
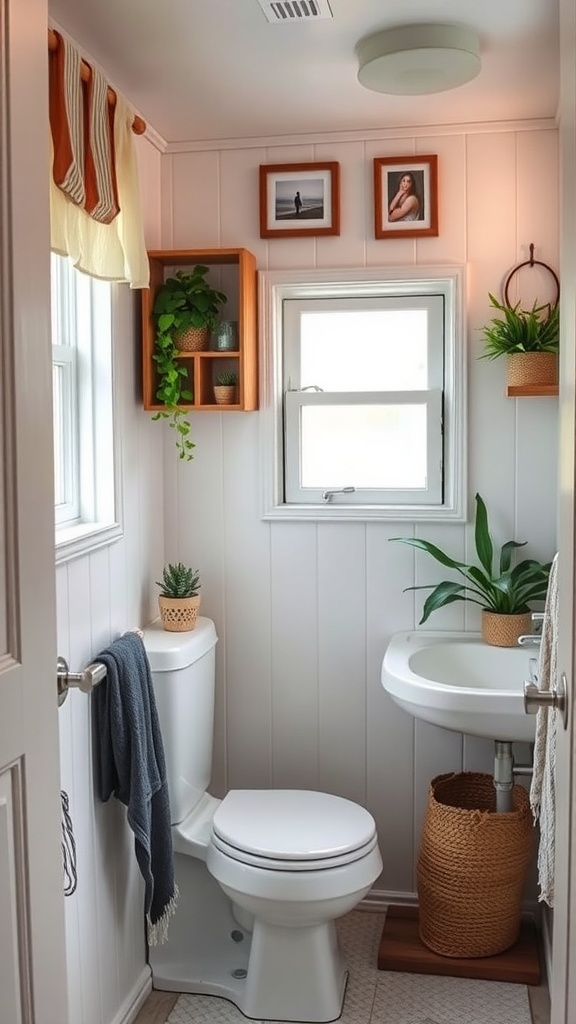
This is where your bathroom truly becomes yours. The decor is what takes it from a showroom model to a space that reflects your personality and makes you smile.
- Artwork: Don’t be afraid to hang art in the bathroom! Just make sure it’s not a priceless family heirloom. Place it away from direct shower spray, or protect it with a glass frame. A funny print, a serene landscape, or some cool abstract art adds instant personality.
- Textiles: This is your easiest switch. Bath rugs, towels, and a shower curtain are a huge part of the color and texture story. You can change the entire seasonality of your bathroom by swapping out a bright, colorful shower curtain for a neutral linen one in the fall.
- Natural Elements: Bring the outside in. A small, low-light plant (like a snake plant or ZZ plant) thrives in bathroom humidity and adds a vibrant touch of life. A small bowl of stones, a piece of driftwood, or a simple vase of eucalyptus branches (which smell amazing in the steam) can make the space feel calm and connected to nature.
- Accessories: Soap dispensers, toothbrush holders, and wastebaskets are functional, but they don’t have to be boring. Choose a set that complements your fixture finishes or adds a pop of contrast.
Your bathroom shouldn’t feel like a hospital. It should feel like a retreat, and that comes from the little things you love.
Budgeting for Your Bathroom Remodel
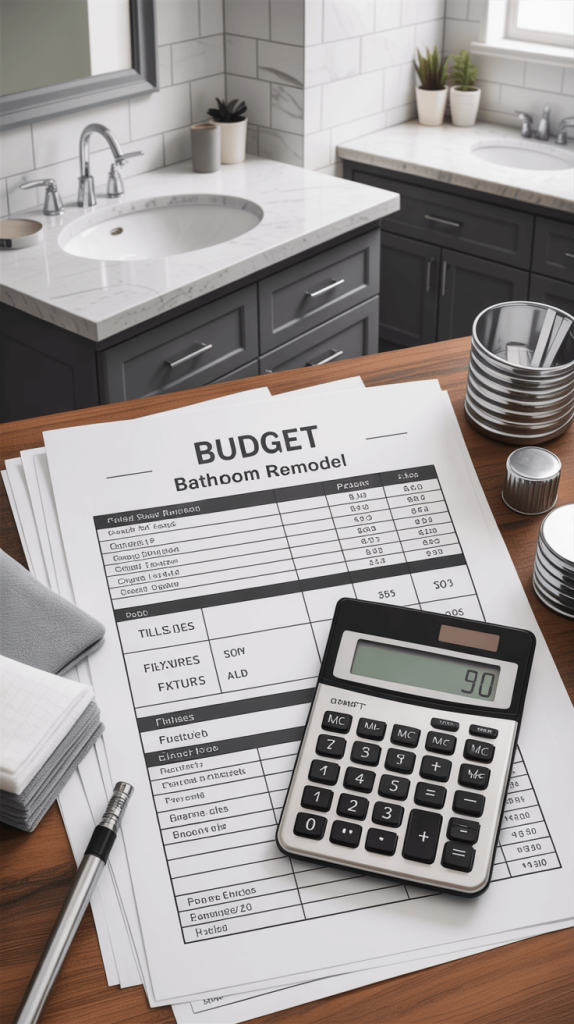
Let’s talk about the elephant in the room: money. A remodel can range from a few hundred dollars for a cosmetic refresh to several thousand for a full gut job. The key to not ending up on a viral DIY disaster show is to create a realistic budget before you swing a single hammer.
- Prioritize: Make a list of everything you want to do, and then separate it into “needs” and “wants.” Fixing a leak is a need. A heated towel rack is a want (a glorious, wonderful want, but still).
- Get Quotes: If you’re hiring out any of the work (plumbing, electrical), get at least three quotes. This gives you a realistic idea of labor costs in your area.
- The 20% Rule: However much you think the project will cost, add 20% for unexpected expenses. I promise you, you will find something behind those walls that you didn’t plan for. A rotted subfloor, outdated wiring—it happens to the best of us. That contingency fund will be your sanity saver.
- Phase It Out: You don’t have to do everything at once. Maybe Phase 1 is paint, lighting, and a new vanity. Phase 2, six months later, is the new floor and tub surround. This spreads out the cost and the disruption.
Being honest with yourself about your budget from the start will prevent you from getting halfway through and running out of money or cutting corners you’ll regret later.
Selecting Wall Treatments for Added Character
Your walls are a giant canvas. Beyond just paint, there are so many options to add texture, pattern, and personality.
- Beadboard/Wainscoting: Installing beadboard on the lower half of your walls is a classic look that adds instant charm and character. It’s also incredibly practical, protecting your walls from splashes and dings. You can paint it a crisp white or a fun color to match your theme.
- Tile: Obviously, tile is a staple in shower surrounds, but consider using it as an accent wall behind your vanity or even halfway up all the walls. A beautiful subway tile, a fun zellige pattern, or a classic hexagon can become a stunning focal point.
- Wallpaper: Wait, come back! Modern peel-and-stick wallpaper is a revelation. It’s easy to install, renter-friendly, and comes in a million amazing patterns. It’s perfect for creating a bold accent wall behind the vanity. And the best part? When you get tired of it, it peels right off without damaging the walls.
- Shiplap: If you love the modern farmhouse aesthetic, shiplap is a great way to add horizontal interest and texture to your walls. It can be painted any color to suit your style.
Don’t be afraid to get creative here. The walls are a great place to make a statement without taking up any floor space.
Planning for Accessibility in Design
Whether you’re planning to age in place or just thinking ahead, incorporating universal design principles is a smart move. These features make your bathroom safer and more comfortable for everyone, regardless of age or ability.
- Curbless Showers: Also called zero-threshold showers, these have no lip to step over. This makes them not only sleek and modern-looking but also completely accessible for wheelchairs or walkers, and safer for anyone unsteady on their feet.
- Grab Bars: These have shed their clinical look and are now available in stylish finishes that match your other fixtures. Installing a few strategically placed bars in the shower and near the toilet is a simple upgrade that provides stability and peace of mind.
- Lever Handles: Swap out knobs on your faucets and doors for lever handles. They are much easier to operate for people with arthritis or limited hand strength.
- Bench Seating: A built-in or teak shower bench isn’t just luxurious; it’s functional. It provides a place to sit while showering, making the process easier and safer.
Thinking about accessibility now means your bathroom will work for you and your family for years to come, no matter what life brings.
Your Beautiful Bathroom Awaits
Whew! That was a lot, but I hope you’re feeling inspired, not overwhelmed. Remodeling your mobile home bathroom is one of the most rewarding projects you can tackle. It’s a space you use every single day, and transforming it into something beautiful and functional truly improves your daily quality of life.
Remember, you don’t have to do all 14 things at once. Pick one or two ideas that excite you the most and start there. Maybe it’s finally replacing that awful lighting or committing to a color scheme that doesn’t involve avocado green.
This is your space. Have fun with it, don’t be afraid to make bold choices, and create a bathroom that makes you happy every time you walk in. You’ve totally got this.
Now, I’d love to hear from you! Which of these ideas are you most excited to try? Got any brilliant mobile home bathroom tips of your own? Share them in the comments below