10 Inspiring Outdoor Shoe Storage Ideas for Modern Homes
Look, we need to talk about that pile of muddy shoes by your door. You know the one I’m talking about – that chaotic mess that somehow multiplies every time you turn your back.
I’ve been there, stepping over rain-soaked sneakers and tripping over work boots just to get to my front door. After years of battling the outdoor shoe chaos (and losing), I finally found some solutions that actually work.
Here’s the thing: outdoor shoe storage doesn’t have to be complicated or expensive. You just need the right setup that works for YOUR space and lifestyle.
Whether you’re dealing with a tiny apartment balcony or a sprawling porch, I’ve tested enough storage solutions to know what works and what’s just Instagram nonsense.
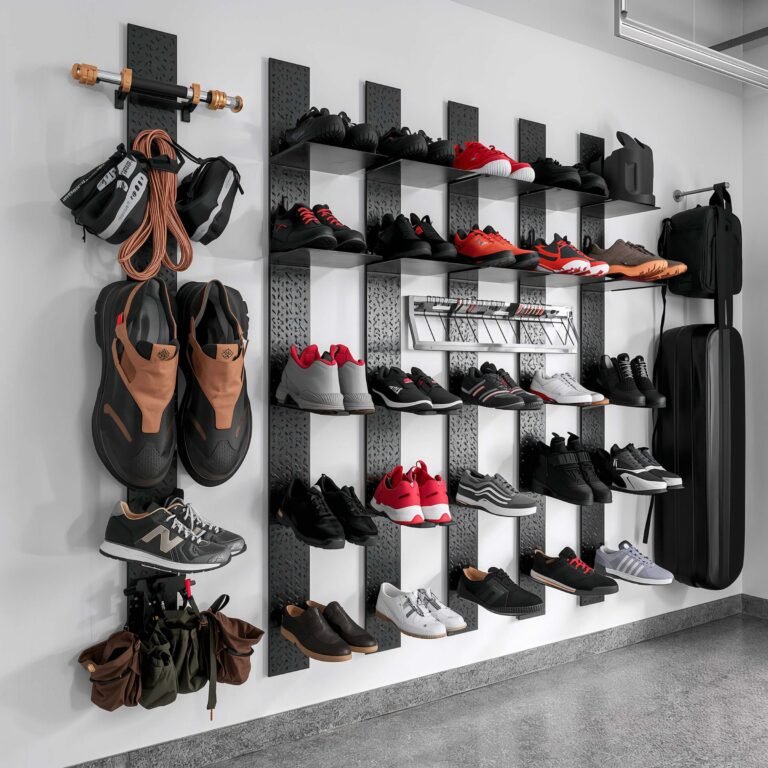
Vertical Wall-Mounted Shoe Rack
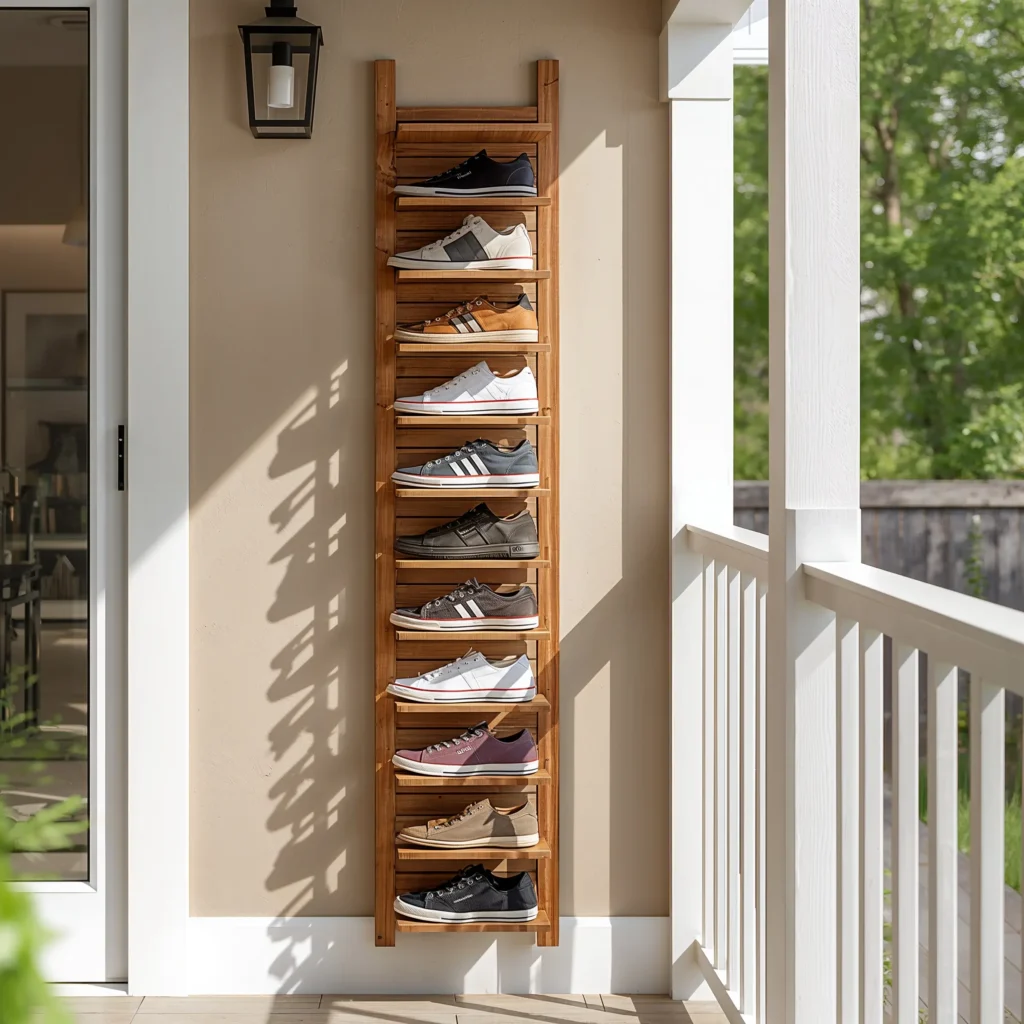
Let me start with my personal favorite – the vertical wall-mounted shoe rack. This thing changed my life, and I’m not even being dramatic here. You know how everyone says “think vertical” when you’re short on space? Well, they’re actually right for once.
I installed mine right next to my back door, and suddenly I had room for 12 pairs of shoes in a space that’s literally 18 inches wide. The best part? Everything stays off the ground, which means no more soggy shoe bottoms sitting in puddles. Plus, when you mount these racks at the right height, you can still sweep or hose down the area underneath without moving anything.
Why This Works So Well
The genius of vertical storage comes down to simple physics – you’re using air space that’s just sitting there doing nothing. Most outdoor wall-mounted racks come with weather-resistant coatings that handle rain like a champ. Mine’s been up for three years through brutal winters, and it still looks brand new.
You want to look for racks with angled shelves that tip slightly forward. This keeps shoes from falling off when you grab one in a hurry. Trust me, nothing ruins your morning faster than triggering a shoe avalanche when you’re already late for work.
Installation Tips That’ll Save Your Sanity
Here’s what nobody tells you about installing these racks: you absolutely need to hit the studs or use proper wall anchors. I learned this the hard way when my first attempt came crashing down at 2 AM (scared the cat half to death). Heavy-duty wall anchors rated for at least 50 pounds will do the trick if you can’t find studs.
Weatherproof Wooden Shoe Bench
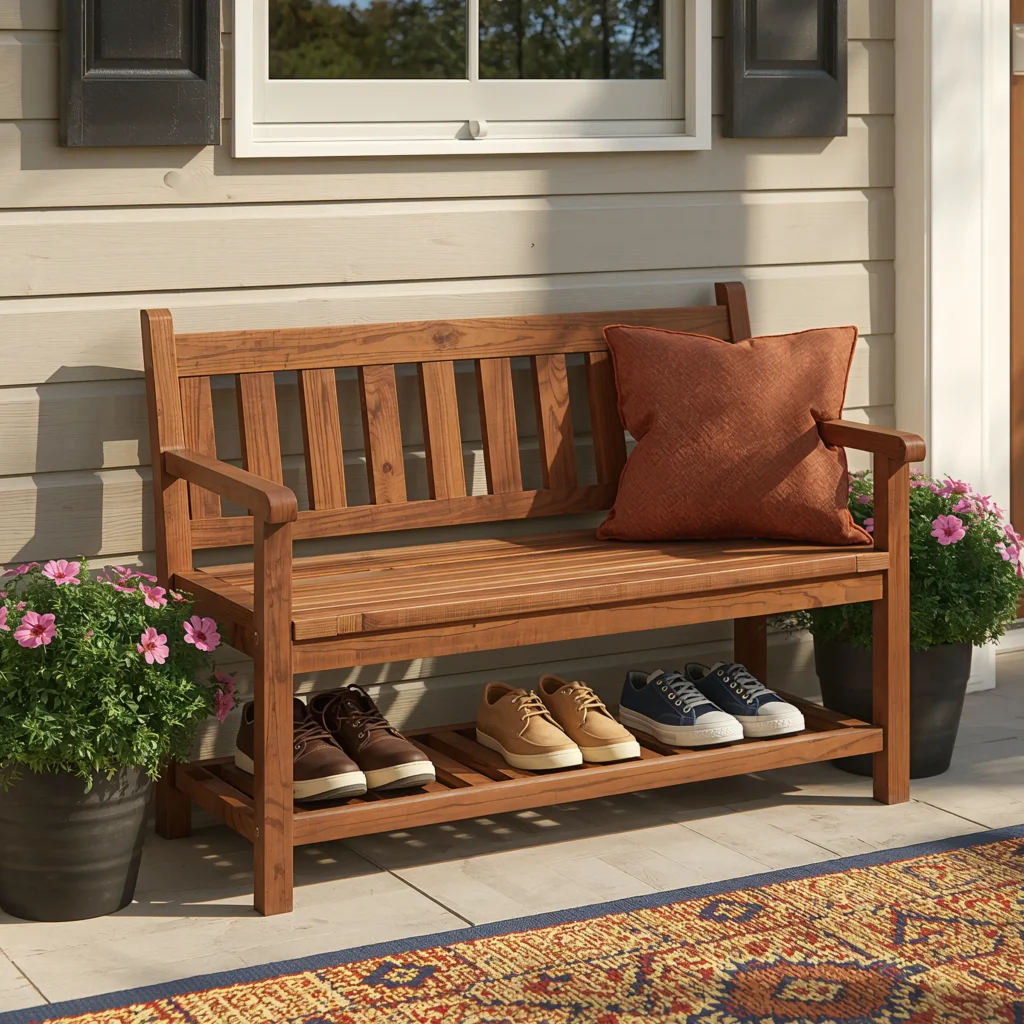
Ever sat on a wet bench to put on your shoes? Yeah, it’s about as fun as it sounds. That’s why a weatherproof wooden shoe bench makes so much sense – you get seating AND storage in one smart package.
I bought mine after watching my elderly neighbor struggle to balance while putting on her gardening boots. It hit me that shoe storage shouldn’t just be about cramming footwear somewhere; it should actually make your life easier. A good bench gives you a place to sit while dealing with stubborn laces, plus hidden storage underneath for the shoes you don’t wear daily.
What Makes a Bench Actually Weatherproof
Not all “outdoor” benches can actually handle outdoor life. You need wood that’s been treated with marine-grade sealant or naturally weather-resistant species like teak or cedar. My cedar bench has survived five years of Pacific Northwest rain, and it still smells amazing every time it gets wet.
The slats on top should have gaps for drainage – standing water is wood’s worst enemy. Some benches come with a lower shelf that’s perfect for everyday shoes, while the really fancy ones have a hinged top with storage inside. IMO, the simple two-tier design works best because you don’t have to lift anything heavy to grab your shoes.
Outdoor Hanging Shoe Organizer
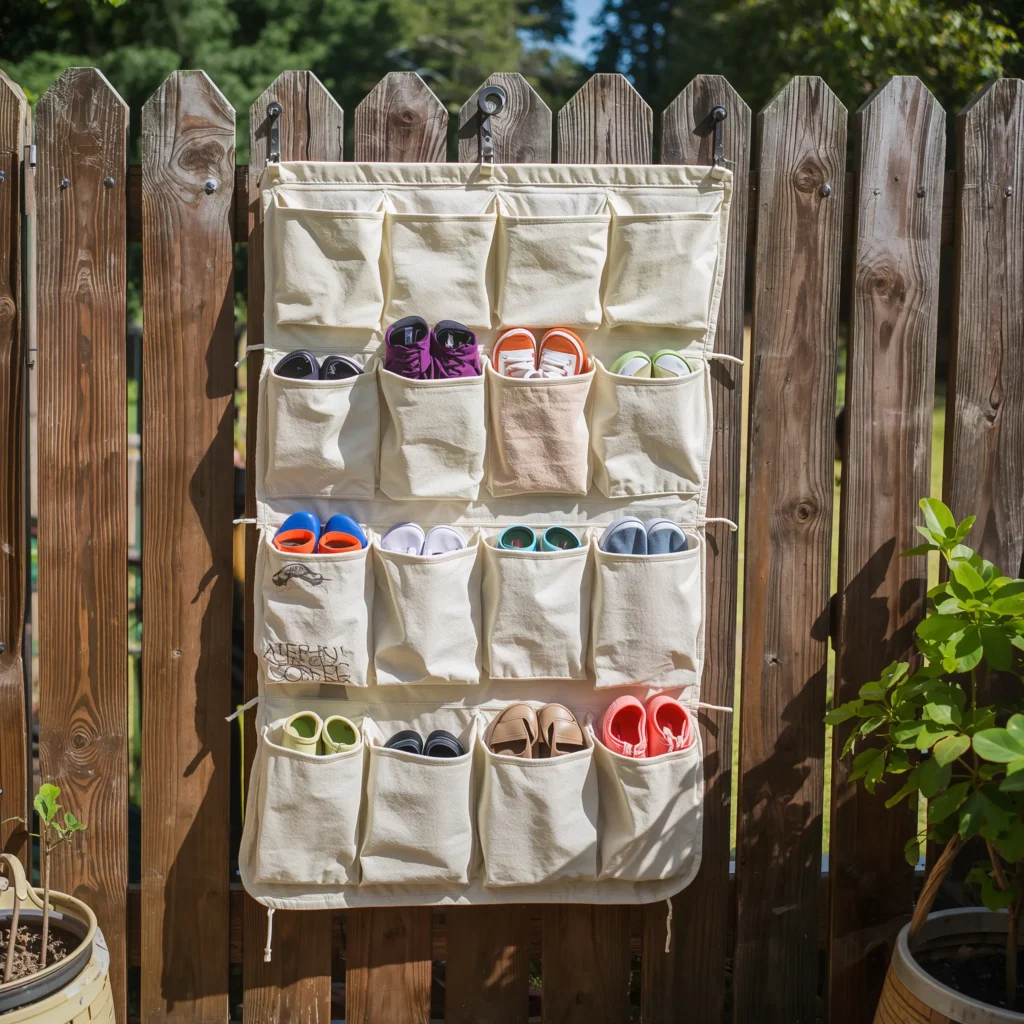
Okay, this one might sound weird, but hear me out. Hanging shoe organizers aren’t just for closets anymore. I discovered this trick when I ran out of floor and wall space but still had a covered porch ceiling doing absolutely nothing.
These organizers work brilliantly under covered areas where they’re protected from direct rain. I use mine for lighter shoes like flip-flops, water shoes, and my kids’ endless collection of crocs. The pockets keep everything visible and easy to grab, which means my kids might actually put their shoes away (a parent can dream, right?).
The Secret to Making Hanging Storage Work
You need the right material for outdoor use. Skip the fabric ones unless you want a moldy science experiment. Heavy-duty mesh or plastic organizers drain water and dry quickly. Mine has reinforced grommets at the top that haven’t torn despite holding way more weight than recommended.
Pro tip: hang these at kid height if you want any chance of children actually using them. Mount a simple hook rail, and you can move the organizer around as needed. During parties, I sometimes bring mine inside to create extra shoe storage by the front door.
Also Read: 12 Clever Shoe Storage Ideas for Small Spaces Made Easy
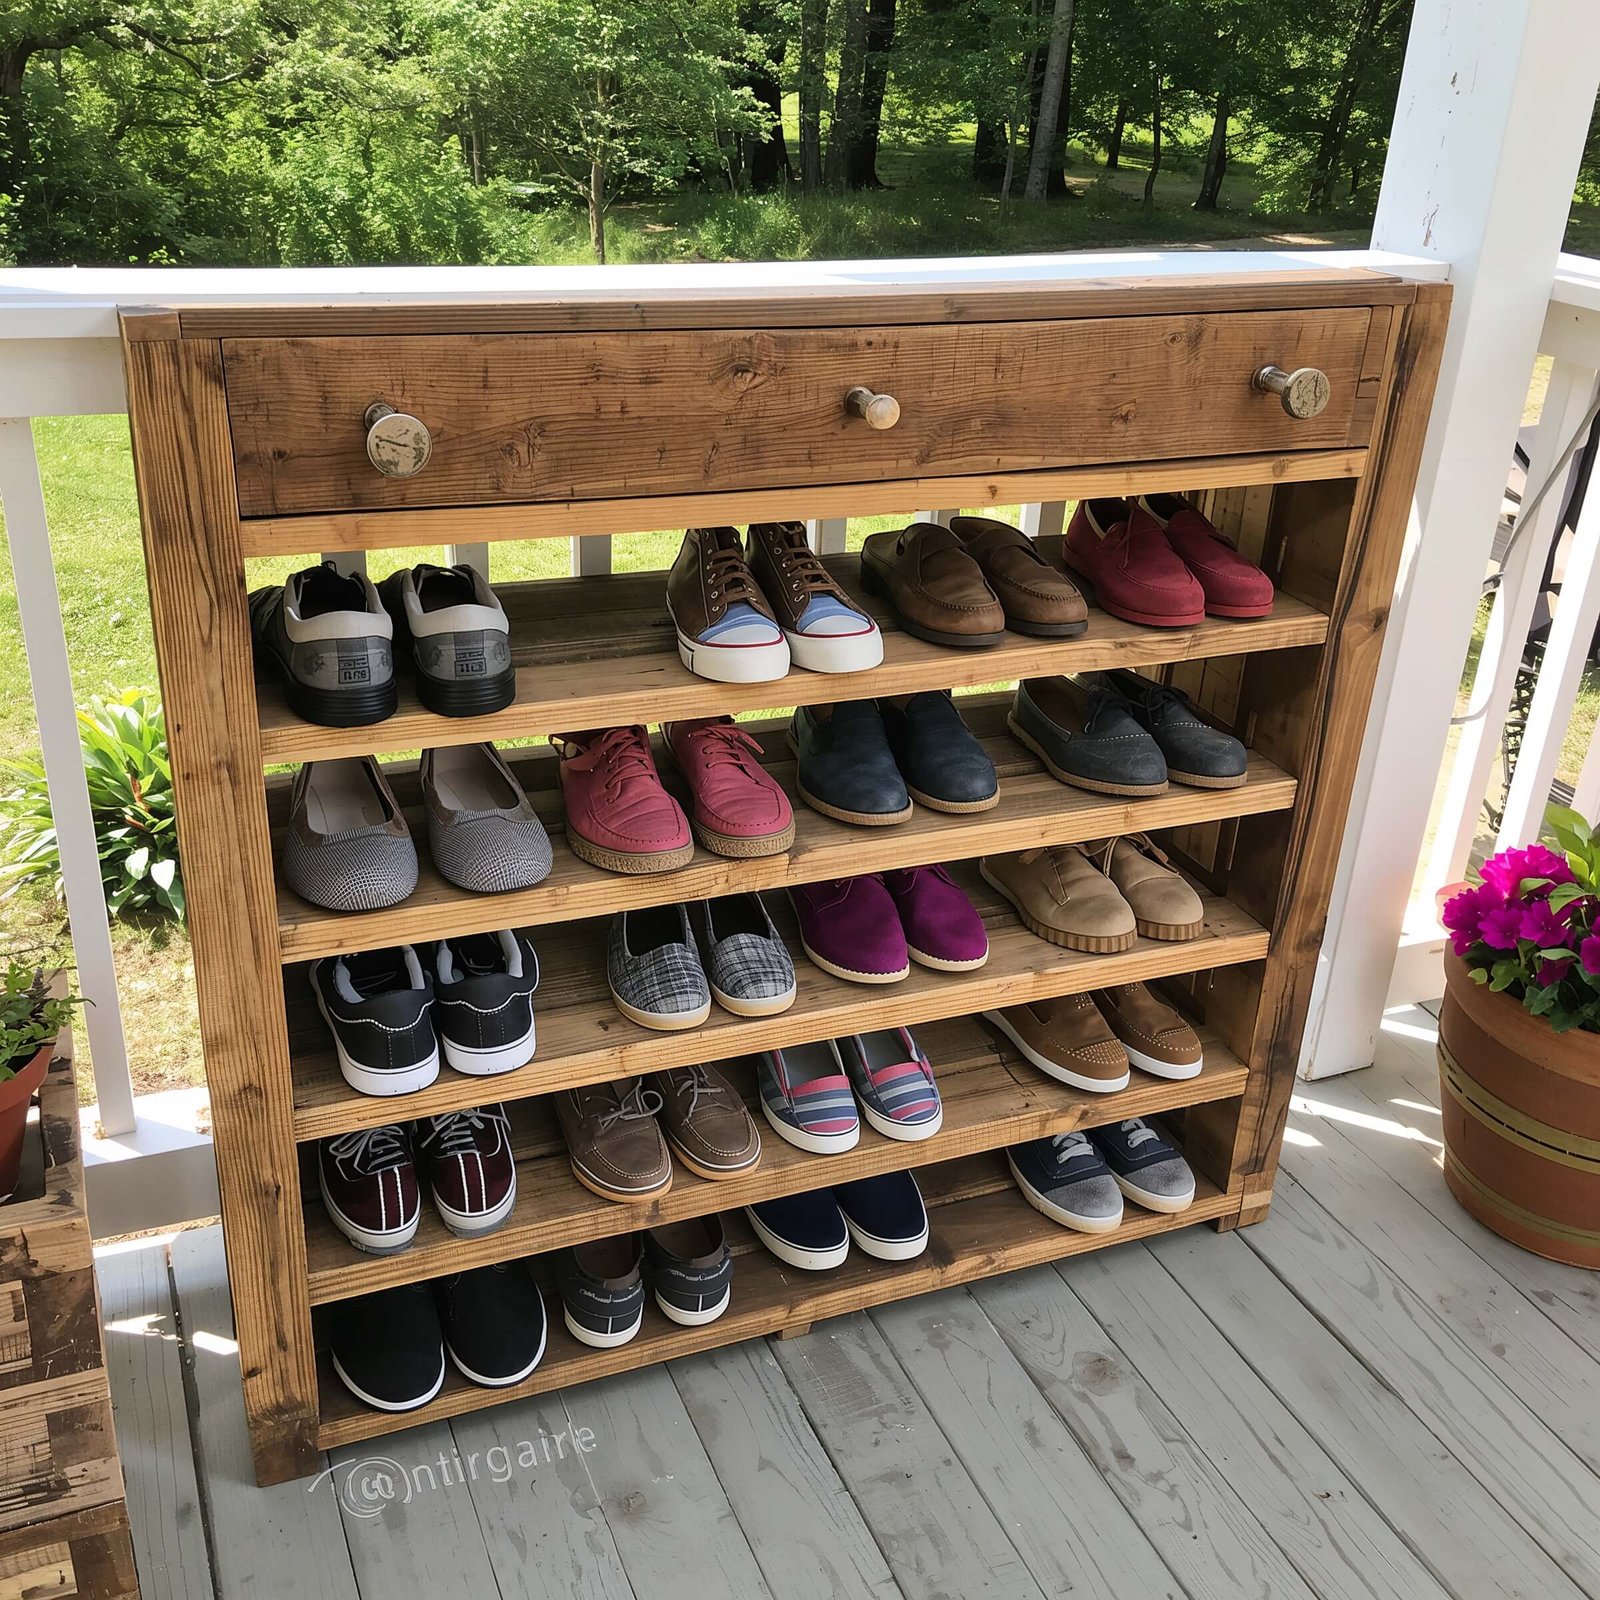
DIY Pallet Shoe Shelf

Who doesn’t love a good pallet project? Building a DIY pallet shoe shelf combines two of my favorite things: saving money and having something unique that actually works. Plus, there’s something satisfying about turning discarded wood into functional storage.
I built my first pallet shoe shelf one weekend with nothing but a saw, some sandpaper, and pure determination. The rustic look fits perfectly with my outdoor space, and people always ask where I bought it. The best part? The whole project cost me less than $20, including the weatherproofing spray.
How to Build One That Won’t Fall Apart
First things first – not all pallets are created equal. You want heat-treated pallets (look for the “HT” stamp), not chemically treated ones. Sand everything thoroughly unless you enjoy splinters, and apply at least two coats of outdoor wood sealant.
The simplest design just requires standing a pallet on its side and adding a few horizontal boards for extra shelves. Each opening becomes a shoe cubby, and you can customize the height by cutting the pallet down. Mine holds about 8 pairs comfortably, though I’ve definitely crammed more in there when needed.
Making Your Pallet Shelf Last
Weather is brutal on untreated wood, so don’t skip the sealant. I reapply mine once a year – think of it as shoe shelf maintenance day :). Adding small wooden dividers creates individual compartments that keep shoes from tumbling into each other. Some people add casters to the bottom for mobility, but I prefer mine stationary and slightly elevated on wooden feet to prevent bottom rot.
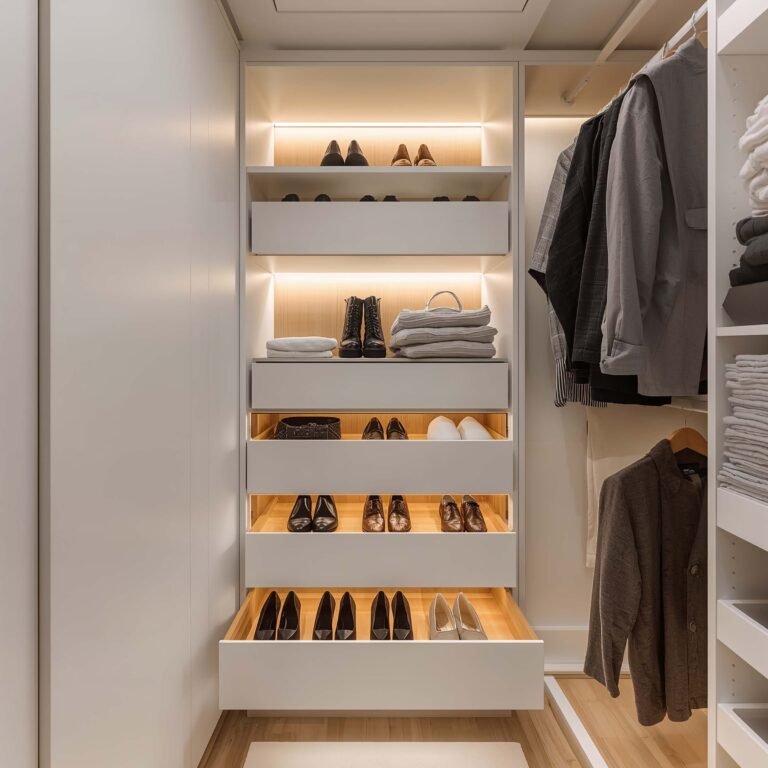
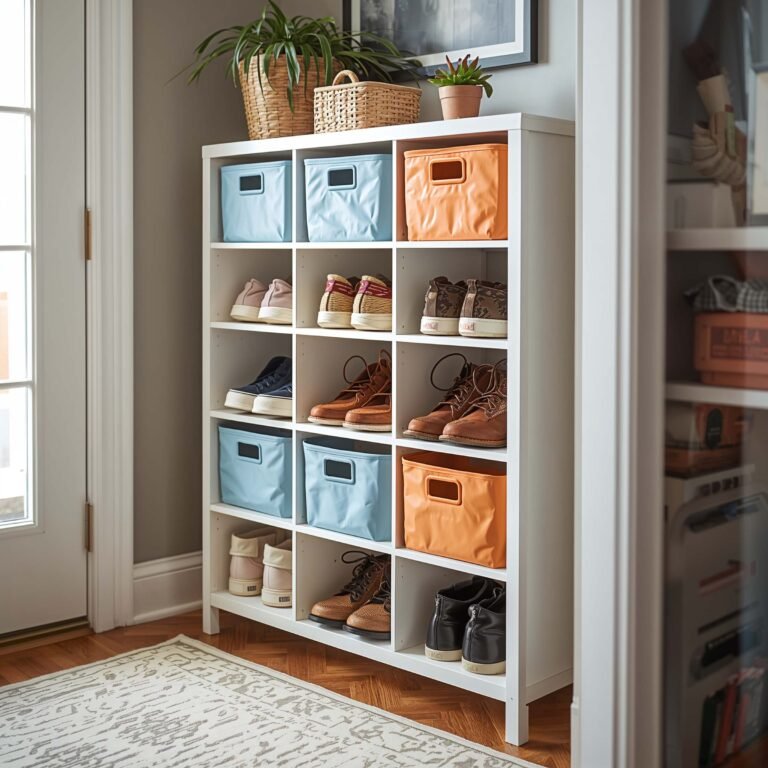
Covered Shoe Cabinet with Doors

Sometimes you just want your shoes completely hidden, and that’s where a covered shoe cabinet with doors comes in clutch. No judgment here – not everyone wants their shoe collection on display, especially if you’re team “function over fashion” like me.
My covered cabinet sits on my front porch, and guests have no idea it’s full of muddy boots and questionable footwear choices. The doors keep everything protected from weather, dust, and (most importantly) judgy neighbors who might question why anyone needs that many pairs of garden clogs.
Features That Actually Matter
Look for cabinets with ventilation slots or mesh panels. I made the mistake of buying a completely sealed cabinet once, and opening it after a rainy week was… an experience. You need air circulation, or you’ll create a perfect environment for mold and that lovely wet shoe smell.
Adjustable shelves are non-negotiable. Boots need different spacing than sandals, and being able to customize the interior makes a huge difference. My cabinet has five adjustable shelves that I rearrange seasonally – more boot space in winter, more sandal room in summer.
Weatherproofing Your Cabinet
Even “outdoor” cabinets need extra protection in harsh climates. I seal all the joints with outdoor caulk and add weather stripping around the doors. A slight overhang or placing it under existing cover extends its life significantly. Mine’s made from weather-resistant resin, which sounds cheap but has outlasted two wooden cabinets I tried before.
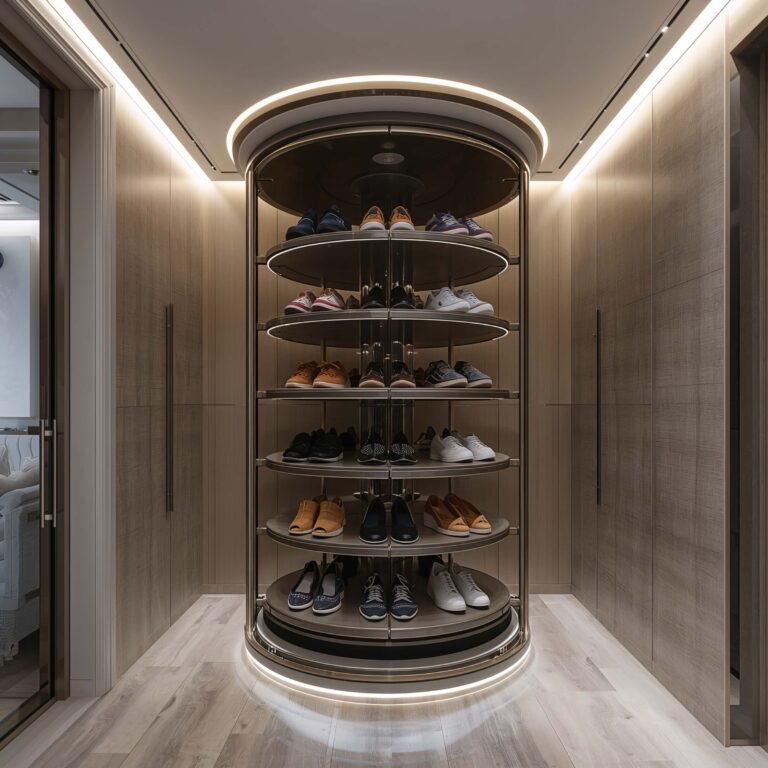
Tiered Metal Shoe Stand
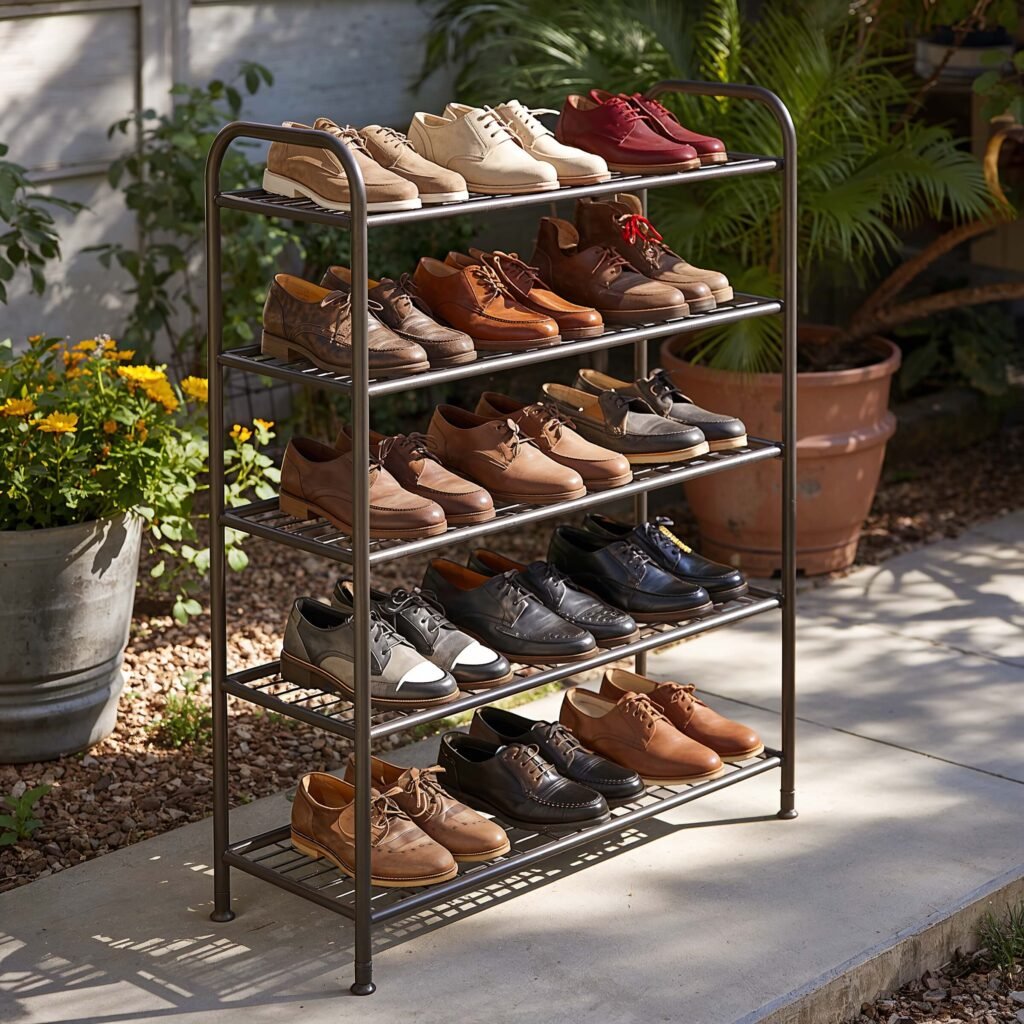
Metal shoe stands get a bad rap for being flimsy, but a good tiered metal shoe stand can be practically indestructible. I’m talking about the heavy-duty ones, not those wire things that bend when you look at them wrong.
My powder-coated steel stand has survived everything from hurricane-force winds to my teenager learning to drive (don’t ask). The tiers make it easy to organize shoes by person or type, and the open design means everything dries quickly after rain.
Why Metal Beats Other Materials Outdoors
Powder-coated or galvanized metal laughs at weather that would destroy wood or fabric. No rot, no mold, no termites – just occasional hosing off when things get dusty. The weight of quality metal stands keeps them stable even when fully loaded.
The tier system works brilliantly for families. Each person gets their own level, which somehow reduces the morning shoe-hunting chaos. My stand has four tiers holding six pairs each, though I’ve definitely exceeded that “maximum capacity” without issues.
Choosing the Right Metal Stand
Avoid anything with sharp edges or flimsy wire construction. The bars should be thick enough that they don’t bend under weight – I test this in stores by pressing down hard on display models. Rubber or plastic feet prevent scratching and sliding on smooth surfaces.
Some stands come with mesh shelves, which provide more support for smaller shoes but can collect debris. I prefer the simple bar design because leaves and dirt fall right through. Just make sure the bars are close enough together that heels don’t constantly fall through.
Also Read: 10 Smart Garage Shoe Storage Ideas to Organize Effortlessly
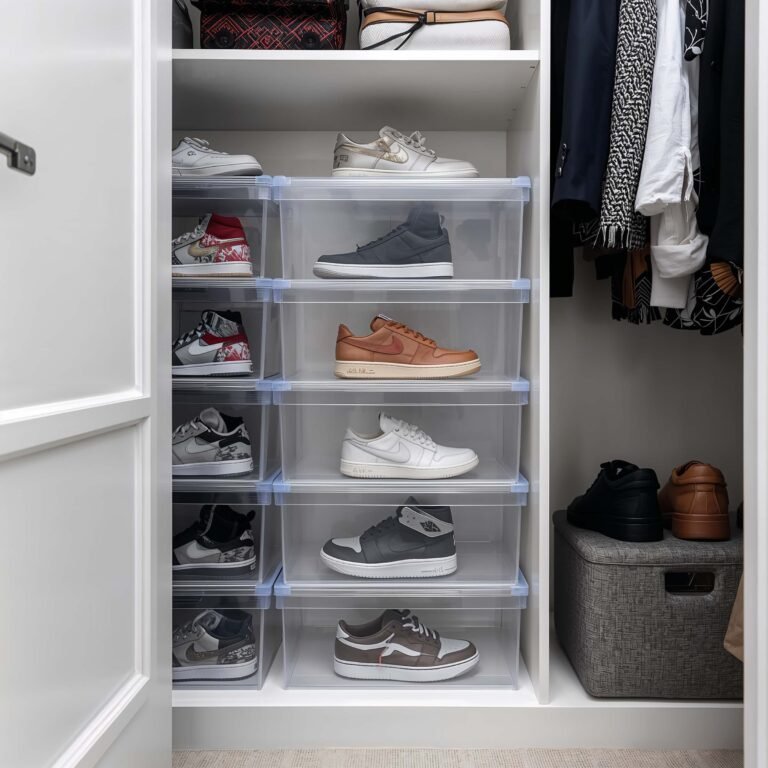
Waterproof Storage Bins with Lids
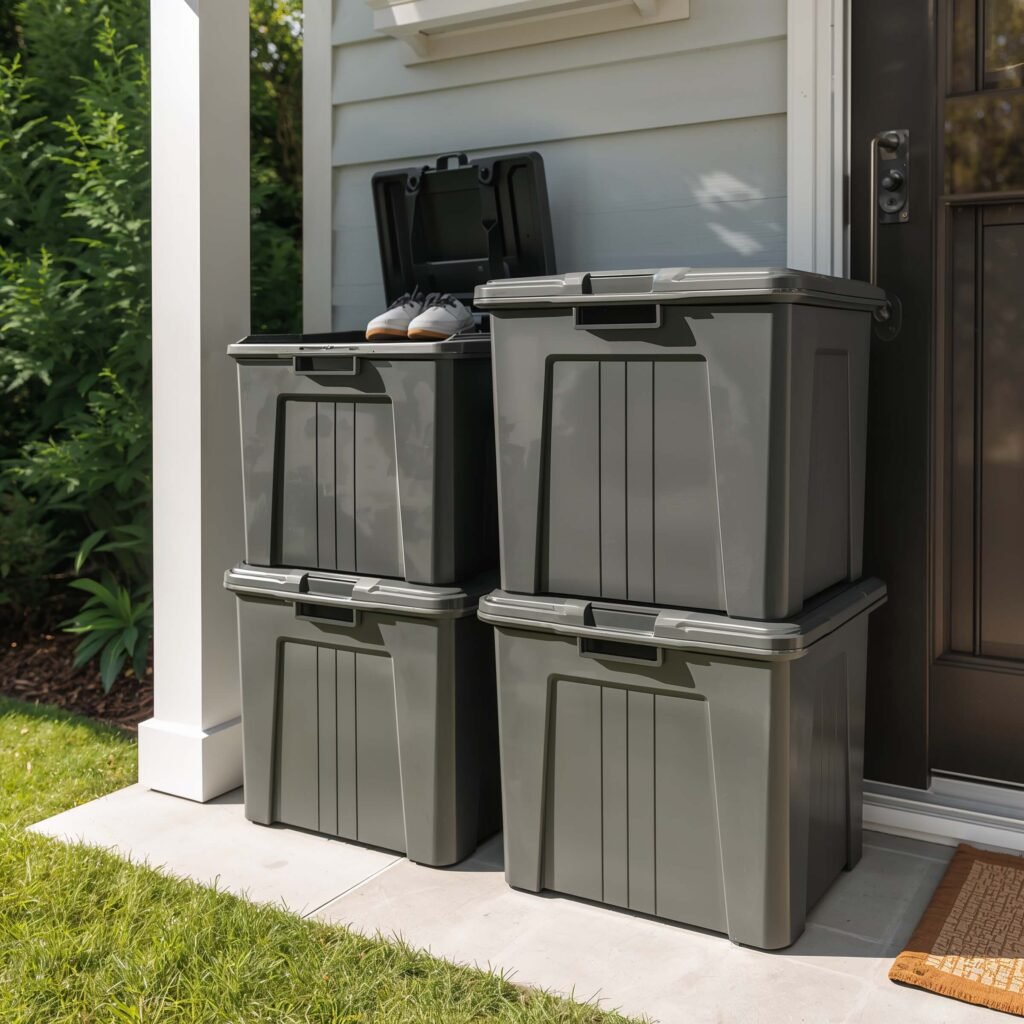
Let’s talk about the nuclear option of shoe storage – waterproof bins with lids. These aren’t pretty, but when you need bombproof protection for seasonal or specialty footwear, nothing else comes close.
I keep my off-season shoes in these bins, stacked in my garage. Each bin holds 4-6 pairs depending on shoe size, and I can stack them three high without worrying about crushing anything. The waterproof seal means I could probably throw these in a pool, and my shoes would stay dry (not that I’ve tested this theory).
Making Bin Storage Actually Functional
The key to bin storage is labeling like your life depends on it. I use a label maker with weather-resistant labels listing what’s inside. Some people take photos and tape them to the outside, which works great if you’re more visual.
Clear bins let you see what’s inside without opening everything, but they can get cloudy over time from UV exposure. I prefer solid bins with good labels because they stack neater and hide the chaos inside. FYI, adding silica gel packets helps control moisture if you’re storing leather shoes long-term.
When Bins Make the Most Sense
Bins work best for:
- Seasonal shoe storage (winter boots in summer, sandals in winter)
- Special occasion shoes you rarely wear
- Kids’ shoes they’ve outgrown but you’re saving
- Sports-specific footwear that needs protection
Don’t use bins for everyday shoes unless you enjoy playing storage Jenga every morning. The constant opening and closing gets old fast, trust me.
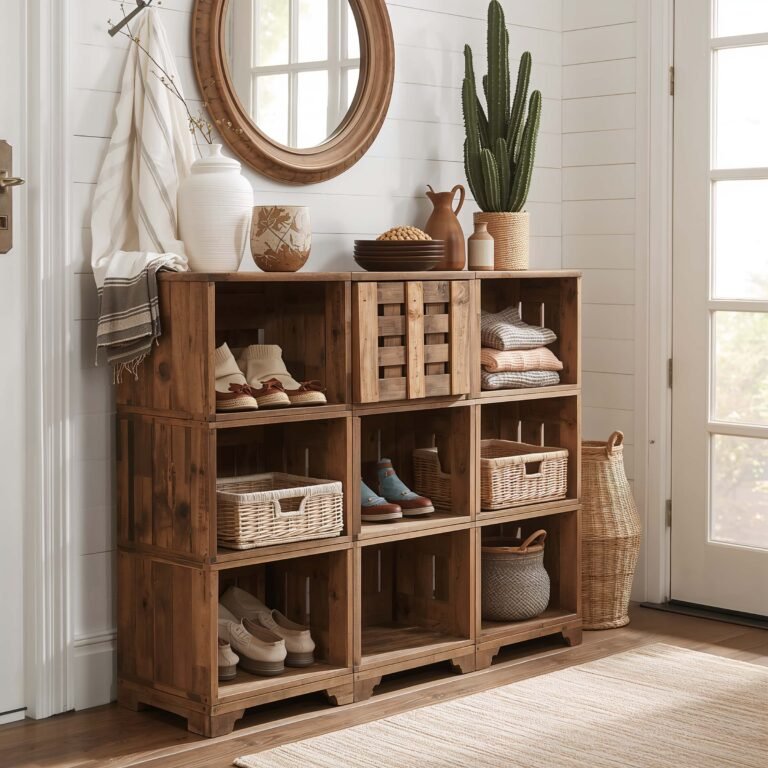
Repurposed Crate Shoe Organizer
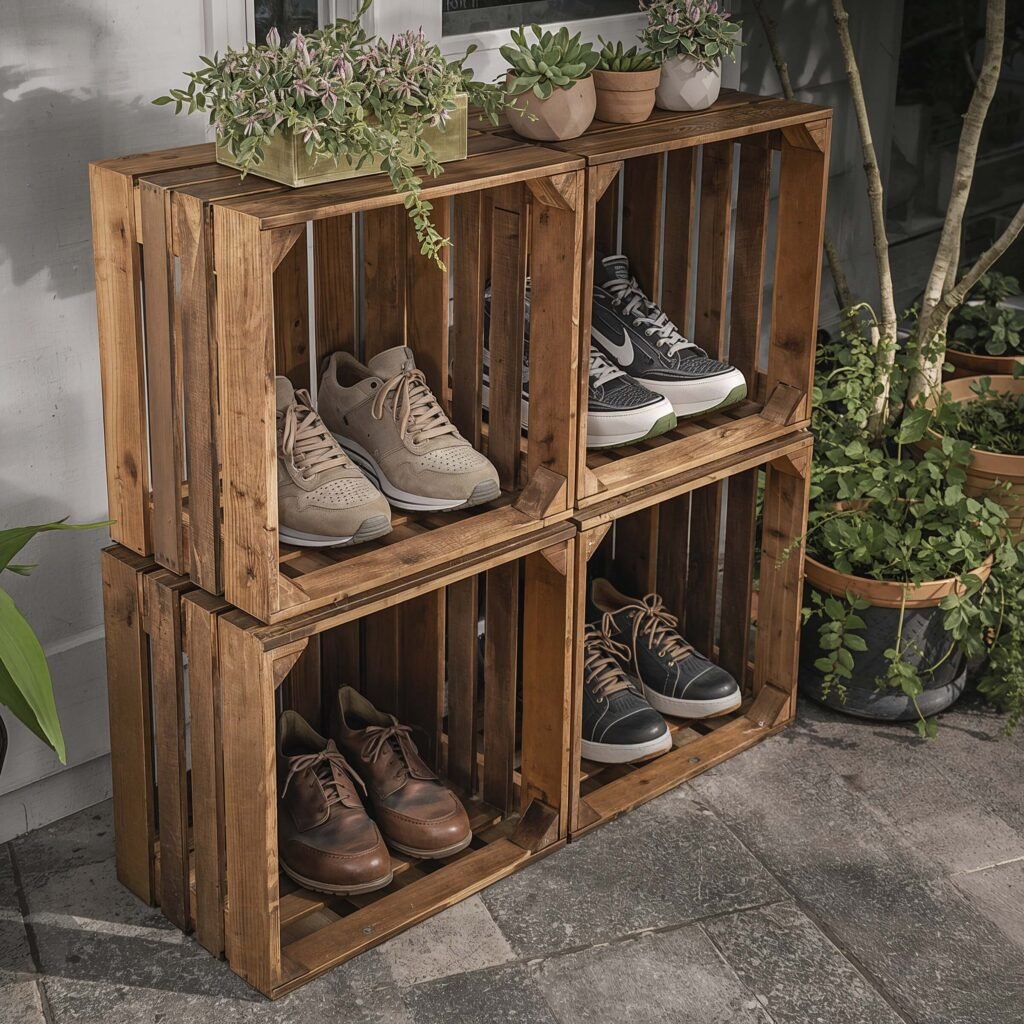
Want to know what started my whole shoe storage obsession? Wooden crates from a local farmer’s market. These things are shoe storage gold, and most people just throw them away.
I’ve turned old apple crates, wine boxes, and shipping crates into shoe organizers that look way more expensive than they are. The worn wood adds character, and you can stack, hang, or arrange them however your space demands. My current setup uses six vintage fruit crates mounted on my garage wall, and it looks like something from a fancy boutique.
Finding and Preparing Crates
Check farmer’s markets, liquor stores, and craft stores for crates. Many places give them away or sell them cheap. Sand any rough spots and check for loose nails or splinters – learned that one the painful way.
I seal mine with clear outdoor polyurethane to preserve the rustic look while adding weather protection. Some people paint them, but I think that defeats the purpose of using reclaimed wood. The natural variation in wood tone adds visual interest that you can’t replicate with new materials.
Creative Crate Arrangements
Stack crates in pyramid formations for a focal point, or line them up along a wall for maximum storage. I’ve seen people create entire walls of crate storage that look absolutely stunning. You can add dividers inside larger crates to prevent shoe pile-ups.
The best part about crate storage? Total flexibility. Rearrange them seasonally, add or remove crates as your collection grows, or take them with you when you move. Mine have survived three house moves and still look great.
Outdoor Shoe Hammock
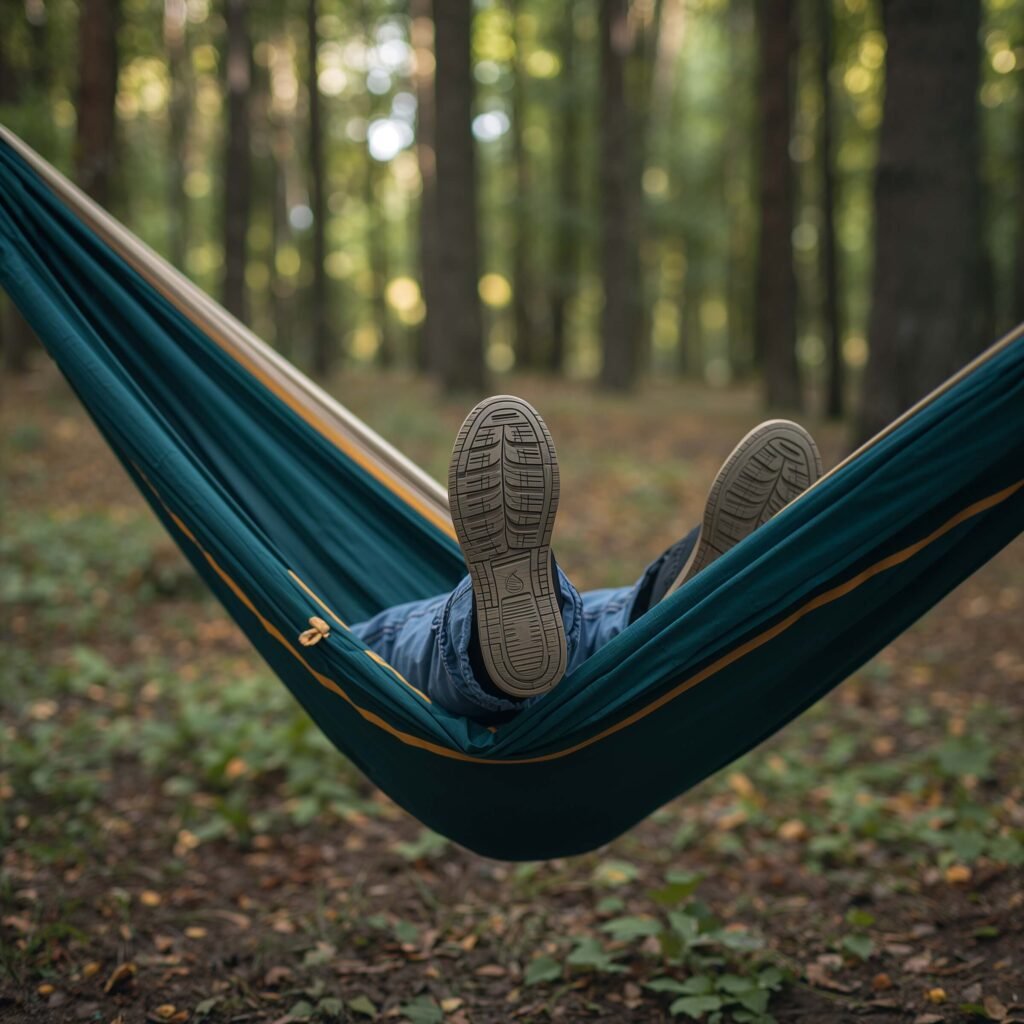
Okay, this one sounds ridiculous, but an outdoor shoe hammock is genius for certain situations. Think of it as a mesh net stretched between two points that creates instant shoe storage without taking up floor space.
I installed one under my deck stairs – previously dead space that collected leaves and sadness. Now it holds pool shoes, gardening clogs, and all those random outdoor shoes that don’t need protection from rain. The mesh drains instantly, and shoes air-dry while stored.
Setting Up Your Shoe Hammock
You need heavy-duty mesh or marine rope rated for outdoor use. Regular fabric hammocks will rot faster than you can say “moldy shoes.” Mount points need to handle significant weight – figure at least 50 pounds when fully loaded with wet shoes.
The angle matters more than you’d think. Too steep and shoes fall out; too flat and water pools. Aim for about a 30-degree angle, which keeps shoes secure while allowing drainage. I added bungee cords across the top for extra security during storms.
When Hammock Storage Makes Sense
This solution works best for:
- Covered but open areas like under decks or pergolas
- Beach houses where everything’s always sandy anyway
- Temporary or seasonal storage
- Kids’ outdoor play shoes that are constantly wet
Don’t expect this to work for dressy shoes or anything that needs protection. This is purely functional storage for shoes that can handle the elements.
Also Read: 12 Amazing Shoe Storage Closet Ideas for Small Spaces
Slatted Deck Shoe Tray
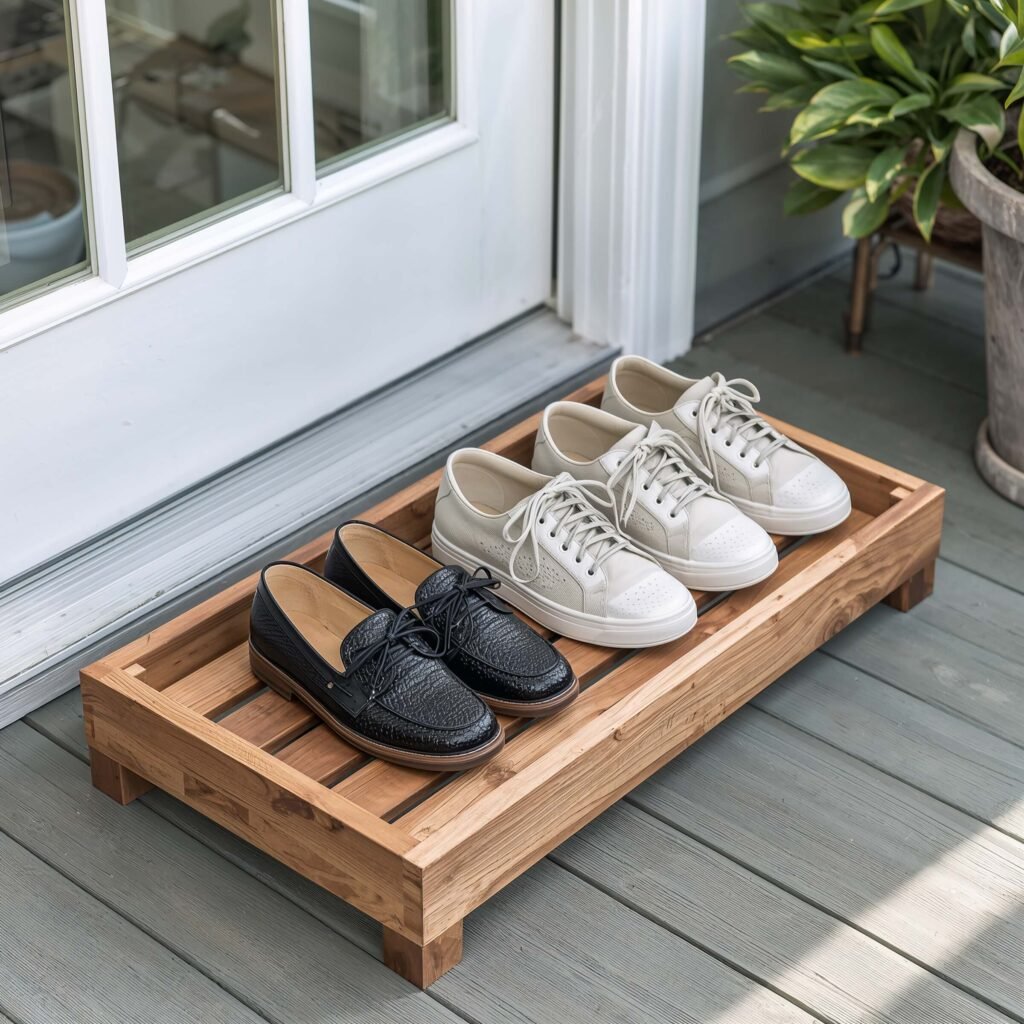
Last but definitely not least, let’s discuss the slatted deck shoe tray. This simple solution might be the most practical option for most people, especially if you’re renting or can’t mount anything permanent.
I keep two of these by my back door – one for dirty shoes coming in, one for clean shoes going out. The raised slats keep shoes off the ground while allowing air circulation and drainage. When things get muddy, I just hose the whole tray off. Simple, effective, and surprisingly attractive.
What Makes a Great Shoe Tray
Teak or cedar slats look beautiful and handle weather like champions. Some trays use recycled plastic slats that last forever but don’t look as nice. The frame should be rust-resistant metal or treated wood with enough weight to stay put in wind.
Size matters here – get one slightly larger than you think you need. My “4-pair” tray realistically holds 3 pairs of adult shoes comfortably. The slats should be close enough together that heels don’t fall through but spaced enough for drainage and air flow.
Maximizing Your Tray System
I use different trays for different purposes:
- A boot tray with taller sides for winter
- A flat tray for everyday shoes
- A small tray inside for the overflow
Adding a rubber mat underneath protects your deck and makes cleaning easier. Some trays come with removable inserts you can wash separately, which sounds fancy but actually makes life much easier. During parties, I bring extra trays out to create a temporary shoe station that keeps my house clean.
Making Your Outdoor Shoe Storage Actually Work
After trying all these solutions (and plenty that didn’t make this list), here’s what I’ve learned: the best system combines multiple approaches. I use vertical racks for everyday shoes, bins for seasonal storage, and trays for the muddy stuff.
Don’t overthink it – start with one solution and build from there. Your perfect shoe storage system probably won’t look like mine, and that’s exactly how it should be. The goal isn’t Pinterest perfection; it’s keeping your shoes organized and your sanity intact.
Remember, even the best storage system fails if you don’t actually use it. Put storage where it’s convenient, make it easy for everyone in your household to follow, and adjust as needed. My system evolved over years, and it’s still changing as our needs change.
Got questions about any of these solutions? Try one and see what works. Worst case, you’ll have a funny story about the time you tried to build a shoe hammock. Best case? You’ll finally solve your outdoor shoe chaos once and for all. Either way, you’re better off than leaving those shoes in a pile by the door :/