10 Amazing Rustic Wedding Decor Ideas to Inspire Your Day
You know that feeling when you walk into a wedding venue and everything just feels right? That’s exactly what happened to me at my cousin’s barn wedding last summer.
The moment I stepped through those weathered wooden doors, I knew rustic weddings had something magical going on.
If you’re planning your big day and dreaming of that perfect countryside charm, buckle up because I’m about to share the absolute best rustic decor ideas that’ll transform your venue into something straight out of a fairytale.
Wooden Barrel Welcome Signs
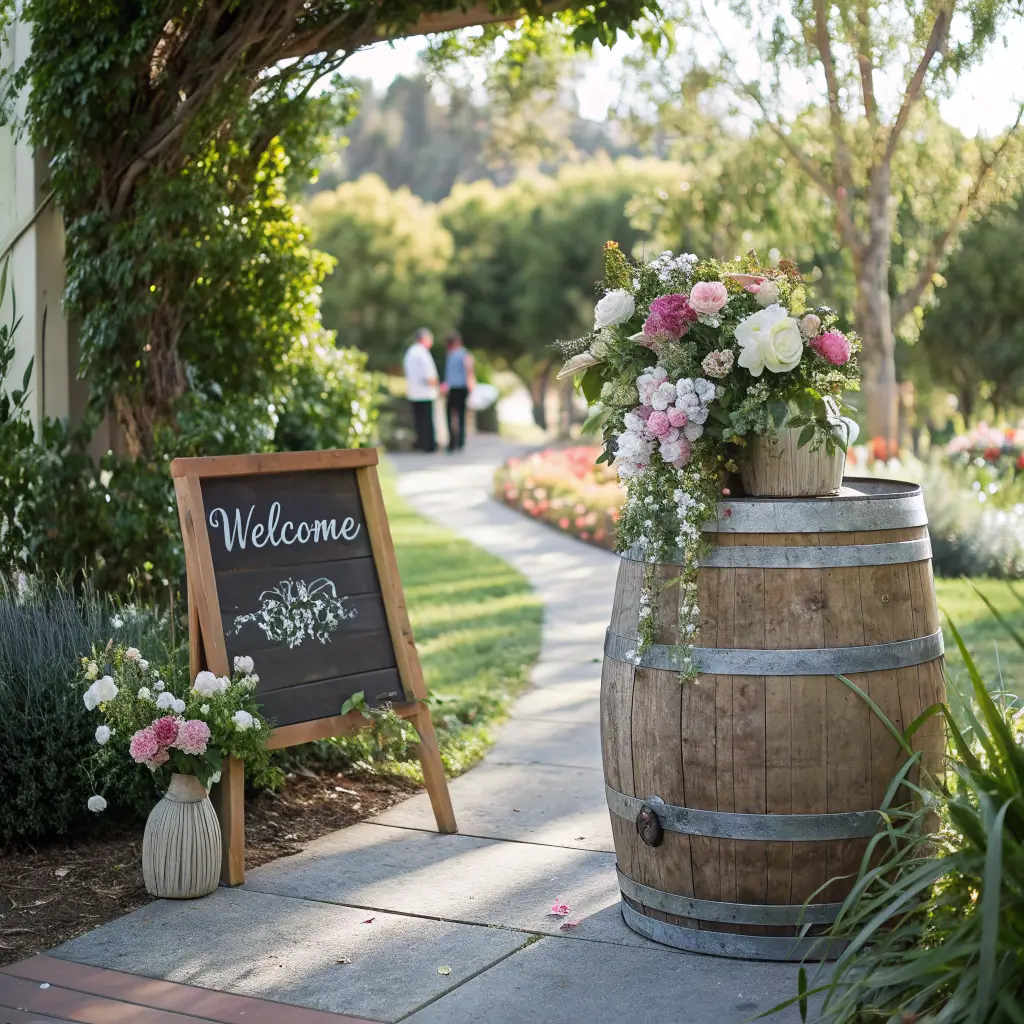
Let’s kick things off with something that literally sets the tone from the moment your guests arrive. Wooden barrel welcome signs are like that perfect handshake – warm, inviting, and instantly memorable. I’ve seen couples transform plain old wine barrels into stunning statement pieces that make everyone whip out their phones before they even enter the venue.
Here’s what makes these babies so special: they combine functionality with that authentic farmhouse aesthetic we’re all secretly obsessed with. You can grab a couple of half-barrels or full-sized wine barrels from local wineries (trust me, they’re usually happy to sell their old ones), and transform them into conversation starters.
Want to know the secret sauce? Position one barrel on each side of your entrance, add a weathered wooden board with your names and wedding date in beautiful calligraphy, and boom – instant charm. I personally love adding some cascading greenery or seasonal flowers spilling over the edges. Think about it – doesn’t that sound way better than those generic printed signs everyone forgets about?
Making Your Barrel Signs Pop
The beauty lies in the details, my friend. Here’s what really makes these welcome signs shine:
• Hand-lettered signage using chalk or paint pens
• Fresh flower arrangements tucked around the base
• Battery-operated fairy lights wrapped around the barrel
• Vintage photographs of you two attached with clothespins
• Small potted herbs or lavender for that aromatic welcome
Some couples even stack smaller barrels at different heights to create a more dynamic display. IMO, this creates such an incredible first impression that your photographer will thank you later 🙂
Mason Jar Centerpiece Arrangements
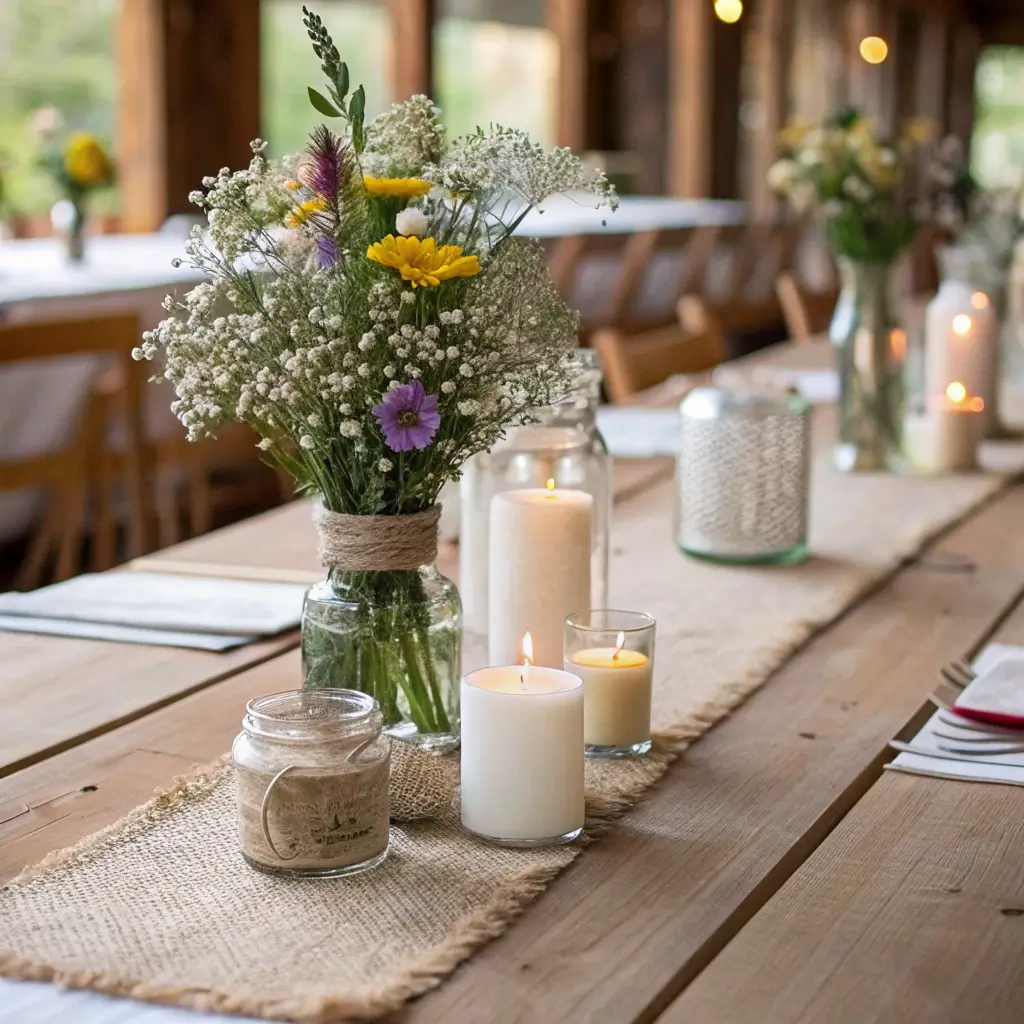
Oh, mason jars – is there anything they can’t do? These versatile little glass wonders have become the unofficial mascot of rustic weddings, and honestly, they deserve every bit of that fame. I remember helping my best friend arrange her centerpieces, and we created pure magic with just mason jars, wildflowers, and some twine.
The trick with mason jar centerpieces isn’t just plopping flowers in them and calling it a day (though that works too if you’re in a pinch). You want to create varying heights and textures that draw the eye without blocking conversation across the table. Ever been to a wedding where you couldn’t see the person sitting across from you? Yeah, we’re avoiding that disaster.
Mix different sized jars – pint, quart, and half-gallon sizes work beautifully together. Fill some with flowers, others with battery-operated fairy lights, and maybe throw in a few with floating candles for that romantic glow. The combination creates this effortlessly elegant look that screams “we put thought into this” without looking overdone.
Creative Mason Jar Variations
Get ready to have your mind blown with these ideas:
• Hanging mason jars from shepherd’s hooks along the aisle
• Painted or tinted jars in your wedding colors
• Wrapped jars with burlap, lace, or colored twine
• Mercury glass spray paint for that vintage mirror effect
• Photo displays using jars as frames with curved photos inside
Pro tip: Number your jars with chalk markers or tied tags to double as table numbers. Two birds, one stone – you’re welcome!
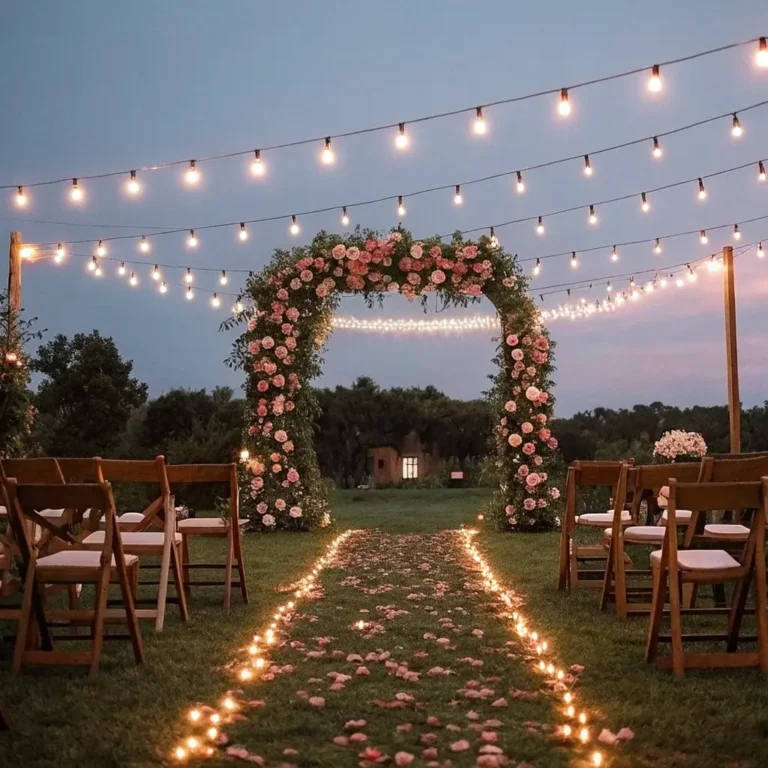
Twinkling Fairy Light Canopy
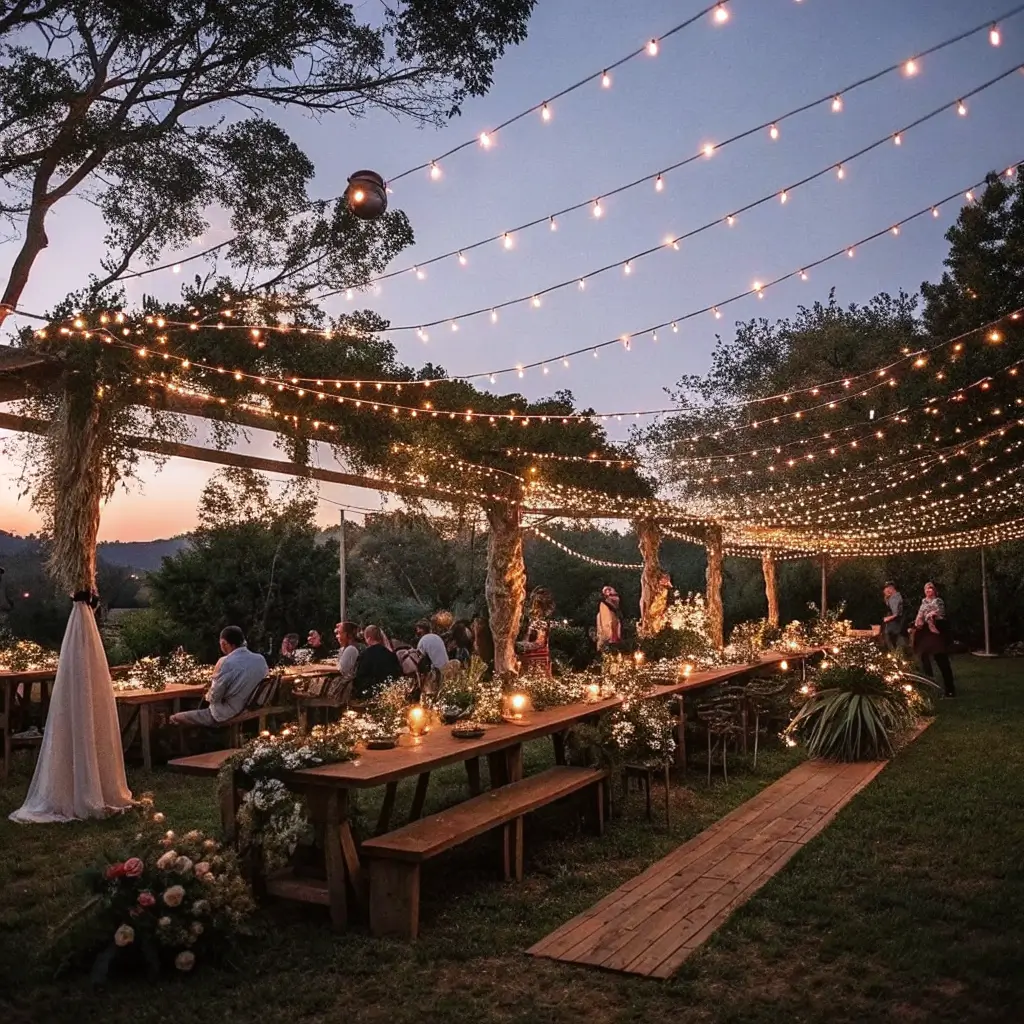
Now we’re talking about the showstopper that’ll have everyone gasping when they enter your reception. A twinkling fairy light canopy transforms any space into an enchanted forest, and I’m not even exaggerating. The first time I saw one done right, I literally stood there with my mouth open like some kind of tourist.
Creating this magical ceiling doesn’t require a degree in electrical engineering (thank goodness). Start with a central point – maybe a chandelier hook or tent pole – and drape strings of warm white LED lights outward to the walls or tent edges. The key word here? Layers. You want multiple strings at slightly different heights to create depth and that dreamy, starry-night effect.
What really sells this look is combining the lights with flowing fabric. Sheer white or ivory fabric woven between the light strings softens the whole setup and makes everything look like it’s floating. Can you imagine your first dance under this twinkling canopy? Your guests won’t stop talking about it for years.
Installation Tips That’ll Save Your Sanity
Let me save you from the mistakes I’ve watched others make:
• Test every single string before hanging (learned this the hard way)
• Use fishing line or clear wire for invisible support
• Create swag patterns rather than straight lines
• Mix string lights with larger Edison bulbs for variety
• Consider battery-operated options for outdoor venues without power
Remember to check with your venue about their hanging policies. Some places have restrictions that’ll make you want to pull your hair out if you don’t know about them beforehand.
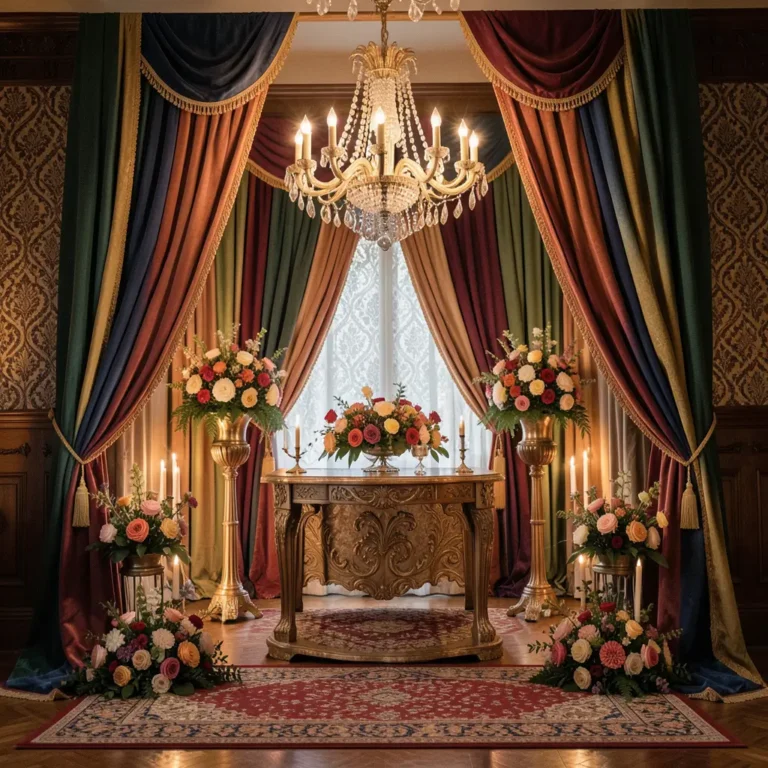
Also Read: 10 Elegant Traditional Wedding Decor Ideas for Dream Venues
Vintage Ladder Flower Display
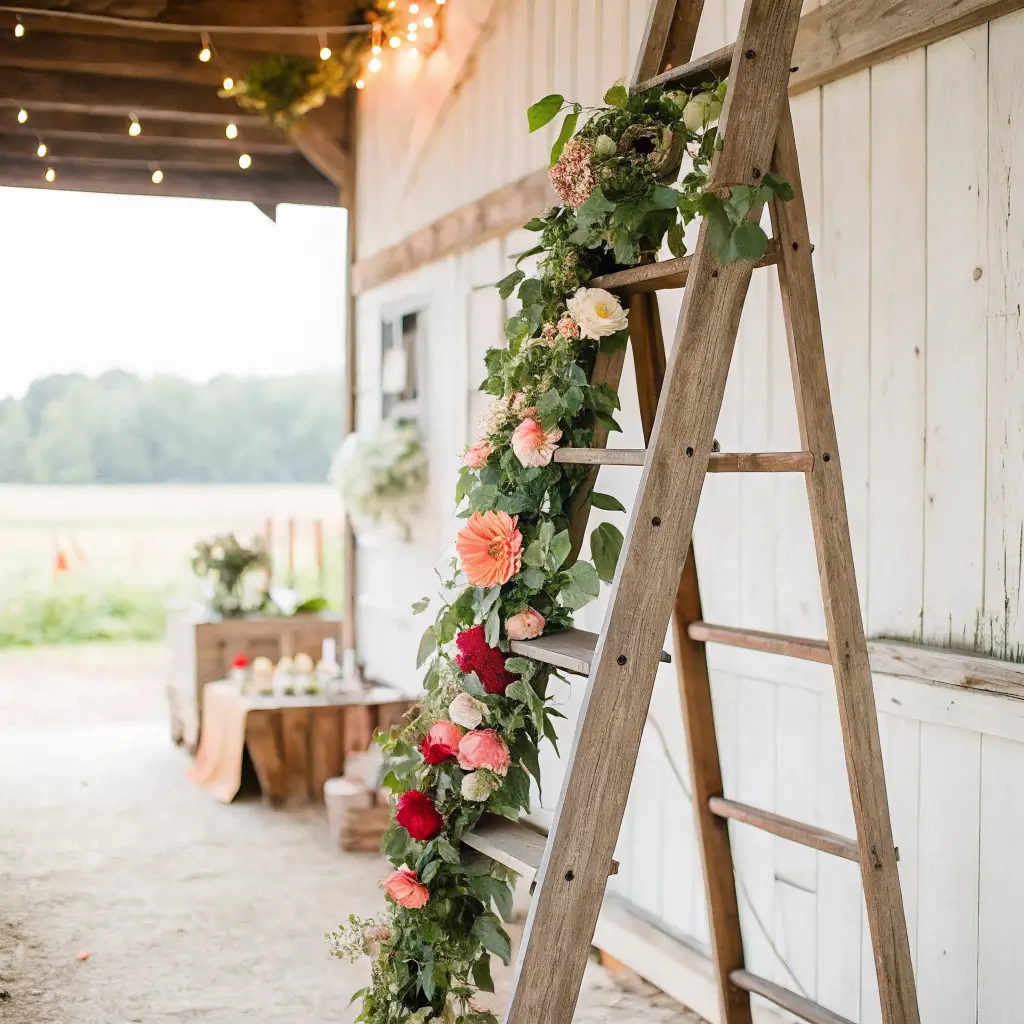
Who knew that old ladder gathering dust in your garage could become wedding decor gold? Vintage ladder displays bring height and drama to your floral arrangements without the hefty price tag of traditional tall centerpieces. I stumbled upon this idea at a flea market wedding (yes, that’s a thing), and it completely changed how I think about vertical space at events.
Picture this: a weathered wooden ladder, maybe six feet tall, leaning against a barn wall or standing freely with support. Now drape cascading greenery from each rung, tuck mason jars filled with wildflowers into the steps, and maybe hang some family photos or love notes between the rungs. Instant focal point that costs practically nothing if you already have the ladder.
The genius part? You can move these bad boys around. Use them at the ceremony entrance, then shift them to frame the sweetheart table during the reception. Double duty decor is my favorite kind of decor.
Styling Your Ladder Like a Pro
Here’s how to make your ladder display Instagram-worthy:
• Sand down rough edges but keep that weathered patina
• Wrap fairy lights around the sides for evening ambiance
• Hang small buckets or pails filled with flowers from the rungs
• Create an ombre flower effect from light to dark as you go up
• Add signage like “Pick a Seat, Not a Side” for ceremony seating
FYI, A-frame ladders work amazingly for creating a self-standing display that doesn’t need wall support. Just saying.
Burlap and Lace Table Runners
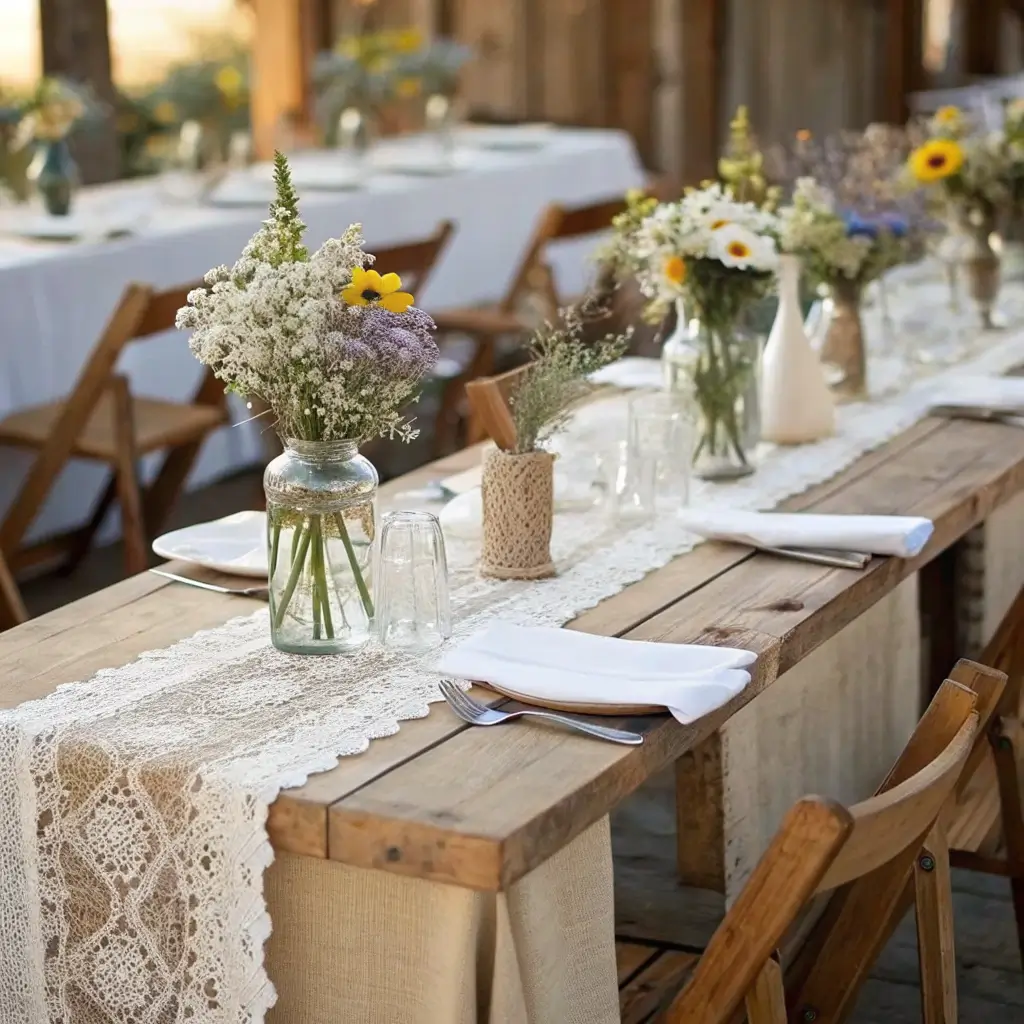
Nothing says rustic romance quite like the combination of rough burlap and delicate lace. This dynamic duo creates the perfect contrast that makes your tablescape pop while keeping that down-home feel intact. I’ve probably made about twenty of these runners for various friends’ weddings, and each time, people lose their minds over how expensive they look (spoiler: they’re not).
The magic happens when you layer a burlap runner down the center of your tables, then add a narrower lace runner on top. The texture contrast makes everything else on the table – your centerpieces, place settings, everything – look more intentional and pulled together. Plus, burlap comes in different colors now, so you’re not stuck with just natural tan if that doesn’t vibe with your palette.
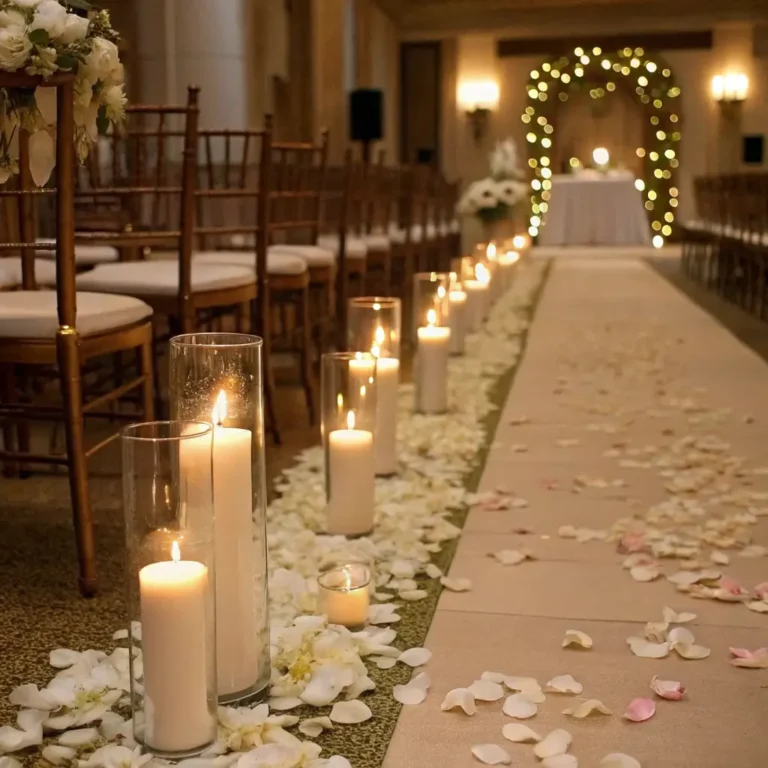
Want to really nail this look? Leave the edges of the burlap slightly frayed for that authentic, handmade appearance. Add some scattered rose petals or small tea lights along the runner, and watch your tables transform from basic to breathtaking.
DIY Runner Combinations That Work
Mix and match these materials for different vibes:
• Natural burlap + ivory lace for classic rustic
• Colored burlap + white cotton lace for a pop of color
• Burlap + crocheted doilies for vintage charm
• Hemp fabric + macramé for boho rustic
• Burlap + satin ribbon edges for elevated country
The best part about making these yourself? You can customize the length perfectly for your tables. No more awkward too-short runners that look like crop tops on your reception tables.
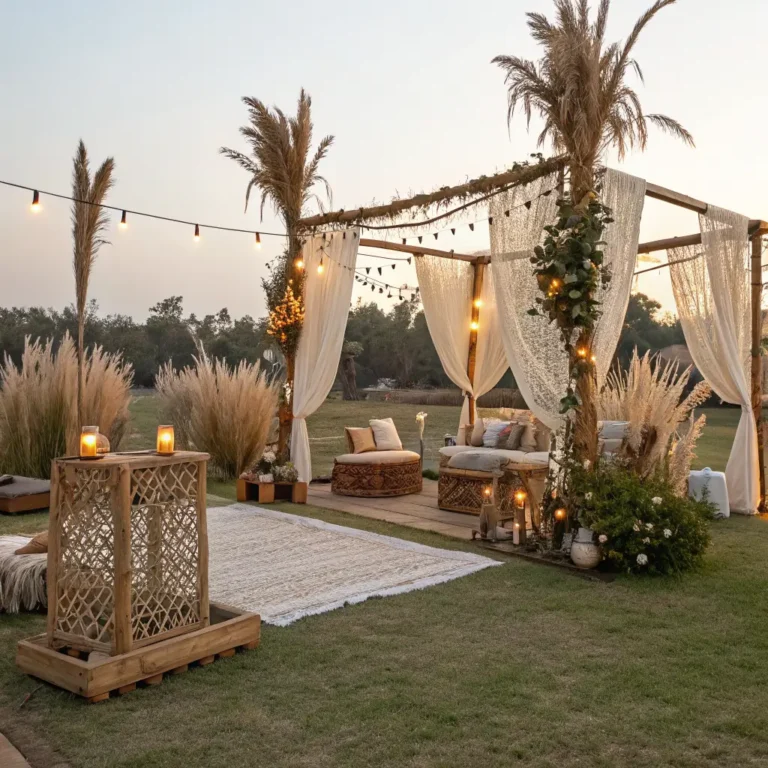
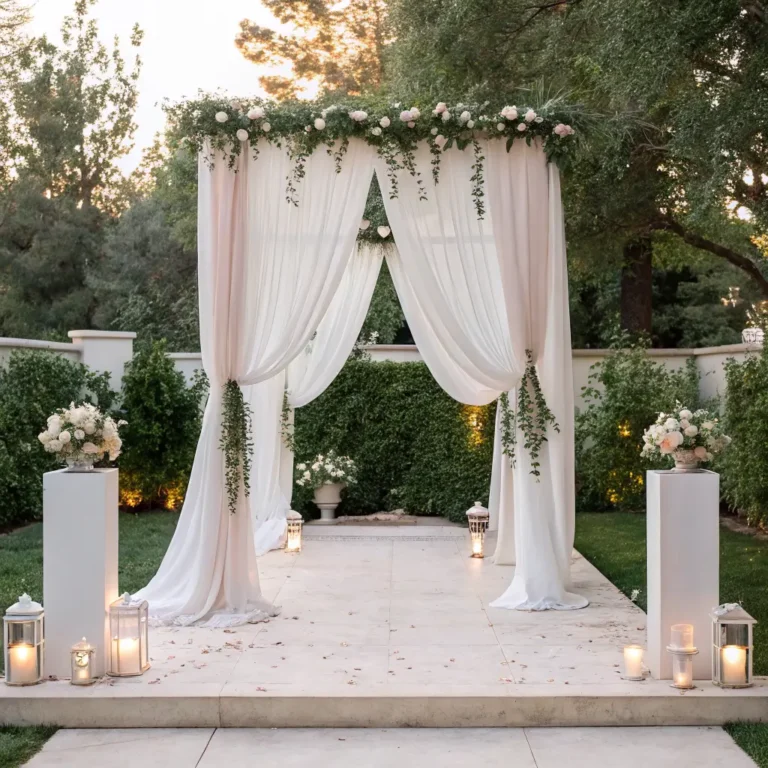
Rustic Wooden Arch Ceremony Setup
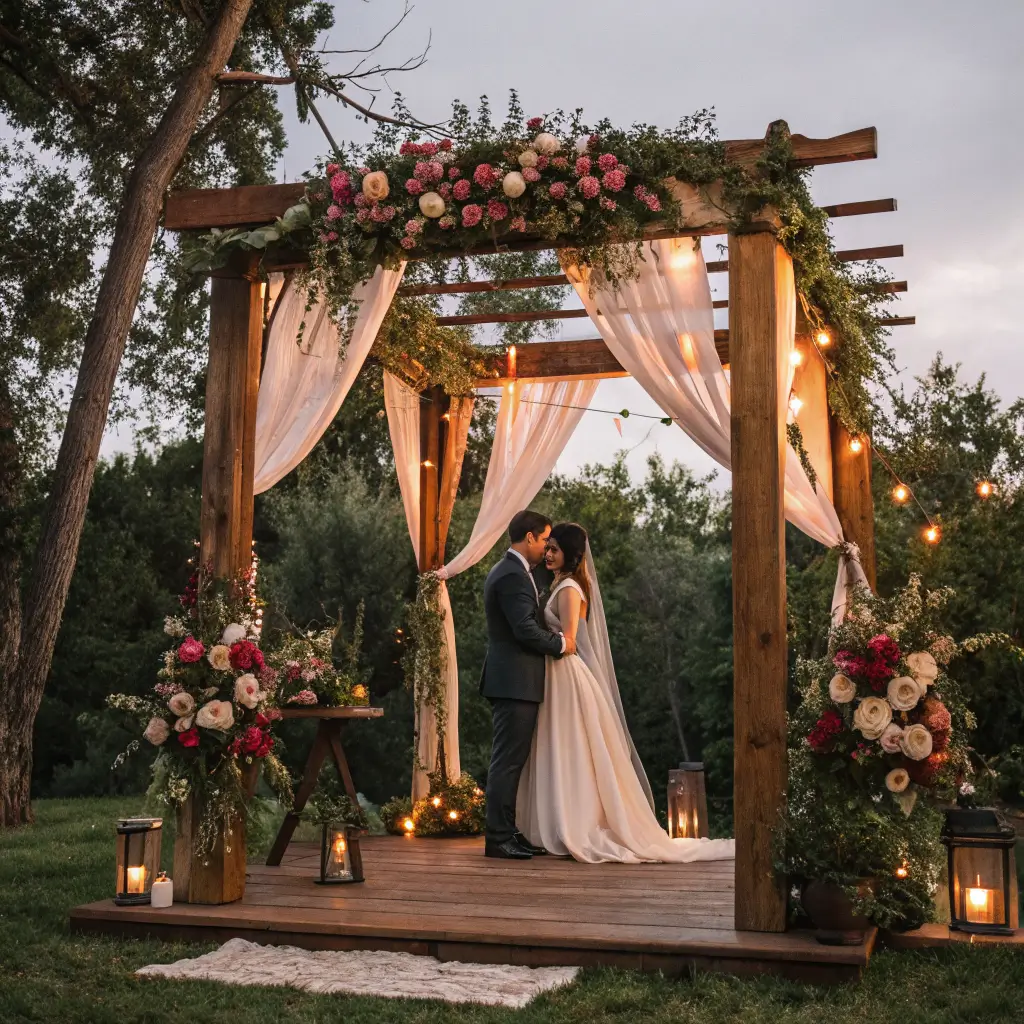
Your ceremony arch becomes the frame for every single one of those important photos – you know, the ones that’ll hang on your wall forever. A rustic wooden arch creates this incredible natural frame that makes everything look like a painting. When my sister got married under a birch branch arch, even the grumpiest uncle admitted it was “pretty nice” (high praise from Uncle Bob).
Building or renting a wooden arch gives you this amazing blank canvas to work with. Start with raw wood branches, reclaimed barn wood, or even driftwood for coastal rustic vibes. The structure itself makes a statement, but the real magic happens when you start decorating it.
Drape flowing fabric asymmetrically for movement, weave greenery through the structure, and add strategic flower clusters at the corners or peak. Don’t feel like you need to cover every inch – sometimes the beauty of the wood itself deserves to shine through.
Arch Decoration Ideas That Actually Work
Transform your arch from simple to stunning:
• Eucalyptus garlands for that trendy, aromatic touch
• Pampas grass for bohemian desert vibes
• Hanging lanterns or geometric terrariums
• Macramé details for added texture
• Seasonal elements like autumn leaves or spring cherry blossoms
Here’s a money-saving trick: focus your flowers on one corner or side of the arch. You’ll get that lush, abundant look without the abundant price tag. Your wallet will thank me later.
Also Read: 10 Elegant Wedding Decor Ideas to Wow Your Guests
Chalkboard Menu Boards
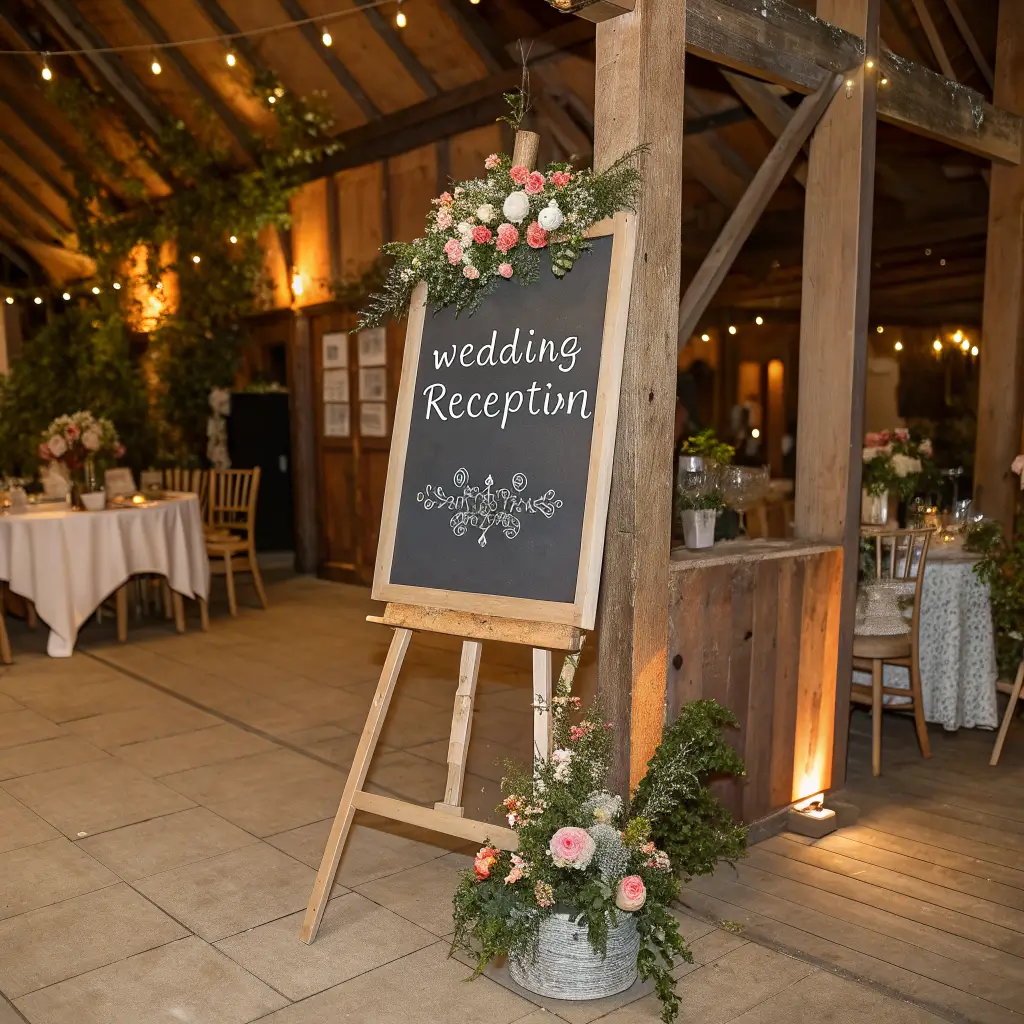
Remember when chalkboards were just for school? Well, they’ve had quite the glow-up, and chalkboard menu displays bring both function and style to your reception. These aren’t your average boring printed menus that end up as napkins (we’ve all seen it happen).
Large chalkboard signs listing your menu items become part of the decor itself. Position them near the entrance, by the bar, or even create individual chalkboard place cards for each table. The hand-lettered look adds that personal touch that makes guests feel like they’re at an intimate dinner party rather than a formal event.
The real winner? You can find old window frames at thrift stores, paint the glass with chalkboard paint, and create these stunning multi-pane menu boards. Hang them from ribbon or prop them on easels decorated with flowers. Just watching guests stop to admire and photograph them makes all that hand-lettering worth it.
Chalkboard Styling Tips
Make your boards pop with these techniques:
• Use chalk markers for cleaner, more permanent writing
• Create borders with drawn flowers or vines
• Mix different lettering styles for visual interest
• Add real flowers or greenery attached to the frame corners
• Include cute drawings or doodles that reflect your personality
Quick tip: Practice your lettering on paper first, then use a pencil to lightly sketch on the board before committing with chalk. Trust me on this one – I’ve seen too many “oops” moments that required starting over.
Hanging Greenery Chandeliers
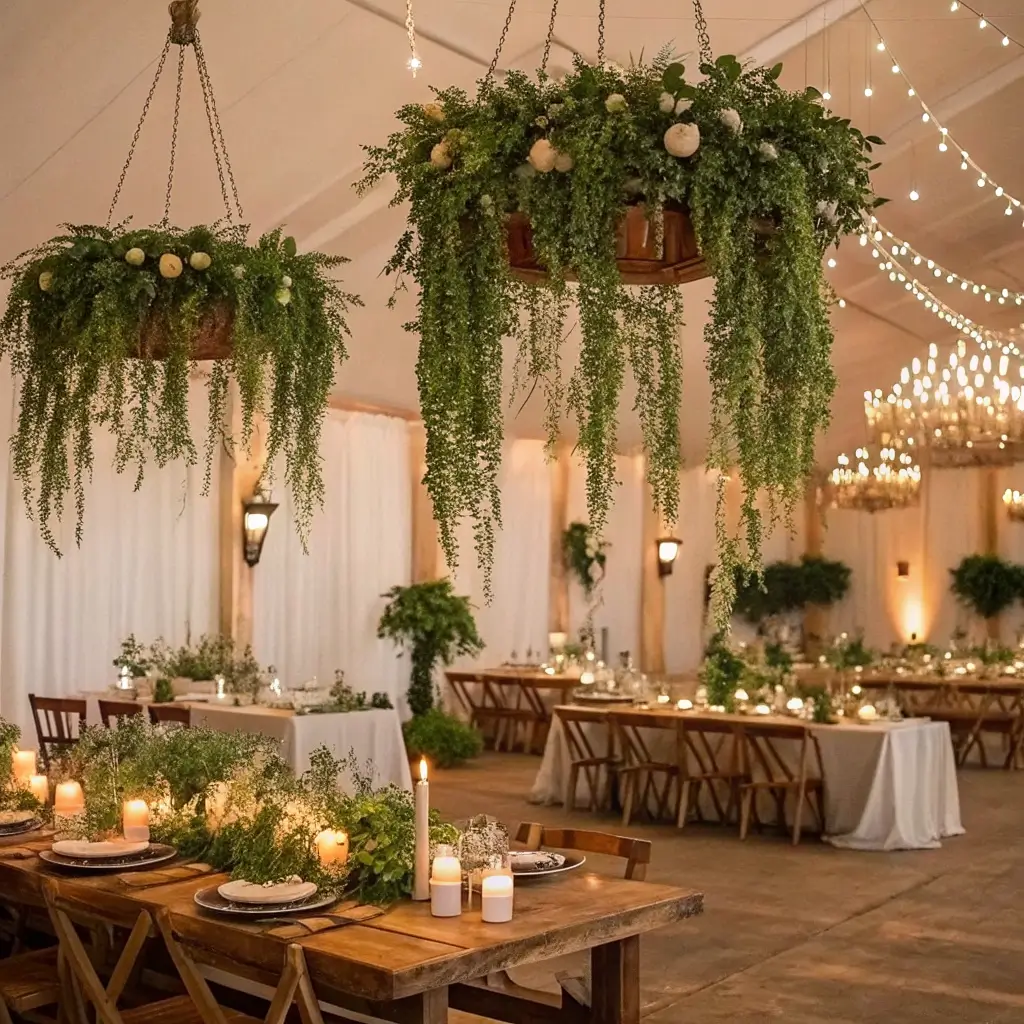
Forget those crystal chandeliers that cost more than your car. Hanging greenery chandeliers bring the outdoors in while creating these incredible focal points above your reception tables. The first time I saw one at a garden wedding, I thought “Why doesn’t everyone do this?”
Start with a simple wire wreath frame or embroidery hoop as your base. Wrap it with eucalyptus, ivy, or olive branches, then hang it horizontally from fishing line or ribbon. Add dripping Spanish moss, trailing jasmine, or cascading baby’s breath for that ethereal, floating garden effect.
The game-changer? Weave battery-operated micro LED lights through the greenery. When the sun sets, these living chandeliers transform into glowing orbs that cast the most romantic shadows. Your dance floor photos will look like something out of a movie, I promise.
Creating Different Chandelier Styles
Mix up your hanging gardens with these variations:
• Single large statement piece over the sweetheart table
• Multiple small hoops at varying heights over long tables
• Geometric frames for modern rustic vibes
• Incorporate air plants for low-maintenance options
• Add hanging votive candles in glass orbs (battery-operated for safety)
Don’t stress about making them perfectly symmetrical. The beauty of rustic decor lies in its imperfect, organic nature. Embrace the wildness!
Antique Crate Dessert Table
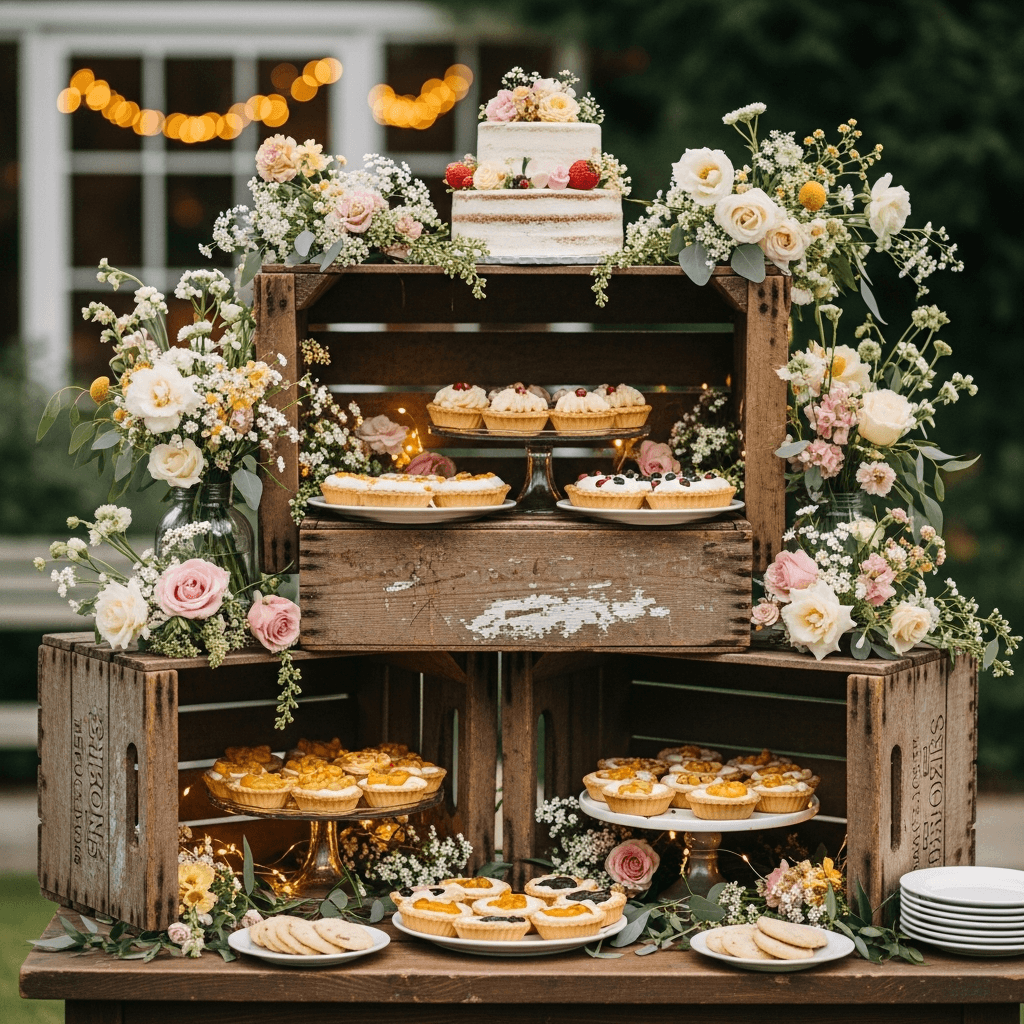
Your dessert table deserves to be more than just a folding table with a tablecloth thrown over it. Vintage wooden crates stacked at different heights create this amazing 3D display that makes your treats look like they belong in a fancy bakery window. Plus, who doesn’t love a good dessert table that doubles as decor?
Hunt down old apple crates, wine boxes, or milk crates at flea markets or antique shops. Stack them strategically to create levels, some on their sides as shelves, others upright as platforms. The weathered wood and vintage stamps on the crates add character you just can’t fake with new stuff.
Fill the display with an assortment of treats – not just your wedding cake. Think pie bars, cookie stations, candy jars, maybe even a donut wall attached to one of the crates. Label everything with those cute little chalkboard signs, and watch your guests lose their minds taking photos before they even grab a treat.
Dessert Display Styling Secrets
Elevate your crate display with these tricks:
• Line crates with burlap or lace for a softer look
• Add battery-operated string lights inside the crates
• Use cake stands of varying heights within the crates
• Incorporate fresh flowers or greenery between treats
• Create a backdrop with fabric, paper flowers, or a greenery wall
Here’s something nobody tells you: slightly tilt some crates forward using small wooden blocks underneath. This creates better visibility for your desserts and makes everything look more abundant.
Also Read: 10 Creative Mirror Wall Decor Entrance Ideas for Small Spaces
Wildflower Bouquet Toss Baskets
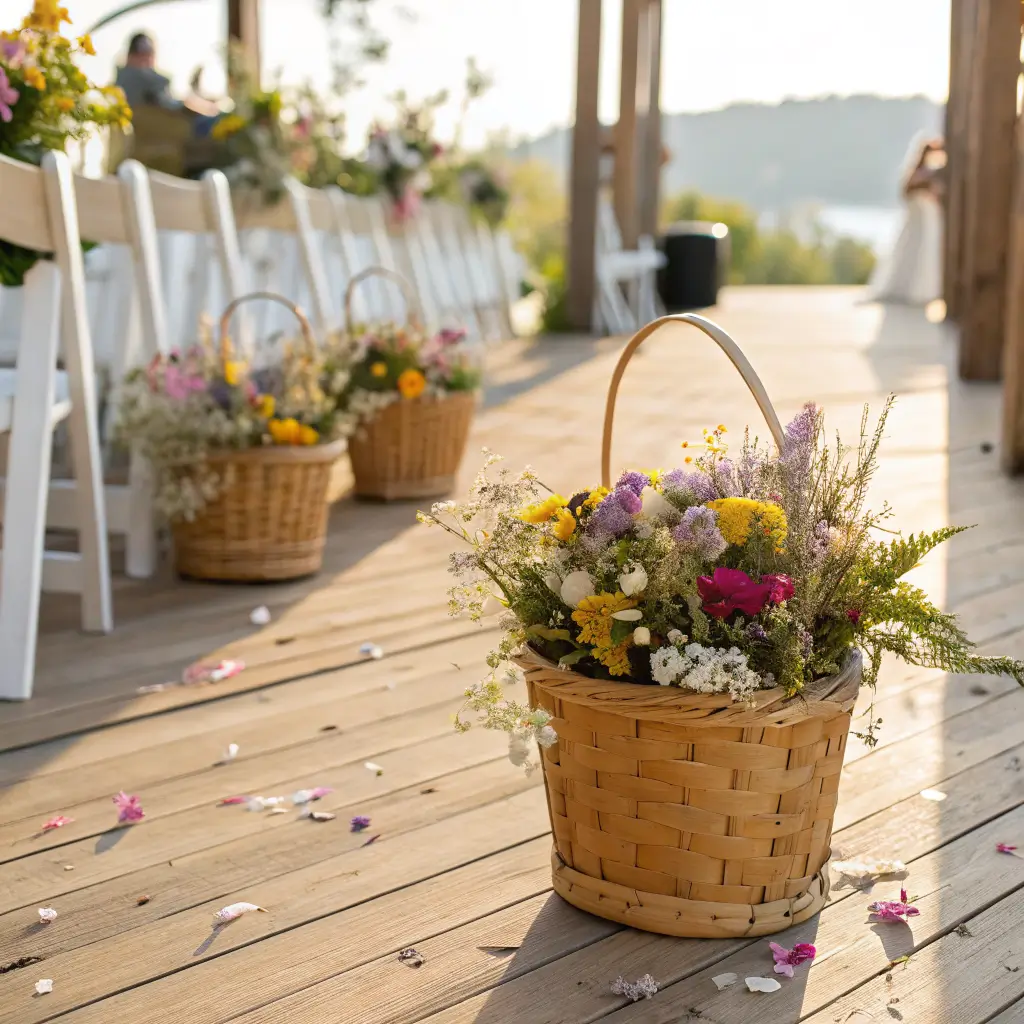
Last but definitely not least, let’s talk about those adorable wildflower toss baskets that make your petal-tossing game strong. Instead of those tragic paper cones or plastic baskets that scream “party store,” we’re going full rustic charm with woven baskets filled with locally sourced wildflowers and petals.
Small wicker baskets, miniature wooden buckets, or even paper bags stamped with kraft paper designs work beautifully. Fill them with lavender buds, dried flower petals, or fresh wildflower blooms mixed with herbs like rosemary for that amazing scent as guests toss them.
The best part? After the ceremony, these baskets become part of your decor. Collect them and arrange them around your cake table or gift area. Some couples even let guests take them home as favors. How’s that for practical beauty?
Making Your Toss Baskets Special
Add these touches to make them memorable:
• Tie ribbons in your wedding colors to the handles
• Include a small sign saying “Toss with Love”
• Mix in biodegradable confetti for extra celebration
• Add dried herbs for aromatherapy benefits
• Create different mixes for different effects (romantic, cheerful, natural)
Pro tip: If you’re having an outdoor ceremony, check venue rules about what can be tossed. Some places have restrictions, but dried lavender usually gets a pass everywhere :/
Wrapping Up This Rustic Romance
So there you have it – ten rustic wedding decor ideas that’ll transform your venue without transforming your bank account into a wasteland. Each of these elements brings something special to the table (literally, in some cases), and the best part is you can pick and choose what works for your style and budget.
Remember, rustic doesn’t mean rough around the edges unless you want it to. These ideas create that perfect balance of elegance and earthiness that makes guests feel comfortable while still knowing they’re at a special celebration. Whether you DIY everything or hire someone to bring your vision to life, these elements will create those magazine-worthy moments you’ve been dreaming about.
The secret to nailing rustic decor? Don’t overthink it. Nature itself is imperfect, and that’s exactly what makes it beautiful. Embrace the wonky ladder, the slightly frayed burlap, and the wildflowers that refuse to stay perfectly arranged. That’s where the magic lives.
Now stop reading and start creating! Your perfect rustic wedding awaits, and trust me, with these ideas in your arsenal, it’s going to be absolutely incredible.