10 Fun Art Classroom Decor Ideas to Brighten Your Space
Remember when you walked into your first art classroom and felt that instant spark of creativity? That magical feeling doesn’t happen by accident.
I’ve spent years transforming bland classroom walls into creative wonderlands, and let me tell you—the right decor makes all the difference between students dragging their feet to class and practically sprinting through the door.
You know what kills creativity faster than anything? Walking into a sterile, white-walled classroom that screams “institutional boredom.” Trust me, I’ve been there. My first art room looked more like a prison cell than a creative space.
But here’s the thing—transforming your art classroom doesn’t require a massive budget or professional design skills. Sometimes the best ideas come from a roll of duct tape and some leftover paint samples.
Colorful Paint Palette Wall Display
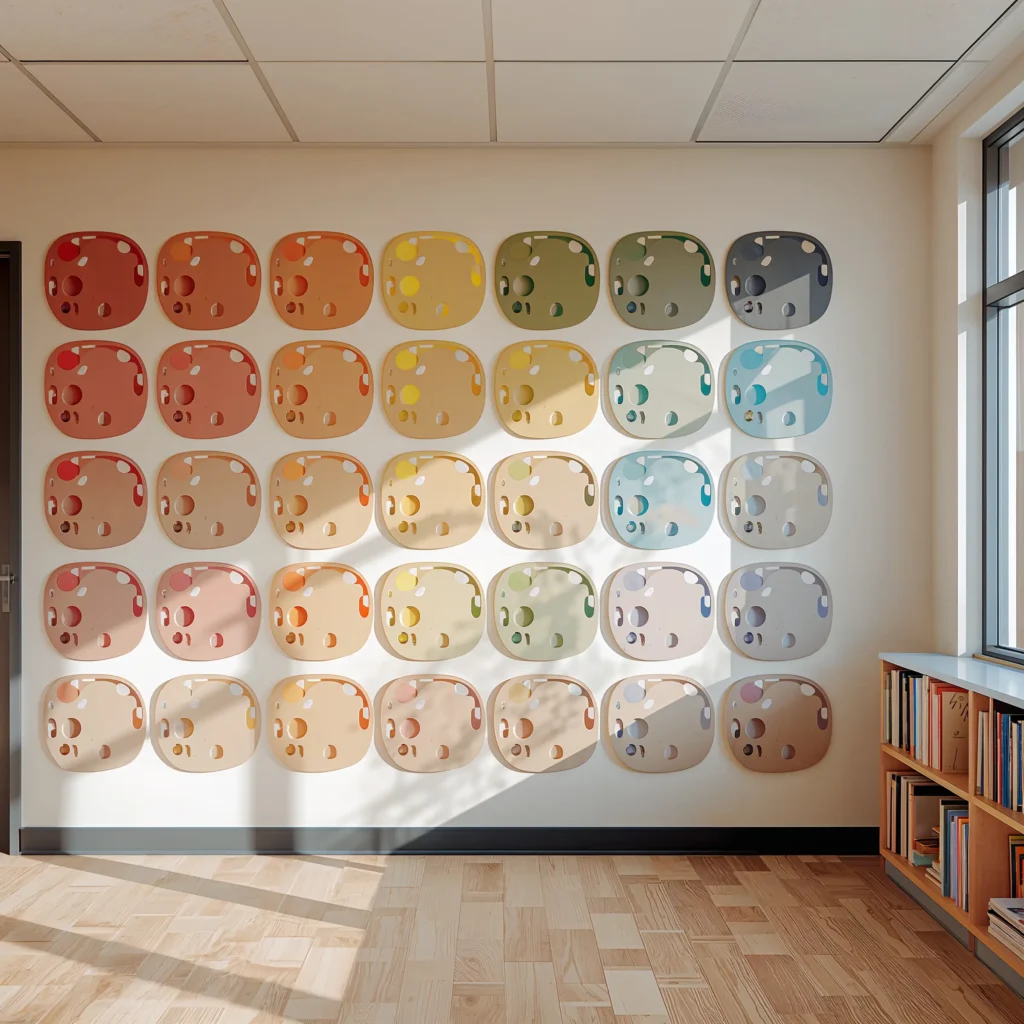
Who says paint palettes belong only on tables? I discovered this idea completely by accident when I dropped my oversized wooden palette and it cracked. Instead of tossing it, I hung it on the wall—and boom, instant art!
Creating a paint palette wall display transforms any boring wall into a celebration of color. You can make these palettes from cardboard, wood, or even old vinyl records (yeah, remember those?). The best part? Each palette becomes a teaching tool that showcases different color combinations and mixing techniques.
Making Your Own Palette Display
Start by collecting various sizes of palette shapes. I cut mine from recycled cardboard because, honestly, who has money for fancy materials these days? Paint each palette with different color schemes:
• Monochromatic palettes showing tints and shades
• Complementary color combinations that pop against each other
• Analogous schemes for that harmonious vibe
• Student-created palettes from their favorite projects
Mount them at different angles and heights. This creates visual interest and prevents that flat, museum-like feeling. I arrange mine in a flowing pattern that leads the eye across the wall—it’s like a river of color that students can’t help but follow.
The educational value here rocks too. Students constantly reference these displays when mixing colors. Instead of asking “How do I make purple?” for the millionth time, they check the wall. It’s basically a cheat sheet that doubles as decor.
DIY Student Art Gallery
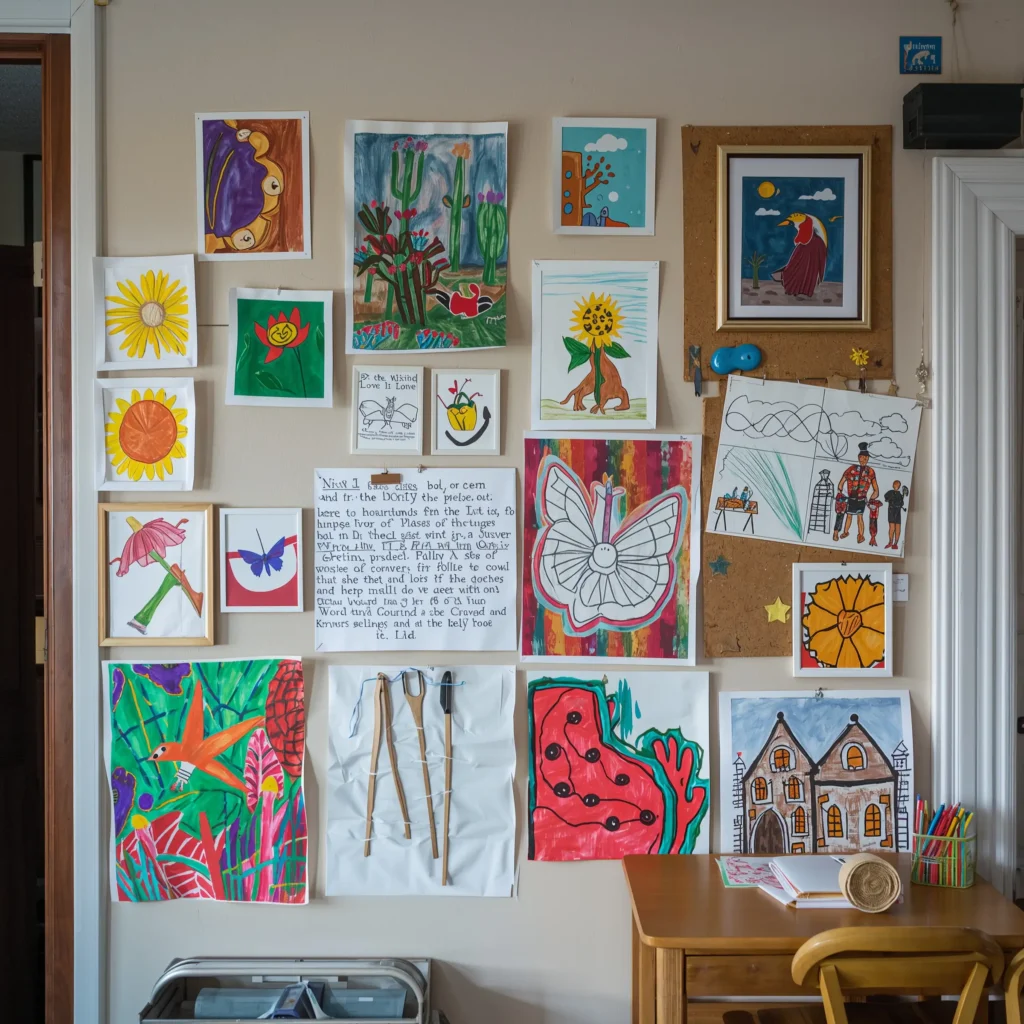
Nothing boosts student confidence like seeing their work displayed professionally. And when I say professionally, I mean creating a legit gallery space that makes their stick figures look like they belong in the Louvre.
Building a rotating student gallery doesn’t require expensive frames or fancy lighting. I use clotheslines, binder clips, and some strategic fairy lights. The whole setup cost me about twenty bucks, and students think it’s the coolest thing ever.
Setting Up Your Gallery Space
Pick a wall that gets natural light but won’t fade the artwork. I learned this the hard way when three months of direct sunlight turned vibrant watercolors into ghostly whispers of their former selves.
Install a simple wire system using:
• Picture hanging wire stretched between two hooks
• Colorful clothespins or binder clips for easy rotation
• Small labels for artist names and titles
• A “Gallery Opening” sign that students can customize
The rotation system keeps things fresh. Every two weeks, we have mini “gallery openings” where students present their work. They practice art vocabulary, explain their techniques, and honestly? Some of their artist statements crack me up more than professional ones.
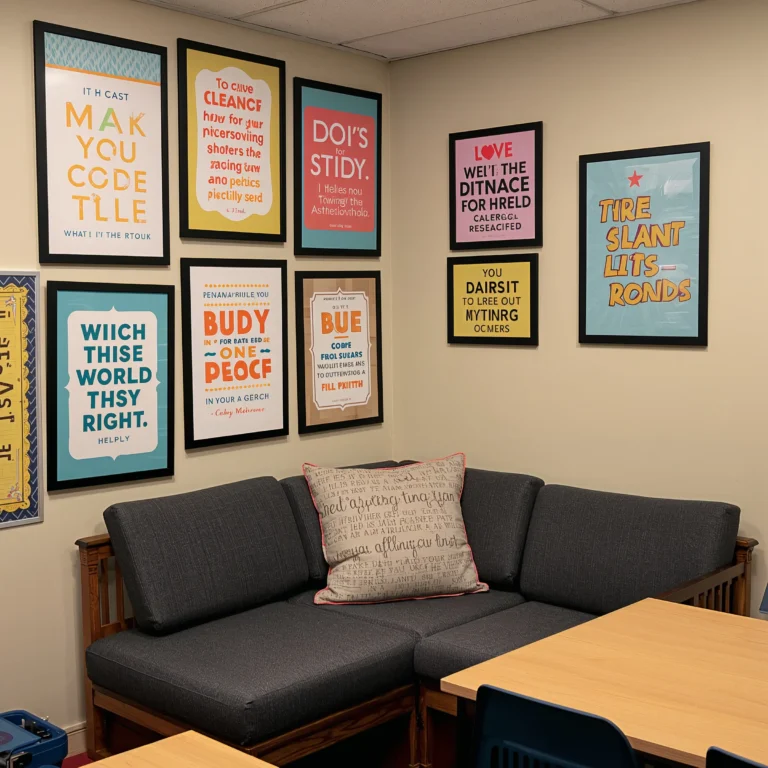
Inspirational Art Quote Posters

Let’s be real—not every motivational poster needs to feature a kitten hanging from a branch. Art students respond better to quotes from actual artists who understood the struggle of creating something from nothing.
I design my own quote posters using free online tools because paying $30 for a mass-produced poster seems ridiculous. Plus, custom posters let you match your classroom’s color scheme and include quotes that actually resonate with your students.
Choosing Quotes That Actually Matter
Skip the generic “Believe in yourself” nonsense. Look for quotes that address real artistic challenges:
• Bob Ross’s “We don’t make mistakes, just happy little accidents” – Perfect for perfectionists
• Picasso’s “Every child is an artist” – Great confidence booster
• Frida Kahlo’s “I paint flowers so they will not die” – Deep and thought-provoking
Print these on colorful paper or let students create illustrated versions. I had one student turn Van Gogh’s quote about normality into a swirling, starry night-inspired masterpiece. Now that’s meta.
Position quotes strategically around the room. Place technique reminders near supply stations and inspirational messages where students might feel stuck. That corner where everyone struggles with perspective drawing? Prime real estate for an encouraging quote.
Also Read: 10 Creative English Classroom Decor Ideas to Brighten Your Room
Recycled Art Supply Storage
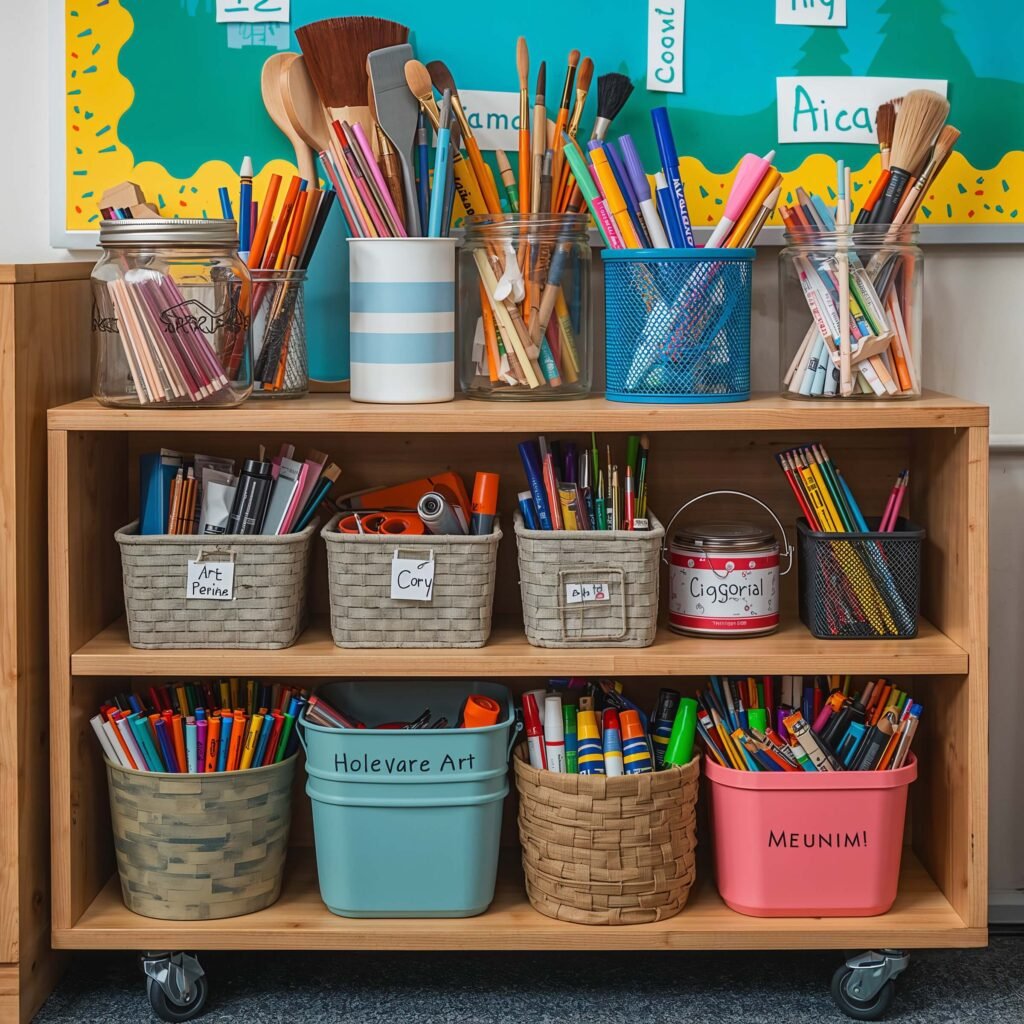
You want to know what’s better than expensive storage solutions? Creating storage that’s both functional and artistic using stuff headed for the trash. My classroom’s recycled storage system started as a necessity (budget = basically nothing) but became a design feature students love.
Coffee cans, glass jars, cereal boxes—they all transform into colorful supply holders with some paint and creativity. The environmental angle resonates with students too. They bring in containers from home, eager to contribute to our “upcycled paradise.”
Transforming Trash to Treasure
Start collecting containers weeks before school starts. Hit up local coffee shops for their large cans—most happily hand them over. FYI, the industrial-sized ones work best for paintbrushes and rulers.
Here’s my foolproof transformation process:
• Clean everything thoroughly (obvious but worth stating)
• Prime metal cans with spray paint to prevent rust
• Wrap containers in colorful paper or fabric
• Label clearly with both words and pictures
Group similar supplies together but use different container styles for visual variety. My marker section looks like a rainbow explosion with graduated jar sizes creating a cascading effect. Students actually put supplies back where they belong because the system makes sense visually.
Rainbow-Themed Corner Station
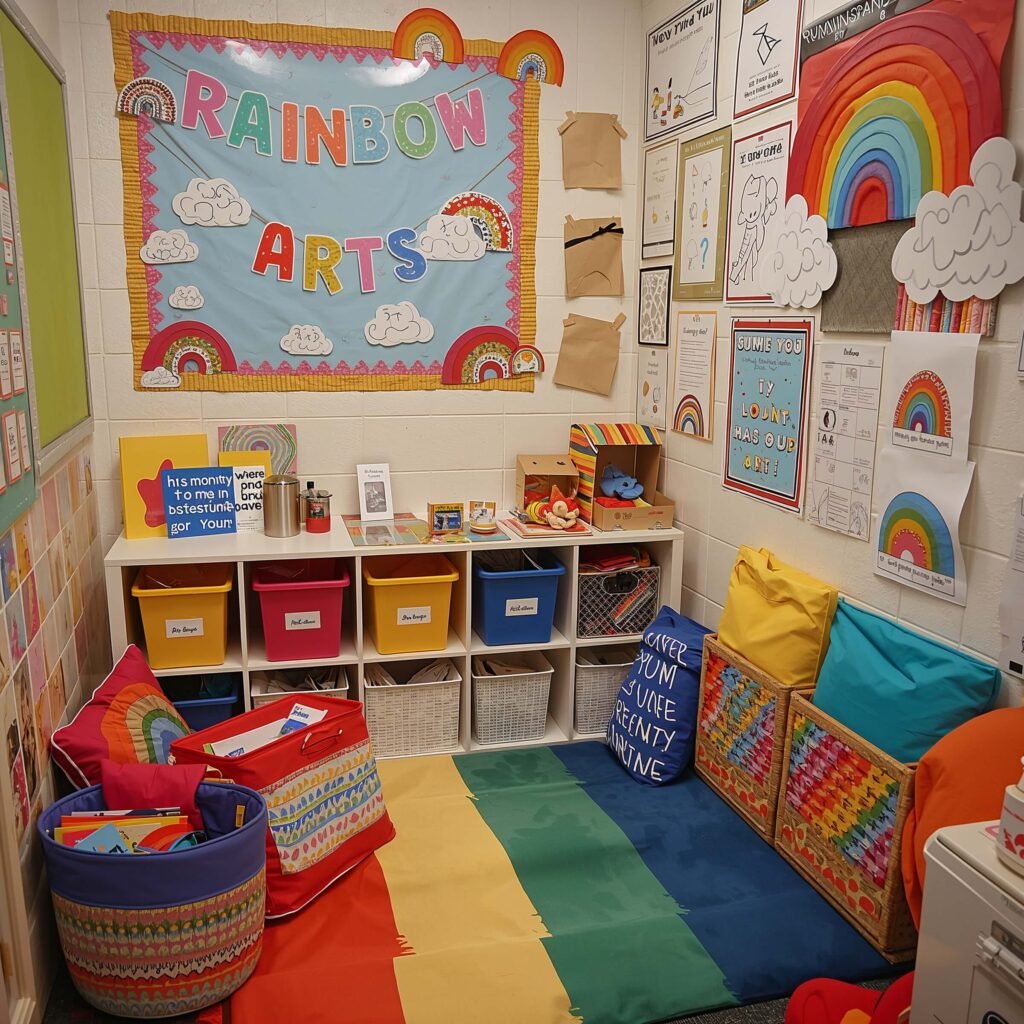
Every classroom needs that one corner that just makes you smile. Mine became the rainbow station—a dedicated space where color theory comes alive and organization meets pure joy.
I arranged everything in ROYGBIV order because apparently, I’m that person now. But you know what? Students remember color order better when they see it constantly reinforced in a functional space. Who knew organization could teach?
Creating Your Rainbow Haven
Transform any corner into a color celebration zone. Start with the walls—paint rainbow stripes, hang colorful fabric, or use removable wall decals if you’re renting your sanity from the school district.
Organize supplies by color:
• Red section: Warm-toned papers, markers, and materials
• Orange through yellow: Transition pieces and supplies
• Green zone: Nature-inspired materials and tools
• Blue to violet: Cool-toned supplies and calming elements
Add a color wheel carpet or rug if your budget allows. I found mine at a garage sale for five bucks—best investment ever. Students naturally gravitate to this corner during free creation time.
Install rainbow-colored crates or shelving units vertically. This maximizes corner space while creating a visual tower of color. Students learn to associate colors with specific supplies, making cleanup surprisingly efficient.
Interactive Chalkboard Wall
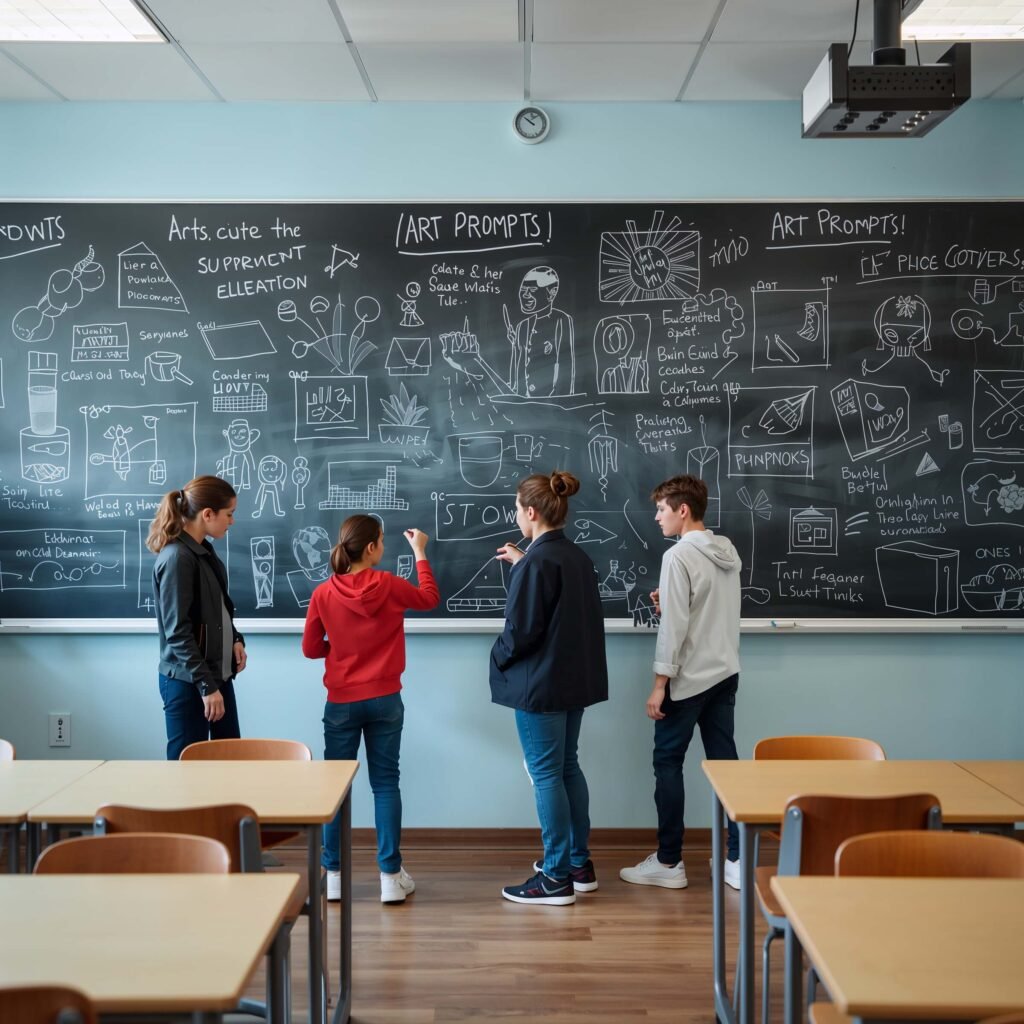
Forget those tiny chalkboards that barely fit a sentence. I’m talking about turning an entire wall into a creative playground where students can brainstorm, doodle, and collaborate without limits.
Chalkboard paint changed my teaching life. Seriously, three coats of paint transformed my most boring wall into the classroom’s most popular feature. Students who never raise their hands suddenly express themselves freely on the wall.
Making Your Wall Come Alive
Choose your wall wisely—pick one that’s easily accessible but won’t get accidentally erased by backpacks or bodies. I learned this after watching a beautiful collaborative mural get hip-checked into oblivion.
Apply chalkboard paint in thin, even coats:
• Sand the wall first for better adhesion
• Use painter’s tape for clean edges
• Apply 3-4 thin coats rather than 2 thick ones
• Season the board properly before first use
Create designated zones on your chalkboard wall. I section mine into “Work in Progress,” “Daily Doodle Challenge,” and “Technique Practice.” Boundaries help prevent chaos while maintaining creative freedom.
Provide quality chalk and erasers in wall-mounted containers. Those cheap chalks create more dust than art. Invest in dustless chalk—your lungs will thank you, and the janitor won’t plot your demise 🙂
Also Read: 10 Amazing Elementary Classroom Decor Ideas That Inspire Learning
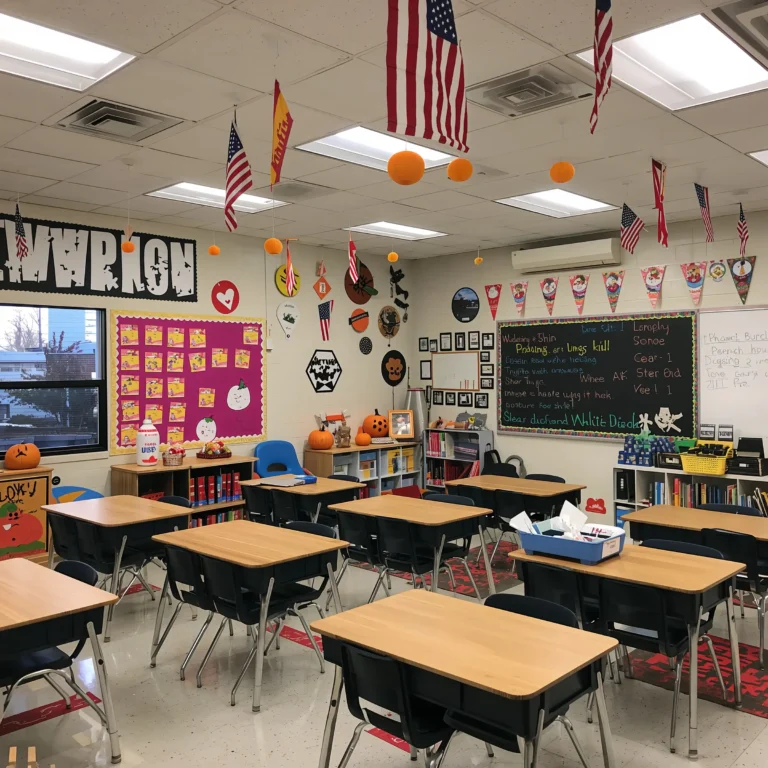
Seasonal Art Project Showcase
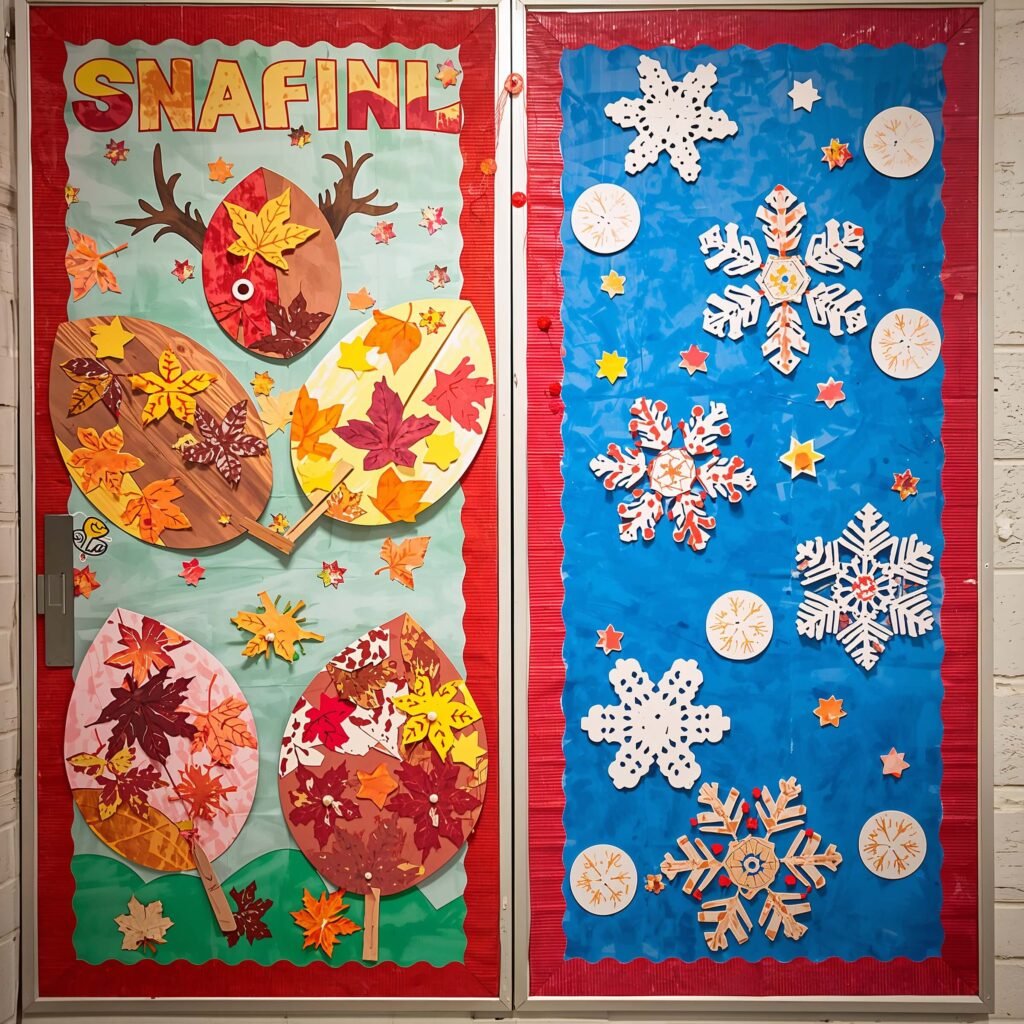
Rotating seasonal displays keeps your classroom fresh and gives students multiple opportunities to shine. My seasonal showcase system means every student gets spotlight time throughout the year.
Instead of cramming everything onto one bulletin board, I create themed displays that change with the seasons. Fall leaves made from painted handprints, winter sculptures from recycled materials, spring flowers in every medium imaginable—each season brings new possibilities.
Planning Your Seasonal Rotations
Map out your year in advance. I know, planning ahead isn’t everyone’s strength, but trust me on this one. Having a rotation schedule prevents the “Oh crap, it’s December and I still have Halloween stuff up” panic.
Create a showcase calendar:
• Fall: Warm-colored projects, harvest themes, texture studies
• Winter: Cool palettes, geometric patterns, cultural celebrations
• Spring: Growth themes, pastels, outdoor observations
• Summer: Bright colors, movement studies, vacation inspiration
Design portable display boards that store easily. I make mine from foam core and duct tape because fancy display systems are overrated. Each board gets a seasonal border that students help create—instant buy-in for keeping displays neat.
Include process work alongside finished pieces. Students love seeing sketches evolve into final projects. This also teaches that art isn’t magic—it’s a process of development and refinement.
Hanging 3D Paper Sculptures
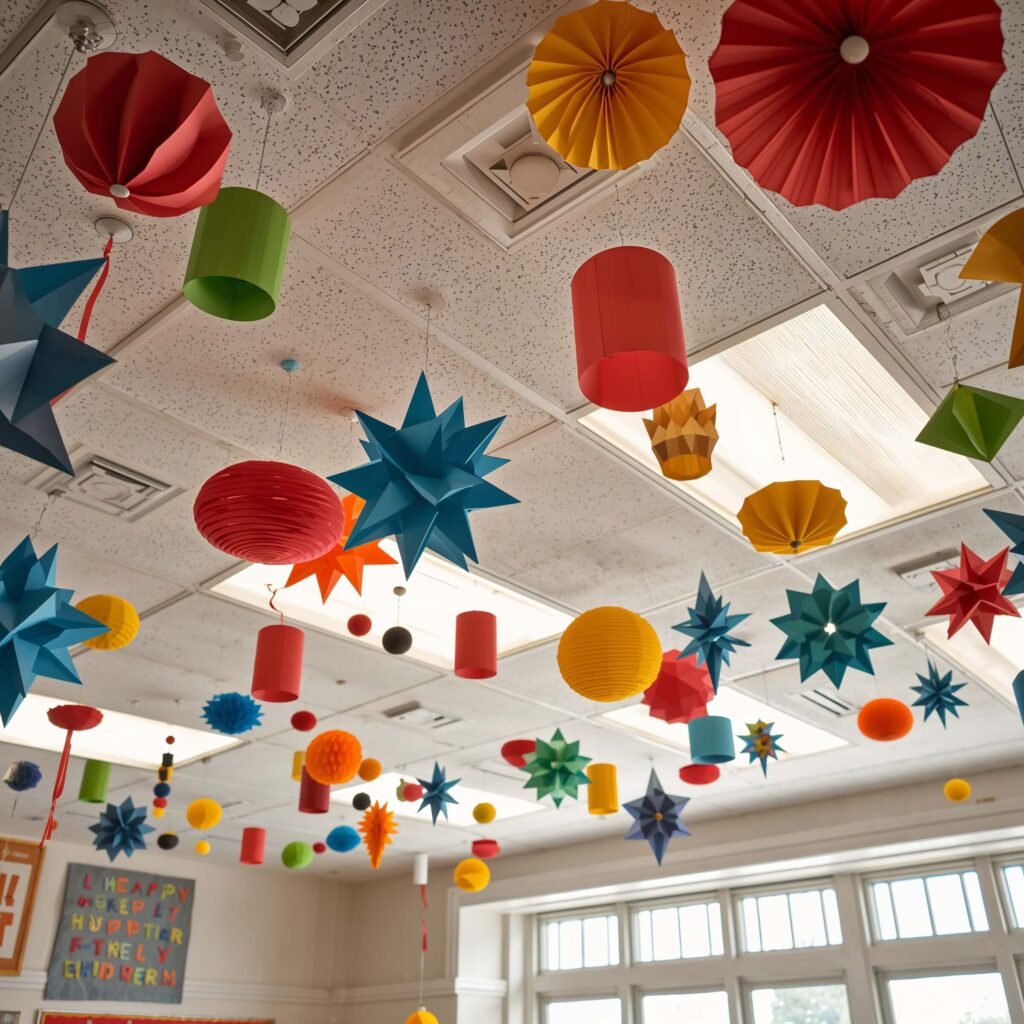
Two-dimensional art is great, but 3D paper sculptures hanging from the ceiling? That’s when your classroom transforms into an immersive art experience. My ceiling currently resembles an underwater scene with paper fish swimming between the fluorescent lights.
These sculptures serve double duty as decor and teaching examples. Students see various paper techniques in action—scoring, folding, curling—all suspended at eye level for easy reference.
Creating Your Aerial Gallery
Start simple with basic shapes before attempting complex sculptures. My first attempt at a paper dragon looked more like a crumpled tissue with wings. Learn from my mistakes.
Essential materials for ceiling sculptures:
• Fishing line or clear thread for invisible suspension
• Cardstock or heavy paper that holds its shape
• Small weights hidden inside to prevent spinning
• Removable ceiling hooks that won’t damage tiles
Vary the heights and positions to create movement. Cluster similar pieces together for impact, then spread individual sculptures for balance. Think of it as three-dimensional composition—the same principles apply, just with added altitude.
Change sculptures seasonally or by unit. Our current geometric shapes will soon transform into organic forms for our nature study unit. Students anticipate these changes and often create pieces specifically hoping they’ll make it to the ceiling gallery.
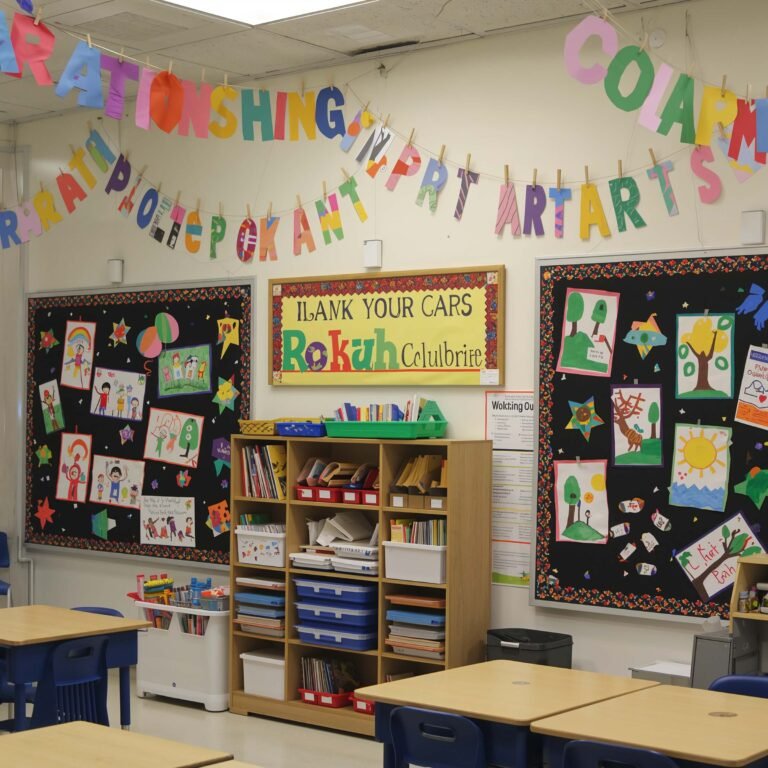
Artistic Bulletin Board Frames
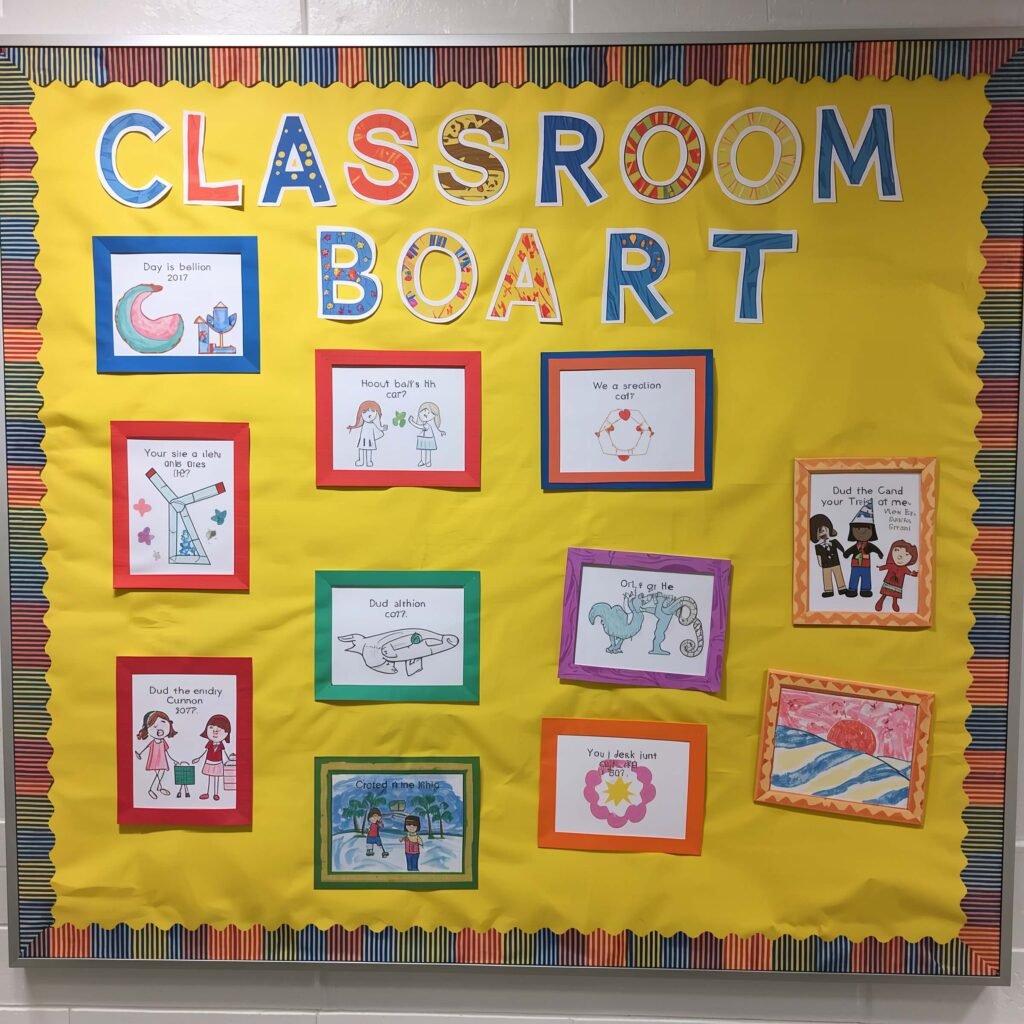
Standard bulletin boards scream “classroom.” But add creative frames? Suddenly you’ve got gallery-worthy display spaces that make even stick figures look professional.
I transform boring boards using everything from painted cardboard to fabric borders. The frame becomes part of the art, setting the stage for student work while teaching design principles like unity and emphasis.
Designing Frames That Pop
Measure your boards precisely—nothing ruins the effect like a wonky frame. I once eyeballed measurements and ended up with a frame that looked like it survived an earthquake.
Frame ideas that actually work:
• Paint brush border: Glue old brushes around the edge
• Color wheel frame: Painted sections creating a rainbow border
• Pattern play: Geometric shapes or organic forms repeating
• Texture frame: Fabric, paper, or mixed media combinations
Consider the frame’s relationship to displayed work. Bold frames need breathing room from busy artwork. Subtle frames let complex pieces shine. I rotate frames based on what we’re displaying—it’s like choosing the right outfit for your art.
Add dimensional elements to frames for extra interest. Small shelves for 3D pieces, pockets for artist statements, or clip systems for easy rotation—functional additions that enhance the design.
Also Read: 10 Fun Kindergarten Classroom Decor Ideas for Bright Spaces
Creative Supply Jar Labels
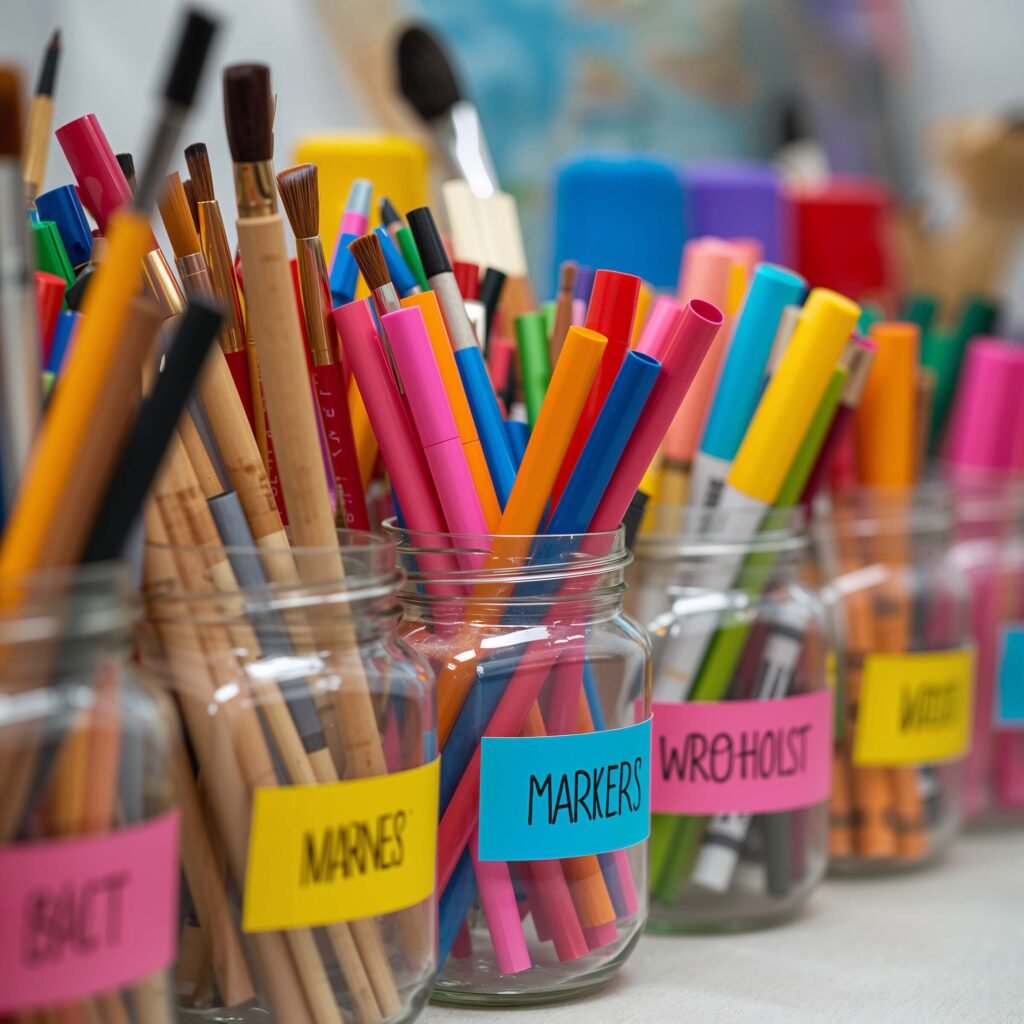
Labels might seem like a minor detail, but creative labeling transforms mundane organization into artistic expression. My supply jars sport labels that students actually want to read—imagine that!
Hand-lettered labels, illustrated tags, color-coded systems—these small touches make finding supplies fun instead of frustrating. Plus, students practice typography and design skills without realizing they’re learning.
Labeling with Purpose and Style
Design labels that work for all learning styles. Include words, images, and colors so everyone can quickly identify supplies. My “Scissors” jar features the word, a picture, and a bright yellow background—impossible to miss.
Create cohesive label sets:
• Consistent color schemes that match your room
• Clear, readable fonts (save the fancy scripts for display work)
• Durable materials laminated or covered in clear tape
• Bilingual options if you have multilingual students
Let students design seasonal label updates. IMO, student-created labels get more respect than teacher-made ones. They take ownership of the organization system when they contribute to its design.
Add QR codes to labels linking to technique videos or supply care instructions. Yeah, it’s a bit extra, but students love the tech integration. Plus, it answers the “What’s gesso again?” question before it’s asked.
Making It All Work Together
Here’s the thing about classroom decor—it’s not about perfection. The most inspiring art rooms I’ve seen weren’t Pinterest-perfect; they were authentic spaces that reflected real creativity and learning.
Your classroom should evolve with your students. What works in September might feel stale by February. Stay flexible, involve students in decoration decisions, and remember that the best decor showcases student creativity rather than overshadowing it.
Budget constraints? Join the club! Some of my favorite decorations cost absolutely nothing. That stunning paper installation? Made from last year’s failed prints. The colorful garland? Painted newspaper from a clean-up disaster. Creativity trumps cash every single time.
Start small if you’re feeling overwhelmed. Pick one idea that excites you and run with it. Once students see the transformation beginning, they’ll jump in to help. Before you know it, you’ll have recruited an army of eager decorators who take pride in their creative space.
Remember, your art classroom should inspire both you and your students. If you’re not excited to walk through that door each morning, something needs to change. These decoration ideas aren’t rules—they’re starting points for your own creative journey.
The best part about teaching art? Every mistake becomes a learning opportunity, every experiment leads somewhere interesting, and every student brings fresh perspectives that can transform your space in unexpected ways. So grab some paint, raid the recycling bin, and start creating a classroom that makes everyone want to pick up a paintbrush and create something amazing.
Your art room shouldn’t just be a place where art happens—it should be a living, breathing work of art itself. And trust me, when students walk into a space that radiates creativity and possibility, magic happens. The kind of magic that turns “I can’t draw” into “Look what I made!”
Now stop reading and start creating. Your blank walls are waiting, and those students deserve a space as creative as they are. Who knows? Your classroom might just become the inspirational space that launches the next generation of artists into the world. No pressure though 😉