10 Creative Music Classroom Decor Ideas That Inspire Learning
You know that feeling when you walk into a music classroom and it just clicks? The energy hits different, students actually seem excited, and suddenly everyone wants to grab an instrument instead of their phones. Yeah, that’s the power of great classroom decor, my friend.
I’ve spent years transforming bland music rooms into creative havens, and let me tell you – the right decor makes all the difference.
Students perform better, practice more, and actually remember what you teach when they’re surrounded by inspiring visuals. Plus, who wants to teach in a boring white box when you could create a space that screams “music happens here”?
Let’s talk about 10 music classroom decor ideas that’ll transform your teaching space from forgettable to phenomenal. Trust me, your students (and your Instagram feed) will thank you.
Musical Note Wall Garland
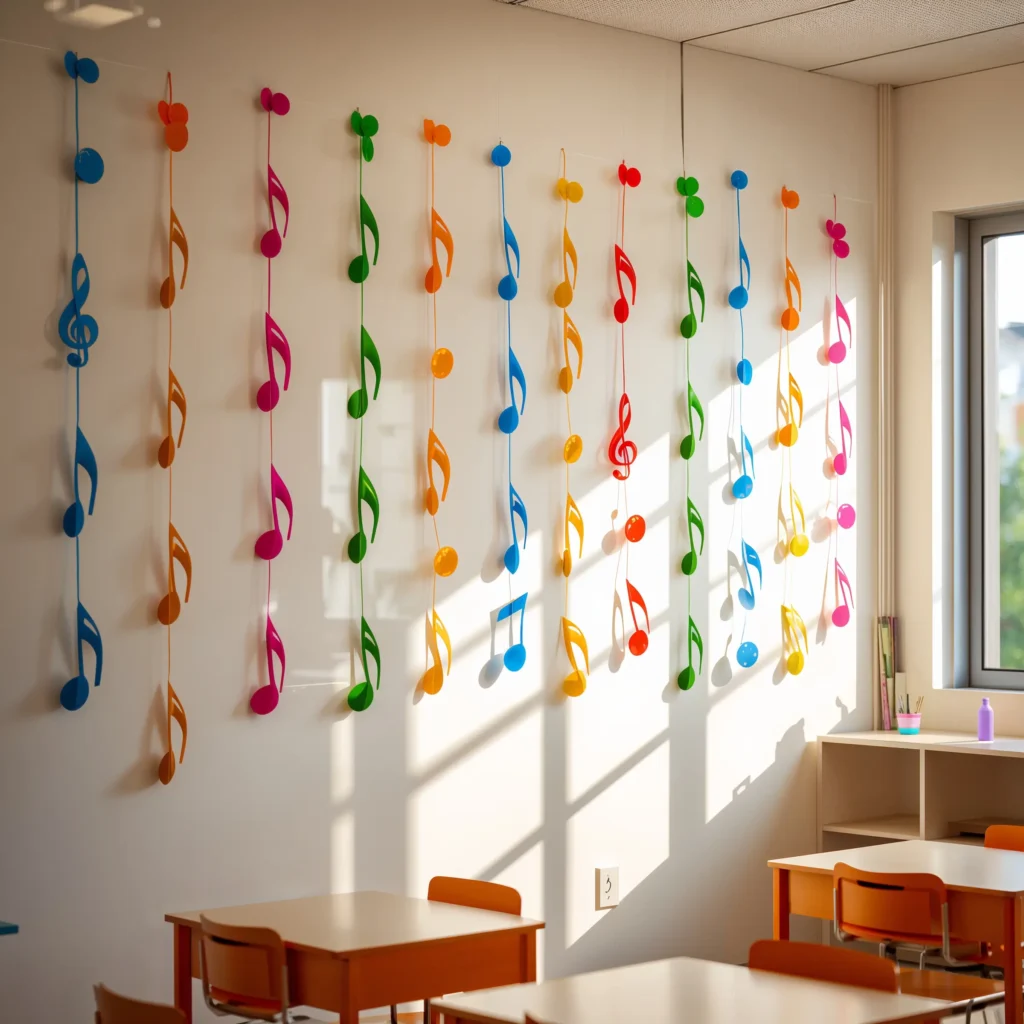
Remember those paper chains you made in elementary school? Well, this is basically the cooler, music teacher version. Musical note wall garlands instantly add movement and rhythm to any blank wall space, and they’re ridiculously easy to make.
I started creating these after realizing my classroom ceiling looked depressingly bare. Now I string them across corners, drape them over windows, and even use them to section off different practice areas. The best part? Students love helping make them during downtime.
Materials You’ll Need
Here’s what you’ll need to get started:
- Black cardstock (for the notes)
- Strong string or fishing line
- Hot glue gun (because staples look tacky)
- Optional metallic paper for jazz things up
Cut out various note values – whole notes, quarters, eighths, you name it. Mix in some rests for visual variety. Space them about 6-8 inches apart on your string, and boom – instant musical atmosphere.
Placement Tips That Actually Work
Don’t just slap these anywhere. I’ve learned that diagonal placement creates more visual interest than straight horizontal lines. Try running them from high corners down to mid-wall points. Creates this awesome cascading effect that draws the eye around the room.
You can also use different colored notes to represent different musical concepts. Red for dynamics, blue for tempo markings – suddenly your decor becomes a teaching tool. How’s that for multitasking?
Instrument Display Shelves
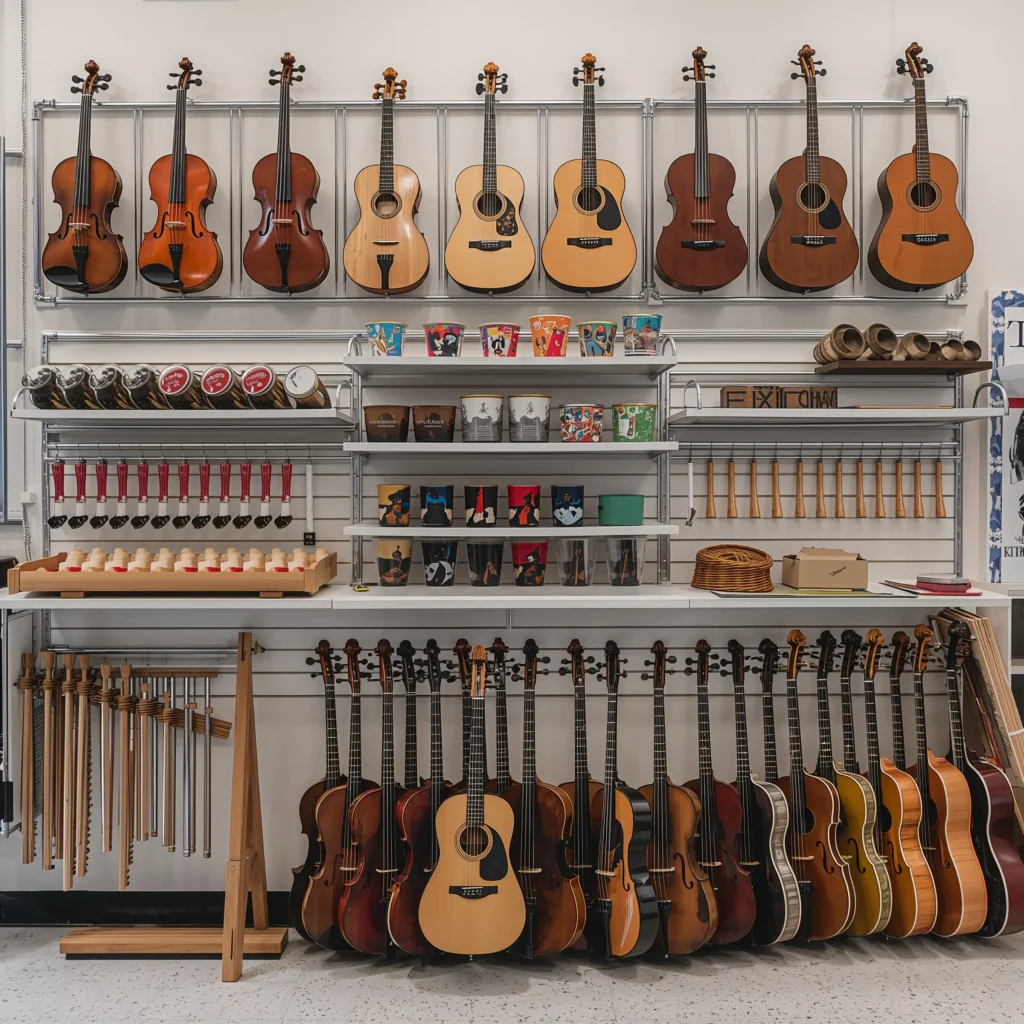
Nothing says “this is a music room” quite like actual instruments on display. But here’s the thing – you don’t need expensive, working instruments to create an impressive display wall.
I hit up garage sales, thrift stores, and even asked parents for broken instruments they were planning to toss. That old trumpet with stuck valves? Perfect wall decoration. The violin with a cracked body? Prime display material.
Creating Your Display System
Mount sturdy floating shelves at varying heights – this creates visual interest and prevents that “music store showroom” vibe. I personally love the staggered look:
- Top shelf: Smaller instruments like harmonicas, recorders, ukuleles
- Middle shelf: Medium pieces like tambourines, small drums, violins
- Lower shelf: Heavier items that won’t fall and brain someone
Pro tip: Use guitar wall hangers for string instruments. They’re cheap, secure, and make your classroom look like a legit recording studio.
Safety First (Because Nobody Wants a Lawsuit)
Mount everything super securely. Use wall anchors, not just screws into drywall. Position shelves where kids won’t bump them during normal classroom movement. And FYI, anything valuable or actually playable goes behind locked glass or stays in storage.
I learned this the hard way when a student decided my display saxophone would make a great impromptu jazz solo opportunity. Spoiler alert: it didn’t end well :/
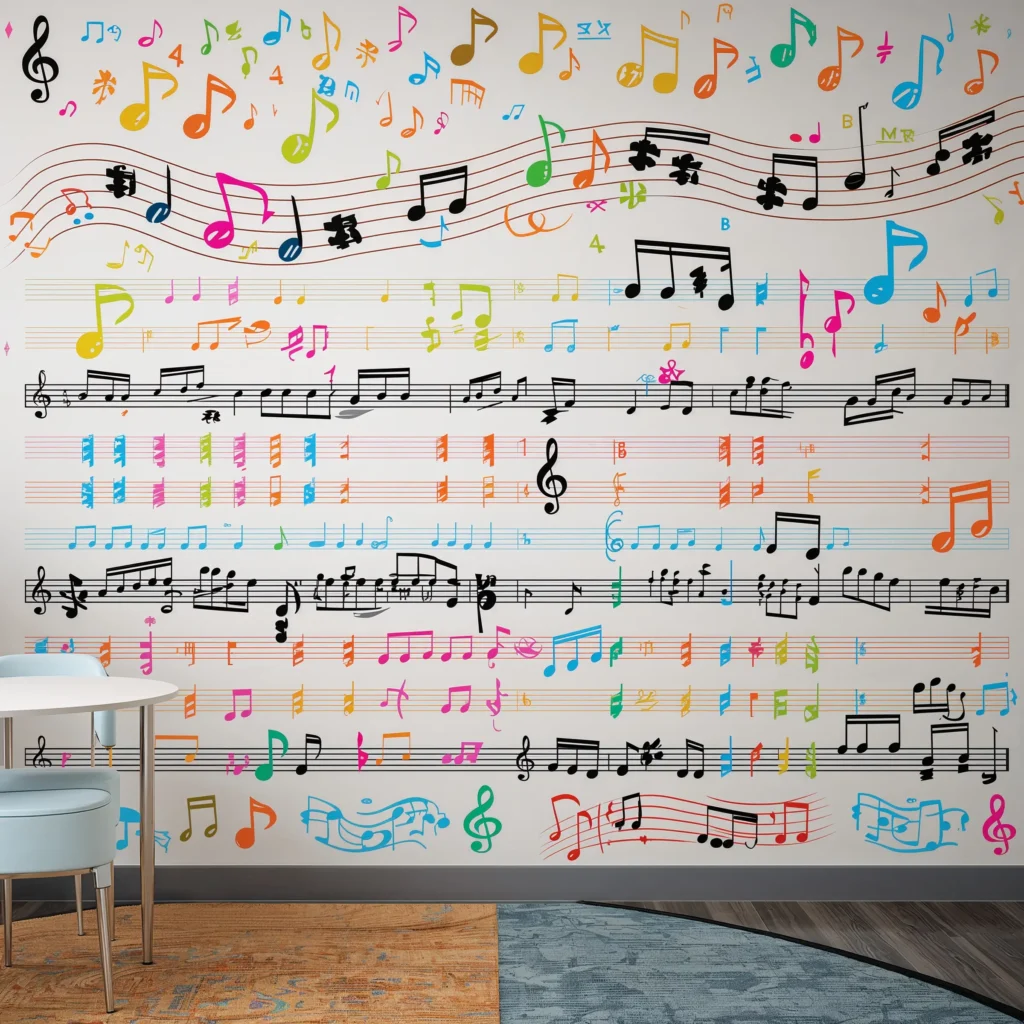
Sheet Music Wallpaper Accent

Want to know a secret? You don’t need to wallpaper an entire wall to make a statement. One accent wall with sheet music wallpaper transforms your entire classroom vibe without breaking the bank.
I discovered this trick when renovating on a shoestring budget. Instead of expensive custom wallpaper, I used vintage sheet music copies and mod podge. Total game-changer.
DIY vs. Store-Bought Options
Sure, you can buy actual sheet music wallpaper online. But why spend $100+ when you can create something unique for under $30? Here’s my method:
- Photocopy old sheet music (varying pieces for visual texture)
- Age the paper with coffee or tea for that vintage look
- Overlap pieces slightly for seamless coverage
- Seal everything with matte mod podge
The result? A one-of-a-kind wall that sparks conversations and actually teaches music theory. Students constantly discover new musical passages and ask about the pieces.
Strategic Placement Ideas
Don’t just pick any wall. Choose the wall behind your piano or main teaching area. This creates a natural focal point and provides an interesting backdrop for videos or photos. Trust me, your virtual lessons will look way more professional.
Consider creating a gradient effect – start with simple pieces at the bottom and gradually transition to more complex compositions as you go up. It’s subtle, but music nerds totally notice and appreciate it.
Also Read: 10 Beautiful Boho Classroom Decor Ideas for a Cozy Space
Rhythm and Beat Wall Decals
Who says wall decals are just for nurseries? Rhythm and beat decals turn boring walls into interactive learning spaces. And unlike paint, you can move them around when you get bored (or when your principal decides to shuffle classroom assignments… again).
I use these to create visual rhythm patterns students can literally walk along while clapping. It’s kinesthetic learning at its finest, and it looks pretty darn cool too.
Design Ideas That Actually Teach
Think beyond basic quarter notes. Create visual representations of actual rhythm patterns:
- Samba patterns along the baseboards
- Jazz syncopation around door frames
- Classical meter patterns above the whiteboard
Mix sizes and colors to show dynamics and accents. Large, bold notes for forte, smaller lighter ones for piano. Students start internalizing these concepts just by being in the room.
Application Tips from Experience
Here’s what I’ve learned after applying approximately 847 decals (okay, maybe not that many, but it feels like it):
- Clean the wall first with rubbing alcohol
- Use a level – crooked notes will drive you insane
- Start from the center and work outward
- Keep extras because students will pick at edges
Also, invest in quality vinyl decals. The cheap ones peel within months, and you’ll find little vinyl notes scattered across your floor like musical confetti. Not cute.
DIY Record Album Clock
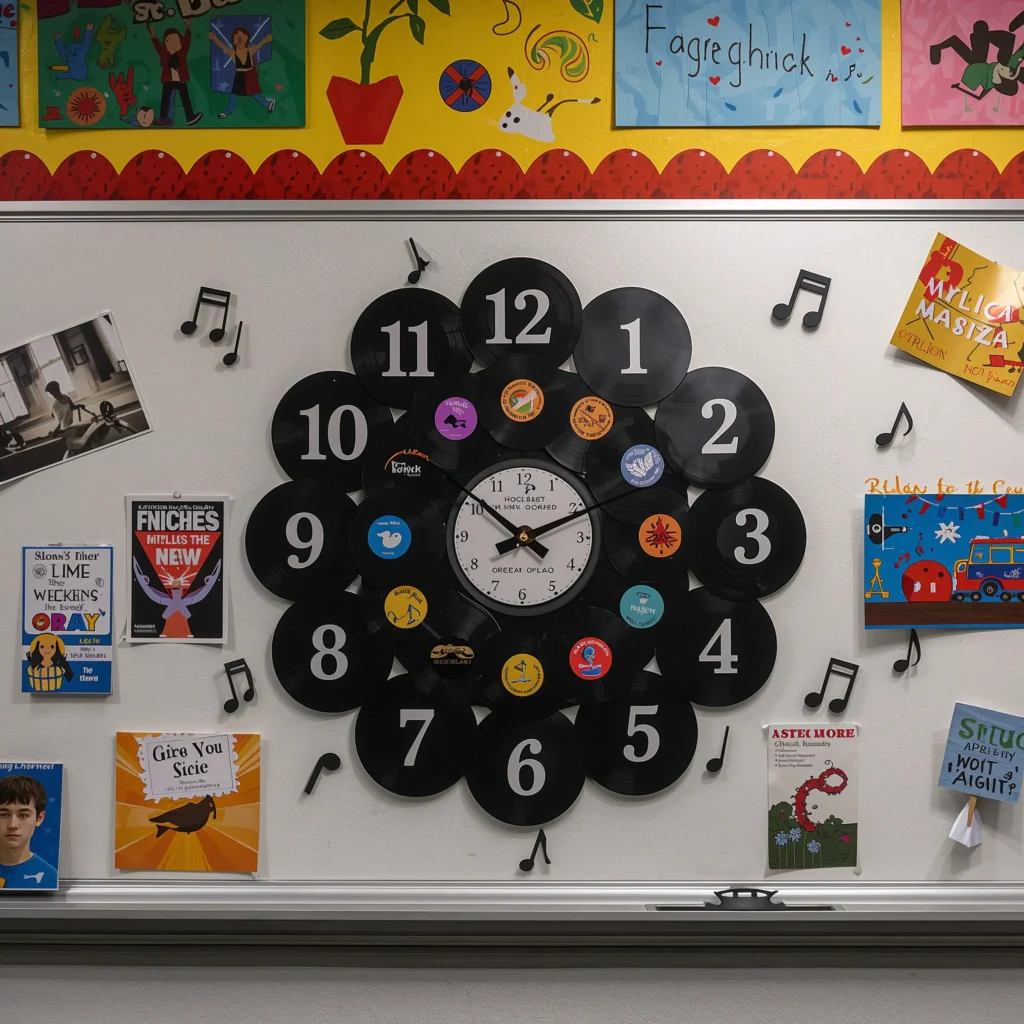
Every music room needs a clock, so why settle for boring when you can have a functional piece of art? Old vinyl records make amazing clock faces, and this project screams “I’m a cool music teacher who gets it.”
I made my first one using a scratched Beatles album I found at Goodwill for $0.50. Now I have a collection of five, each representing different musical eras. Students actually check the time now instead of constantly asking “how much longer?”
Step-by-Step Creation Process
Making these is stupid easy:
- Find a record (thrift stores are goldmines)
- Buy a clock kit ($5-10 online)
- Drill the center hole to fit the clock mechanism
- Attach the hands and insert battery
- Hang and enjoy your musical timepiece
Want to get fancy? Add number markers using small instrument stickers or music note cutouts at the 12, 3, 6, and 9 positions.
Choosing the Right Albums
Don’t just grab any record. Think about what message you want to send:
- Classical album: Sophistication and tradition
- Jazz record: Creativity and improvisation
- Pop album: Relevance and connection to current music
- World music: Cultural appreciation and diversity
IMO, avoid anything too controversial or with inappropriate album art. That Pink Floyd album might look cool, but explaining it to concerned parents isn’t worth the hassle.
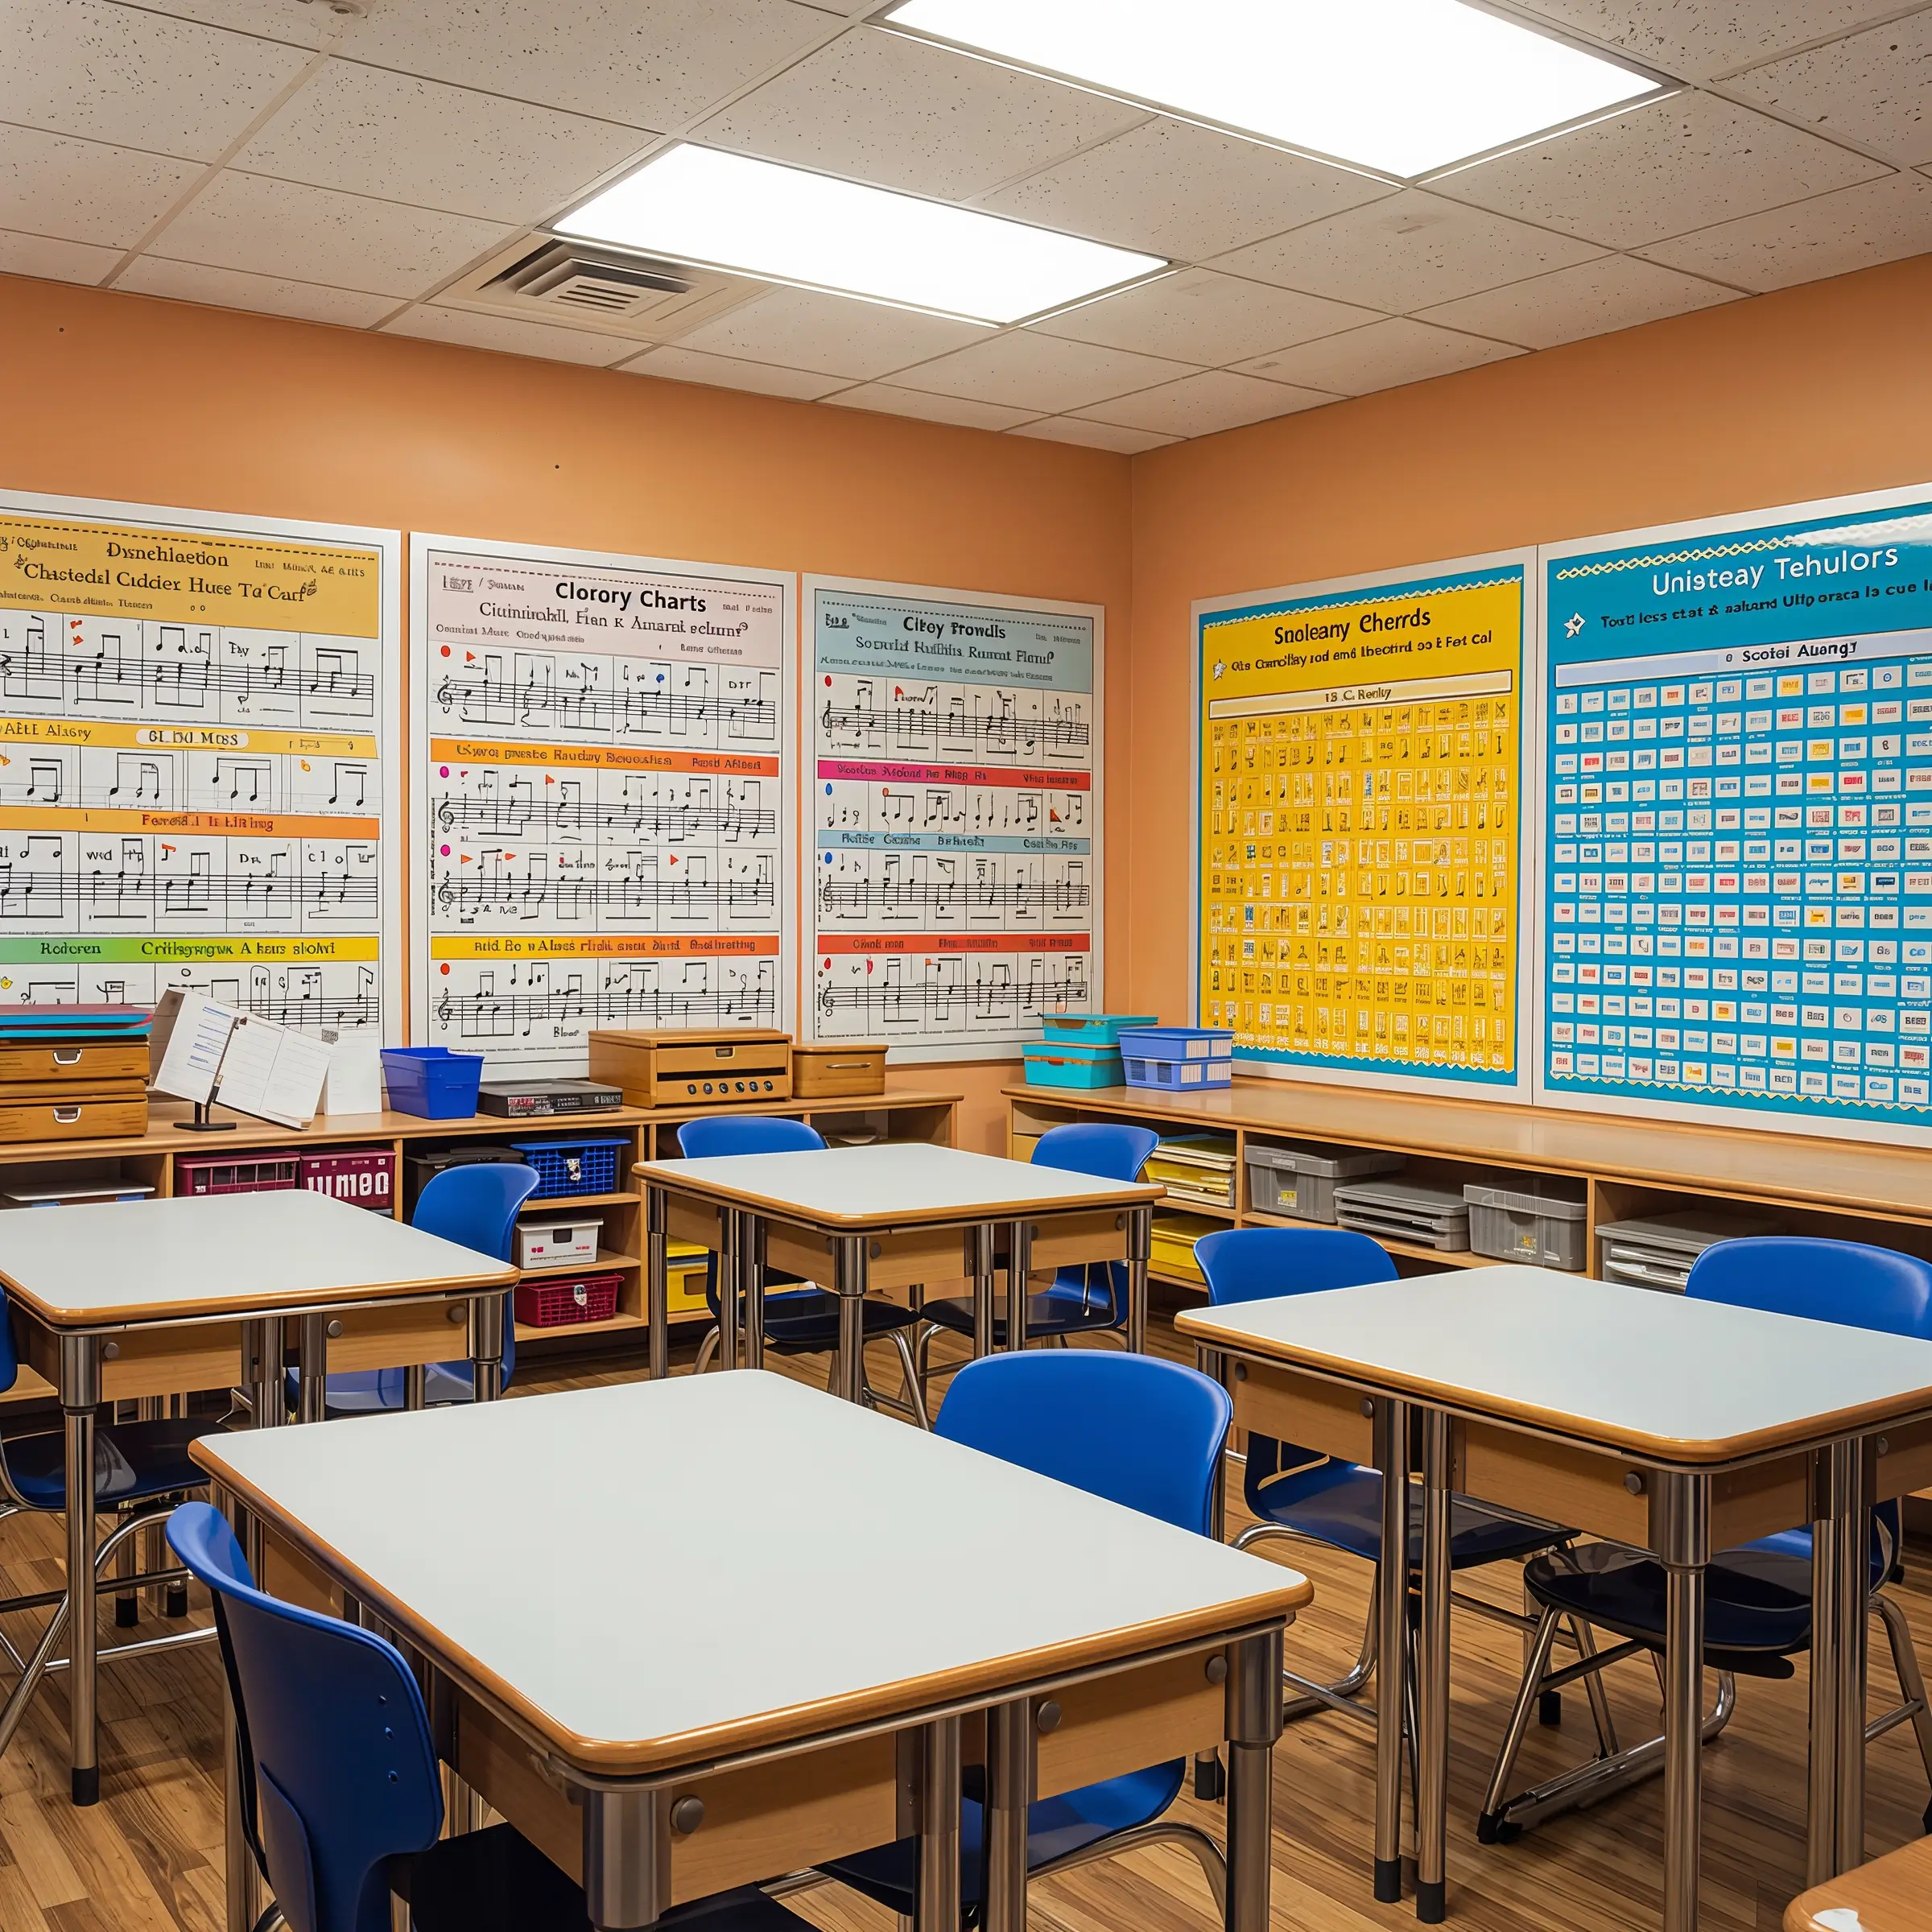
Color-Coded Music Theory Charts

Let’s be real – music theory can be dry as week-old bread. But color-coded charts make complex concepts instantly digestible. Plus, they double as legitimate classroom art.
I started color-coding after noticing students struggled with the circle of fifths. Now, with each key signature in a different color, they get it instantly. It’s like music theory finally makes sense!
Essential Charts to Include
These are the must-haves for any music classroom:
- Circle of Fifths (rainbow colored by key)
- Chord progression charts (grouped by chord families)
- Scale degree charts (with Nashville numbers)
- Rhythm tree (showing note value relationships)
- Dynamic markings (from pp to ff with gradient colors)
Print these on quality poster paper or canvas. Laminating is your friend – trust me, sticky fingers and pencil marks are real.
Color Psychology in Music Education
Here’s something most teachers don’t consider: colors affect learning. Use warm colors (reds, oranges) for major keys and cool colors (blues, purples) for minor keys. Students subconsciously start associating emotional qualities with musical concepts.
I organize my charts by difficulty too:
- Green borders: Beginner concepts
- Yellow borders: Intermediate
- Red borders: Advanced
This way, students know exactly what level they’re working at without feeling overwhelmed.
Also Read: 10 Creative Teaching Classroom Decor Ideas to Boost Engagement
Soundwave Canvas Art
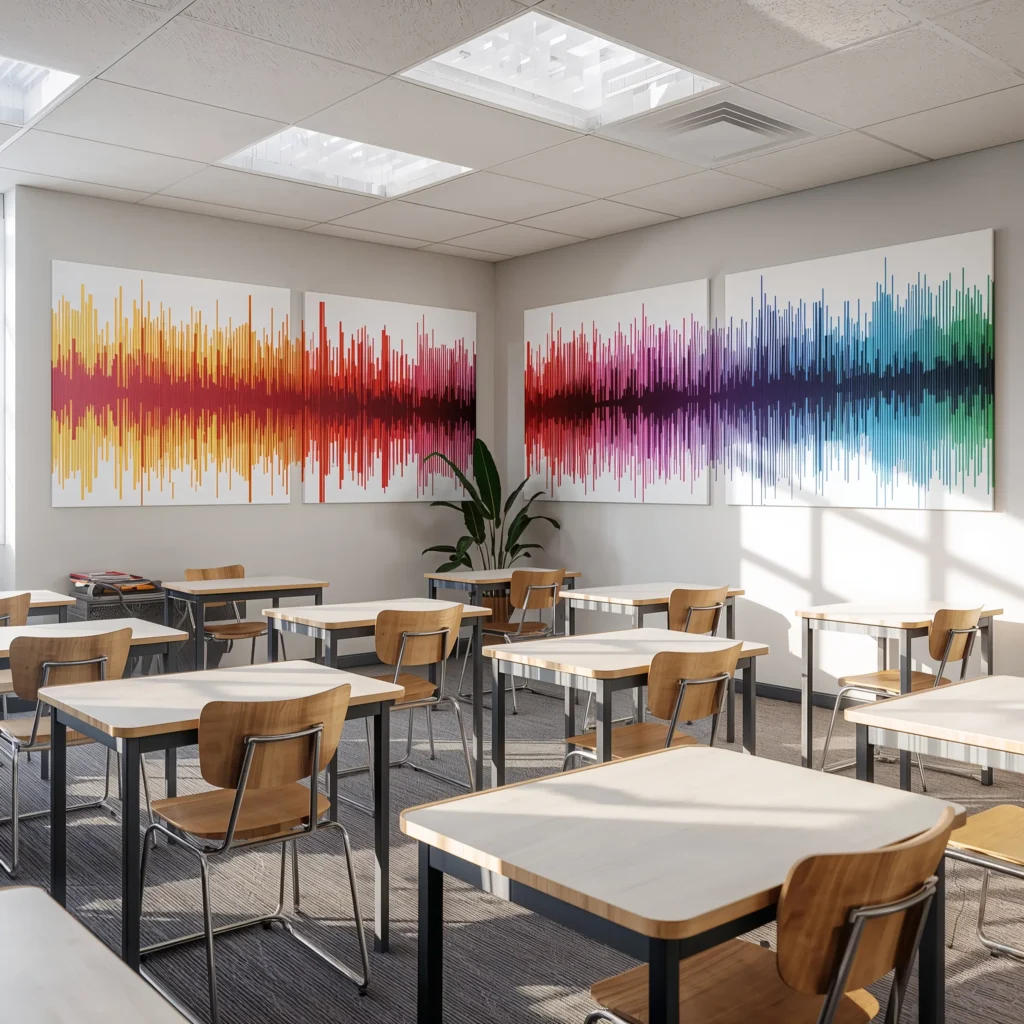
Want something that looks like it belongs in a recording studio? Soundwave art brings serious professional vibes to your classroom. And here’s the kicker – you can create it from your students’ actual performances.
I record my advanced students playing their recital pieces, then convert the audio into visual soundwaves. Seeing their music as art? Total mind-blow moment for them.
Creating Custom Soundwave Pieces
You don’t need expensive software. Here’s my process:
- Record the audio (even phone quality works)
- Use free online converters to generate the wave image
- Print on canvas or quality paper
- Add the song title and student name underneath
For a cohesive look, stick to a consistent color scheme. I use black waves on white for a classic look, but you could match your school colors.
Display Arrangements That Pop
Don’t just hang these randomly. Create a gallery wall with different sized canvases:
- Large centerpiece featuring a famous classical piece
- Surrounding smaller pieces from student performances
- Mix orientations (some horizontal, some vertical)
Space them evenly using the “two fists” rule – that’s roughly the perfect distance between frames. Learned that from an actual gallery curator, so you know it’s legit 🙂
Musical Quote Typography Posters
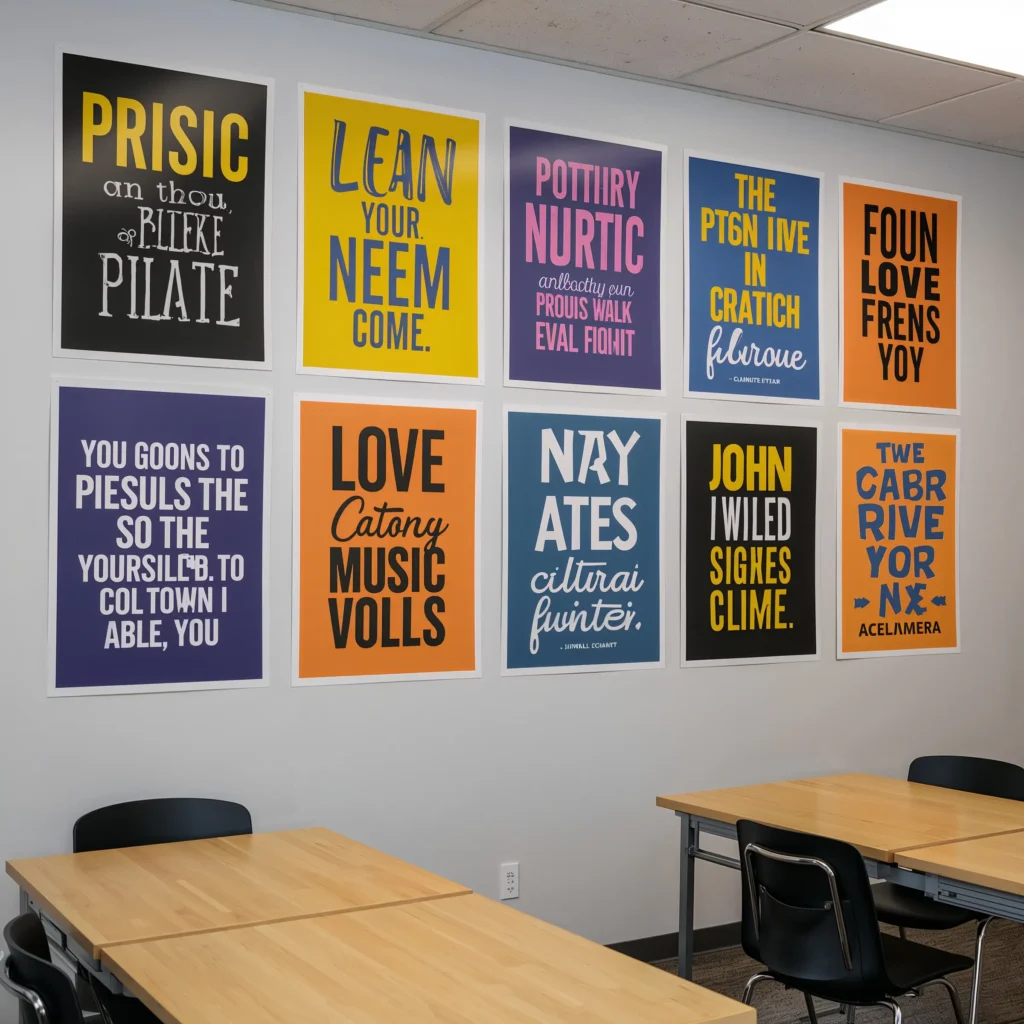
Every student has those days when they want to quit. That’s where inspirational music quotes come in. But please, for the love of Beethoven, skip the cheesy Comic Sans posters from the teacher store.
I design my own using free tools like Canva, featuring quotes that actually resonate with students. “Music is life itself” – Louis Armstrong. “Without music, life would be a mistake” – Nietzsche. Real quotes from real musicians hit different.
Selecting Quotes That Inspire
Choose quotes that speak to different aspects of musicianship:
- Perseverance: “The piano ain’t got no wrong notes” – Thelonious Monk
- Creativity: “Don’t play what’s there, play what’s not there” – Miles Davis
- Practice: “I was obliged to work hard” – Mozart
- Expression: “Music expresses that which cannot be said” – Victor Hugo
Mix classical and contemporary sources. Students need to know that struggle and triumph in music are universal, whether you’re Bach or Beyoncé.
Typography Tips for Maximum Impact
The font matters, people! Here’s what works:
- Sans serif fonts for modern quotes
- Script fonts for classical or romantic quotes
- Bold, blocky fonts for powerful, motivational statements
- Handwritten style for personal, intimate messages
Keep the design simple but striking. One powerful quote in beautiful typography beats ten cluttered motivational posters any day.
Recycled Instrument Planters
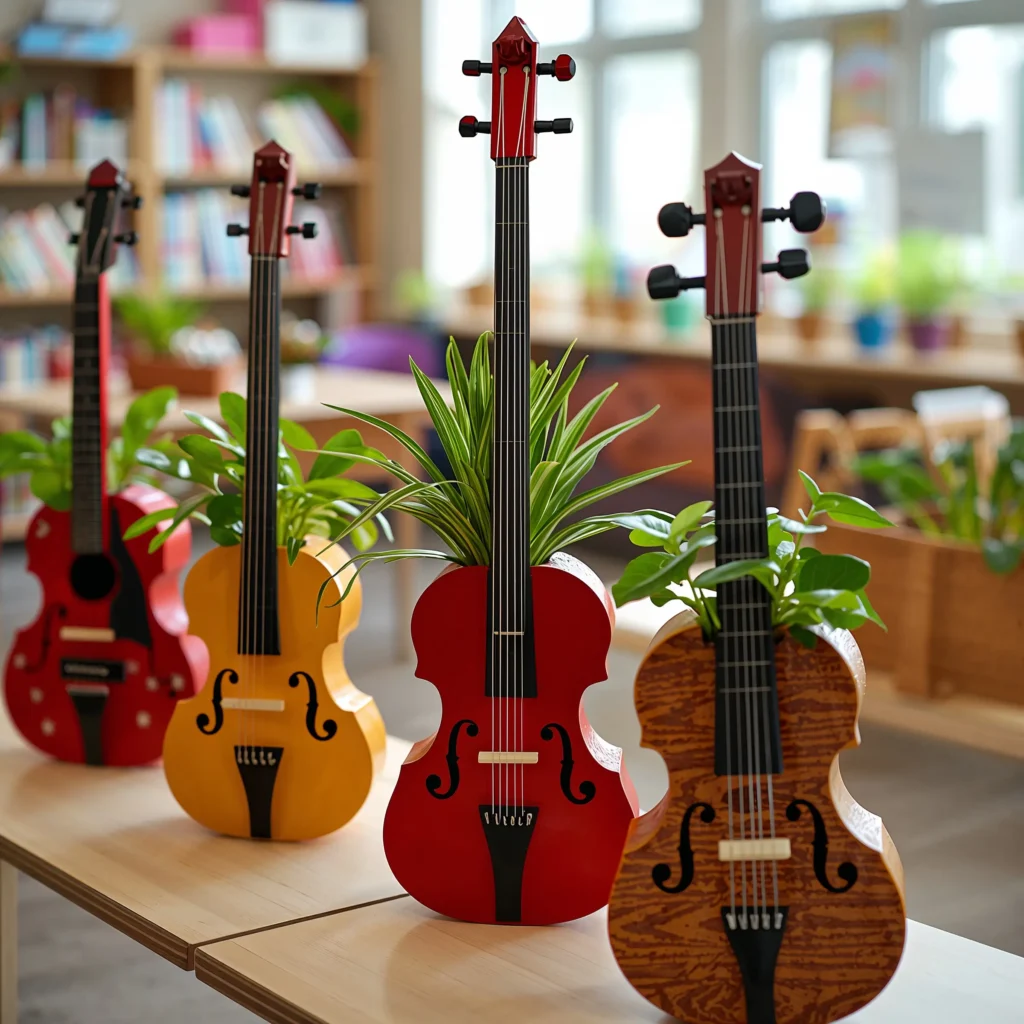
Who says broken instruments belong in the trash? Turning old instruments into planters adds life (literally) to your classroom while teaching sustainability. Plus, plants improve air quality and reduce stress – science says so!
My favorite creation? A old brass trumpet turned succulent garden. It sits on my desk, and students are obsessed with it. “Miss, is that trumpet growing plants?” Yes, yes it is.
Best Instruments for Planting
Not all instruments work equally well:
- Brass instruments: Perfect for succulents (great drainage)
- Drums: Ideal for larger plants
- Violins/Guitars: Remove strings, line with plastic, instant planter box
- Tambourines: Hang them as small herb gardens
Avoid wood instruments unless you seal them properly. Learned that lesson when my clarinet planter basically composted itself. Not pretty.
Plant Selection for Music Rooms
Choose low-maintenance plants because let’s face it, you’re teaching music, not botany:
- Succulents: Forget to water them? They don’t care
- Pothos: Practically indestructible
- Snake plants: Thrive on neglect
- Air plants: No soil needed!
Position these near windows but away from high-traffic areas. Nothing ruins the vibe like knocked-over plant dirt during a percussion ensemble rehearsal.
Also Read: 10 Fun Board Borders Classroom Decor Ideas for a Cheerful Space
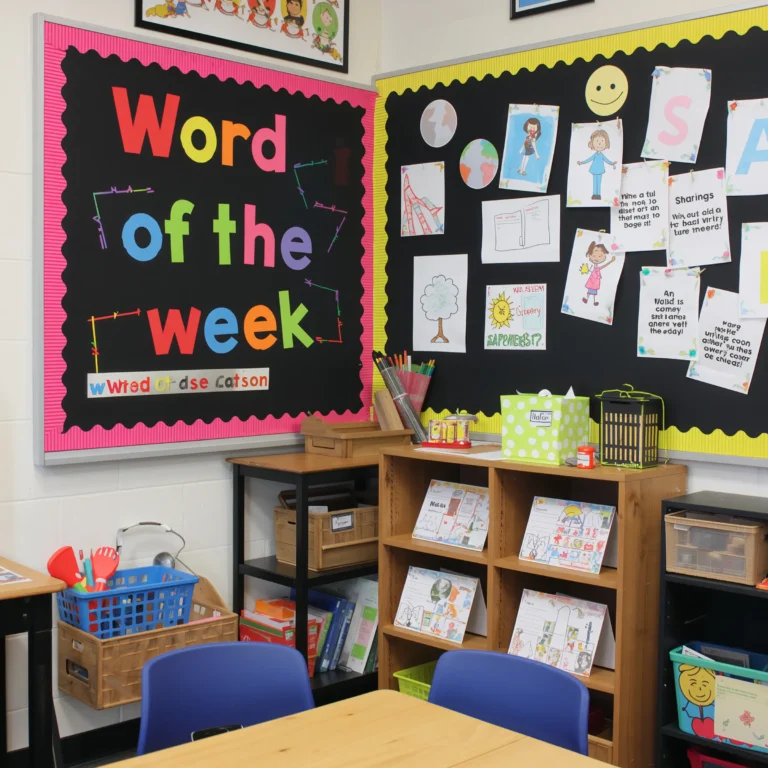
Note-Themed Bulletin Boards

Bulletin boards don’t have to be boring information dumps. Note-themed designs turn necessary announcements into part of your decor aesthetic. And they’re functional – win-win!
I design my boards like giant musical staffs, with announcements as “notes” placed at different heights. Concert dates go on the top line, practice schedules in the middle, achievement recognition on the bottom. It’s organized, thematic, and actually looks good.
Interactive Board Ideas
Make boards that students actually want to look at:
- “Composer of the Month” with fun facts and QR codes to music samples
- “Practice Progress” tracker shaped like a giant keyboard
- “Music Theory Challenge” with weekly problems to solve
- “Student Spotlight” featuring performance photos and achievements
Change content monthly to keep things fresh. Stale bulletin boards are like stale coffee – nobody wants them.
Border and Background Techniques
Ditch the scalloped borders from 1995. Instead:
- Use actual music staffs as borders
- Create 3D elements with folded paper instruments
- Layer different textures (sheet music, fabric, metallic paper)
- Add string lights around the edges for extra pizzazz
The key is making these boards so attractive that students naturally gravitate toward them. When kids are reading announcements without being asked? That’s when you know you’ve nailed it.
Bringing It All Together
Creating an inspiring music classroom doesn’t happen overnight, and it definitely doesn’t require a massive budget. Start with one or two projects that excite you most, then build from there. Maybe this weekend you tackle that soundwave art, next month you hunt for vintage records at thrift stores.
The truth is, when you put thought and creativity into your classroom environment, students notice. They feel valued, inspired, and more connected to music. I’ve seen shy students become confident performers simply because they felt comfortable in a space that celebrated music in all its forms.
Your classroom should reflect your personality and teaching style while serving your students’ needs. These ideas aren’t rigid rules – they’re starting points for your own creative journey. Mix them, modify them, make them yours. The best music classroom is one that feels authentic and alive with possibility.
So grab that hot glue gun, channel your inner interior designer, and start transforming your space. Your students deserve a classroom that matches the magic of music itself. And honestly? So do you. Because when you love your teaching space, that enthusiasm becomes contagious, and suddenly everyone wants to make music together.
Now excuse me while I go check if that trumpet planter needs water. Again.