10 Stylish Study Desk Decor Ideas DIY to Boost Productivity
Let’s be real here – staring at a boring, cluttered desk all day is about as inspiring as watching paint dry.
You know that feeling when you sit down to study and your workspace looks like a tornado hit it? Yeah, I’ve been there too, and it’s not exactly motivation central.
Here’s the thing though: you don’t need to spend a fortune or have Pinterest-level crafting skills to create a study space that actually makes you want to sit down and get stuff done.
I’ve tried pretty much every DIY desk decor trick in the book (some epic fails included), and I’m here to share the ones that actually work.
These aren’t just pretty Instagram shots – they’re practical, budget-friendly solutions that’ll help you stay organized while making your study corner look like you’ve got your life together.
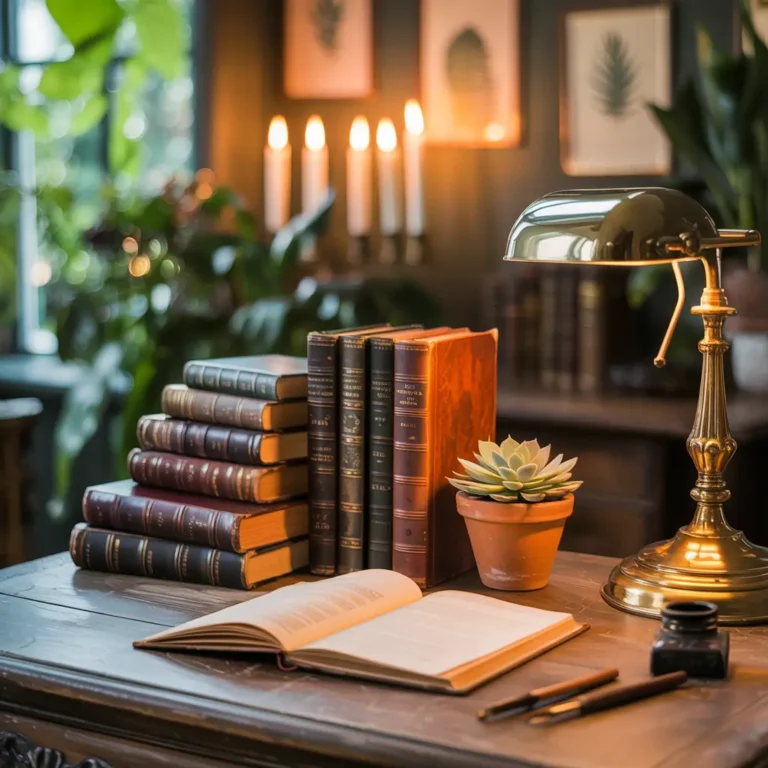
Floating Shelves with Mini Plants
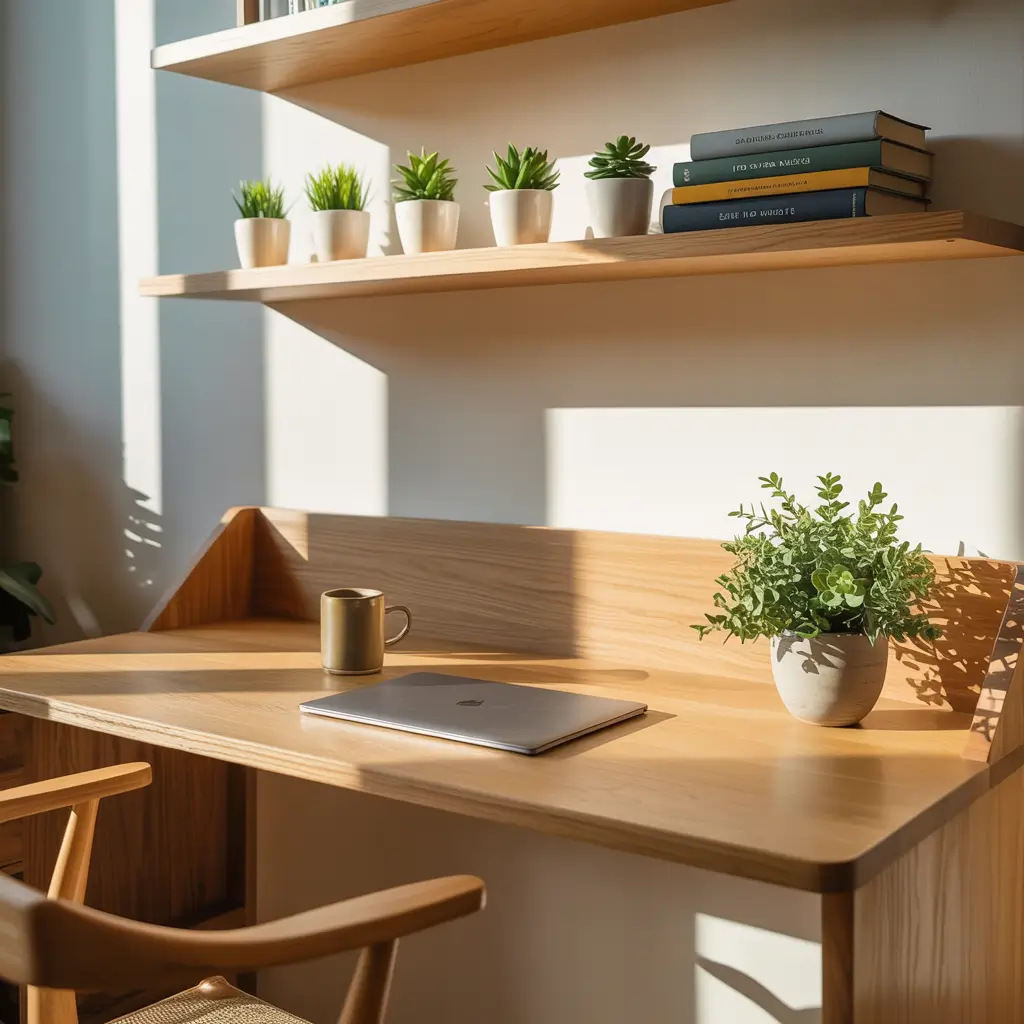
Nothing says “I’m a responsible adult who can keep things alive” quite like having plants in your study space. Floating shelves with mini plants are honestly one of my favorite desk decor hacks because they serve double duty – storage and that fresh, oxygen-pumping vibe that makes studying feel less like torture.
Getting Started with Your Green Oasis
You’ll need some basic floating shelf brackets (the invisible kind work best), a drill, and your choice of small plants. Succulents are your best friend here – they’re practically indestructible and look amazing in small pots. I learned this the hard way after killing three different ferns in two months :/
The trick is positioning these shelves at eye level or slightly above your desk. This creates visual interest without blocking your workspace, and trust me, having something green to look at during those marathon study sessions is surprisingly refreshing.
Plant Selection That Won’t Stress You Out
Here’s what actually works for busy students:
- Snake plants – literally impossible to kill
- Pothos – grows like crazy and looks lush
- Small cacti – zero maintenance, maximum style points
- Air plants – no soil needed, just mist occasionally
Pro tip: Group plants in odd numbers (three or five) for the most visually appealing setup. It’s one of those design rules that actually makes a difference, even though I can’t explain why.
LED Strip Accent Lighting
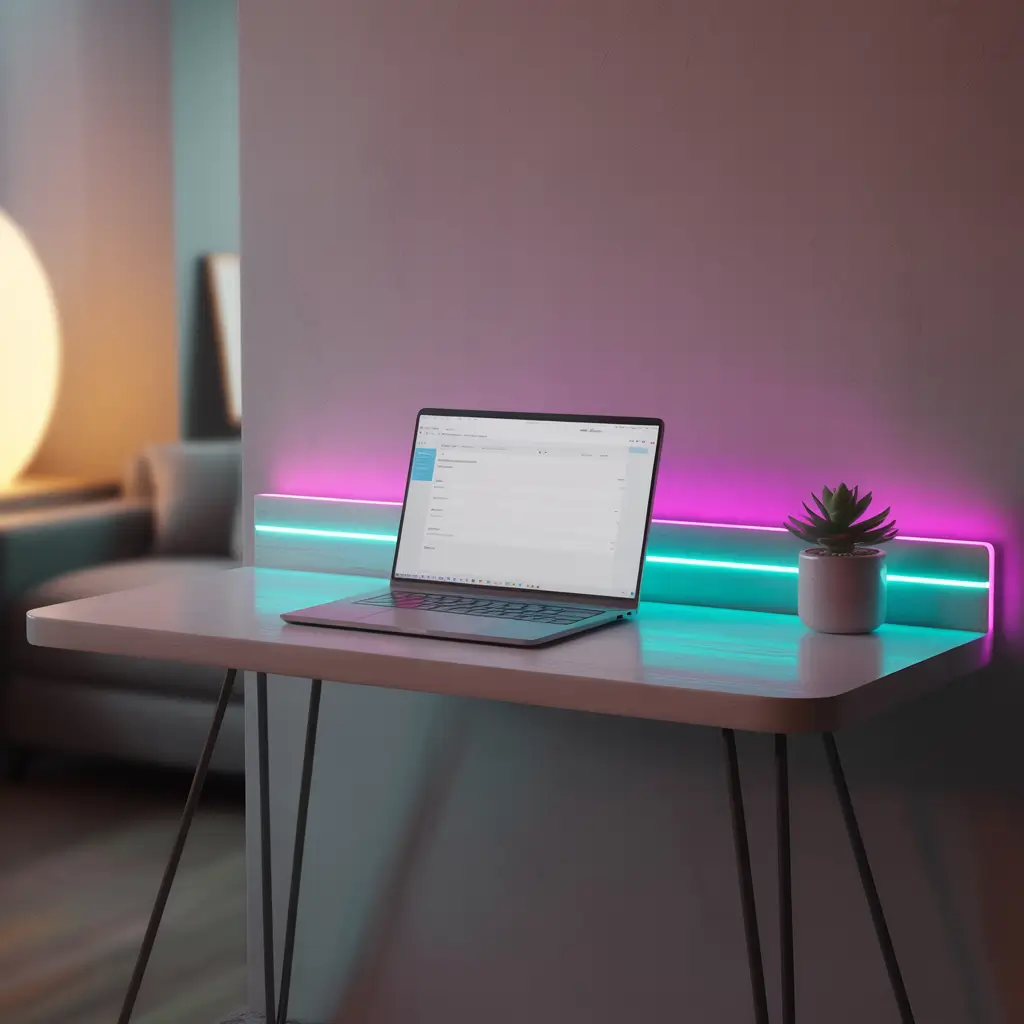
Okay, this one’s a game-changer. Remember those harsh overhead lights that make everything look like a hospital? LED strips are the complete opposite – they create this warm, cozy ambiance that makes studying feel way less clinical.
Installation Made Simple
You don’t need to be an electrician for this. Most LED strips come with adhesive backing, so you literally just peel and stick. I like running them along the underside of floating shelves or around the perimeter of my desk. The key is indirect lighting – you want the glow, not the actual LED dots staring you in the face.
Battery-powered strips are perfect if you’re renting or don’t want to deal with outlets. They last surprisingly long, and you can control them with a little remote (which I lose approximately once a week, but that’s beside the point).
Color Psychology for Better Focus
Here’s something interesting I discovered: different LED colors actually affect your mood and productivity. Warm white or soft yellow creates a relaxing atmosphere perfect for reading, while cool white keeps you alert during intense study sessions. Some strips let you switch between colors, which is pretty neat for adapting to different tasks.
Customized Desk Organizer from Recycled Materials
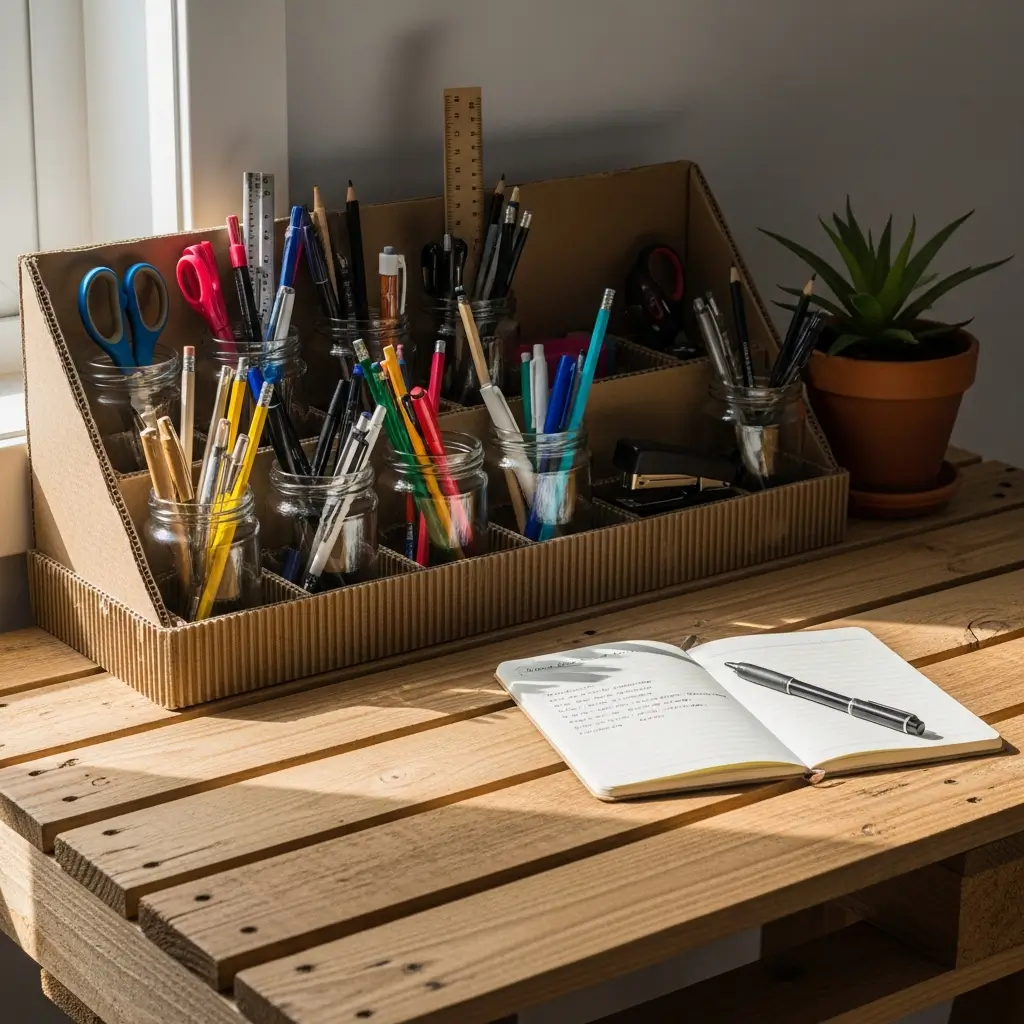
This is where you get to feel good about saving the planet while organizing your chaos. I’m talking about turning those empty cereal boxes, tin cans, and random containers into a desk organizer that actually looks intentional.
The Art of Upcycling
Start collecting containers of different sizes – yogurt cups, small boxes, even toilet paper rolls work. Cover them with decorative paper, fabric, or paint to create a cohesive look. I once made an entire organizer system from Amazon boxes and some leftover wrapping paper, and people thought I bought it from some fancy store.
The beauty of DIY organizers is that you can customize the compartments for exactly what you need. Need a spot for your calculator? Make one. Want a section just for highlighters? Done. It’s like having a personal assistant, except it’s a box you decorated yourself.
Making It Look Professional
Here’s the secret sauce: consistency in color scheme or pattern. Whether you go with all black and white, pastels, or bold colors, stick to your theme. Add labels if you’re feeling extra organized (or if you’re like me and forget what goes where after a week).
Also Read: 10 Cute Aesthetic Study Desk Decor Ideas to Brighten Your Space
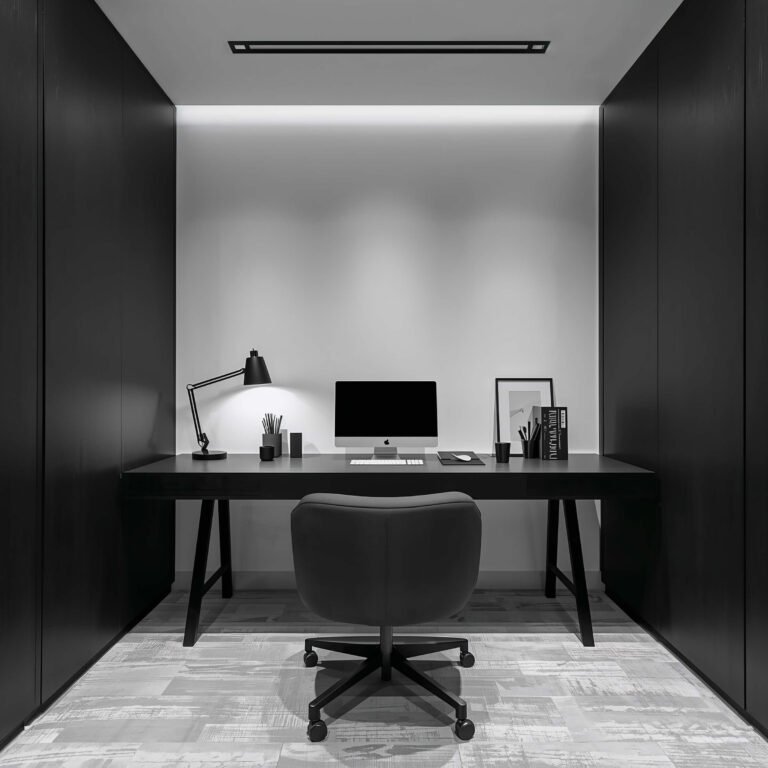
Minimalist Cork Board Wall Display
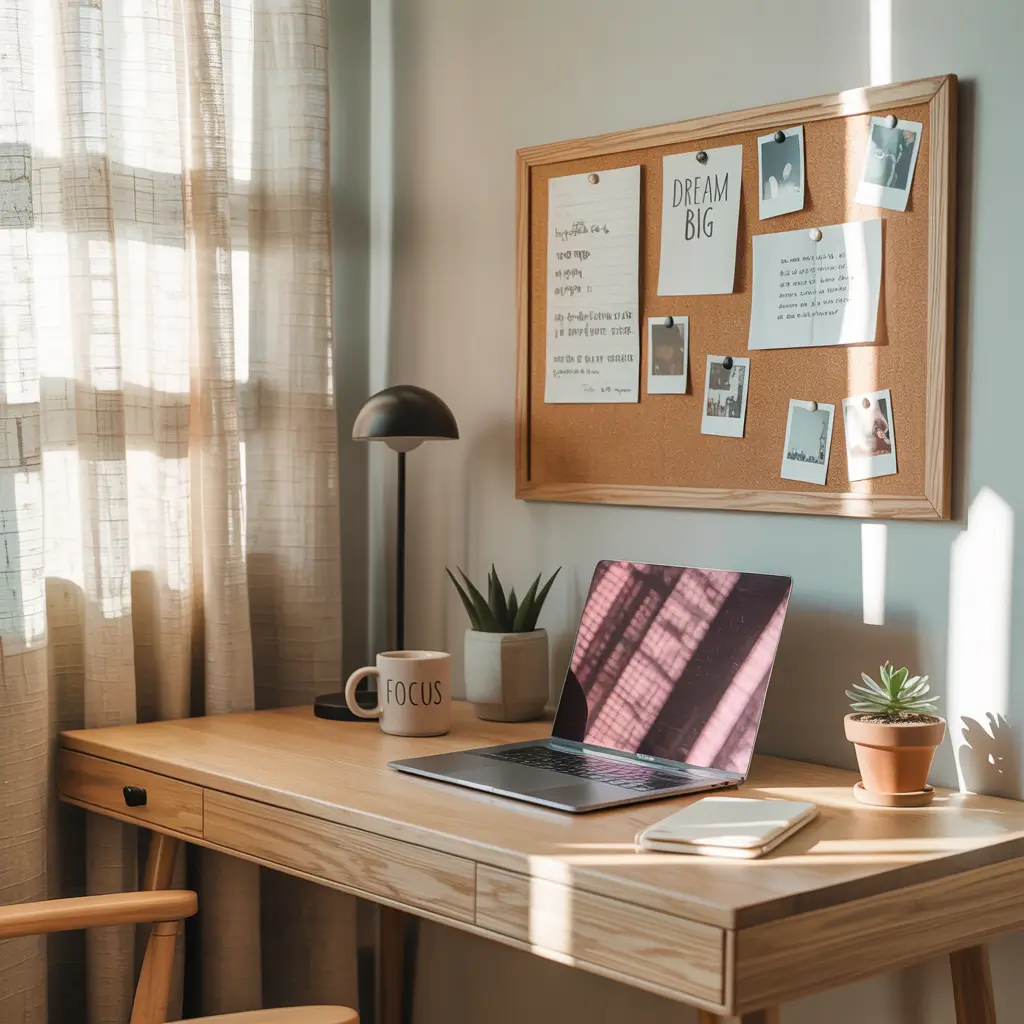
Cork boards got a bad rap somewhere along the way, probably because we all remember those cluttered messes from high school. But hear me out – a well-designed cork board can be both functional and stylish.
The Modern Cork Board Approach
Forget covering every inch with random papers. The minimalist approach means being selective about what you display. I use mine for a few key items: my monthly calendar, important deadlines, and maybe one or two motivational quotes that don’t make me cringe.
Frame your cork board with some decorative trim or paint the frame a bold color to make it look more intentional. Hexagonal or circular cork boards are having a moment right now and look way more sophisticated than the standard rectangle.
Strategic Placement and Usage
Position your cork board where you’ll actually see it – usually directly above or beside your desk. Use it for things that change regularly, like weekly schedules or project deadlines. Static information belongs elsewhere; this is for your dynamic, need-to-see-it-daily stuff.
Handmade Pen Holder with Clay
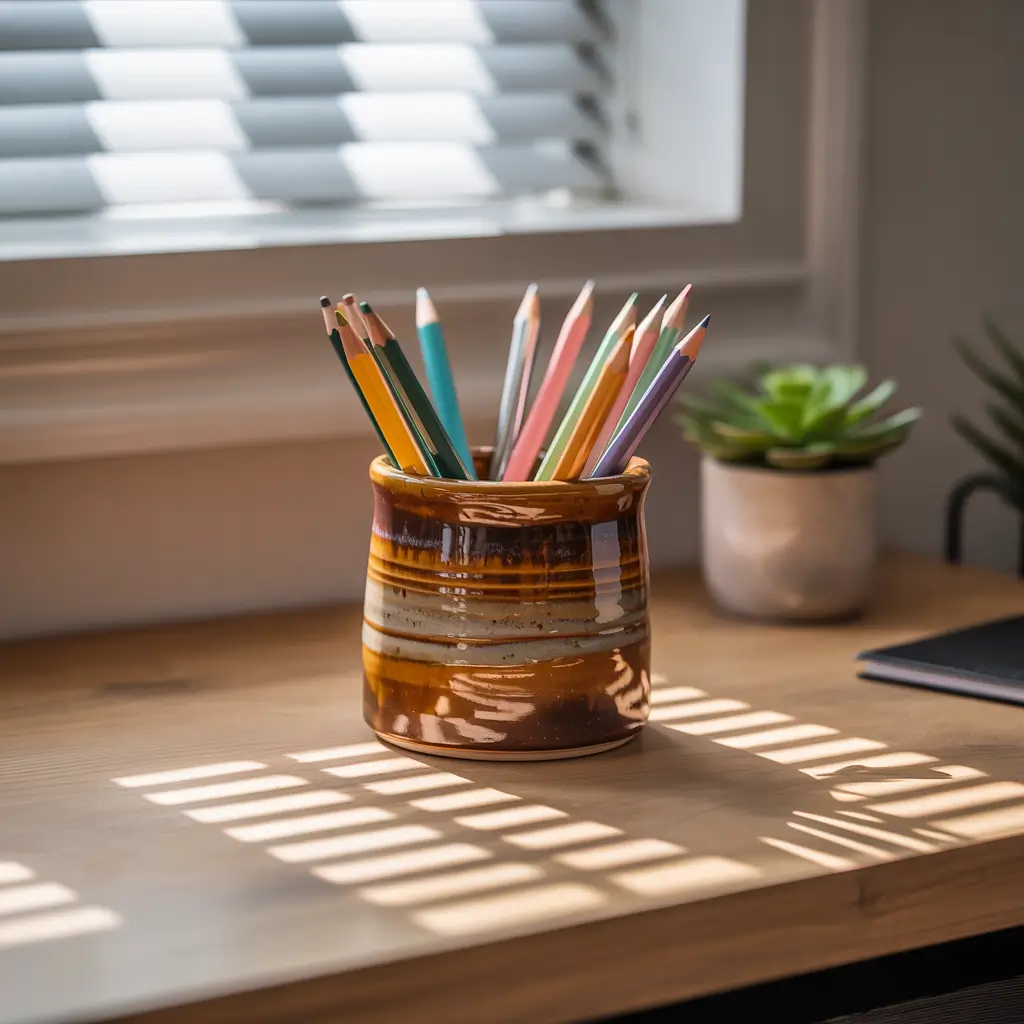
There’s something satisfying about making something with your hands, especially when it’s something you’ll use every day. Clay pen holders are surprisingly easy to make, and you end up with something completely unique.
Getting Your Hands Dirty (Literally)
You can use air-dry clay for this project – no kiln required. Roll it out, shape it into a cylinder or whatever form speaks to you, and let it dry. The imperfections actually add character, so don’t stress about making it perfect.
Once it’s dry, you can paint it, add texture, or leave it natural. I made one with a marbled effect using nail polish (don’t ask me how I figured that out), and it turned out way cooler than anything I could’ve bought.
Functional Design Considerations
Think about what you actually need to store. Do you have a bunch of pens and pencils, or do you need compartments for different types of supplies? Make the opening wide enough for easy access but not so wide that everything falls over. It’s basic physics, but you’d be surprised how easy it is to mess this up.
Color-Coordinated Stationery Setup
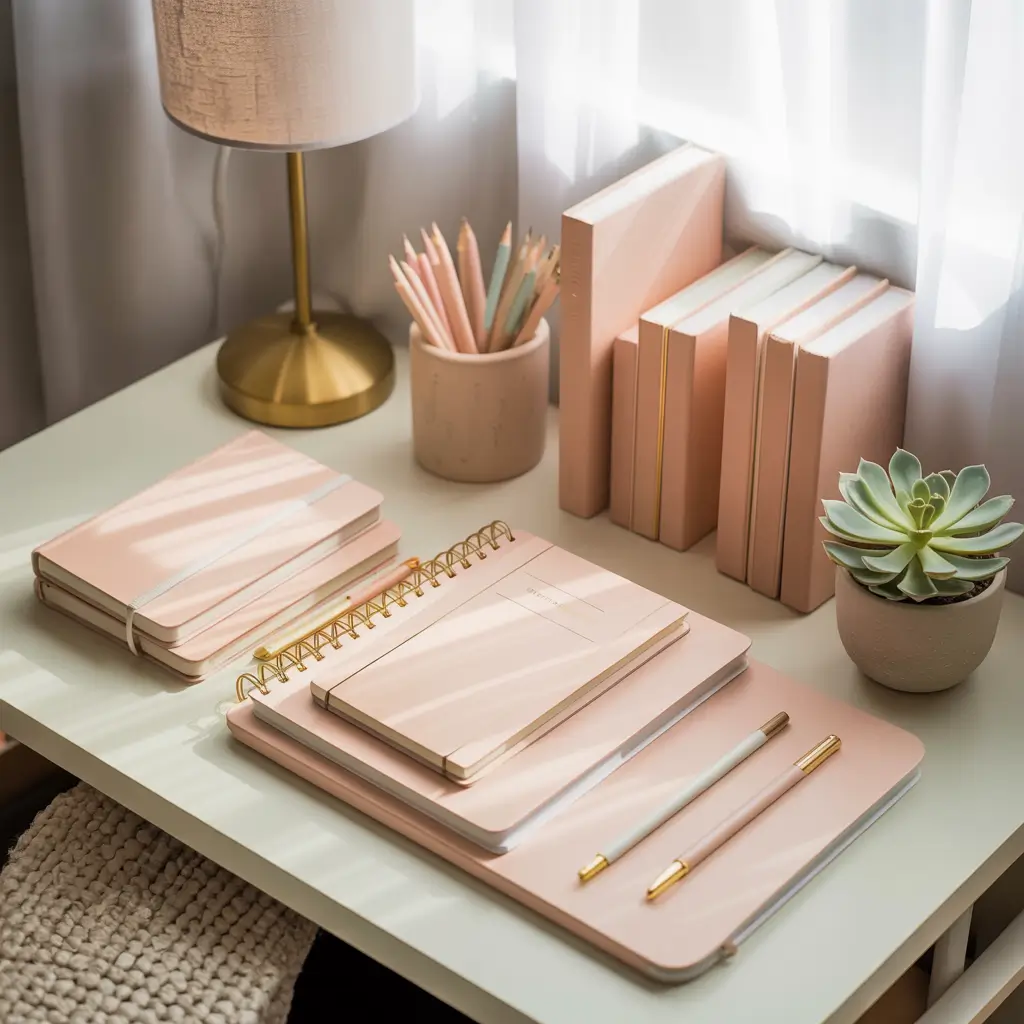
This might sound a bit obsessive, but organizing your supplies by color is oddly therapeutic and makes your desk look incredibly put-together. Plus, it makes finding things way easier when everything has its designated color zone.
Creating Your Color Palette
Pick 2-3 main colors and stick with them. I went with navy, gold, and white because it feels sophisticated without being boring. Replace mismatched supplies gradually – you don’t need to throw out everything you own, just upgrade as things run out.
This works especially well with notebooks, folders, and desk accessories. When everything coordinates, even a messy desk looks somewhat intentional. It’s like wearing all black – instant sophistication with minimal effort.
The Psychology of Color Organization
Different colors can actually affect your mood and productivity. Blue promotes focus and calm, while green reduces eye strain. Red can be energizing but might be too stimulating for long study sessions. Choose colors that make you feel good and help you concentrate.
Also Read: 10 Gorgeous 21st Birthday Decor Ideas for Party Vibes
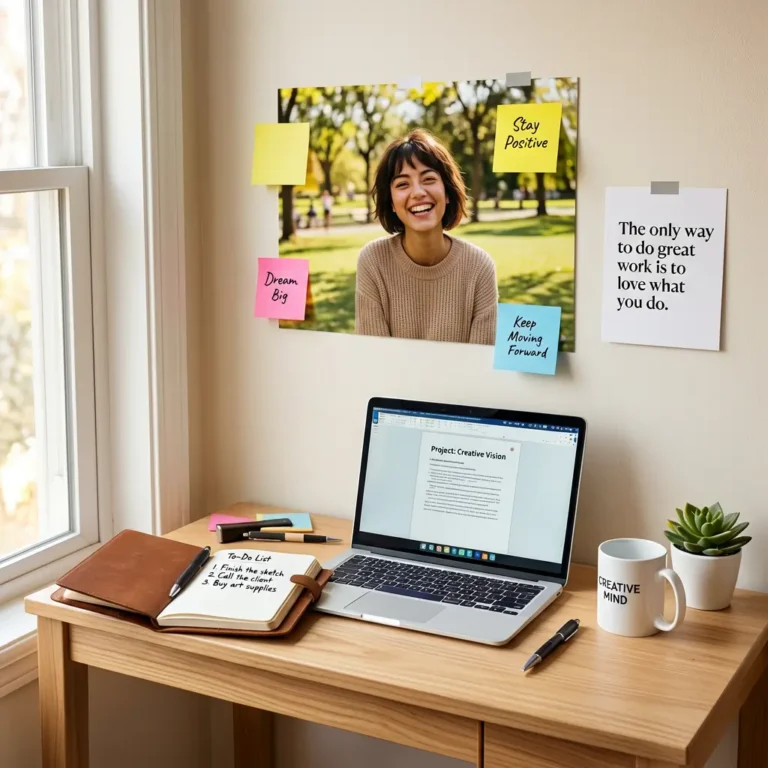
Personalized Photo Collage Board
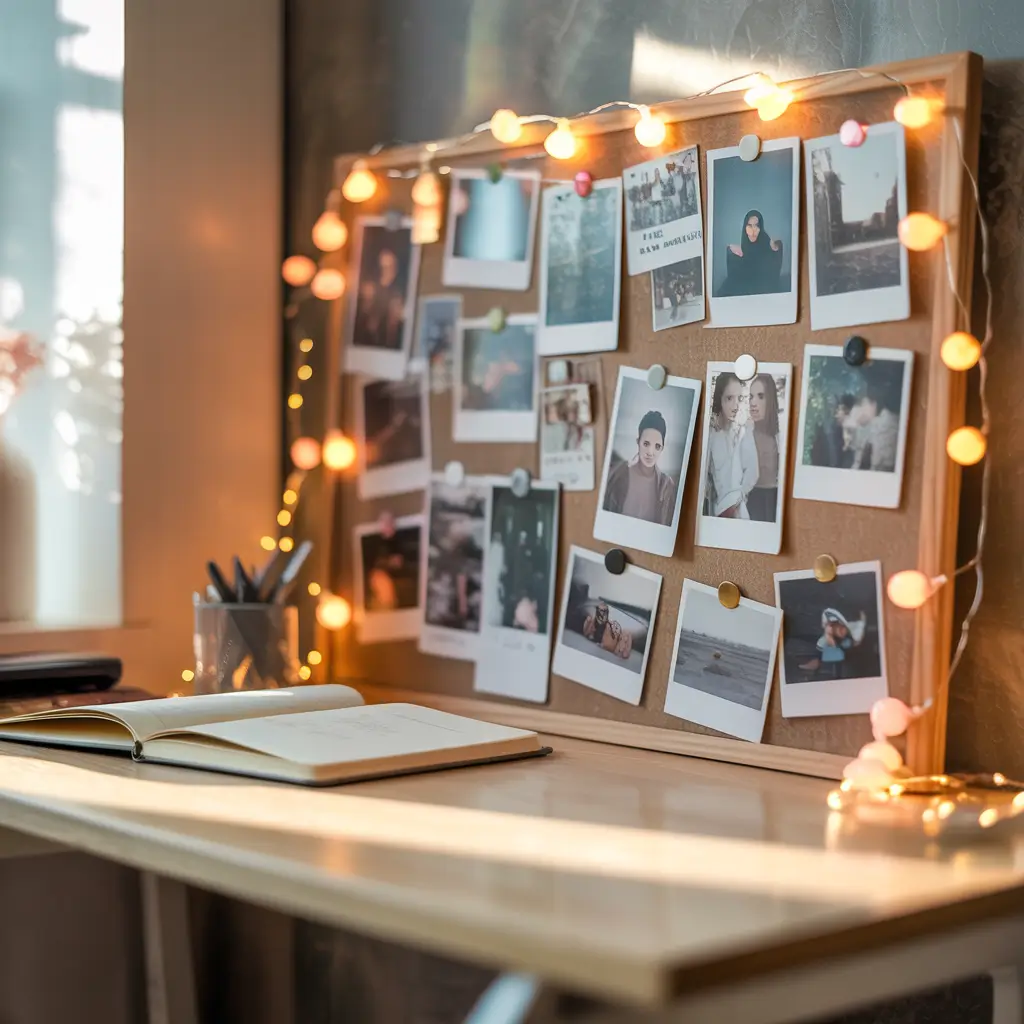
Your study space should reflect who you are, not look like a sterile office cubicle. A photo collage board adds personality while keeping you motivated with reminders of people and experiences you care about.
Curating Your Visual Inspiration
This isn’t about cramming every photo you’ve ever taken onto one board. Choose images that genuinely inspire or motivate you – friends, family, travel memories, goals you’re working toward. I include photos from trips I want to take as motivation for why I’m studying in the first place.
Mix photos with quotes, ticket stubs, or other meaningful items. The key is creating a visual story that reminds you of your bigger picture when you’re buried in textbooks.
Layout and Design Tips
Start with your largest or most important photos and build around them. Create visual balance by distributing colors and sizes evenly. Leave some white space – cramming everything together makes it look chaotic rather than inspiring.
Use a consistent method for attaching items, whether that’s pushpins, small clips, or adhesive corners. It’s a small detail that makes a big difference in the overall look.
DIY Desk Drawer Dividers
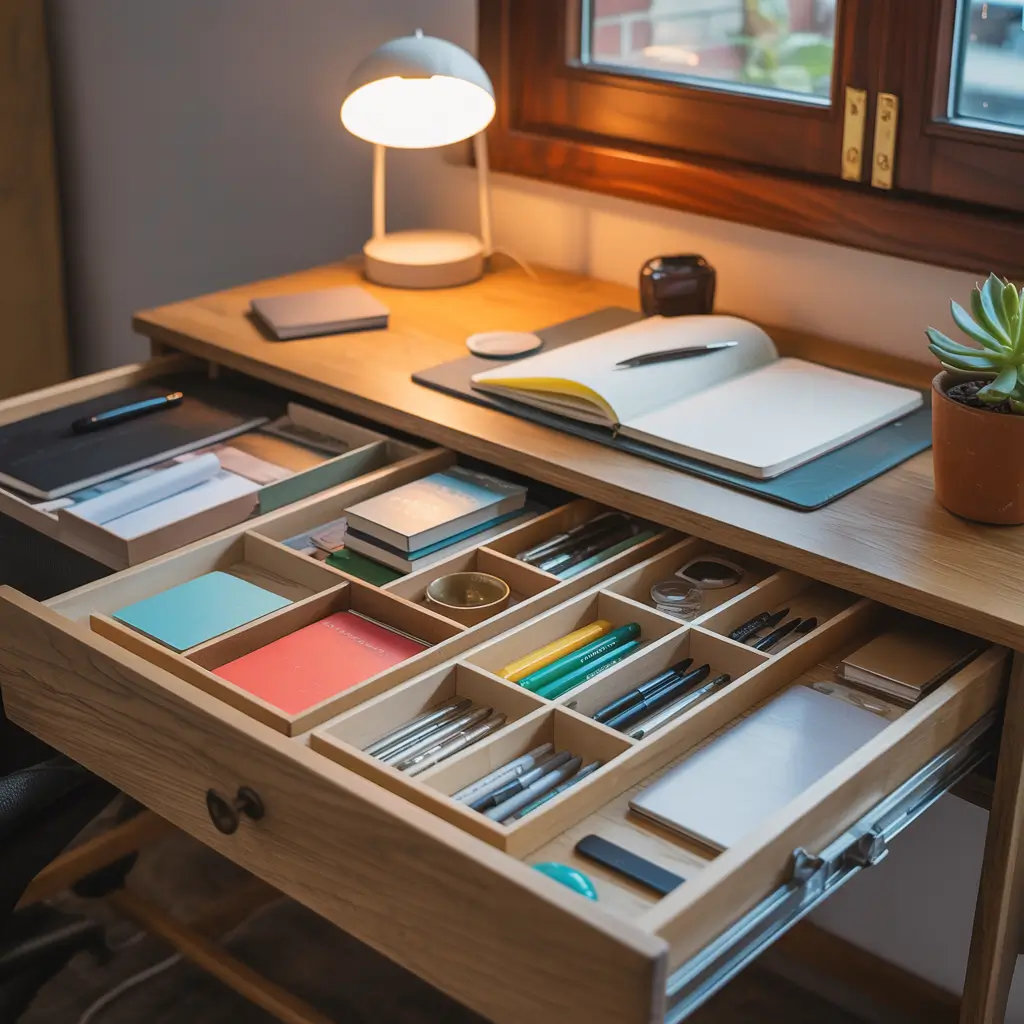
Drawer chaos is real, and it’s the enemy of productivity. You know that feeling when you’re looking for a paperclip and somehow end up with seventeen random USB cables and a broken stapler? Yeah, dividers fix that.
Cardboard Magic
Before you buy expensive organizers, try making your own from cardboard. Measure your drawer, cut cardboard strips to size, and create a grid system. Cover with decorative paper if you want it to look fancy, or leave it plain if you’re going for that minimalist vibe.
The beauty of DIY dividers is that you can customize the compartment sizes for exactly what you need to store. Need a long section for rulers? Make one. Want tiny compartments for paper clips? Easy.
Advanced Organization Strategies
Think vertically, not just horizontally. Small boxes or containers can create different levels within your drawer, maximizing storage space. I use small mint tins for tiny items like thumbtacks – they’re the perfect size and you can see everything at a glance.
Label everything if you’re the type who forgets where things go (guilty as charged). Even simple masking tape labels work and can be easily changed when your needs evolve.
Hanging Wall Planters Above Desk
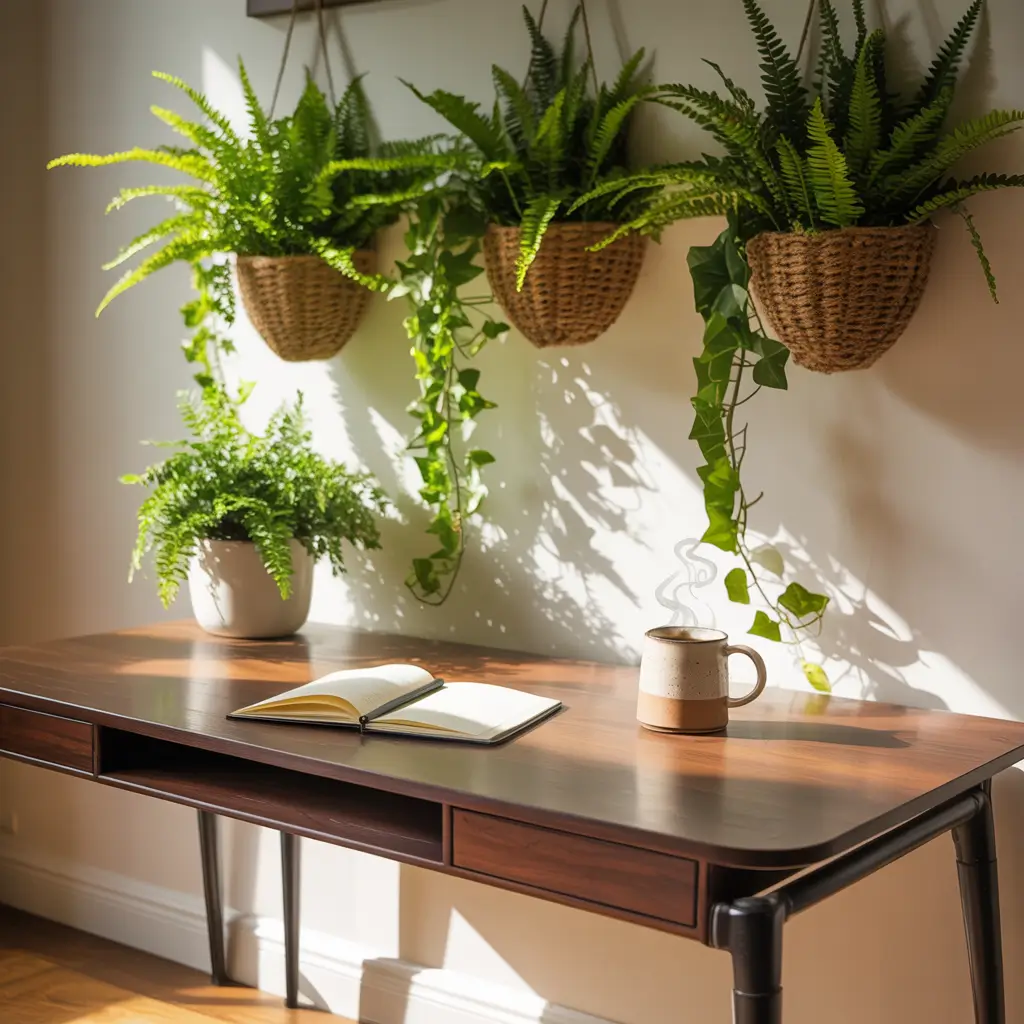
Taking your plant game vertical is a smart move when desk space is limited. Hanging planters above your workspace add life and color without cluttering your actual work surface.
Choosing the Right Setup
Macrame plant hangers are having a major moment and add texture to your space. If that’s not your style, simple rope or chain hangers work just as well. The key is making sure they’re hung at the right height – you want to see the plants but not have them blocking your view or hitting your head.
Consider the weight of your planters when they’re watered. That cute ceramic pot might be too heavy for a simple hook, so plan accordingly. I learned this lesson when a planter came crashing down during a video call – not my finest moment.
Plant Selection for Hanging Gardens
Trailing plants look amazing in hanging planters – pothos, string of pearls, or ivy create beautiful cascading effects. Just make sure you can reach them for watering and maintenance. There’s nothing worse than having a dead plant hanging over your head as a constant reminder of your plant-parenting failures.
Also Read; 10 Inspiring Study Desk Decor Ideas to Boost Productivity
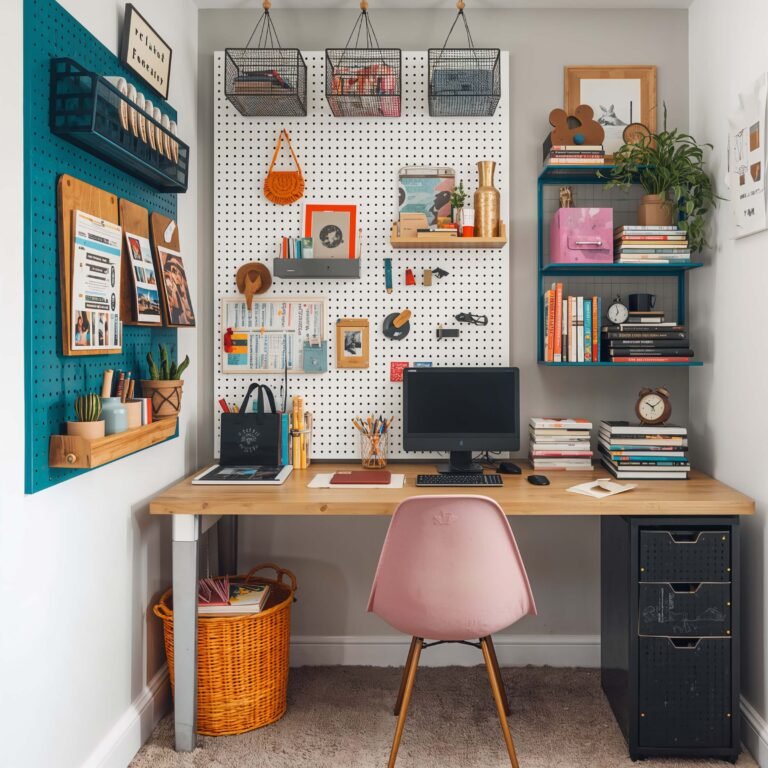
Pegboard Organizer for Accessories
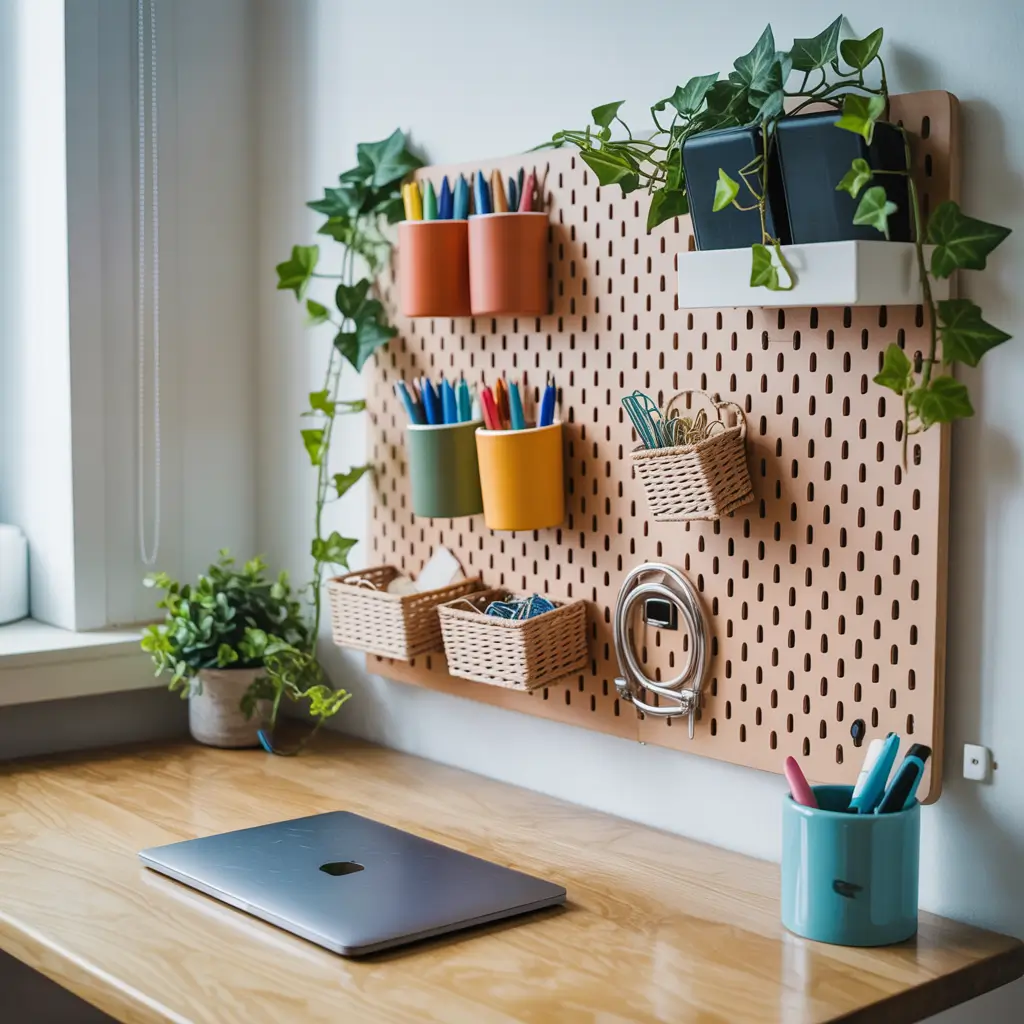
Pegboards aren’t just for garages anymore. A well-designed pegboard can be both functional and stylish, giving you endless customization options for organizing your study supplies.
Modern Pegboard Aesthetics
Paint your pegboard a bold color or leave it natural wood for a Scandinavian vibe. The accessories you hang make all the difference – choose hooks, baskets, and shelves that match your overall aesthetic. Copper or brass accessories add warmth, while black or white keeps things minimal.
The beauty of pegboards is their flexibility. Need to reorganize? Just move the hooks. Want to add new storage? Buy another accessory. It’s like having a modular organization system that grows with your needs.
Strategic Pegboard Placement
Mount your pegboard within arm’s reach of your desk but not so close that it feels cramped. Above and to the side of your desk usually works best. Think about what you use most frequently and place those items in the most accessible spots.
Use the pegboard for items you reach for regularly – pens, scissors, headphones, charging cables. Static storage belongs elsewhere; this is for your grab-and-go essentials.
Bringing It All Together
The best study spaces aren’t just pretty – they’re functional, personal, and make you actually want to spend time there. You don’t need to implement every single idea at once (that’s a recipe for overwhelm), but picking a few that resonate with your style and needs can make a huge difference.
Start with one or two projects that excite you most. Maybe it’s adding some plants for that fresh vibe, or finally organizing your drawer chaos with some DIY dividers. The key is creating a space that reflects your personality while supporting your productivity.
Remember, your study space should evolve with you. What works during exam season might be different from what you need for regular coursework. The beauty of DIY solutions is that they’re flexible and budget-friendly enough to change when your needs do.
FYI, the most important thing is that your space works for YOU. Don’t get caught up in making it Instagram-perfect if that’s not your vibe. Sometimes the most productive spaces are the ones that feel lived-in and personal, complete with that coffee ring stain that tells a story 🙂
Your future self will thank you for creating a study space that doesn’t make you want to run away and binge-watch Netflix instead. Trust me on this one – a little effort now pays off big time when you’re deep in study mode and everything you need is exactly where it should be.